
Create super quick and easy backgrounds that adds texture to any card, project or layout with ripped paper techniques.

Ripped Sticker Background - Lisa
Most long time paper crafters have tons of sticker strips laying around. Who remembers these gems we frequently received in our Club Scrap kits back in the day?

Rip the sticker strips (Weather 2003) into smaller pieces, remove the backing paper, and stick to a card panel.

Continue filling in the background with the sticker pieces until the card panel is covered.

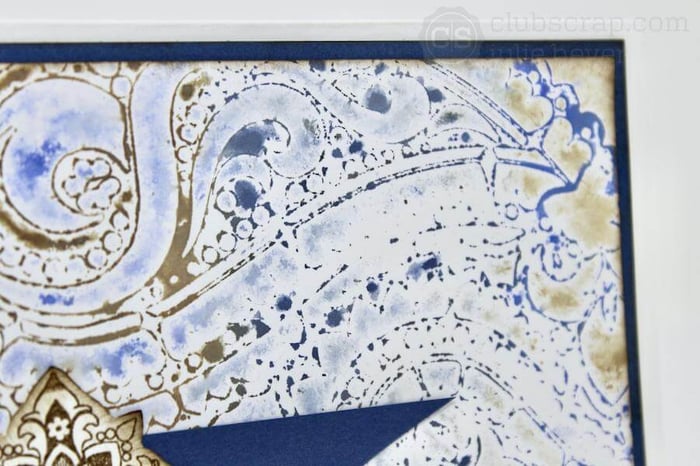
Add Wildflower images to the panel with India Ink and a stamp positioner. This tool allows for repeat stamping which is necessary due to the uneven surface of the panel.

Ripped Panel - Julie
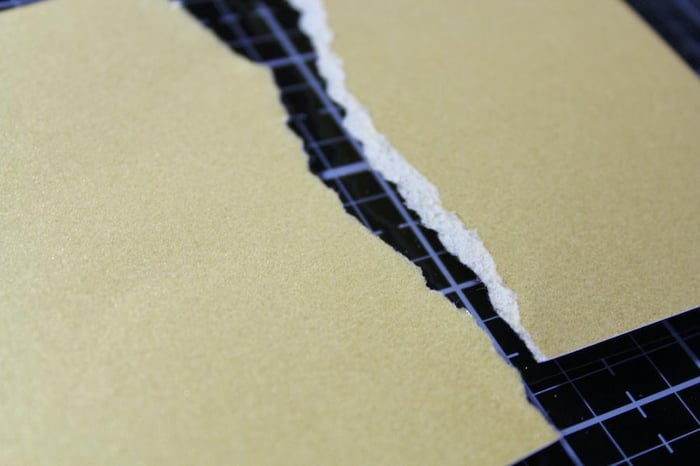
Rip a Gold panel from the Turquoise collection to expose the lighter-colored core.


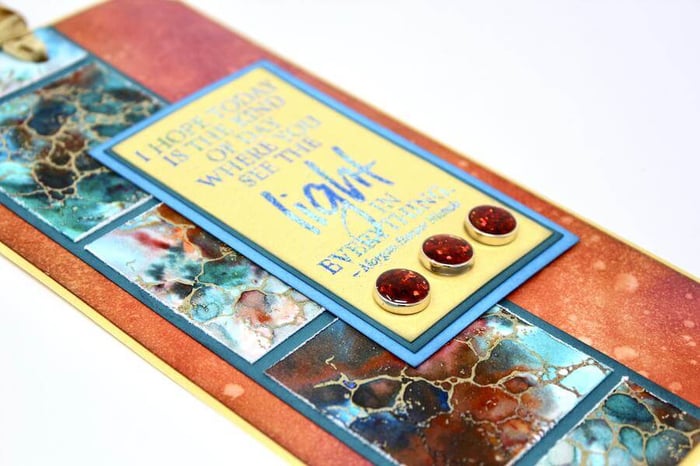
Add the torn paper to the right edge of a 4x5.25" Dk. Teal card panel. Embellish with Faux Turquoise layered squares and adhere to a white card base.


Let's take a look at the finished card.

There are endless ideas featuring this "tear-able" technique! Visit these blog posts for even more inspiration.
Now, it’s your turn! Create artwork with one of the Ripped Paper techniques shared here, or create your own! Visit the Facebook Chat Group 03/20 Technique Challenge post to upload completed artwork in the comments section. Not a chat group member? Answer a few simple questions, and we will accept your request in no time!
 Lisa and Julie