Create realistic gemstone effects with the Faux Turquoise technique. I enlisted my crafty friend, Lisa Dolezal, to help make samples for the February challenge. We each approached it in two completely unique ways.

Faux Turquoise - Nail Polish Marbling (Lisa)
Fill a container with water. Randomly add droplets of black and blue nail polish. Place a turquoise panel onto the water's surface into the floating nail polish. Lift the paper and set it aside to dry.

Dip multiple panels for a gorgeous variety of designs. Add more nail polish to the water as necessary to achieve the desired effect. Check out this post for more details.

Please note: This technique can be messy! You may want to wear gloves or your hands could look like this:


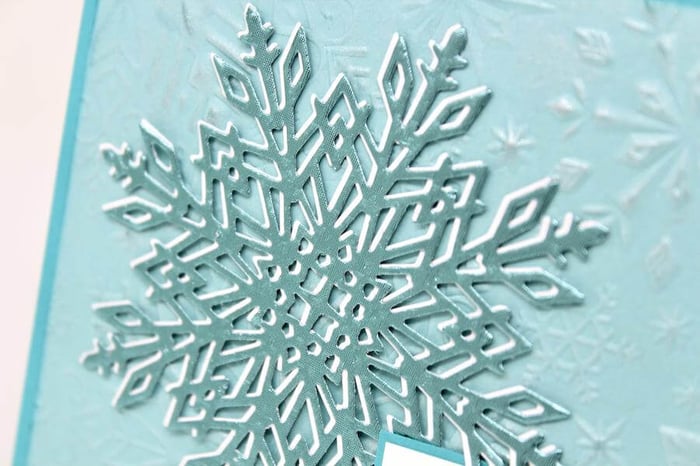
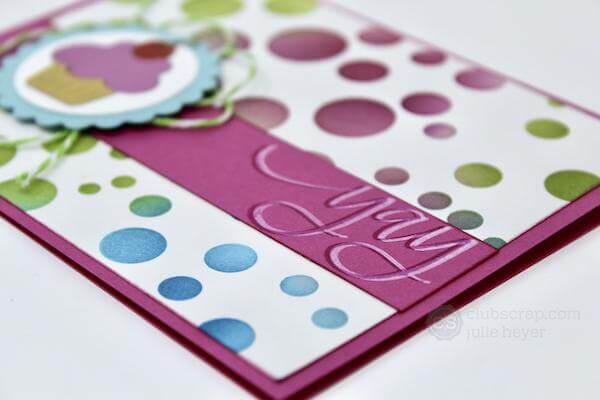
Lisa created this gorgeous card using the panels she created. Her design is inspired by this month's card sketch challenge.

Faux Turquoise - Color Burst Resist (Julie)
Stamp the crackle texture image with watermark (or Versamark) ink onto a white mixed media paper panel. Sprinkle with gold embossing powder and heat set.

Lay the embossed panel into a spray tray (aka pizza box) and dust with Turquoise, Tangerine, and Caribbean Blue Color Burst Pigment powders.

Spritz with water to activate the pigments.

Set the panel aside to dry completely.

Trim the panels into squares.

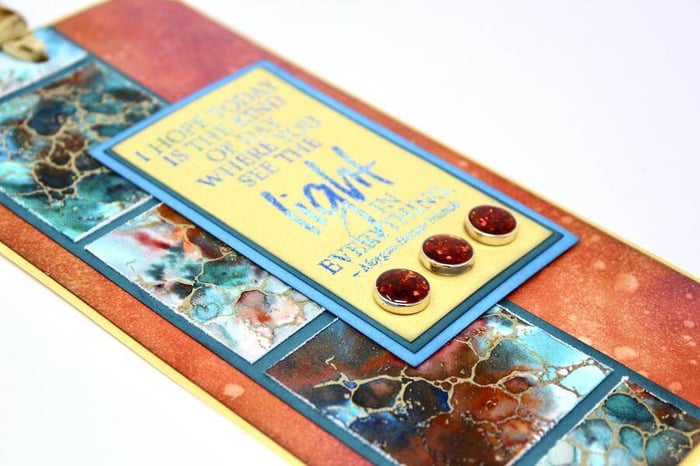
The border strip acts as an anchor on this jumbo tag made with supplies from the Turquoise collection. Here's my finished tag:

Now, it’s your turn! Create artwork with one of the Faux Turquoise techniques shared here, or create your own! Visit the Facebook Chat Group 02/20 Technique Challenge post to upload completed artwork in the comments section. Not a chat group member? Answer a few simple questions, and we will accept your request in no time!
 Lisa and Julie


