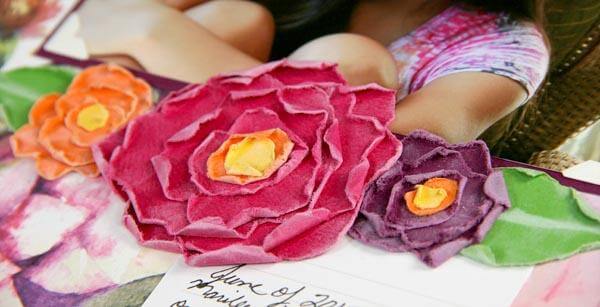
I've always loved making flowers from torn paper. No need to invest in expensive die cutting equipment. Simply tear, roll, ink and adhere to a beautiful Club Scrap layout!

Before I share the "tear-able" details, go ahead and pin the image below so you remember to give the technique a try.

TO CREATE TORN PAPER FLOWERS:
1. Tear a rough circle from a sheet of Dahlia Pink Plain. Repeat to make four circles in graduated sizes.

2. Roll the torn outside edges of the circles.

3. Ink the edges with White pigment ink and an ink applicator.

4. Adhere the torn layers together with CS® Bookbinding Glue.

5. Add an orange and yellow layer to the center of the flower.


Repeat the process to make additional flowers and adhere to a page created with the Dahlia collection. (Before you leave, make some leaves.) Bah-dum-bump.

No paper cuts were incurred during the production of these "tear-able" paper dahlias.
Kay