
The pages in the Reunion collection fell together in a flash. Capturing all of the wonderful little details in the ALSB instructions was a bit of a challenge, so I'll try to cover a few more subtle things below.
REUNION DELUXE KIT
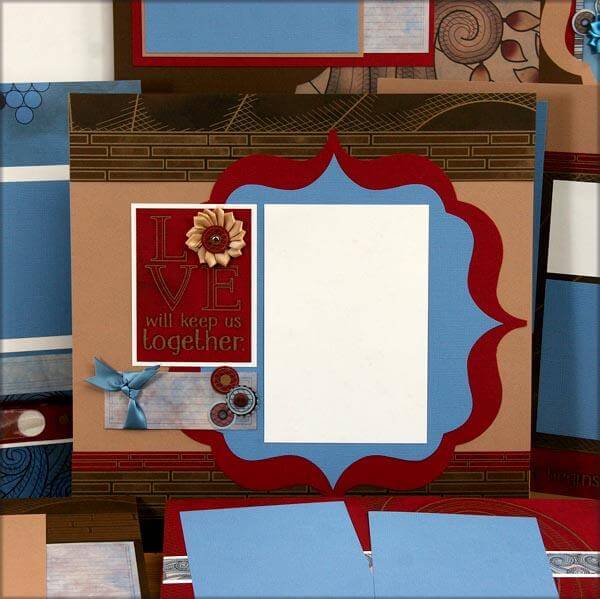
LAYOUTS 1 & 2

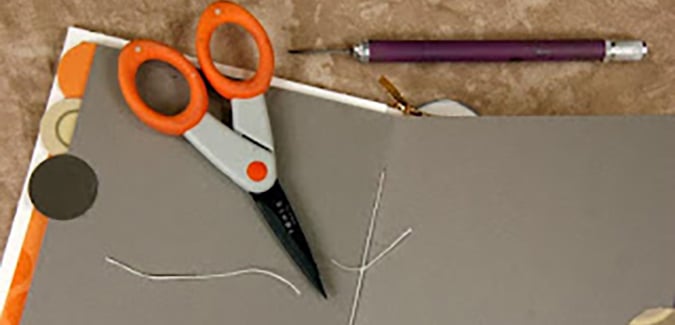
The Red border strip gets lots of mileage. I began by punching out every other printed circle with a 3/4" punch and then threaded the ivory sheer ribbon in and out of each opening on the strip.

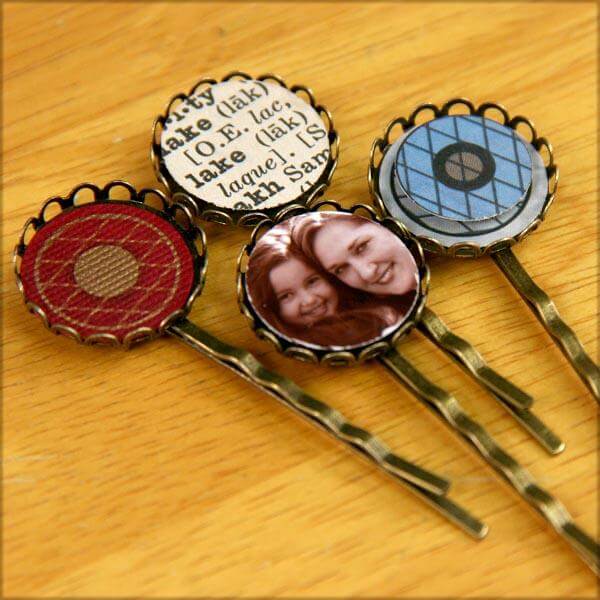
The punched circles fit perfectly into the brass cabochons. I added Glossy Accents for a bit of shine on this one.

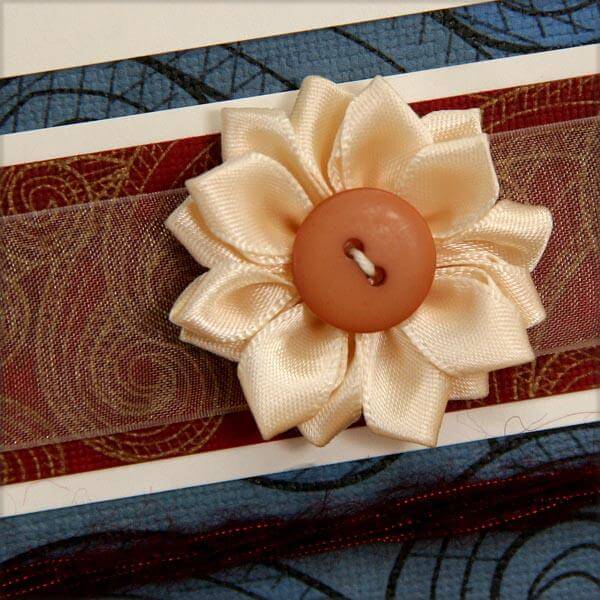
The satin rosettes provide opportunities to use items from your stash in the center. I looked through my supply of past embellishments and added a darling little button to the middle of this one . . .

LAYOUTS 3 & 4

The tan rosette looks great with a punched Red circle and gold mini brad. And check out those awesome nesting die cuts! I removed the clip from the brass cabochon, added a punched circle and button, and placed it within the journaling box. To remove the clip, simply pull the away from the base. It will come off in two pieces.

LAYOUTS 5 & 6

Accent the 3/4" punched circles with flat-backed gems from your stash. Attach with CS Bookbinding Glue or Glue Dots.

And another cool cabochon . . .

LAYOUTS 7 & 8

Use a craft knife and cutting mat to remove portions of the 12x12 Red Print. Tuck photo mattes beneath the remaining printed swirls.

LAYOUTS 9 & 10

Trim the Brown nesting die cut into unequal portions and attach directly to the edge of the left and right pages.

LAYOUTS 11 & 12

One last blue satin rosette accented with a punched circle and blue rhinestone brad . . .

LAYOUTS 13 & 14

REUNION GREETINGS TO GO
After completing your fourteen pages, you'll be primed and ready to make some Reunion greeting cards.

My favorite is the tree image embossed on Brown paper with gold powder. It was a bit tedious to cut with a craft knife, but worth the effort, don't you think?


I adore the brass medallion embellishments we've included. They are extremely flat, making them perfect for dropping in the mail. I used a 1/2" circle punch to add artwork to the center, and then finished each one with a tiny scrabble word tile from my stash.


Turn any sentiment into a full panel's worth of artwork by stamping it tons of times. If you stamp at an angle in a brick-like pattern, any slight errors in alignment will be instantly disguised!

Don't forget to download your page and card instructions, and heavens, if you don't have the Reunion collection on its way, we can fix that, too!
Tricia