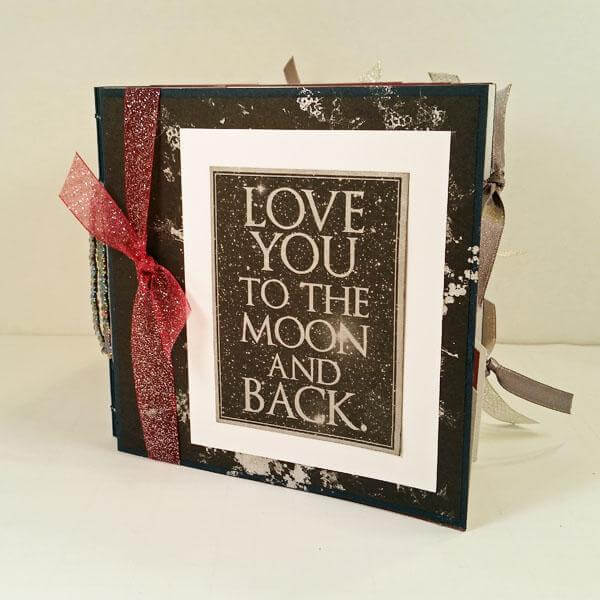

I've always loved mini albums. Inspired by the mini books Club Scrap has designed in the past, I created this cute little mini book from a Literature Folder and the Hopes collection. Interested in making your own? Project instructions are provided at the end of this post.

This quick little project is perfect for those occasions where a card isn't quite enough, but a full-fledged album might be too much. And, if you DO want to enhance your gift monetarily, it's a great way to present a gift card!

Literature Folder Mini Book
Supplies:
(1) 5x5" Literature Folder
(3) 4.75 x 9.5" papers
(4) 4.75 x 4.75" papers
Waxed Cord and Bookbinding Needle
(10) 1-inch circles (cut from cardstock using a circle punch)
Additional embellishments, stamped sentiments, glitter glue
Instructions:
Score each 4.75x9.5 inside page horizontally at 4.75"; fold in half.
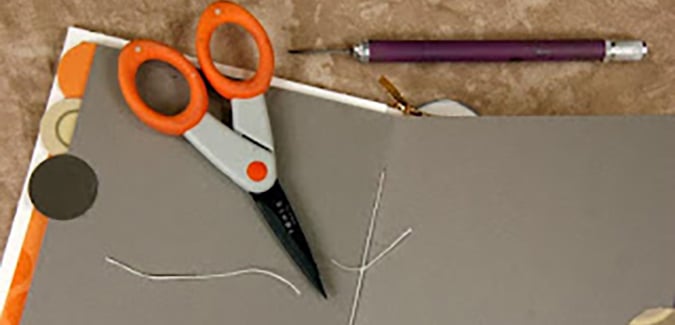
Use a grid ruler and a piercing tool to create two stitching holes along the inside fold: 1" from the top and 1" from the bottom of one inside page.
Use the first pierced page as a template to transfer the stitching holes to the remaining pages.
Transfer the pierced stitching holes to the literature folder by centering the inside page vertically along the spine, leaving equal distance from top and bottom edges.
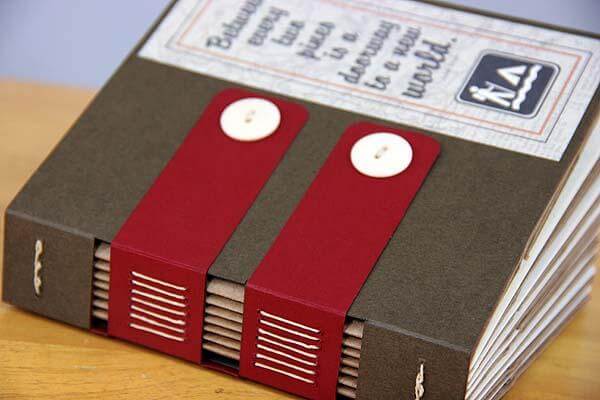
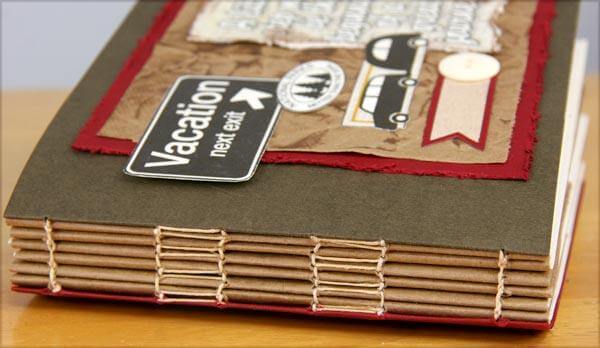
Nest the three prepared inside pages. Use waxed cord and a needle to attach the inside pages to the spine of the folder with a simple pamphlet stitch.

Attach 4.75" squares to the front and back of the outside and inside covers. Tip: Tuck the inside back cover into the pocket and adhere. Create a nesting panel for the outside of the pocket as well, if desired.

To create tabs, attach the punched circles, front to back, sandwiching the edge of the page between them. Evenly space the circles along the height of the book.


Add additional embellishments as desired.