
Create Peony stencil gel prints to accent scrapbook pages made with the May Bonus Page Formula (available to Page and Card Kit members). My friend Linda at Valley Stamp and Scrap shared this Alcohol Ink Gel plate tutorial on her Facebook page and I couldn't wait to try it.
Peony Stencil Gel Prints - Tutorial
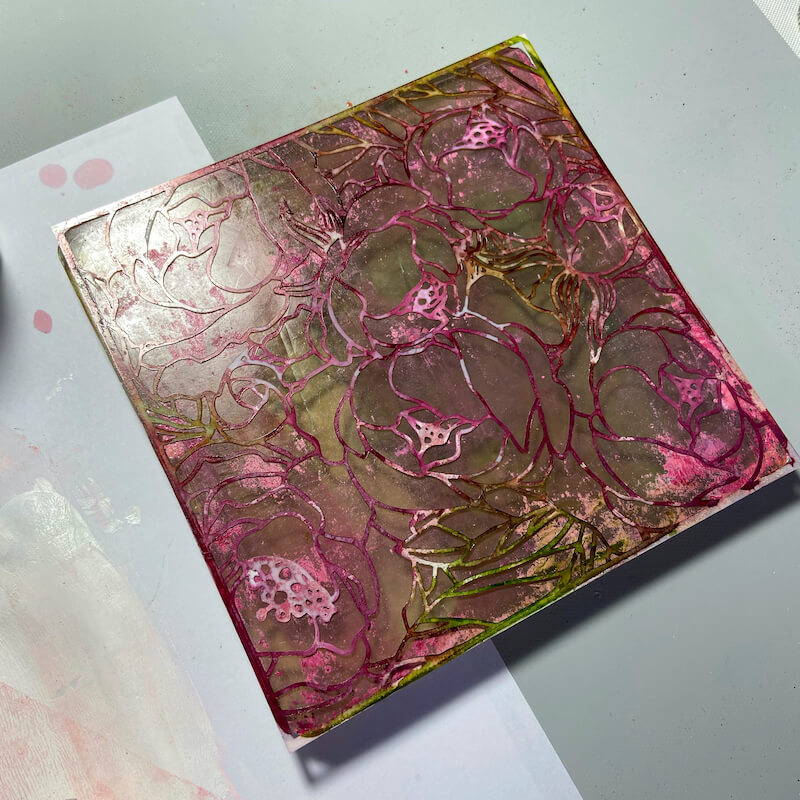
Place the Peony Floral Masking Stencil onto a 6x6" gel plate. Cover the open areas of the stencil with Alcohol Inks. Allow the inks to dry completely before moving to the next step.
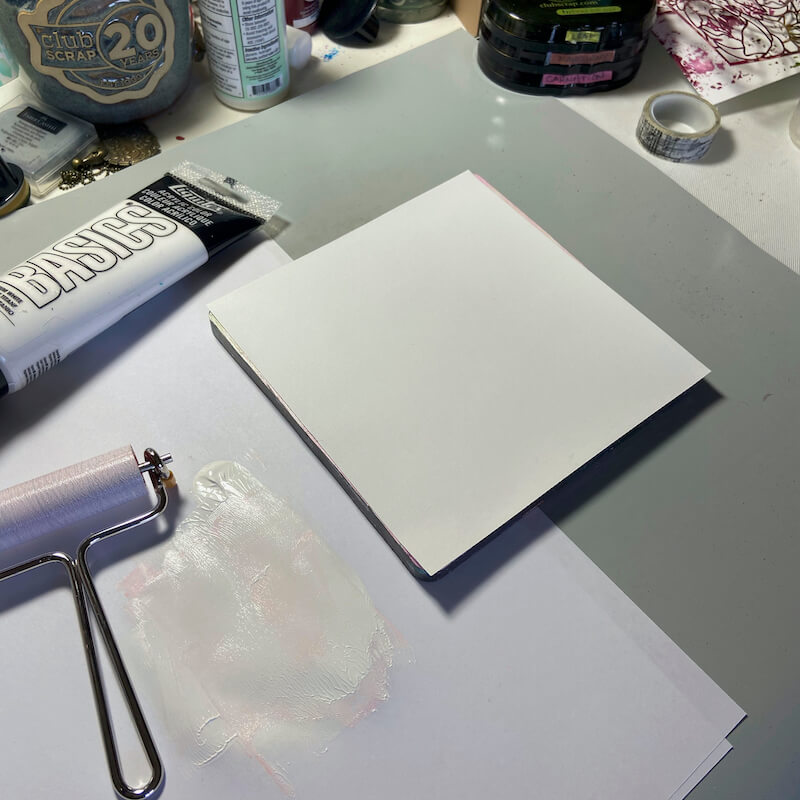
Carefully remove the stencil from the plate and set it aside for an upcoming step. Squeeze a dime-sized portion of white acrylic paint onto scrap paper. Add the paint to a brayer tool.
Roll the brayer onto the gel plate, covering the alcohol inks completely with a very thin coat of paint.
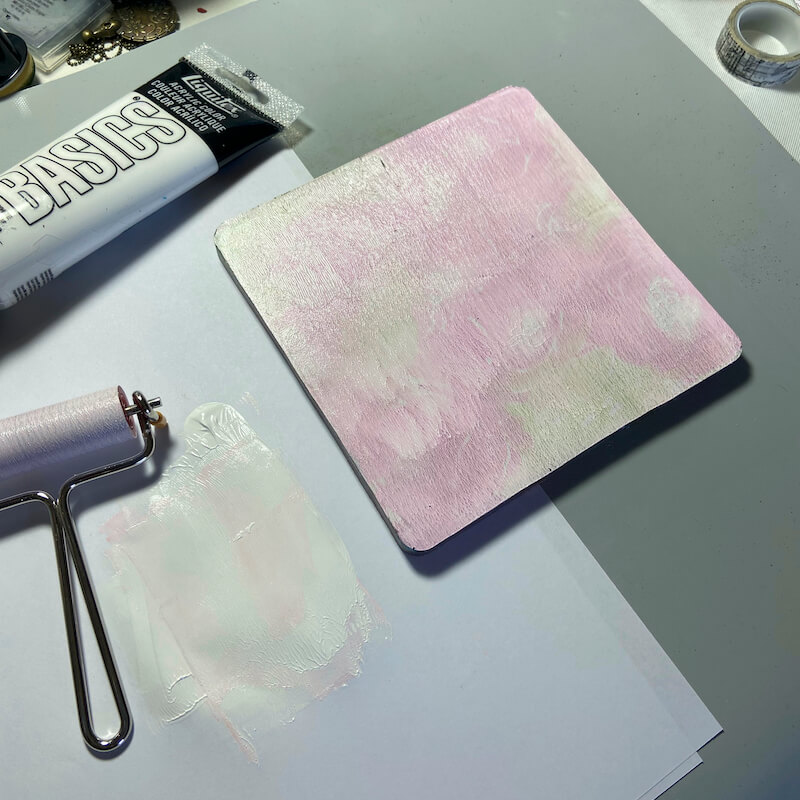
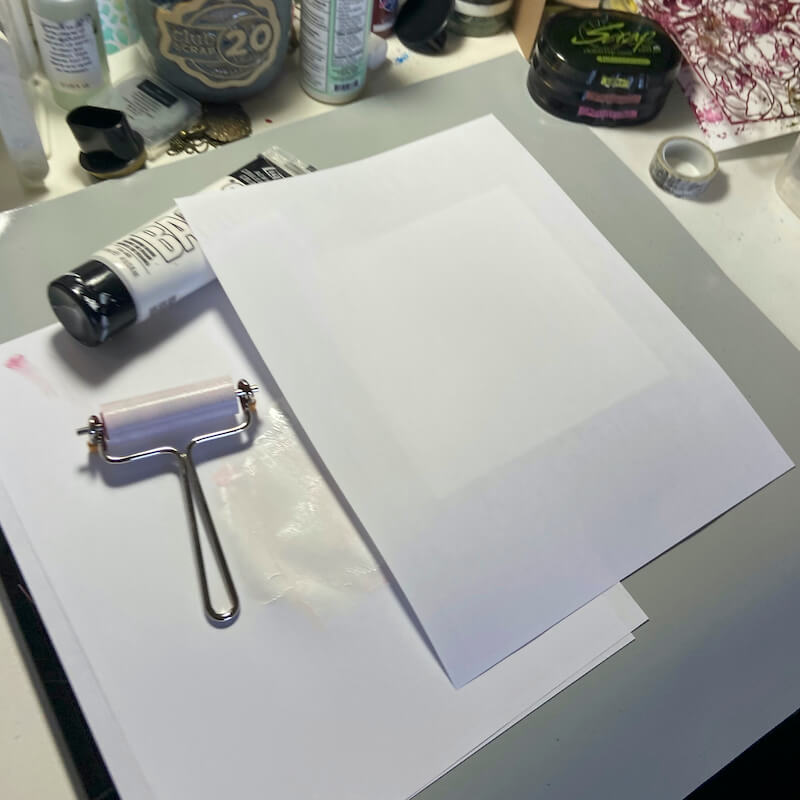
Place a 6x6 piece of white paper onto the gel plate.
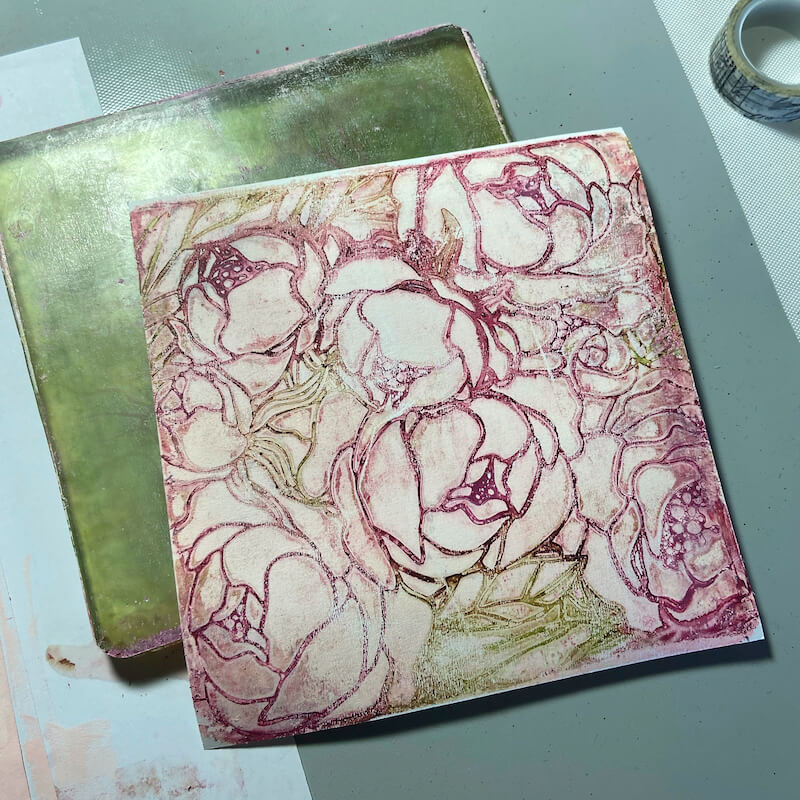
Add a piece of scrap copy paper over the paper and burnish thoroughly to ensure the paint and inks transfer to the paper.
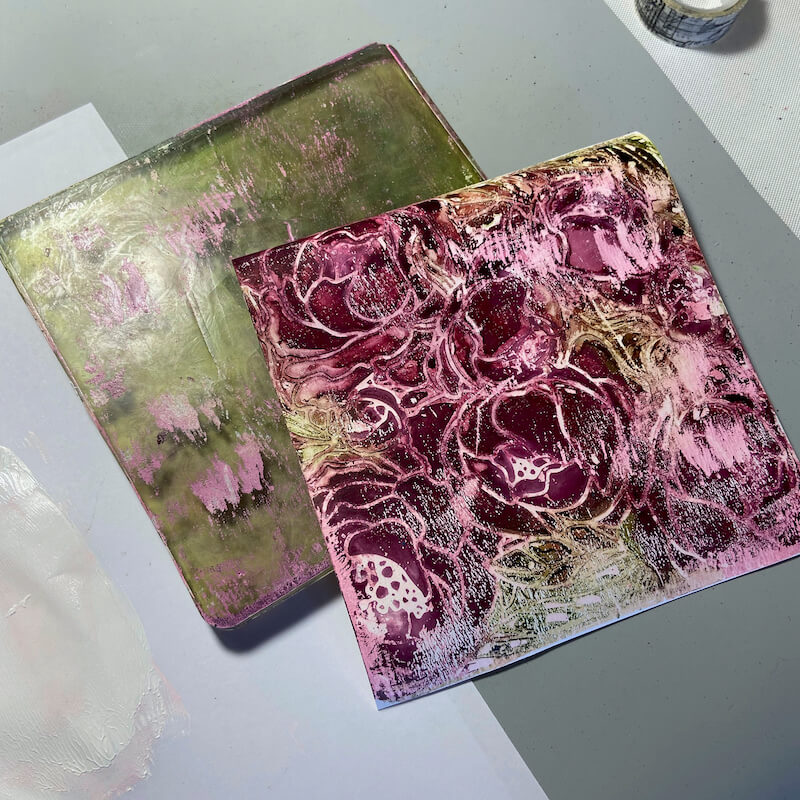
Carefully peel the paper off the gel plate to reveal the gorgeous print!
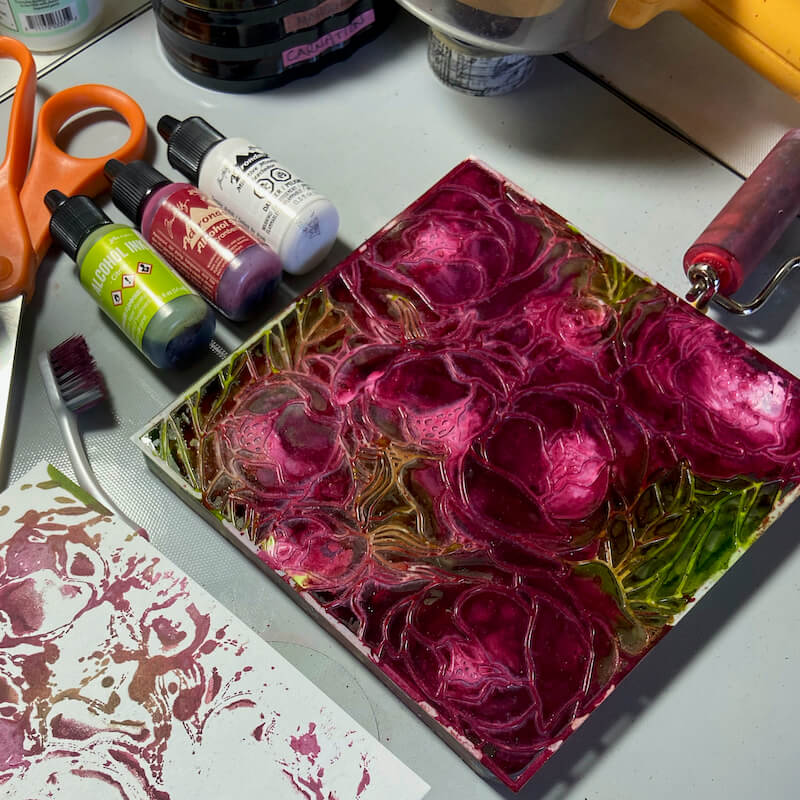
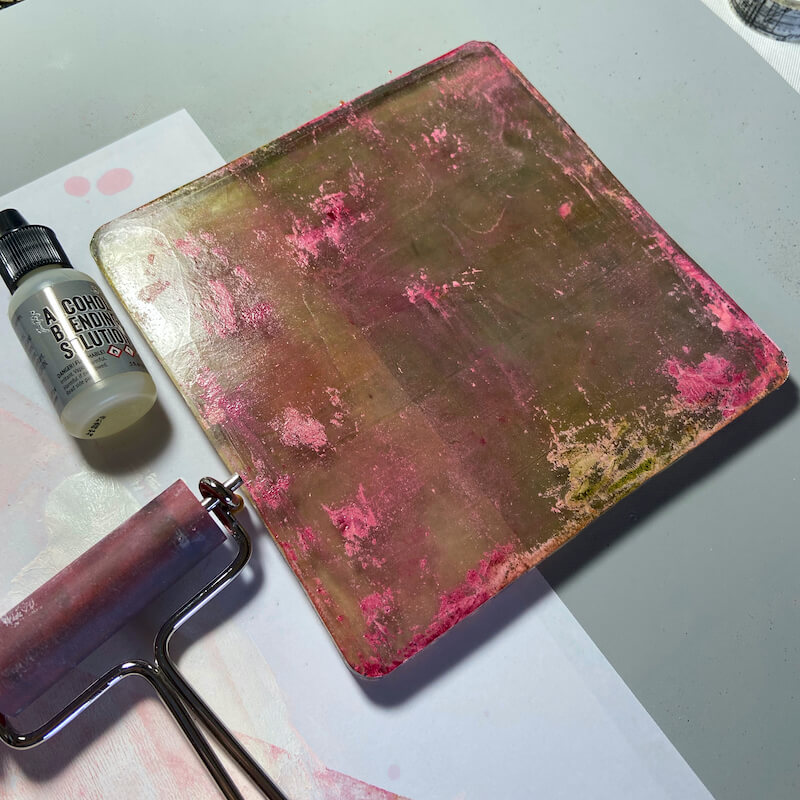
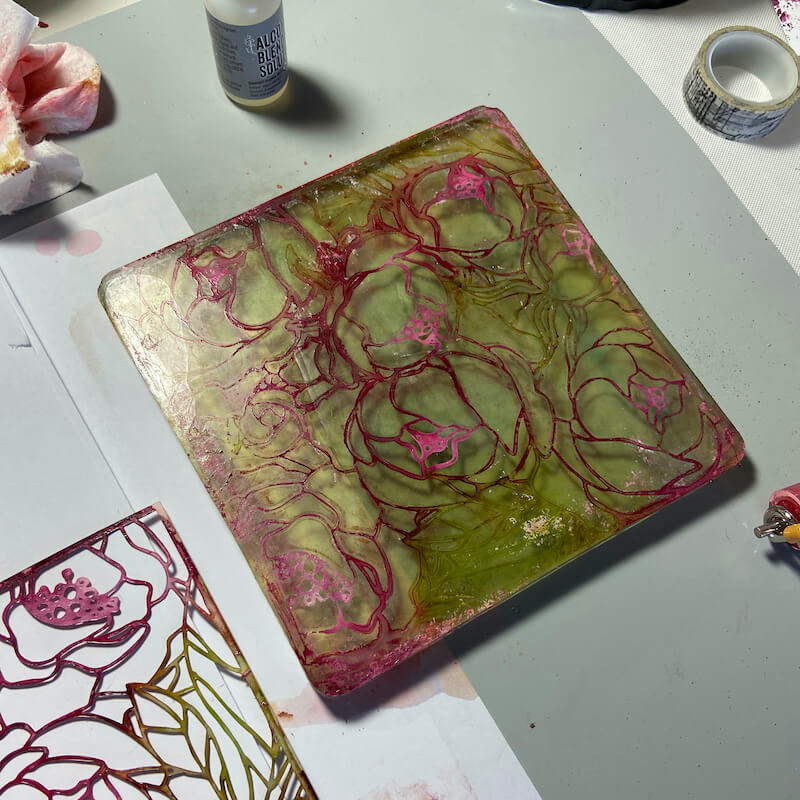
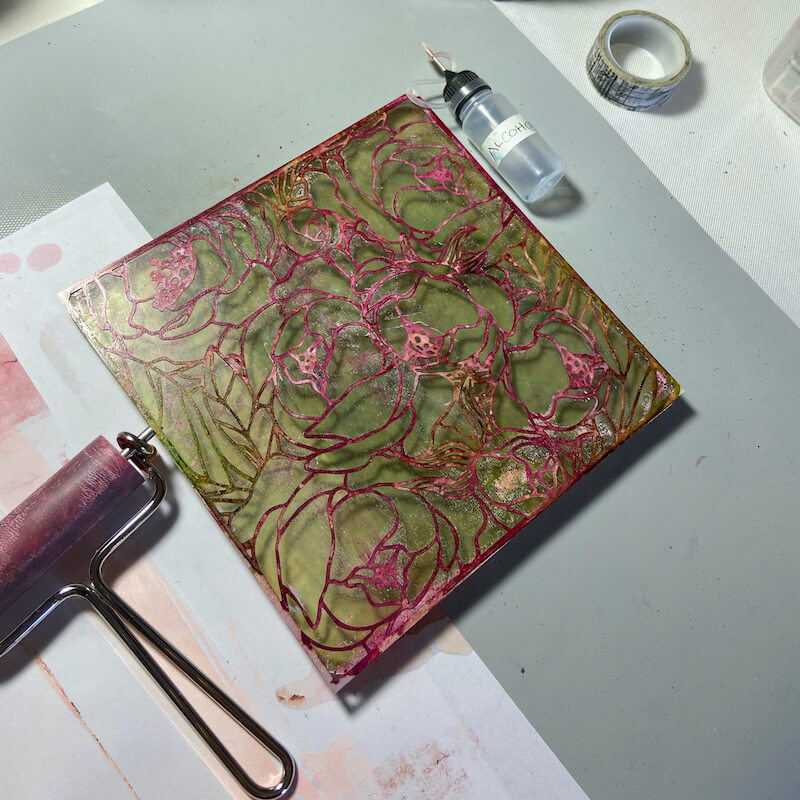
Apply a generous amount of Alcohol Ink Blending Solution to the gel plate. Spread the solution over the plate with a clean brayer tool.
While the solution is still wet, place the stencil onto the gel plate with the inked side facing the plate.
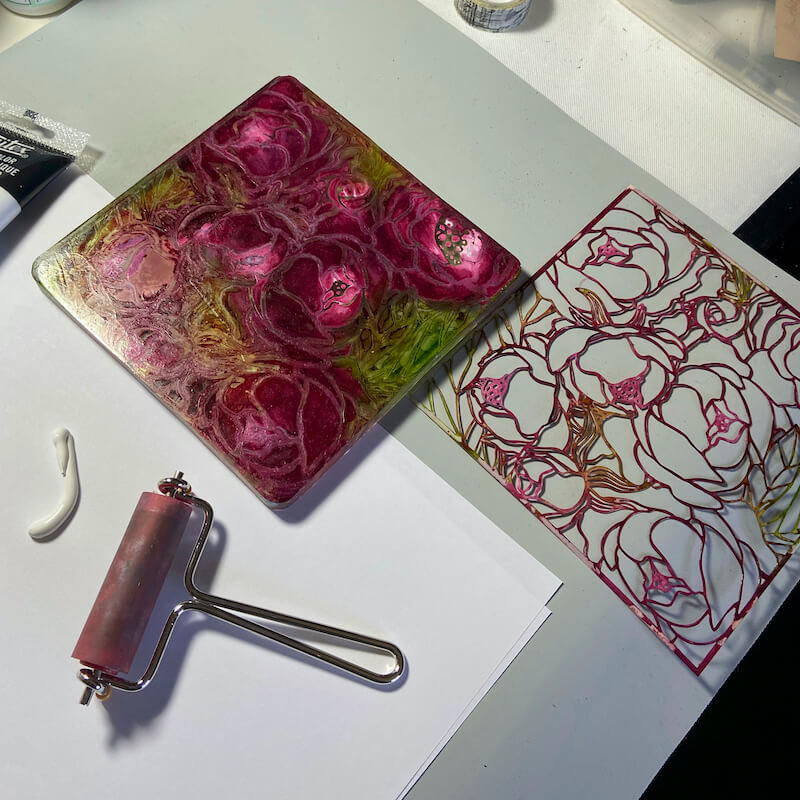
Remove the stencil to reveal the inky image. Set the stencil aside for the last step. Allow the inks to dry before moving to the next step.
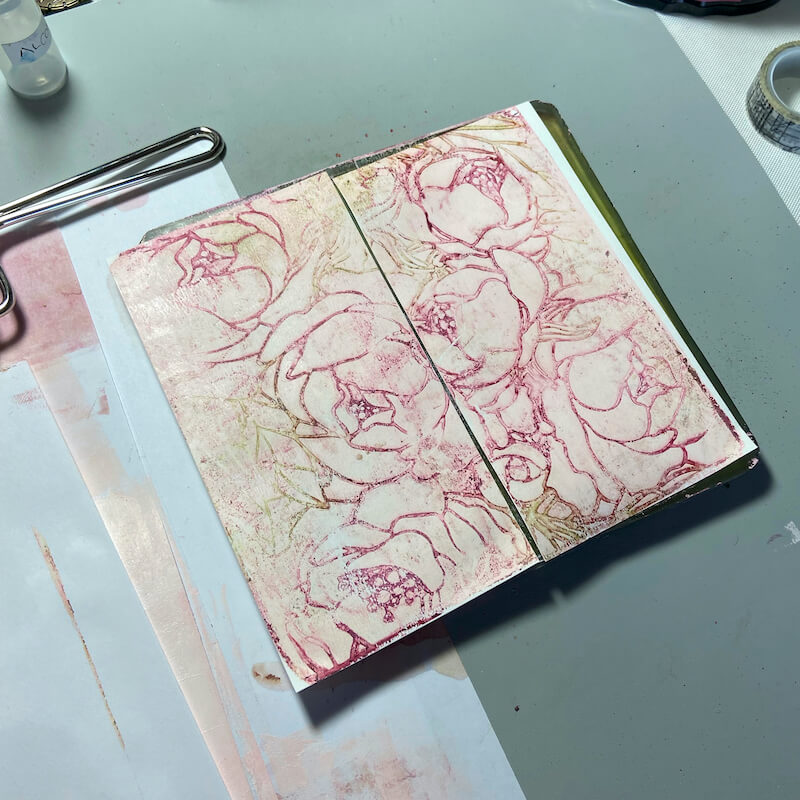
Apply a thin layer of white paint onto the gel plate with a brayer tool.
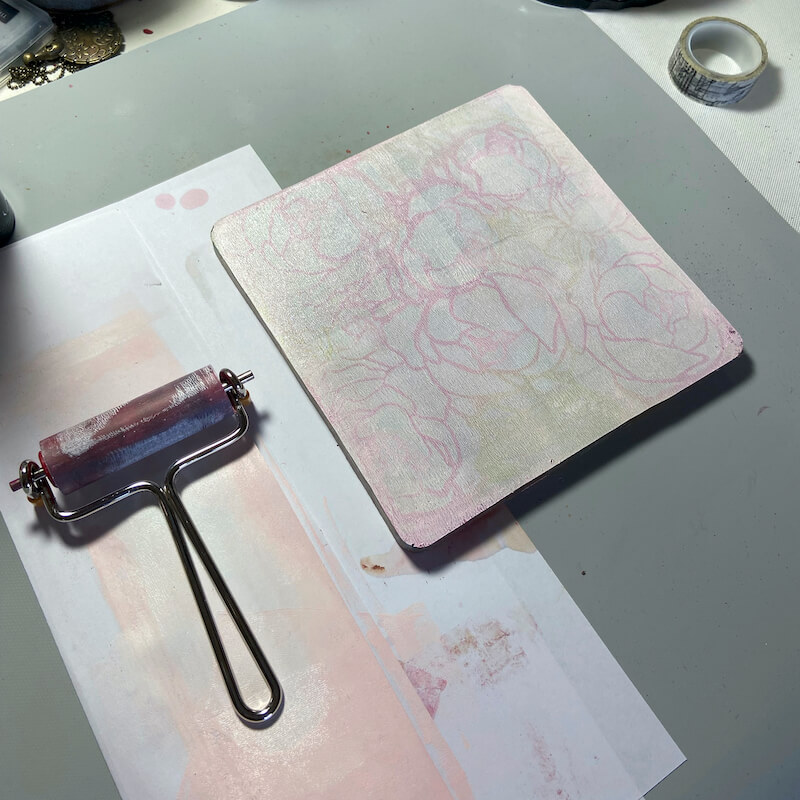
Lay a piece of white paper onto the plate and burnish to ensure proper image transfer.
Squeeze a generous amount of isopropyl alcohol dispensed from a Needle-tipped Applicator onto the clean gel plate. Lay the stencil, ink side down, on top of the wet alcohol.
Remove the stencil to reveal the image. Repeat the white paint process to pull the final print.
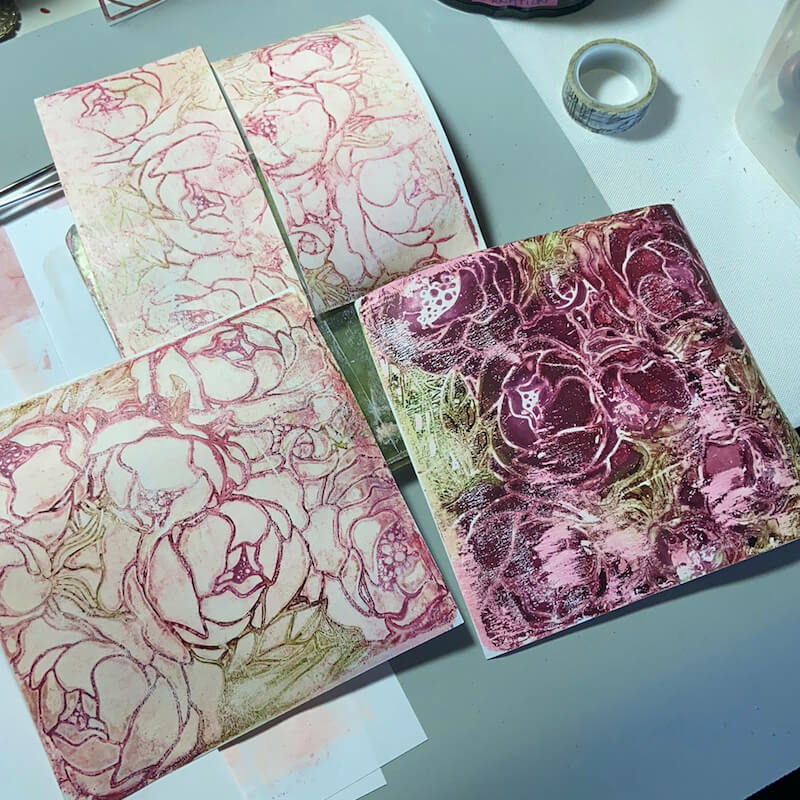
Sit back and admire all of the beautiful Peony gel prints.
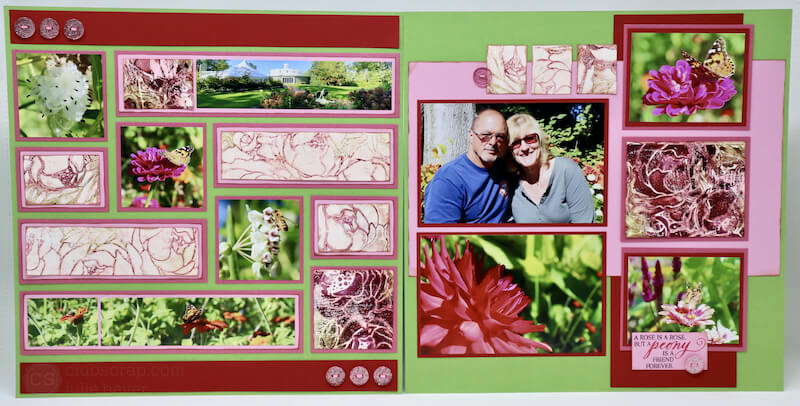
Page Assembly
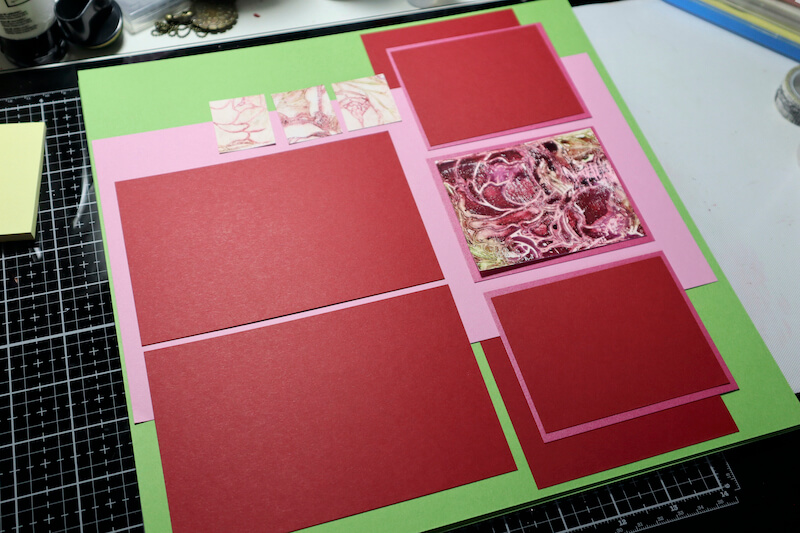
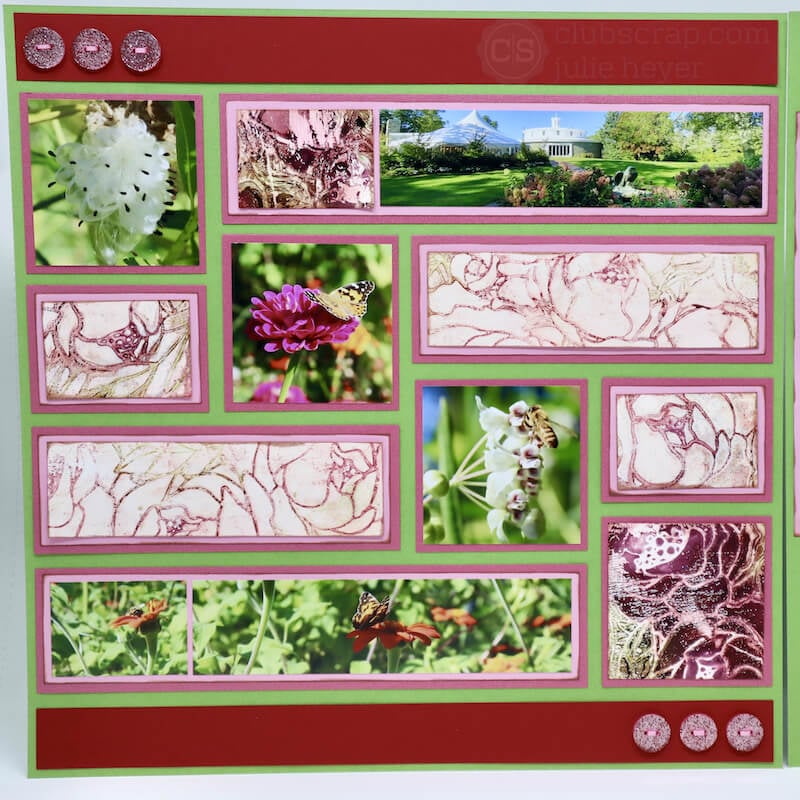
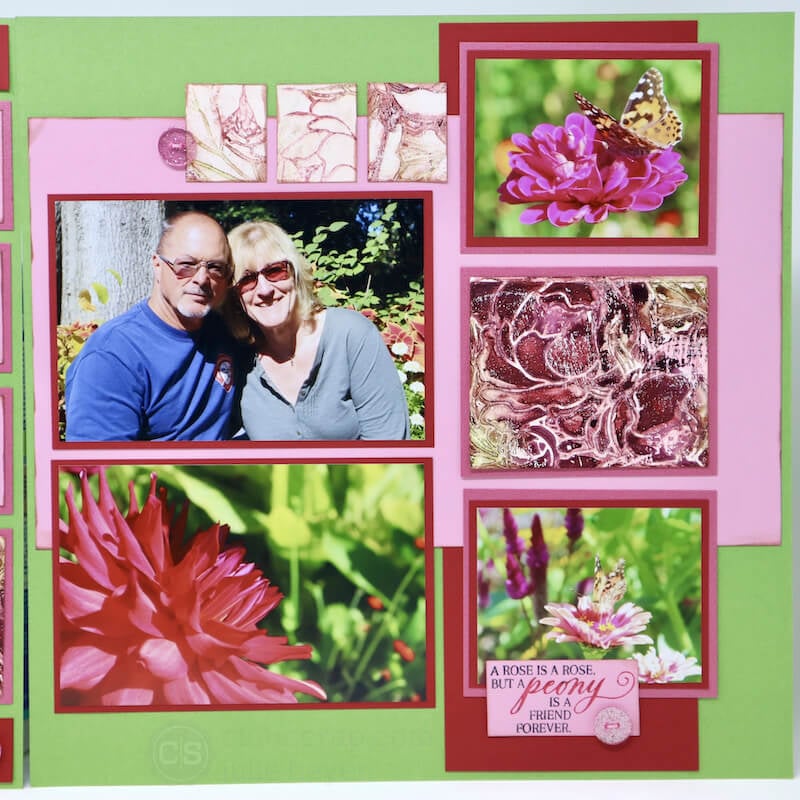
Gather two Peony Green, one Lt. Pink, one Sparkle Pink, and a red plain from your stash along with the stencil gel prints.
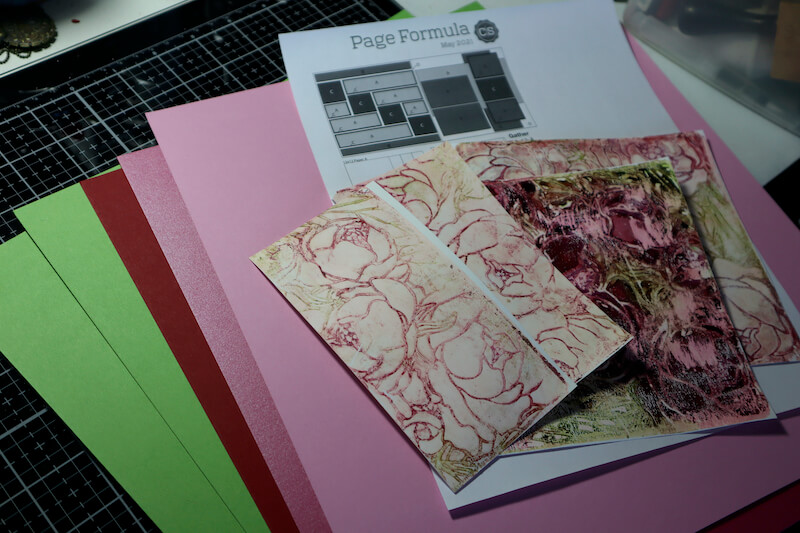
Follow the detailed instructions in the May 2021 Bonus Page Formula to trim the papers. Assemble the pages according to the sketch.
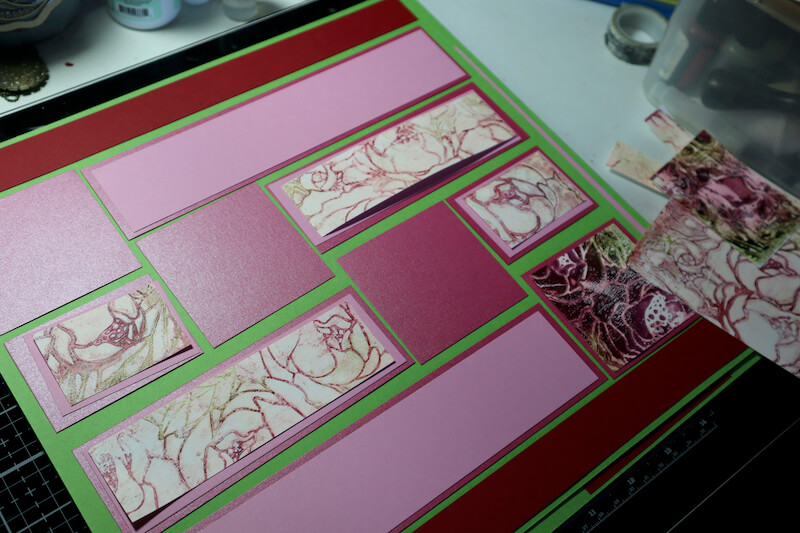
Trim the gel prints to fit into the mats on the layouts. Cut three additional 1.25x1.5" prints to add interest to the right page of the layout.
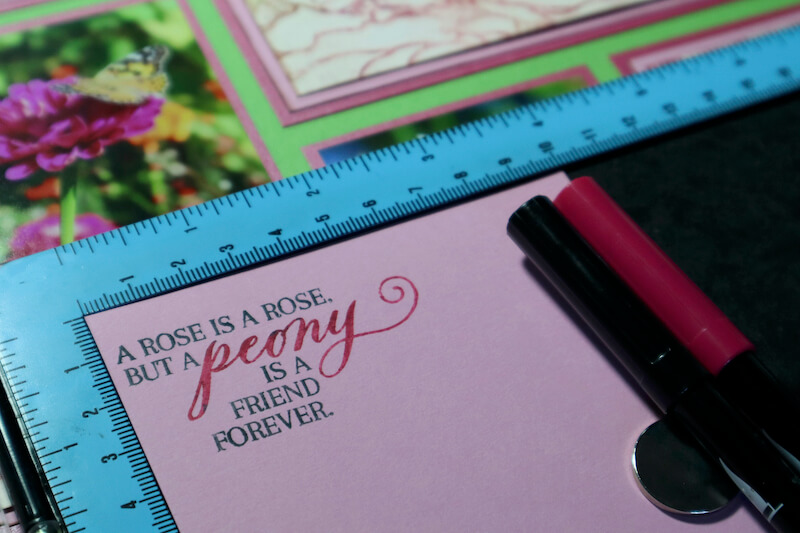
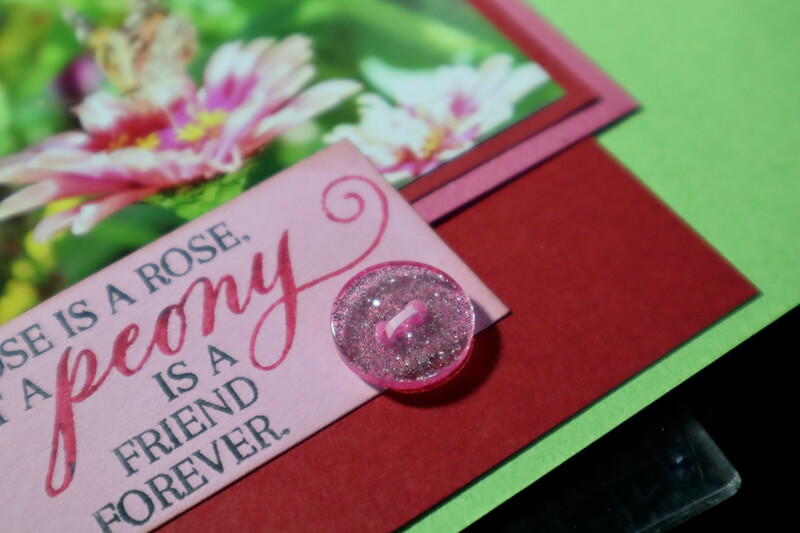
Add a sentiment onto the cover of a stamping platform. Apply ink from a brush tip marker onto a select area of the stamp to highlight a single word, in this case, peony. Stamp the image and repeat if more ink coverage is needed.
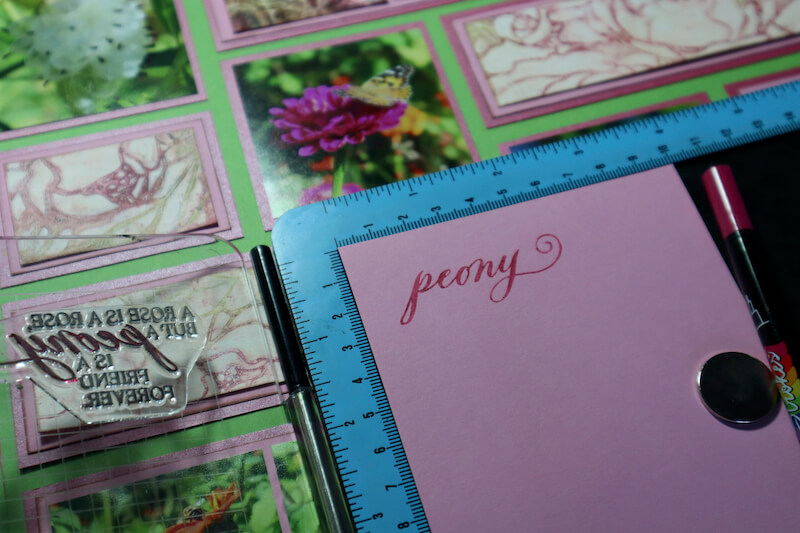
Repeat this process with a black marker added to the remaining text on the stamp. Add the sentiment to the bottom of the right page.
Cut a tiny sliver of Lt. Pink paper with the 12-inch Paper Trimmer. Insert the paper into the openings of a glitter button to mimic the look of ribbons.
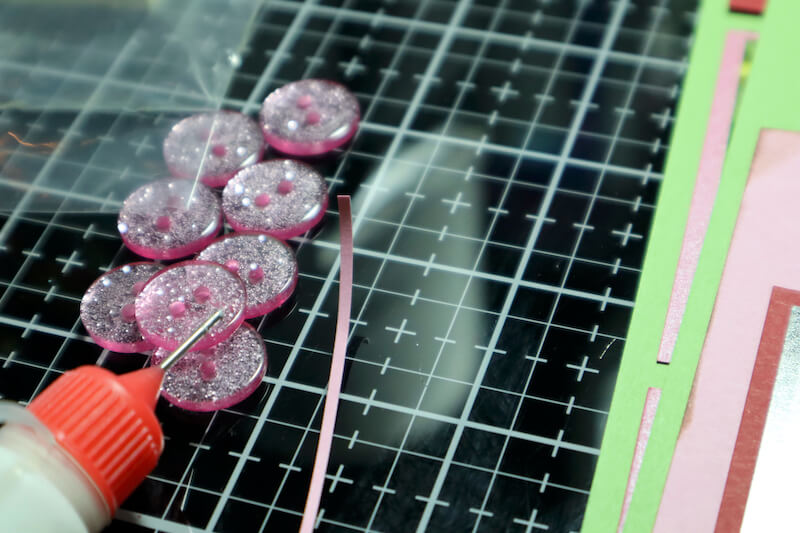
Adhere the buttons to both sides of the layout with Bookbinding Glue dispensed from a Needle-tipped Applicator.
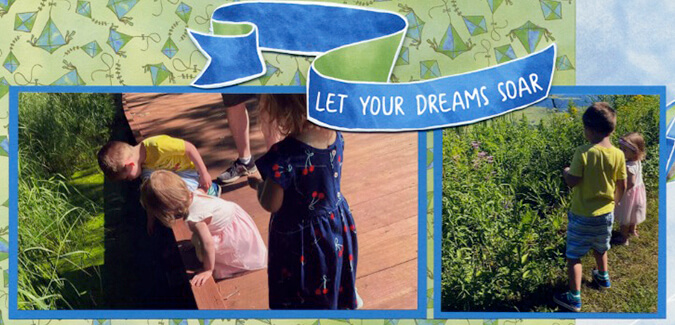
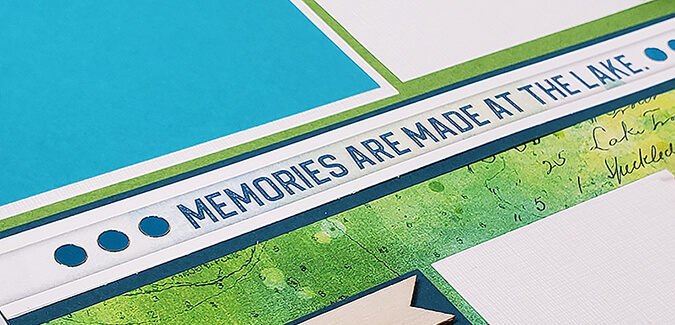
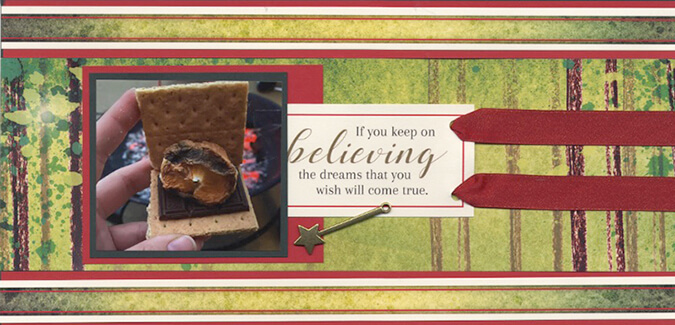
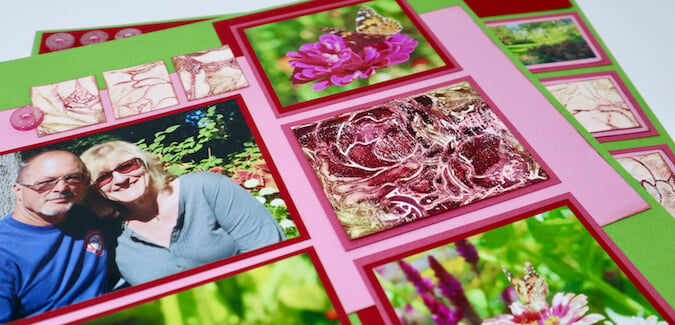
Let's take a closer look at the finished pages.
I just love how the prints complimented the photos I chose to highlight on the pages. I hope you will give these techniques a try and share them with us on the Club Scrap Facebook Chat Group. Happy Gel Printing!