
The Fly a Kite Page Kit was released May 2020. The original page assembly instructions create eight pages, ready for photos. Tricia recently refreshed the page assembly instructions for a workshop for One of a Kind virtual events. The updated version still makes eight pages, but the cutting instructions and page assembly are completely different from the original. I'm calling it "Fly a Kite 2.0".
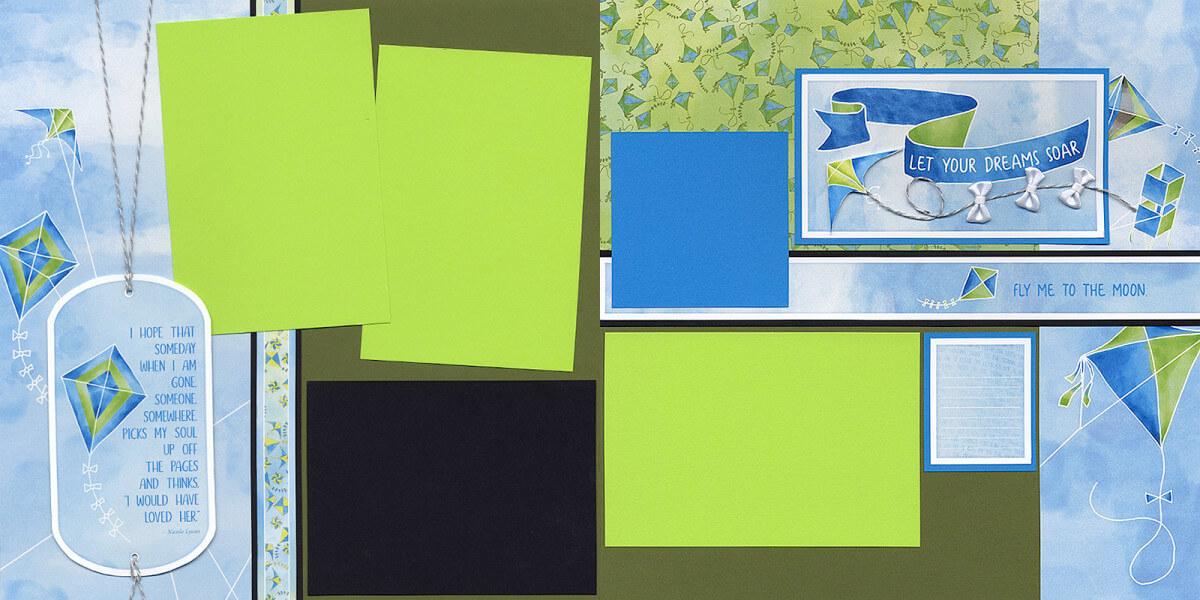
Fly a Kite Page Kit (OOAK workshop version)
Here at the warehouse, we refer to collections like this one as "photo eaters". The blue and green color scheme goes with everything - sky, grass, trees, water, blue jeans - it all coordinates beautifully. To demonstrate the versatility of this collection, I'll show the suggested layout assembly, Tricia's finished pages, as well as my finished layouts.
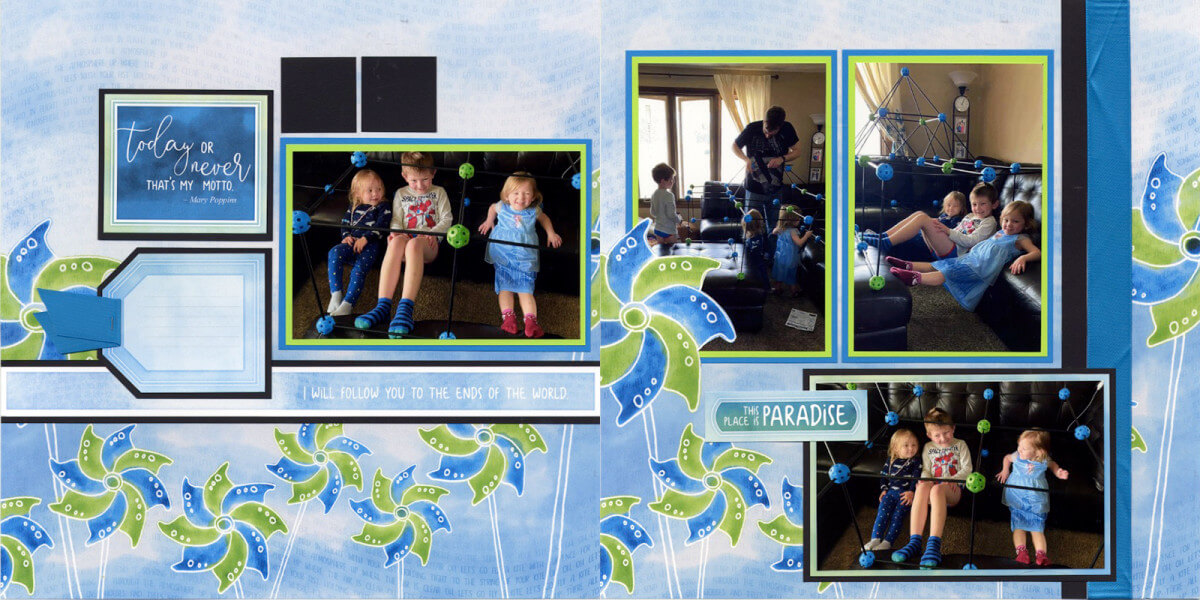
Layout 1 & 2
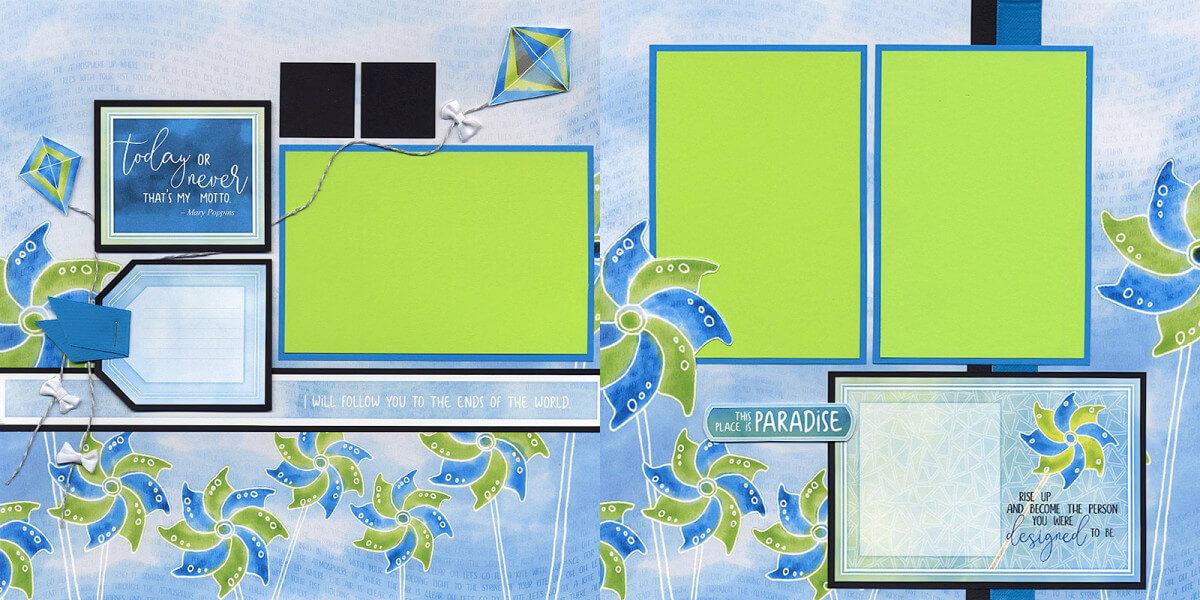
Tricia
Note how Tricia cropped a horizontal photo to fit the two small black squares. She also tucked an additional landscape photo into the open space on the bottom of the left page.
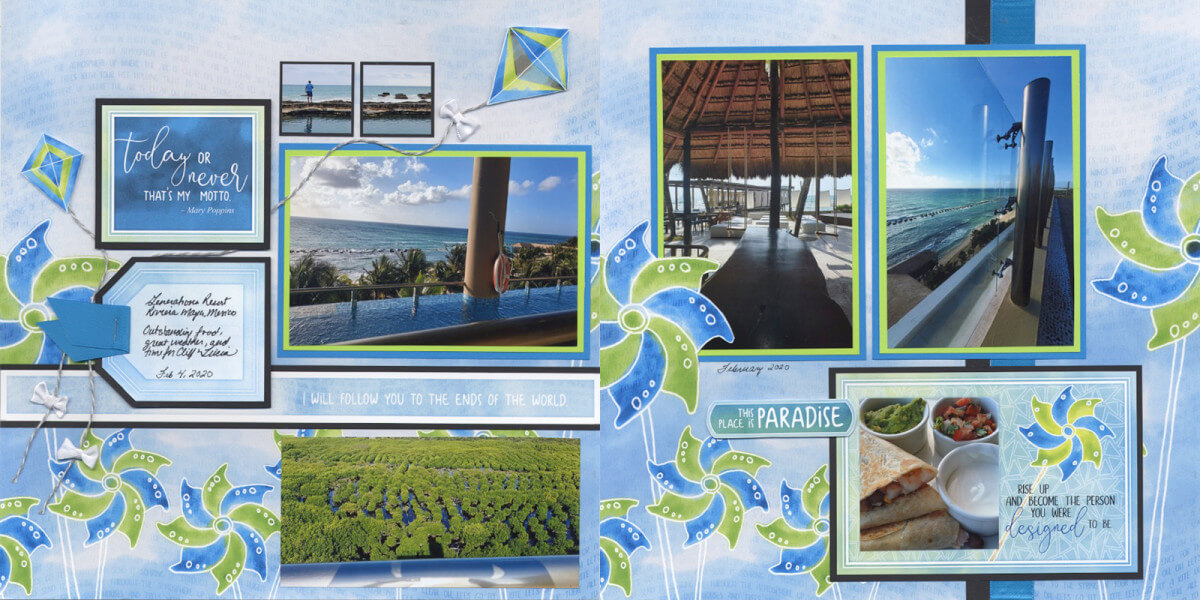
Karen
When I saw these photos of Oliver, Luna and Thea and their oversized "Tinker Toy" set, I knew they'd be perfect on these pages. The black rods and blue and green whiffle balls are an EXACT color match to these papers! (I left the journaling blank for their momma to fill in later.)
Layout 3 & 4
Tricia
Tricia was able to sneak in two extra unmatted photos in the open spaces on the right page.

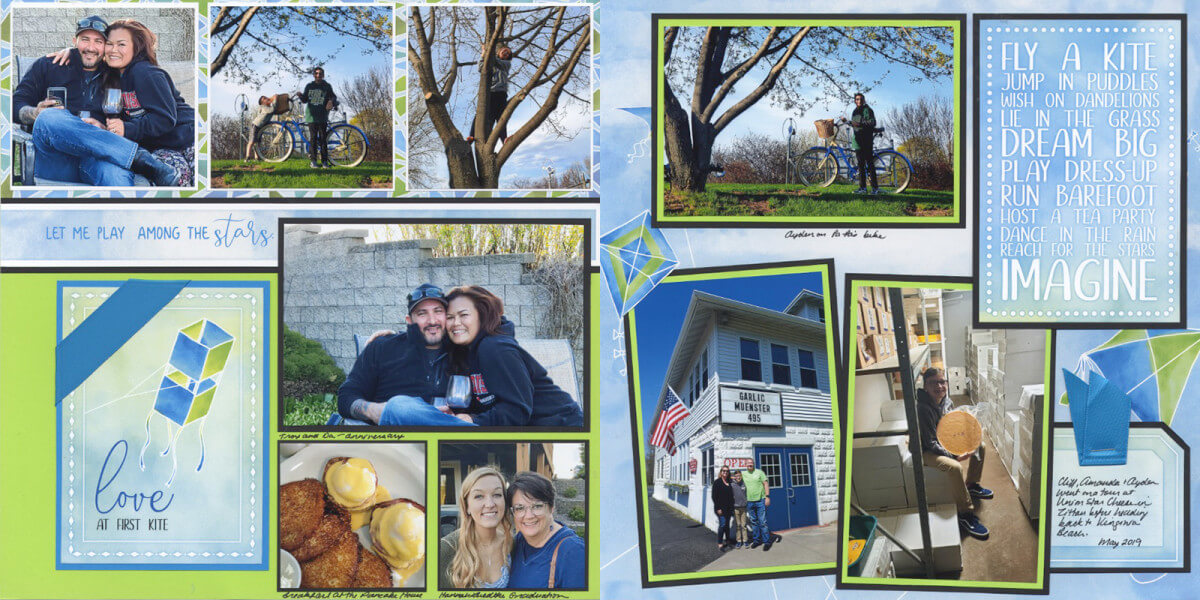
Karen
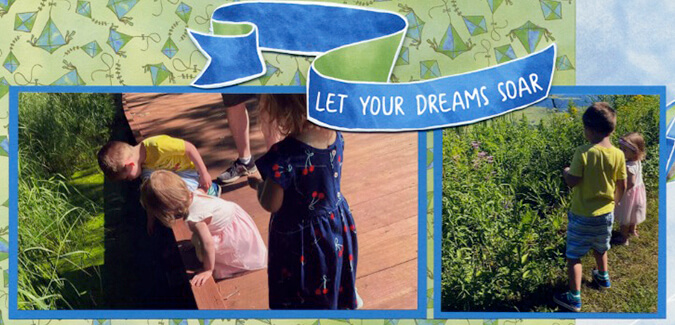
Since the cutapart sentiment tag on the left didn't really "go" with my photos, I made a journaling box from the Fly a Kite pack of panels and plain white. I used a grid ruler and pencil to lightly draw journaling guidelines. A quick trim with a kraft knife allowed me to tuck the journaling box behind the kite image to preserve the artwork.
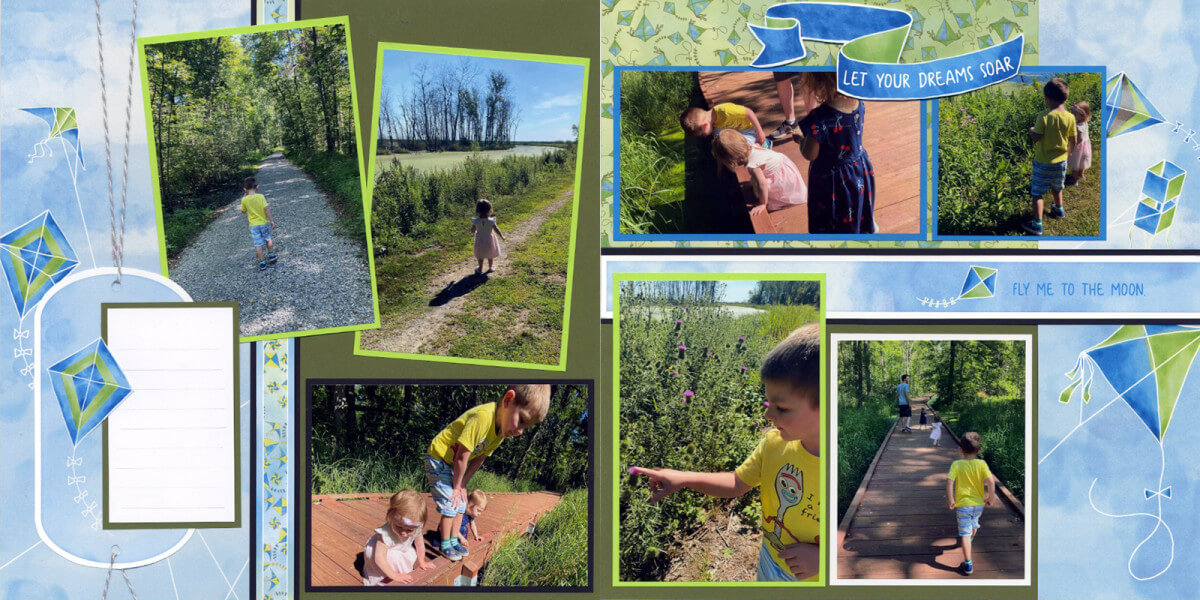
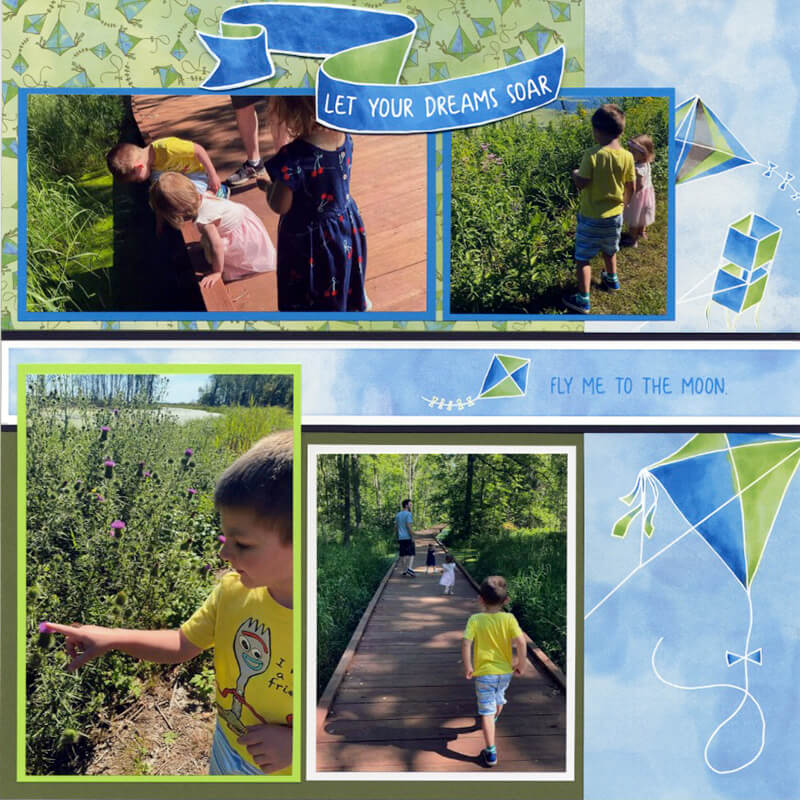
I removed the "soar" cutapart and used the blue mat for a photo instead. I cut the banner artwork from the cutapart and added it to the page using foam adhesive. The light green mat was rotated to a vertical orientation to accommodate an additional photo with a plain white mat.
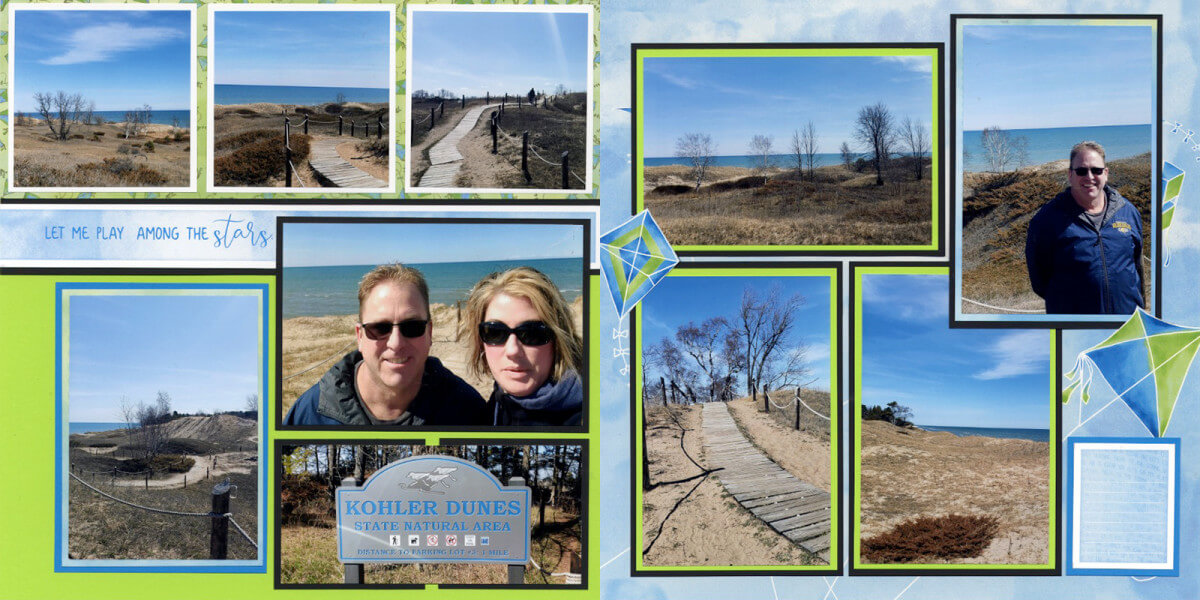
Layout 5 & 6
Tricia
Two of the small cutapart squares are topped with cropped photos. You can also see how Tricia created a "picture in picture" effect by layering a smaller matted photo onto the existing pic on the left page. A tall, narrow photo was added to the lower right corner of the layout.
Karen
Rather than trim the cutapart sentiment into a tag shape on the left page, I used it to mat an extra photo. The blue mat on the right page was rotated vertically.
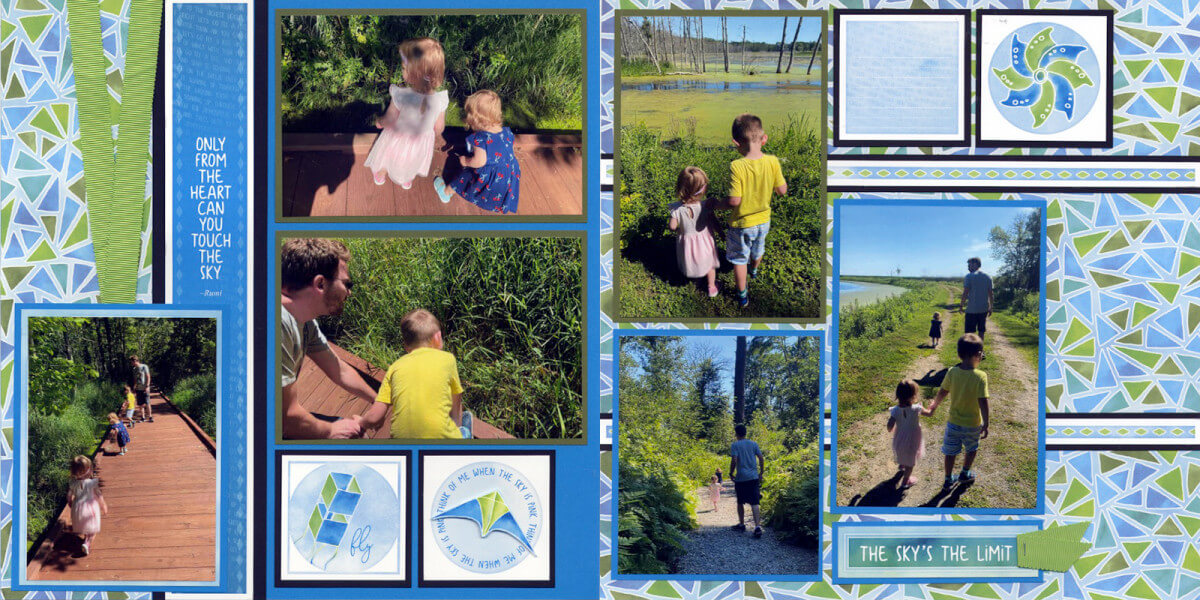
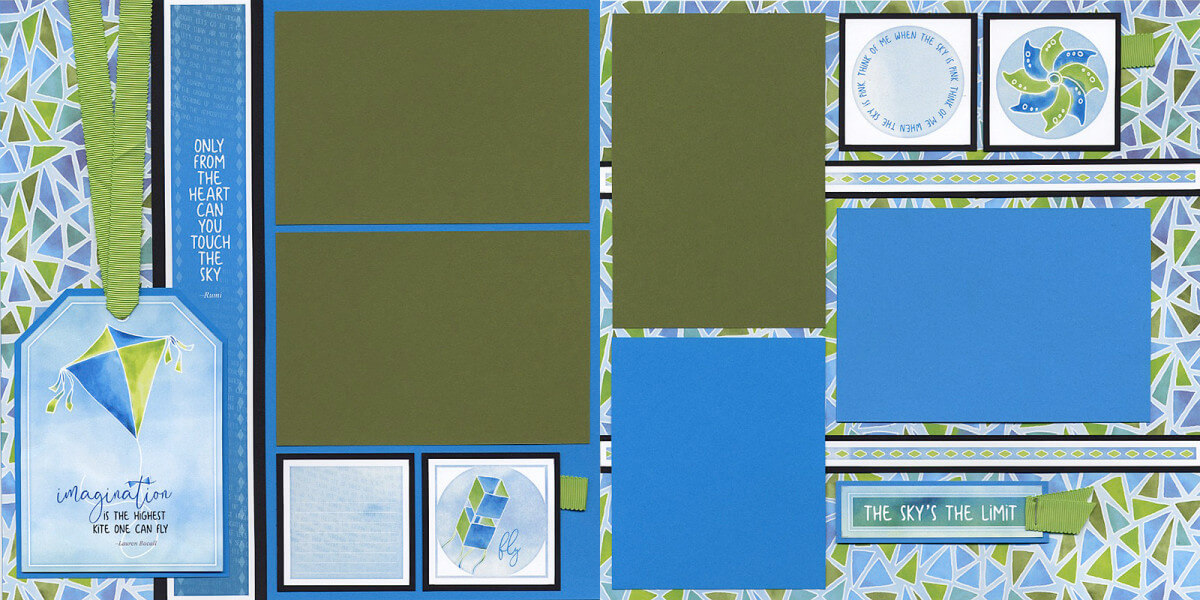
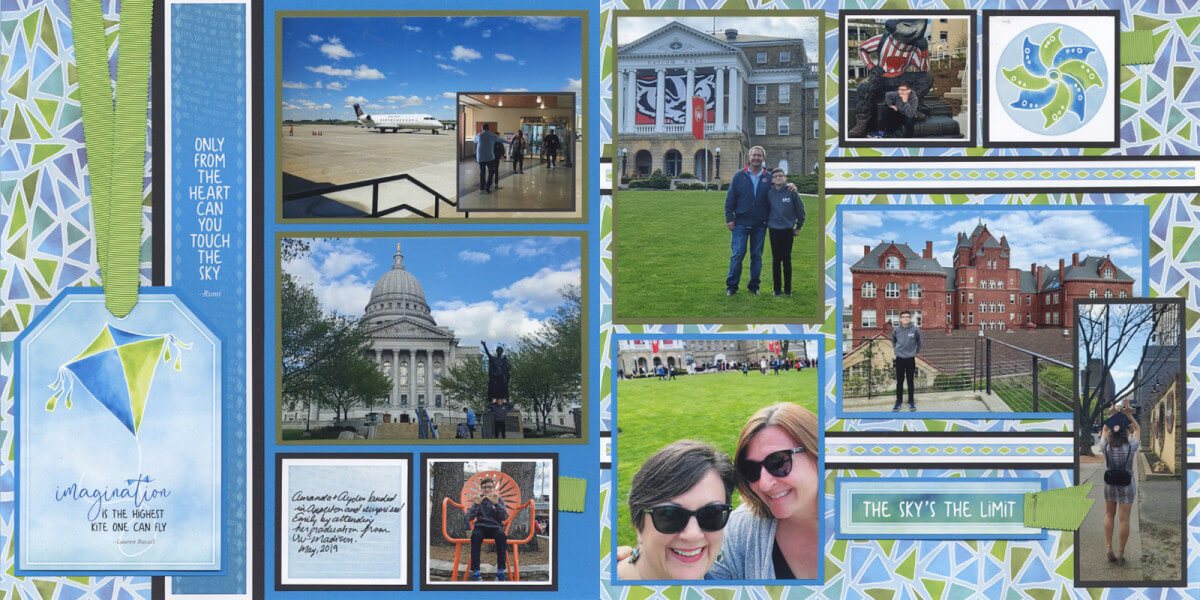
Layout 7 & 8
Tricia
This two-page spread was perfect "as is" for Tricia's memories.
Karen
I covered the cutapart sentiments on both the left and right pages with vertical photos. I also trimmed a horizontal photo to span across both smaller black mats on the bottom of the left page. These small changes allowed me to fit ten pics on a single spread, without it feeling "crowded".
Are you inspired yet? Whether you scrap the Fly A Kite page kit using the original instructions or the updated OOAK workshop, you can clearly see this kit is about as easy to scrap as they come!