The limitless options provided by the duplex papers in the Paradise collection make this set a joy to work with. We adore all of the colors in the kit, so we're not "taking sides!"
Let's take a closer look at the layouts that can be made with the Deluxe collection.
Paradise Deluxe Kit
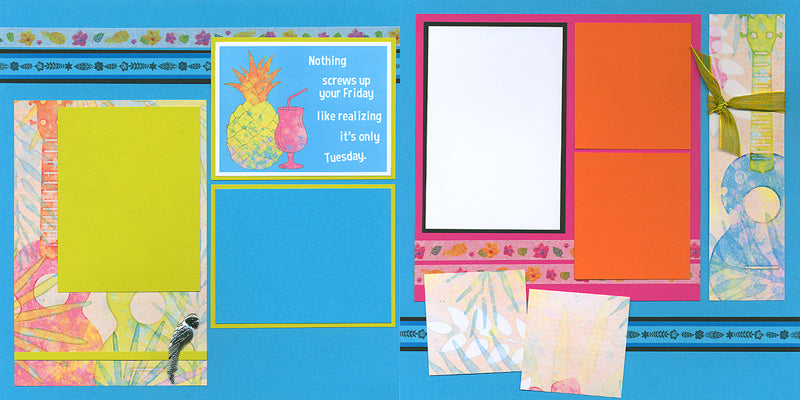
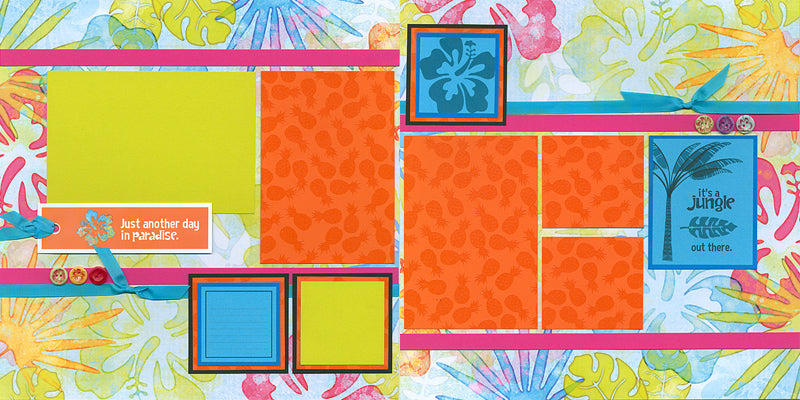
LAYOUTS 1 & 2
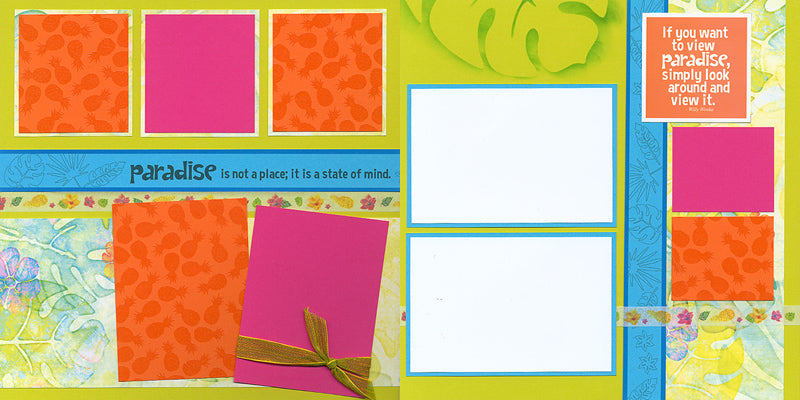
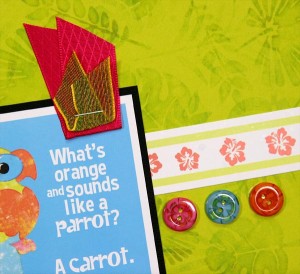
The 8.5x11 Orange Print is a sweet tone-on-tone raised print of little pineapples. I used the entire print on this layout and alternated with the Pink side.
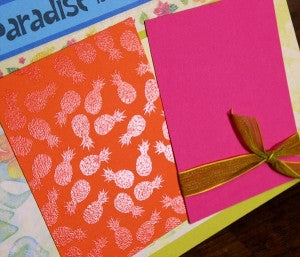
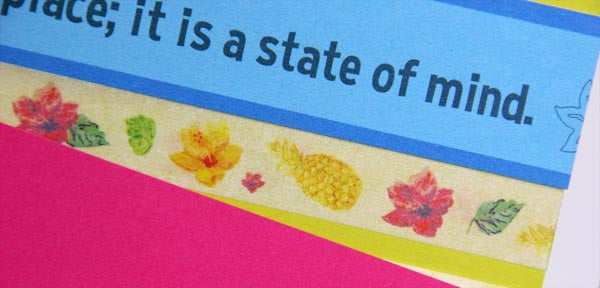
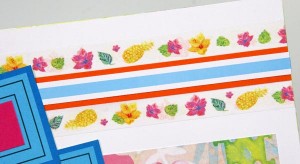
We included a roll of the most adorable Washi Tape. Could it be any more perfect?
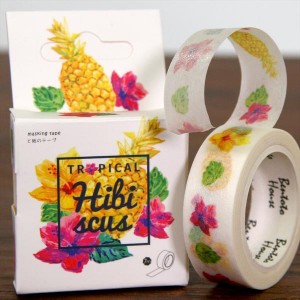
Stretch it above or below the cutapart anchoring strips to add contrast.
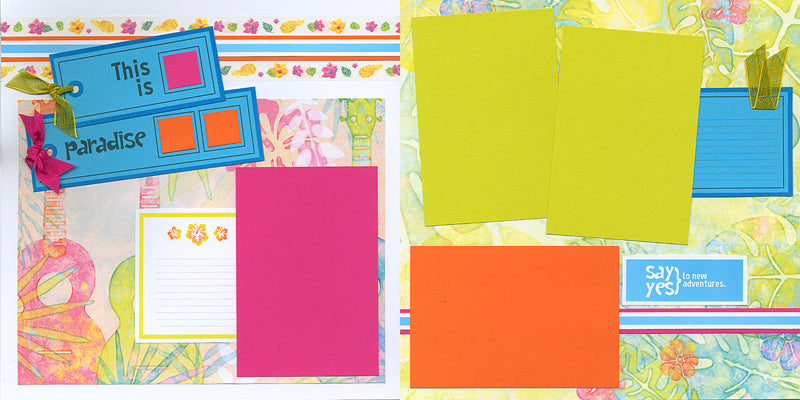
LAYOUTS 3 & 4
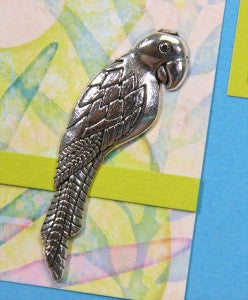
The gorgeous silver parrot charm perches on a narrow strip of Lime paper. If you have a wire cutter handy, carefully snip off the loop at the top of the charm. Glue the charm to the layout with a Needle-tipped Applicator filled with Bookbinding Glue.
LAYOUTS 5 & 6
Adorn the Pink (or Orange) anchoring strips with two sets of three accent buttons and adhere with Bookbinding Glue.
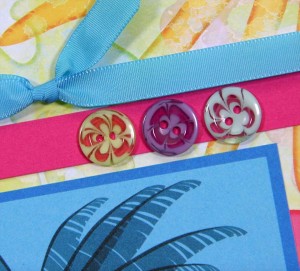
The buttons come in a variety of colors, so just mix them up.
LAYOUTS 7 & 8
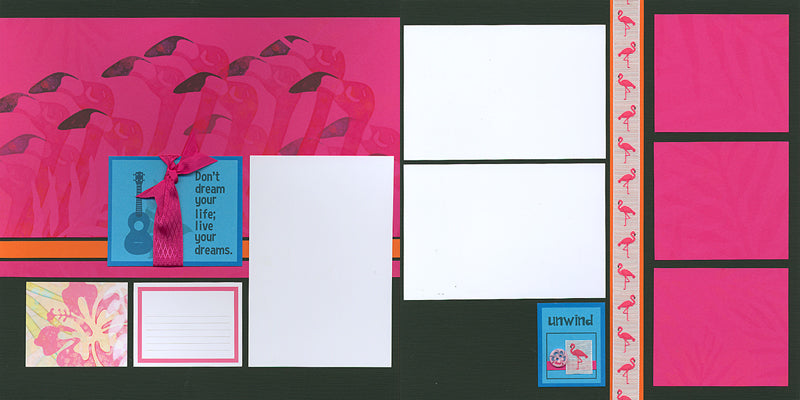
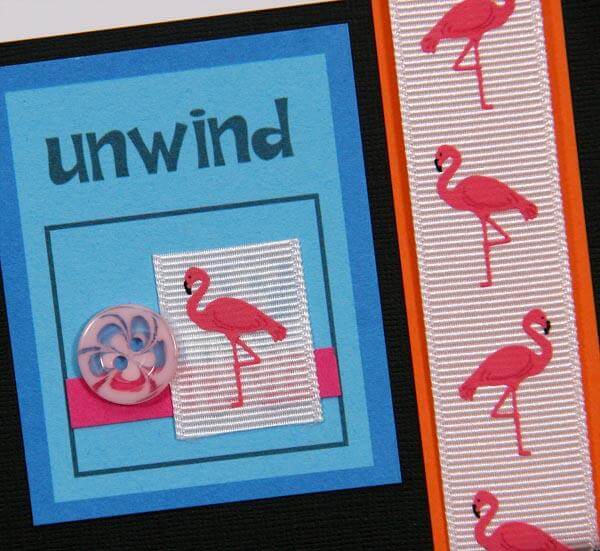
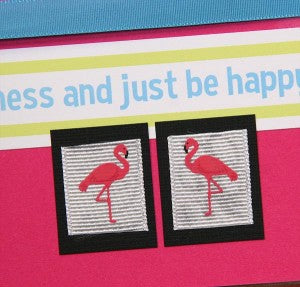
We "got a leg up" on kit planning by purchasing this flamingo printed grosgrain ribbon. I mean, where else can you use flamingo printed grosgrain ribbon? This was our chance! Use it in a strip, or cut individual flamingos from the ribbon for a cute embellishment.

LAYOUTS 9 & 10
Here's that washi tape in use again. It really jazzes up the nested border strip on the 12x12 White paper.
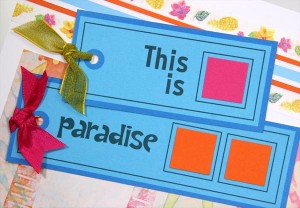
Use a 1/4" hole punch to add holes to the Blue cutapart tags and tie with green and pink ribbon.
LAYOUTS 11 & 12

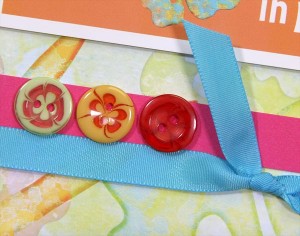
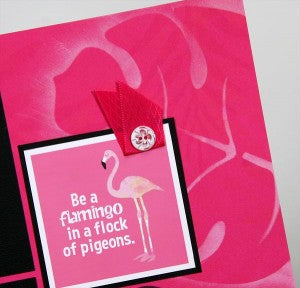
Staple two pieces of ribbon in contrasting colors to the top of the printed cutapart and balance by adding three buttons beneath the anchoring strip.
LAYOUTS 13 & 14
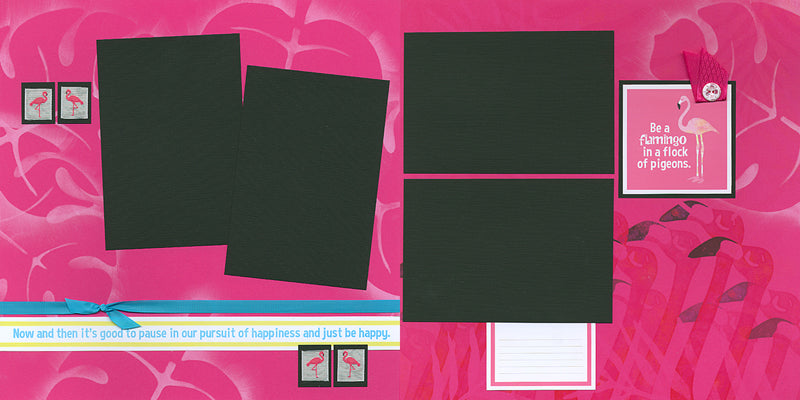
The 12x12 Pink paper on the left side of the layout is a plain sheet altered with the Palm Leaf Masking Stencil and White Pigment Ink. Stencil one more palm leaf to the upper right corner of the layout.
Aww . . . two flamingos gazing at each other.
Paradise Greetings to Go
SET A
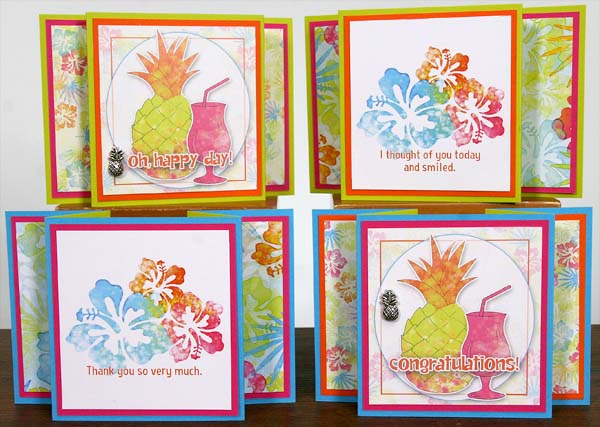
When scoring all of the Greetings to Go cards, you get to choose which color will face out. Have fun with that! Just remember, the "bump" of the score goes on the inside of the fold.
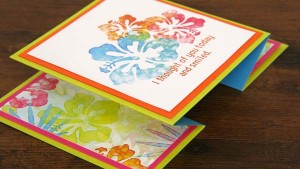
When scoring these fun stand-up cards, place the desired outside color facing up on a Score-Pal, and add the inner score lines at 3.75 and 7.75". Then flip the card to the other side and add the outer score lines at 2.25 and 9.25. That way, the bump of the score will be on the correct side of the mountain and valley folds.
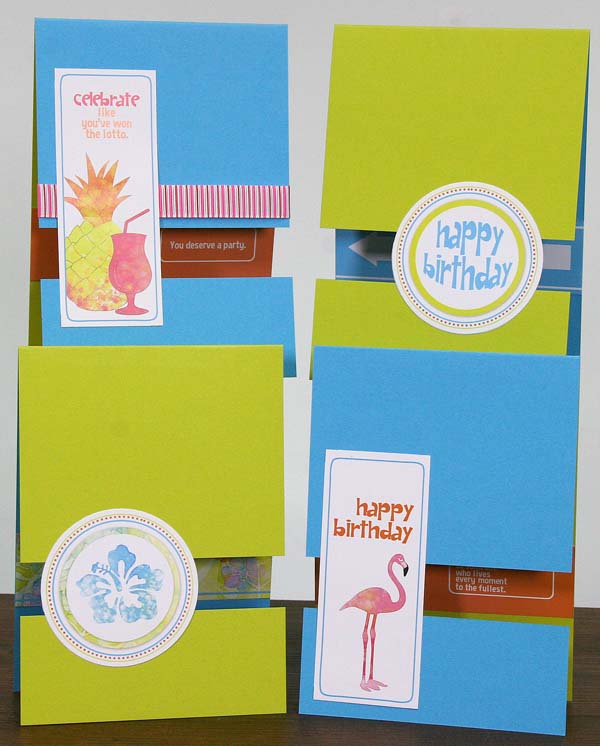
SET B

We found the funkiest pink mesh ribbon for the Greetings to Go kit. Simply wrap it vertically around the card panel and finish with a pair of cutaparts and a flamingo charm.

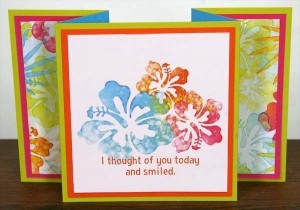
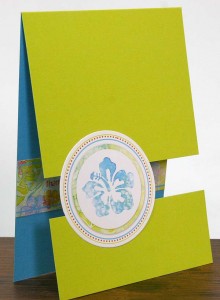
SET C
These simple, elegant "tent" cards have two outside panels hinged together by a simple printed cutapart. The "window" created by a 1" gap between the two front panels reveals a corresponding greeting on an inner cutapart.
We have a lot more Paradise to show you! Keep an eye on the blog all month for more inspiration with this collection.
Tricia