
The Pacific Northwest Cards feature three unique structures, as always. If you haven't mastered the angled tri-fold card, there's never been a better time!

The card kit contains a dozen sheets of 12x12 paper, two 12x12 cutaparts, coordinating ribbon, charms, tags, envelopes, instructions download and video tutorial. When's the last time you took a class and made a dozen cards for just $21.95?

Pacific Northwest
Let's take a closer look at the cards we'll make in each set.
Card Set A

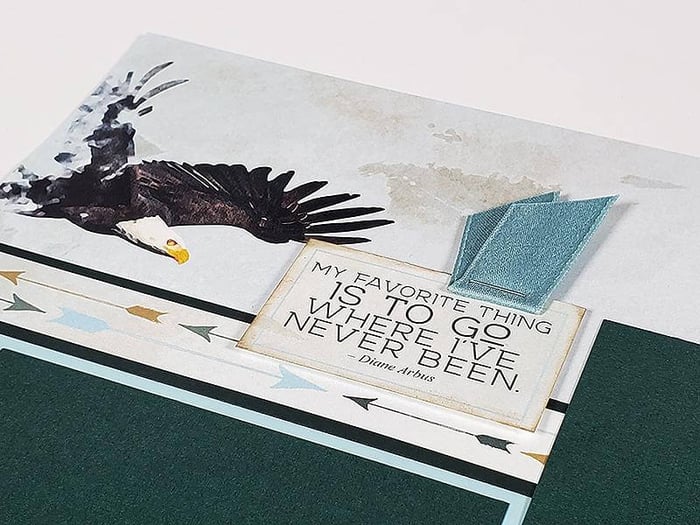
We'll get started with the angled tri-fold card. I'm a fan of the way this formula works. Starting with an 8x12" sheet, you'll use a craft knife, ruler, and cutting mat (or pencil and scissors) to cut at a strategic angle.

The resulting largest angled piece is folded to create the card, and the remaining smaller piece is trimmed to create three nesting panels. The trimming instructions in step one will allow you to replicate the cards on your own.

Finally, add washi tape to the edges of the nesting panels, and add fussy-cut images from the cutaparts to add dimension and interest to the card.

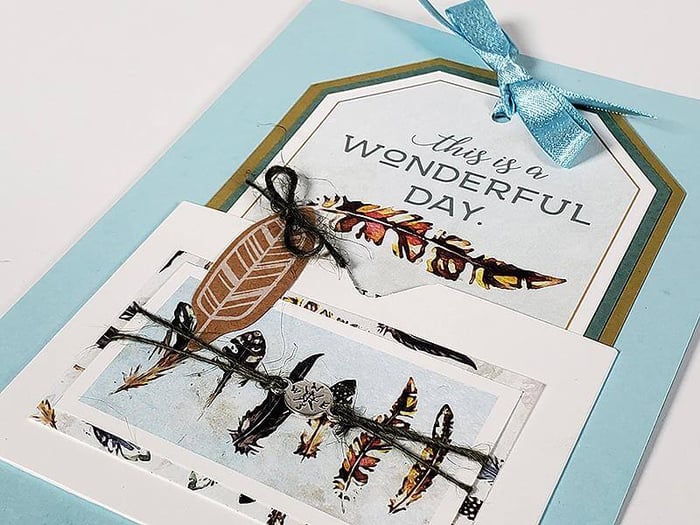
Card Set B
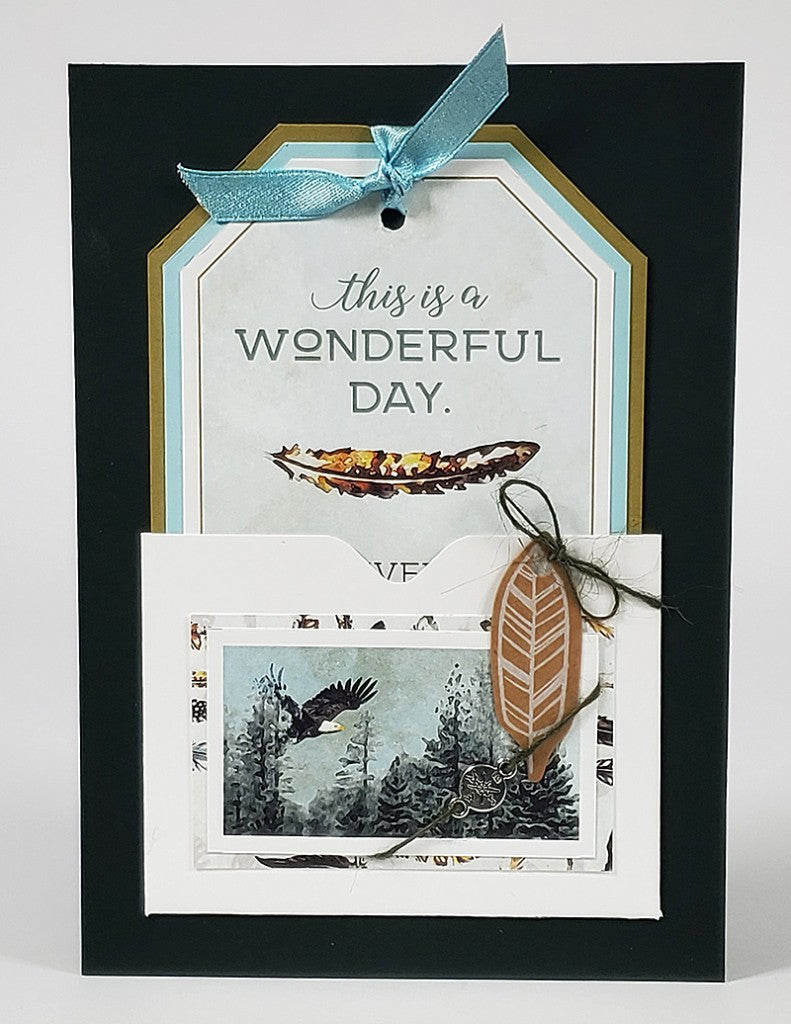
During the trimming process, you'll create four 4x6" pieces which are then scored, mitered and folded into handy pockets to hold a decorated tag. I love the mini compass charms and feather-shaped kraft tags used on this set!

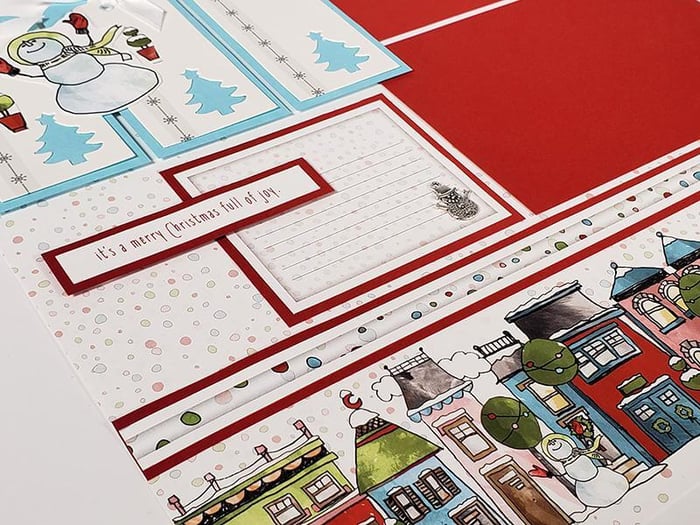
Card Set C

Finally, the third set of cards are 3.5x8.5" in size (the popular "new" slimline style.) No dies or fancy equipment required for these . . . simply trim, score and fold the card base. Adhere the card panels and nesting squares, add ribbon, and finish with the printed cutapart squares.

If you've never tried our card kits or efficient methods before, this is a beautiful month to give it a try! We'll walk you through the process step by step. Be sure to share your card making trifecta of success on our chat group so we can celebrate your accomplishments!
Tricia