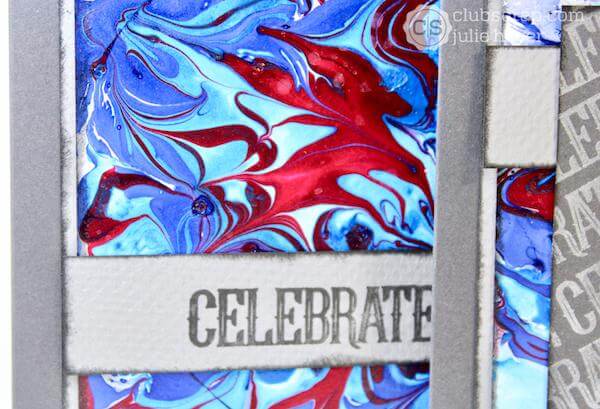
Create amazingly bold and vibrant backgrounds with this nail polish marbling technique.
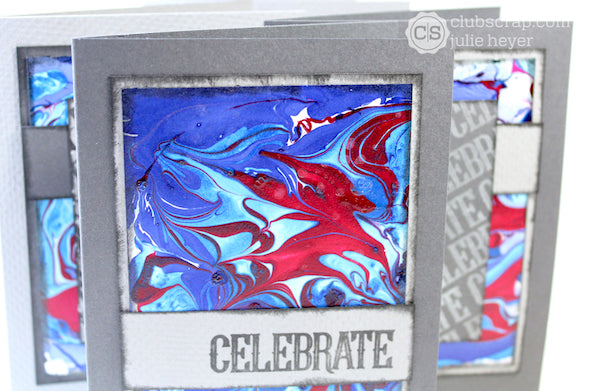
I found this fun idea in my SplitCoastStampers newsletter and couldn't wait to give it a try. I was so blown away by the dramatic results of each pull.
Marbling with Nail Polish
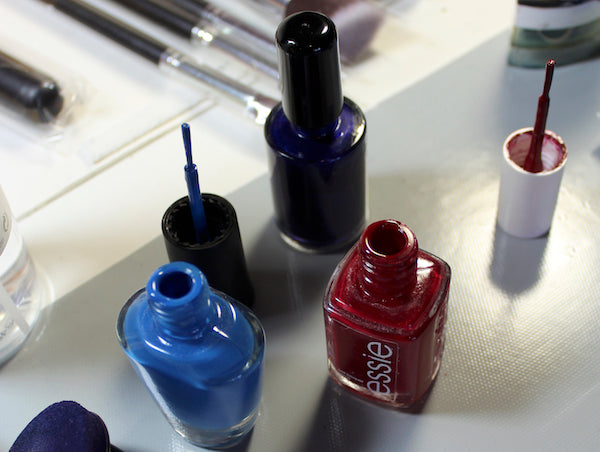
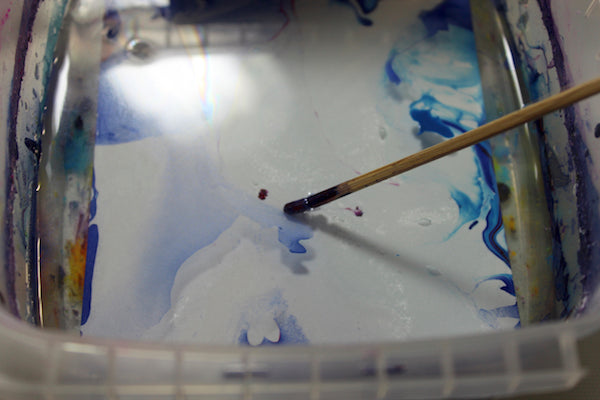
Fill a plastic container with water. Drizzle three coordinating colors of nail polish over the surface of the water.
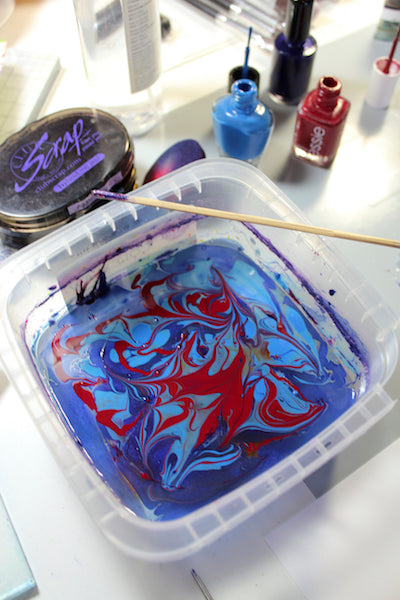
Drag a wooden skewer through the colors to create a marbled effect.
Lay a 3.5x4.5" piece of Mixed Media paper onto the surface of the water.
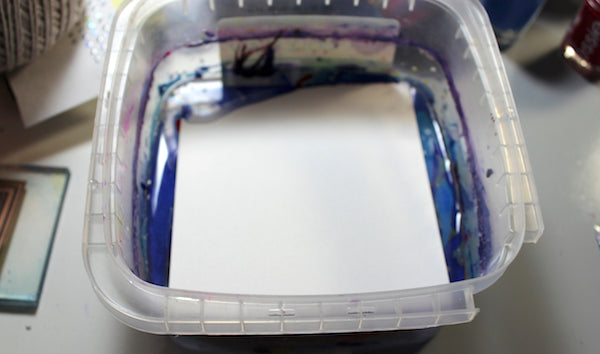
Submerge the paper under the water with the wooden skewer.
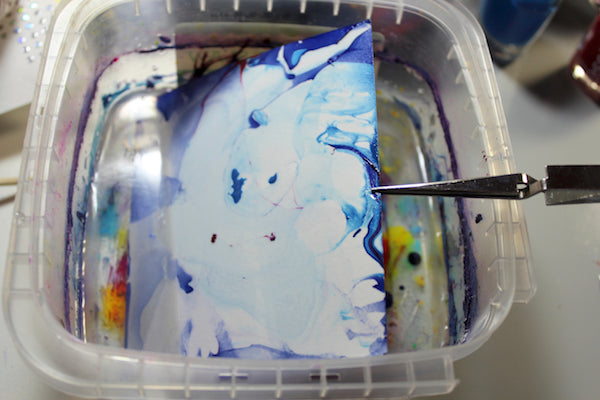
Carefully remove the paper from the water with tweezers.
Set the paper aside to dry or gently dry with a heat tool.
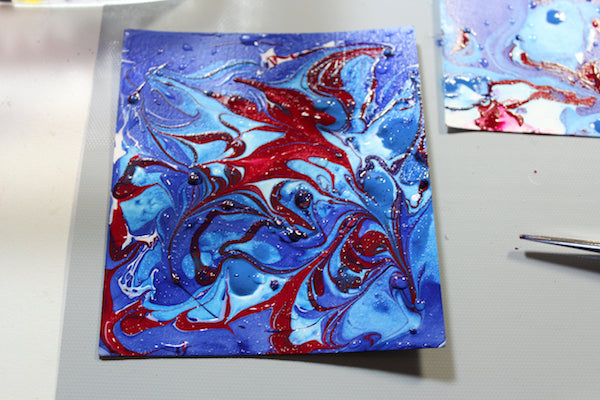
Keep playing! Time will stand still.

These beautiful pieces of art can be added to cards created with the Idea Deck Vol. 5, Eight of Diamonds cutting formula.
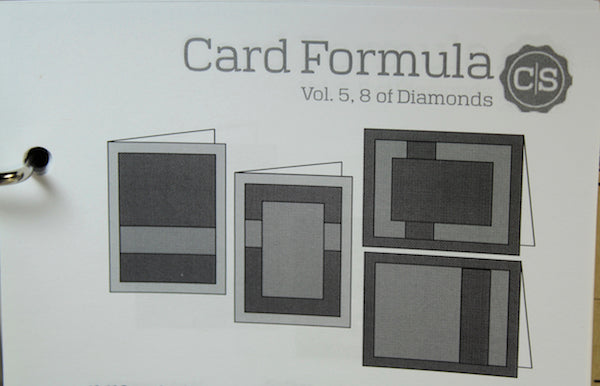
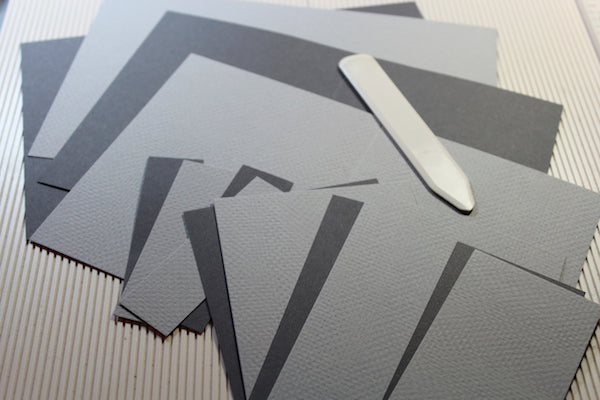
Trim the Firecracker 12x12" Dk. and Lt. Gray papers according to the instructions.
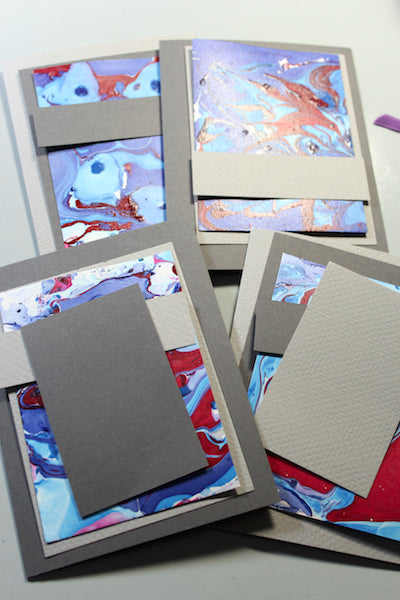
Nest the marbled panels onto the gray panels.
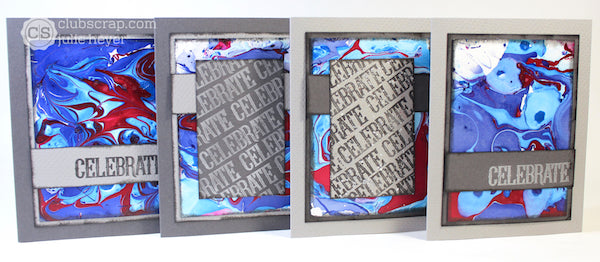
Check out the completed cards! I added the sentiment from the Firecracker Stamps.

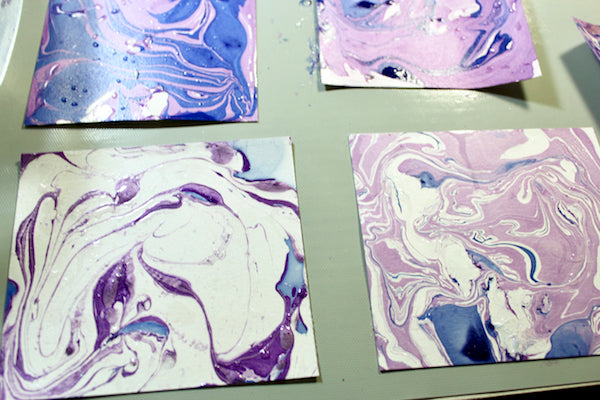
I also made some panels with the Lavender Fields color palette.
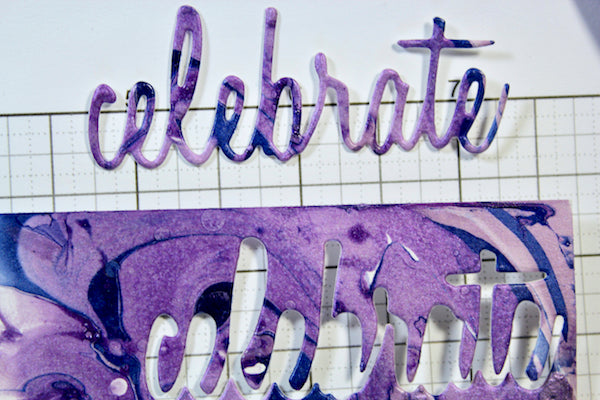
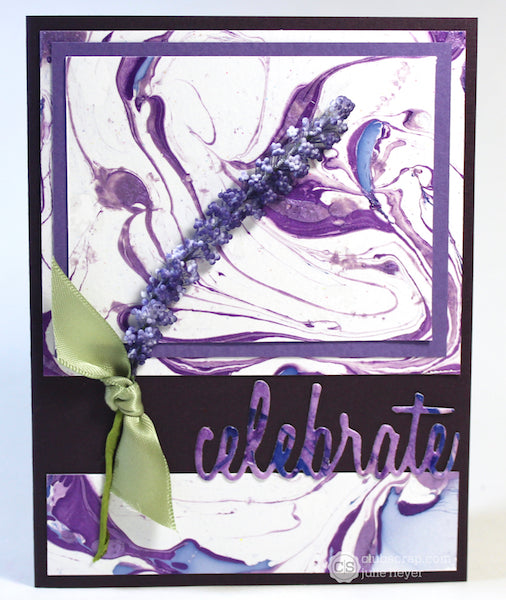
Diecut a sentiment (Sizzix Script Thinlit) from one of the panels and add to a card along with a second trimmed panel.
Embellish with a Lavender Fields flower sprig and ribbon.
Visit these blog posts for more marbling techniques!
Shaving cream marbling with stencils
Now, it's your turn. Create a marbled background with any of these techniques and add them to pages, cards or projects. Simply link up your artwork by June 30, 2018, for a chance to win a Club Scrap gift certificate.
 Julie
Julie
