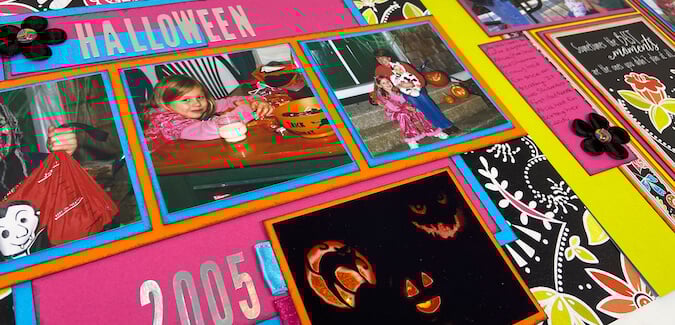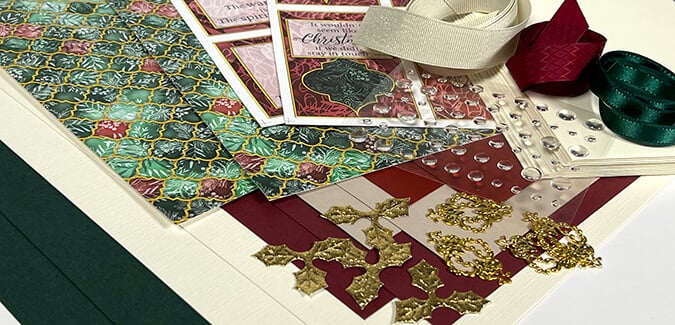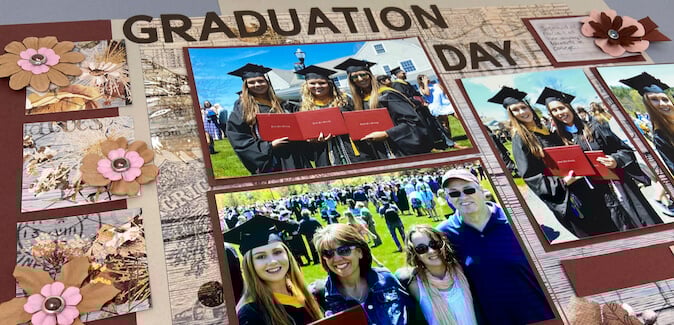

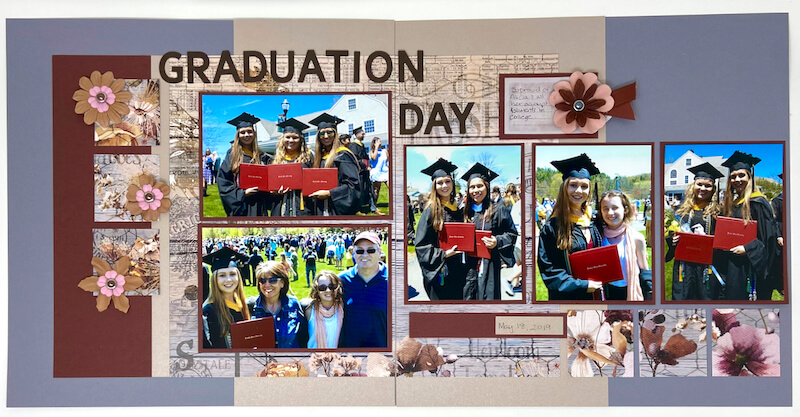
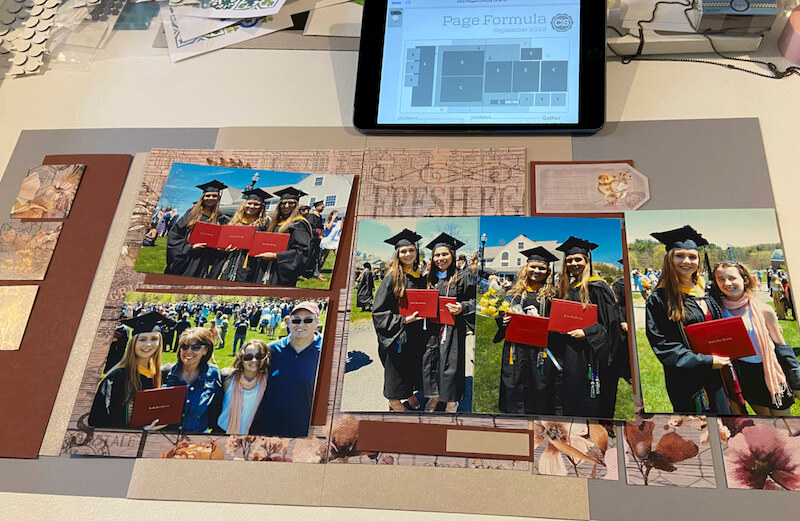
Create more Roost layouts with this month's bonus page formula and the September collection's papers, ribbons and cutaparts. I chose to work with photos from my daughter's college graduation. The hues worked beautifully with this month's color palette.
Members: Have you downloaded your Roost Bonus Page Formula yet? If you're not using this super stash-busting membership benefit, I encourage you to start now!
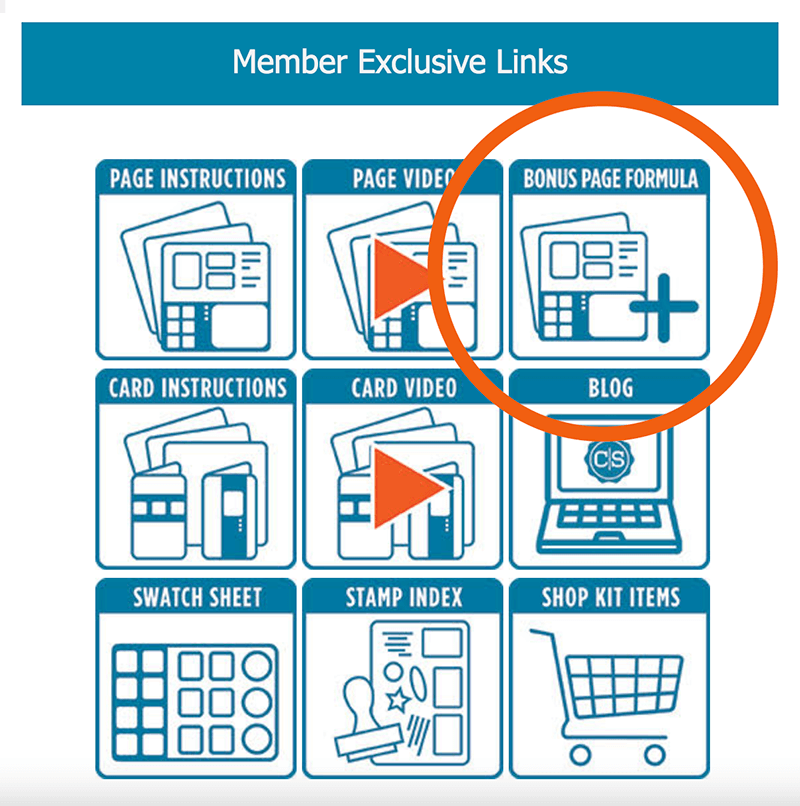
Not sure where to find it? Check your inbox for your member-exclusive email with important links to the bonus formula, instructions, video tutorials and more. It is sent to active members* on shipping day and looks like this:
*An active member is defined as one who paid for and received the current monthly kit.
Not a club member? No worries. Visit the online store to browse our entire selection of downloadable Page Formulas. (Card makers, we've got a large selection of Card Formulas, too!)
Roost Bonus Formula Sketch

The Roost Bonus Formula creates a two-page spread from just five sheets of paper. Creating a layout is simple when you follow the steps below:
- Gather five coordinating papers (a mix of prints and plains).
- Follow the cutting diagrams and instructions on the printable document.
- Dry fit the trimmed pieces onto the base papers, using the sketch as your guide.
- Once you are satisfied with the arrangement, assemble the layout using your favorite adhesive.
- Select photos and crop to fit the mats.
More Roost Layouts tips
Rotate the Weather Vane Print prior to trimming to ensure that the desired artwork is featured prominently in the finished layouts.

Gather photos that compliment the colors in the layout. Lay each photo over the corresponding photo mat and crop as needed.
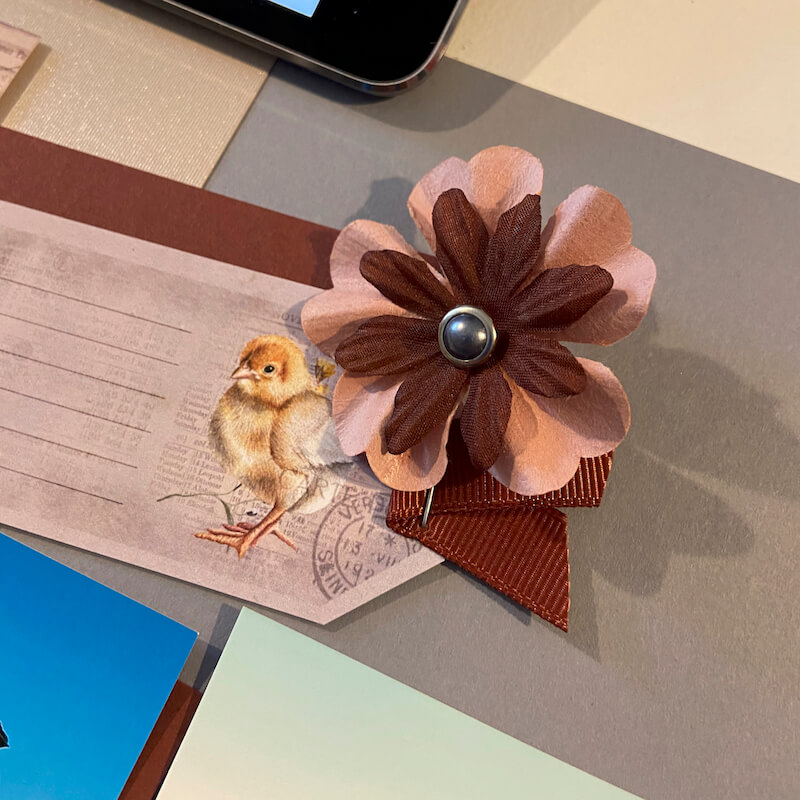
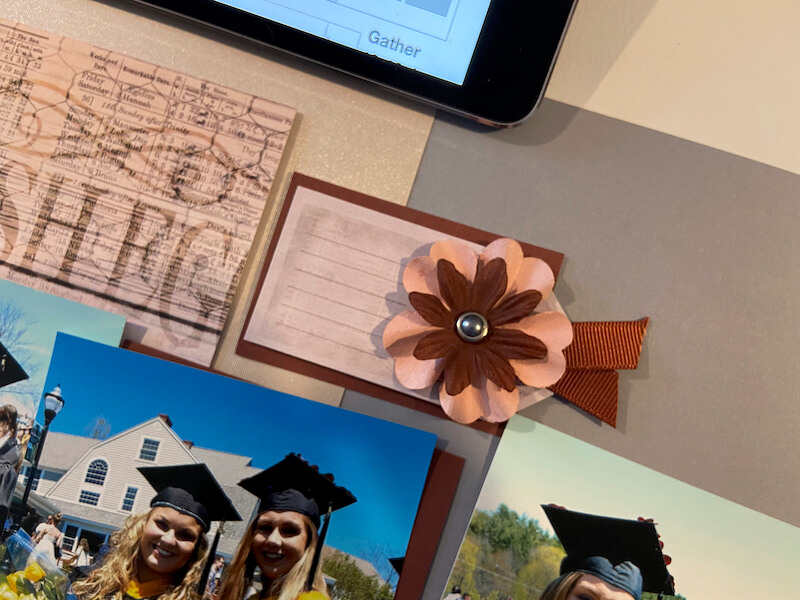
Is the artwork on a Cutapart not working in the design? Cover the chick with a paper flower cluster that coordinates with the colors or the collection. (Flowers from my stash.)
Use papers from the Pack of Panels to die cut letters to create a title for the pages.
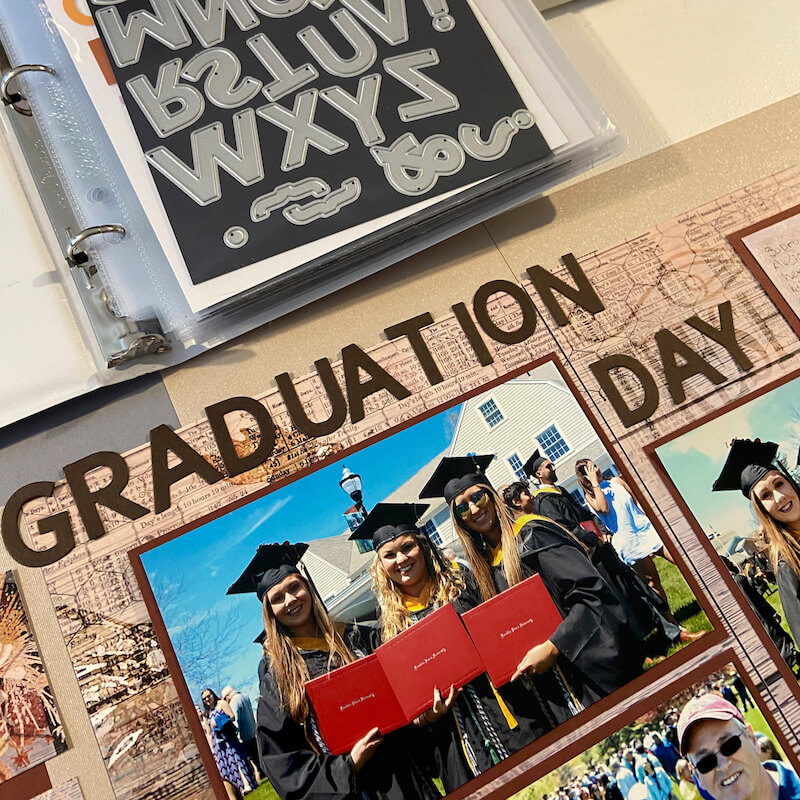
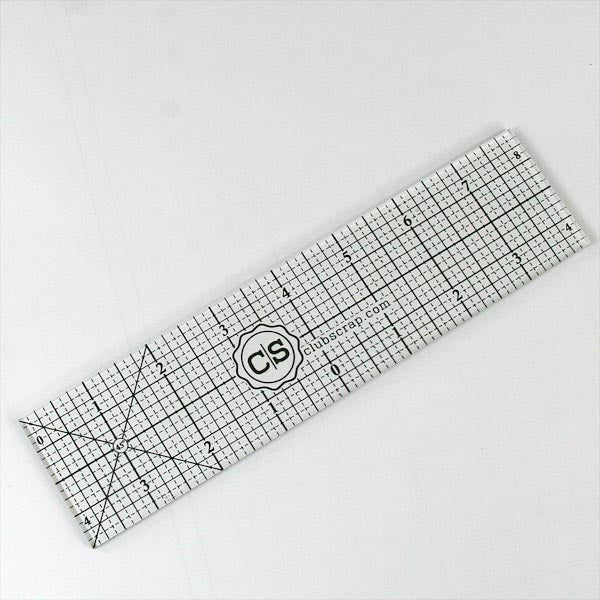
Align the letters with a grid ruler.
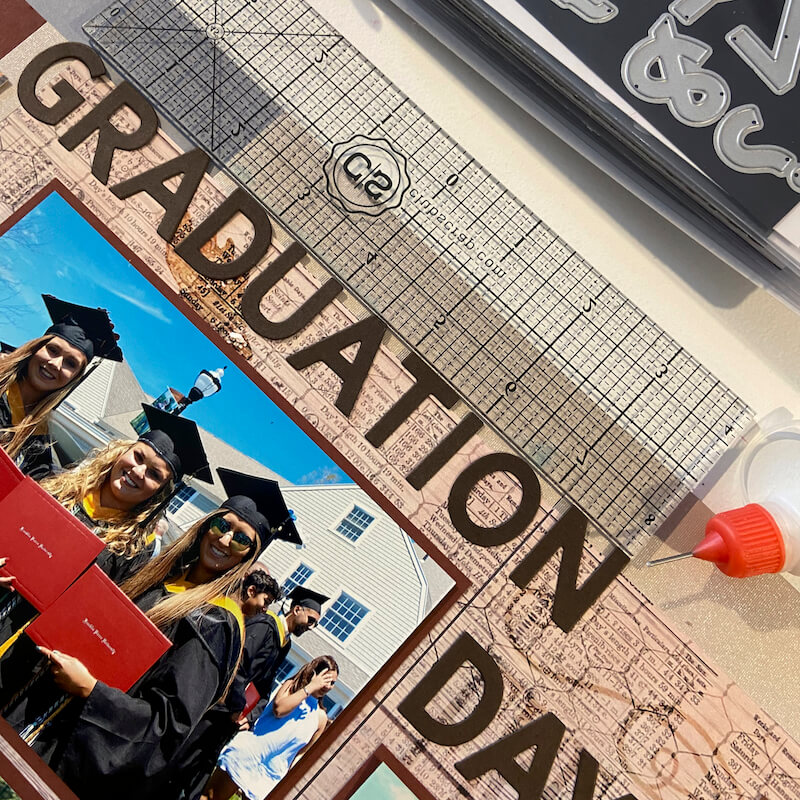
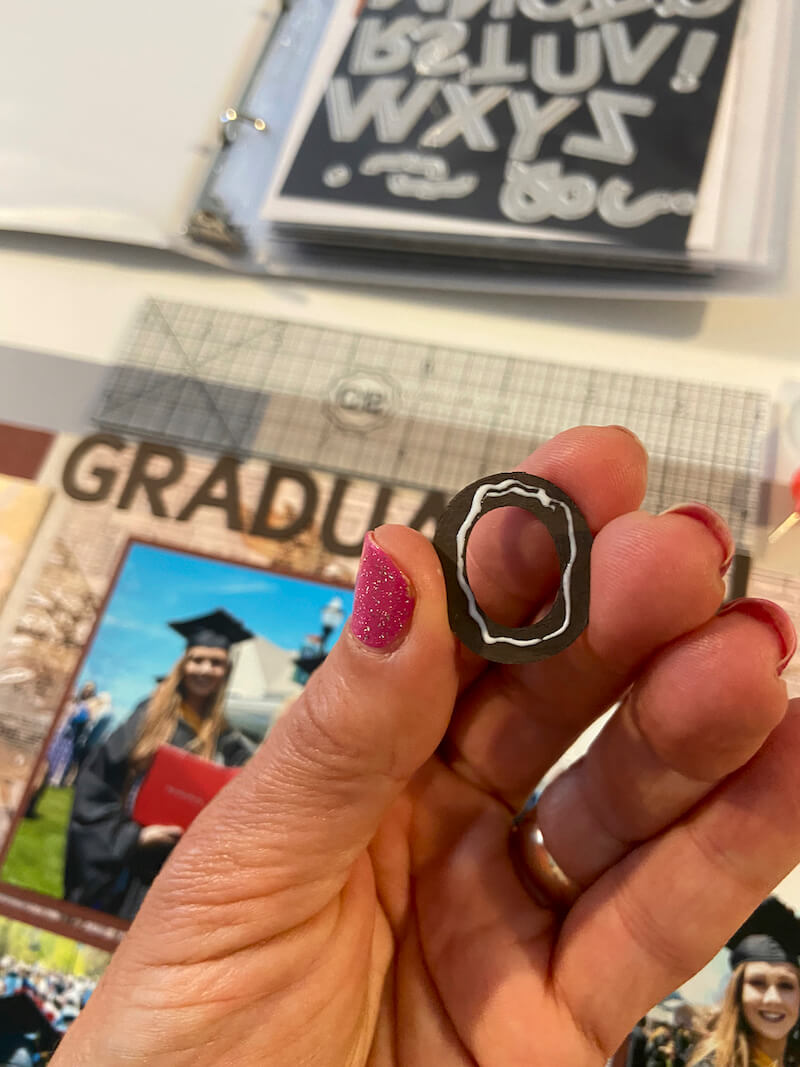
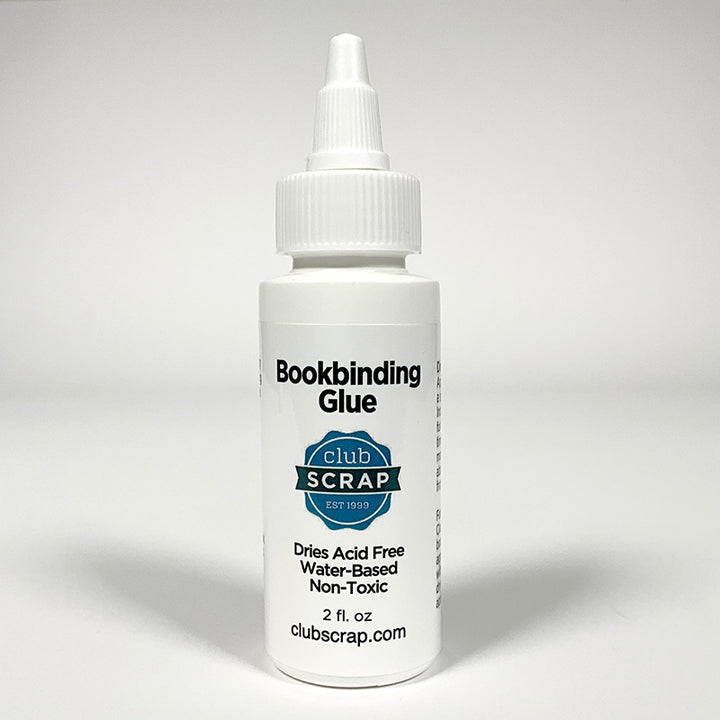
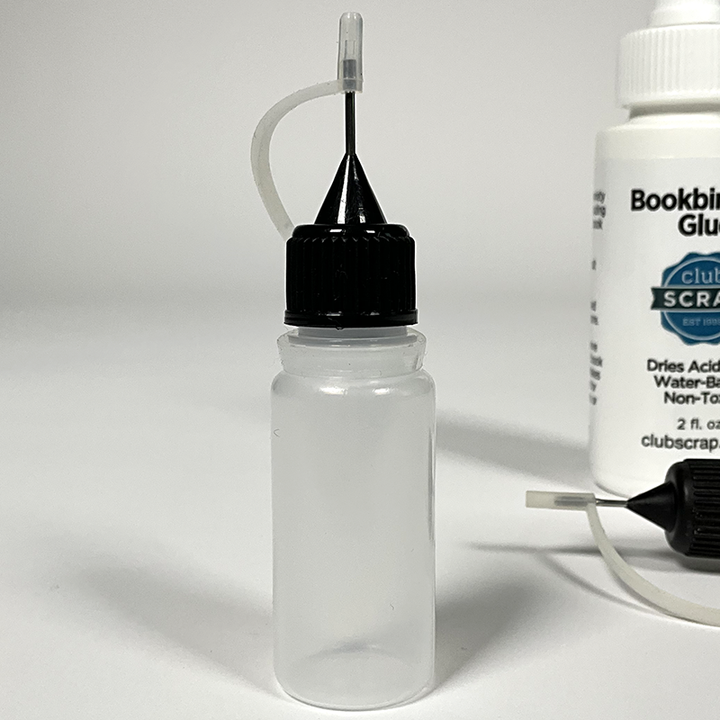
Add Bookbinding Glue in a Needle-tipped Applicator to the back of the letters and adhere to the pages.
Press all of the letters down at once with the help of the Grid Ruler to ensure proper adhesion.

Select brads from a past collection (Arts and Crafts August 2010) to pair with the flower embellishments. I loved how the gray/blue and mahogany tones matched the artwork perfectly! Adjust the position of the squares if needed.
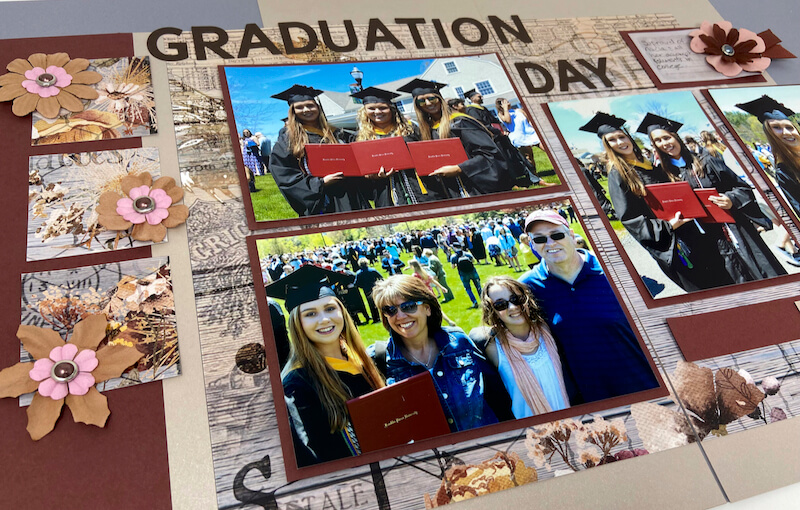
Use the tiny strip on the right side of the page to document the date.
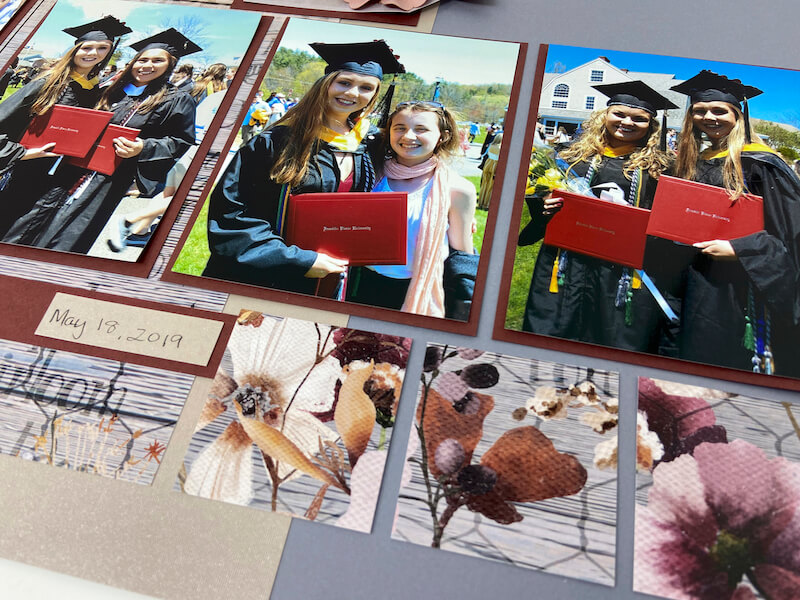
Let's take one more look at the finished pages.
Happy scrapbooking!
Bookbinding Glue 2 oz.
$6.55
Acid-free, quick drying, and easy to use for all of your bookbinding projects (and more). This is the one glue you MUST have in your stash! ***Please note: This product cannot freeze. We may not be able to ship this… Read More
Needle-tipped Applicator
$2.15
Fill with our Bookbinding Glue for easy application on die cuts and other small embellishments. Super-fine tip resists clogging and delivers just the right amount of glue. Plastic bottle and lid with metal tip. Holds 10ml. Refillable.… Read More
2x8 Acrylic Ruler
$11.05
You'll love our clear grid ruler with easy to read grid marks, and big numbers. We've designed it just for paper crafters, in a handy, slightly smaller size. At 2x8, it's highly portable for on the go paper crafting. Be… Read More