
Create a Whimsy Halloween layout with the help of the November Bonus Page Formula.
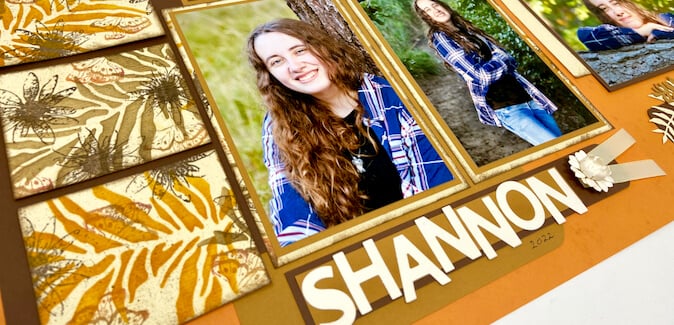
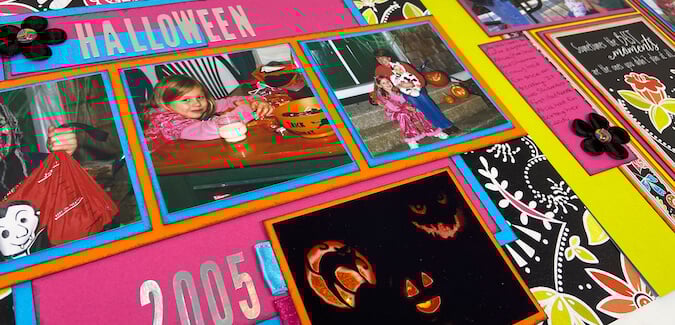
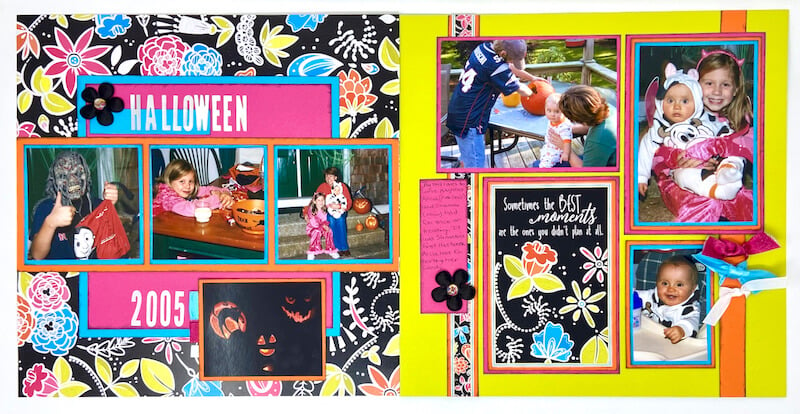
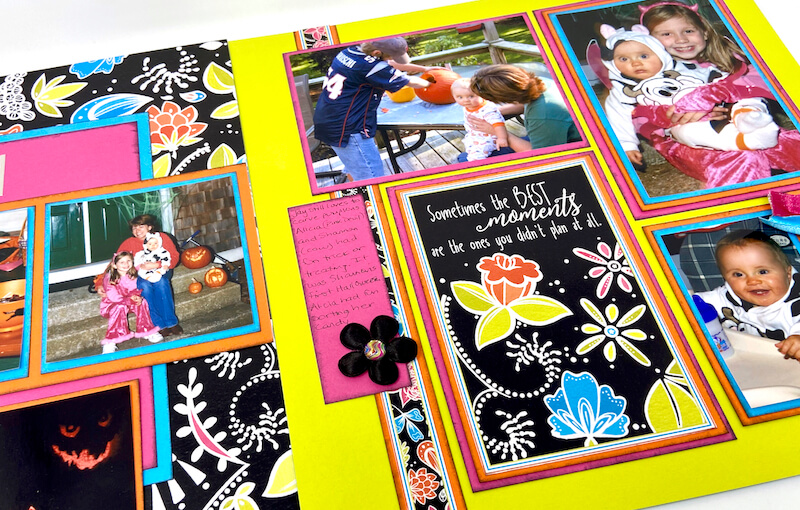
When browsing through my photos yet-to-be-scrapbooked, I discovered a set from 2005. It was from my daughter Shannon's first Halloween and the colors were the perfect match for the Whimsy collection!
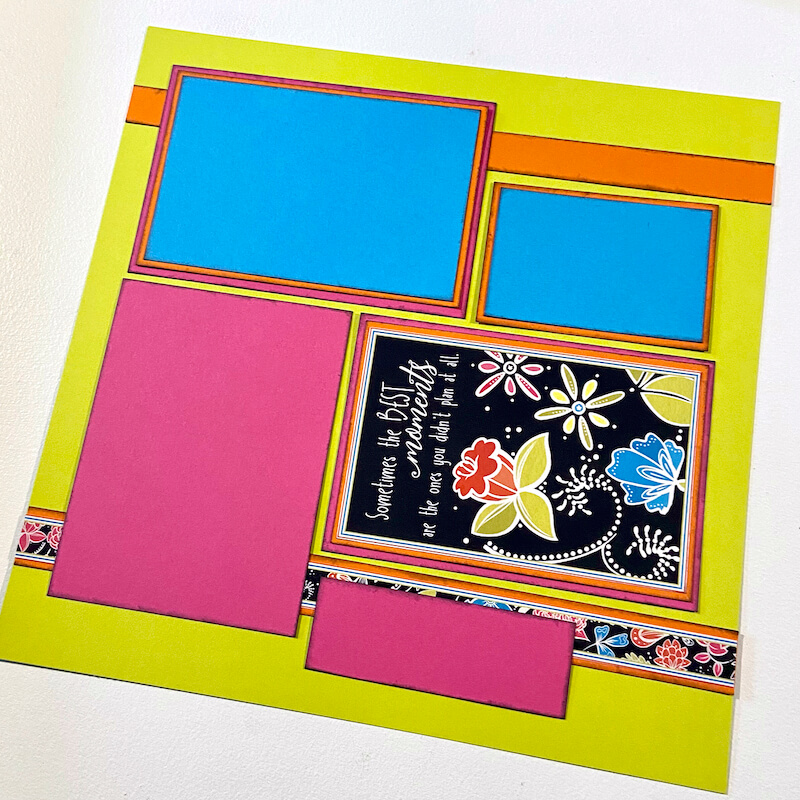
Whimsy Halloween Layout
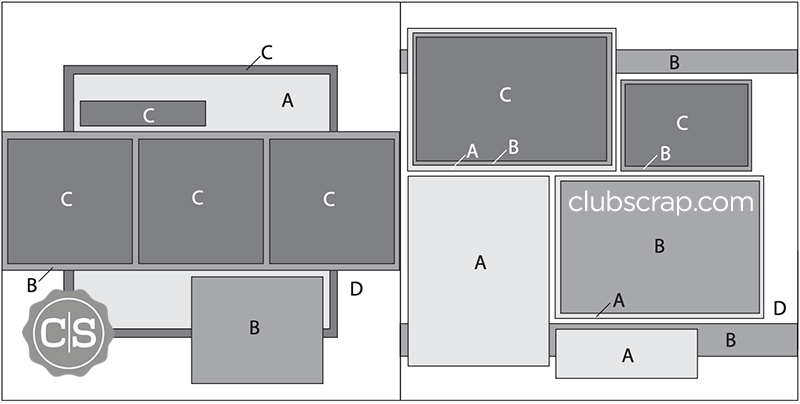
 To replicate my layout, use the following paper assignments from the Whimsy collection: Pink (Paper A), Blue (Paper B), Orange (Paper C), Black Print (Paper D - Left) and Green (Paper D - Right).

Download the Bonus Page Formula from the member-exclusive email. It is sent to active members* on their scheduled shipping day and looks like this:
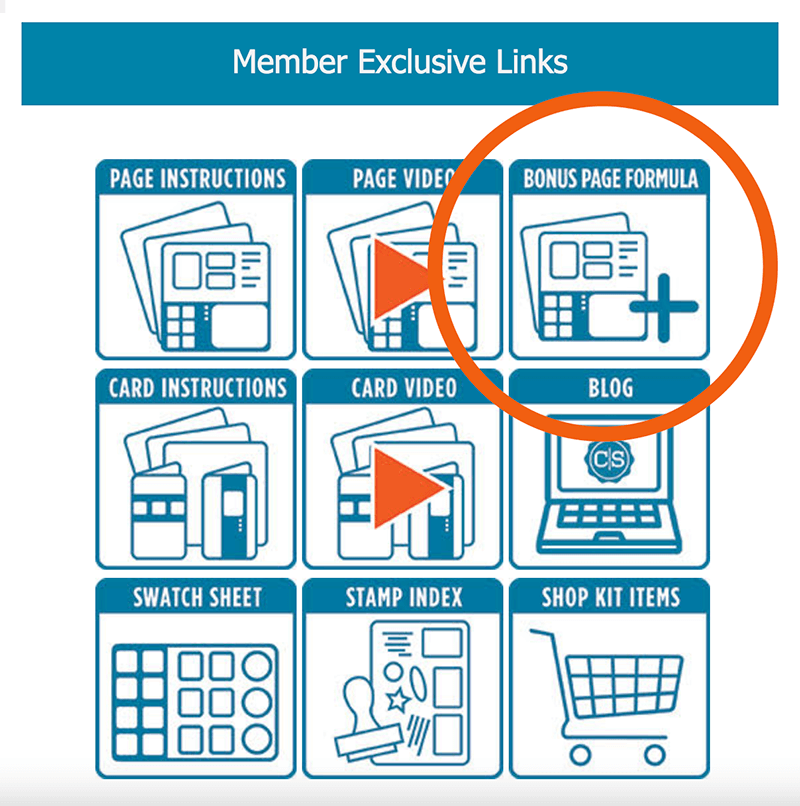
*An active member is defined as one who paid for and received the current monthly kit.
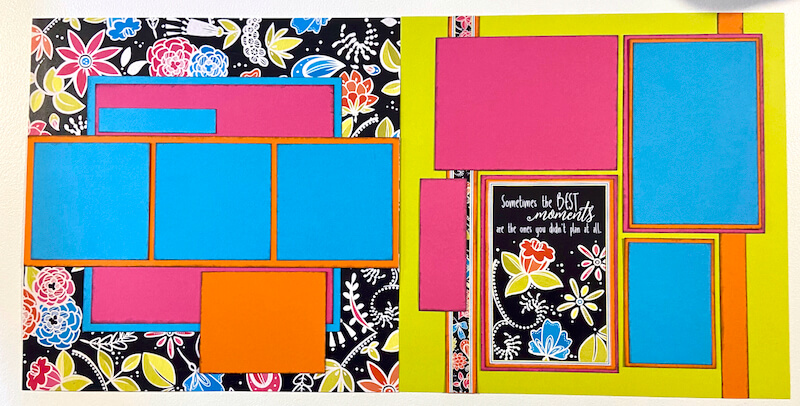
Follow the instructions to trim the papers. Use the sketch as a guide for page assembly.
Assembly Tips
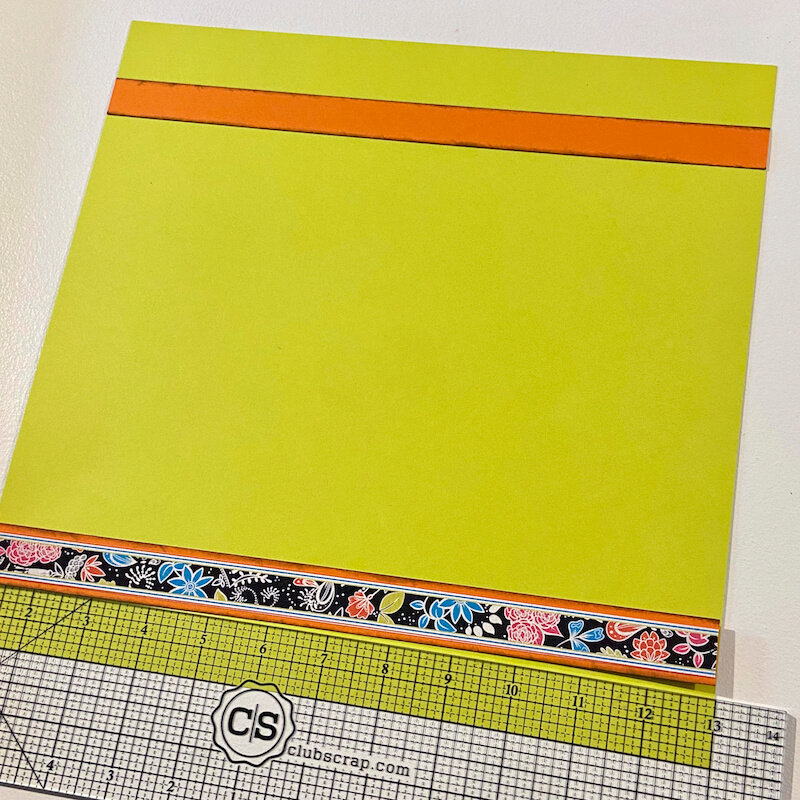
Ensure proper alignment of the narrow paper strips with a 3x14 Acrylic Ruler. Top one strip with a Cutapart border.
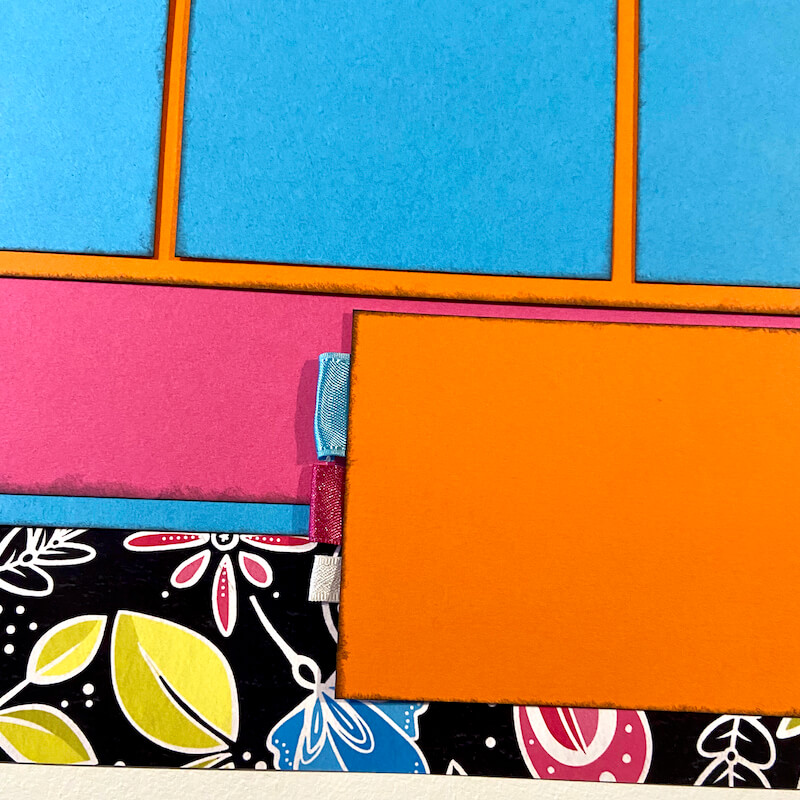
Leave a section of the Orange border strip free of adhesive. Tie lengths of three different ribbons to the Orange strip with simple knots. Trim ends at an angle with sharp scissors.

Fold left over ribbons in half; tuck underneath the Orange mat on the opposite page.
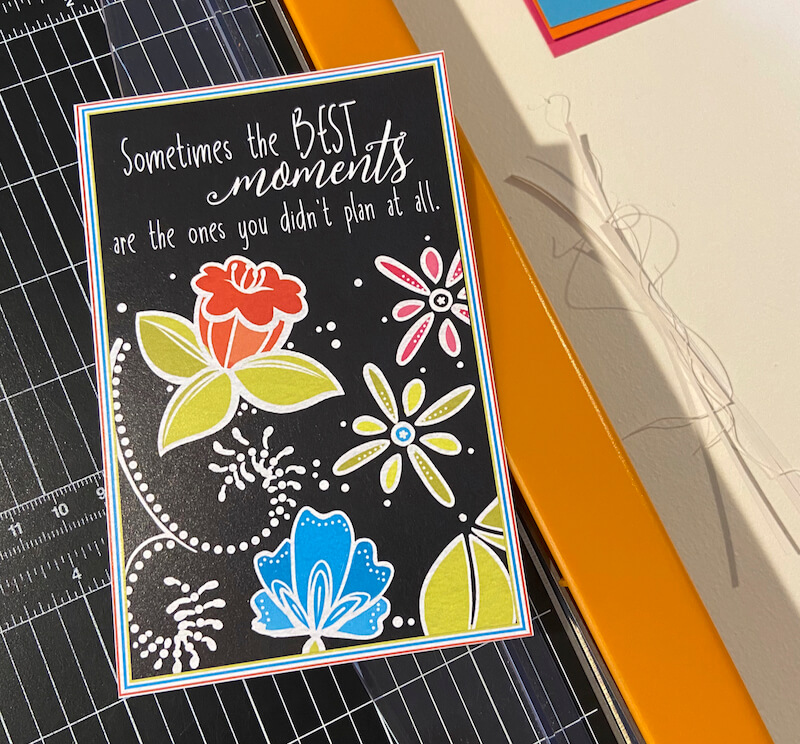
Nest the largest Cutapart onto one of the photo mats.
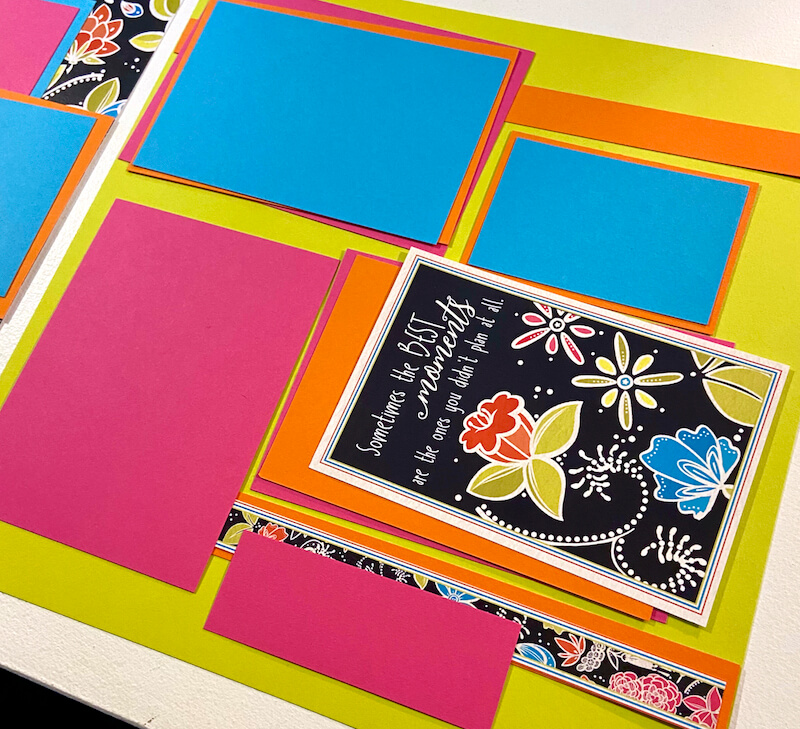
Trim the white edges with a Paper Trimmer for the perfect fit.
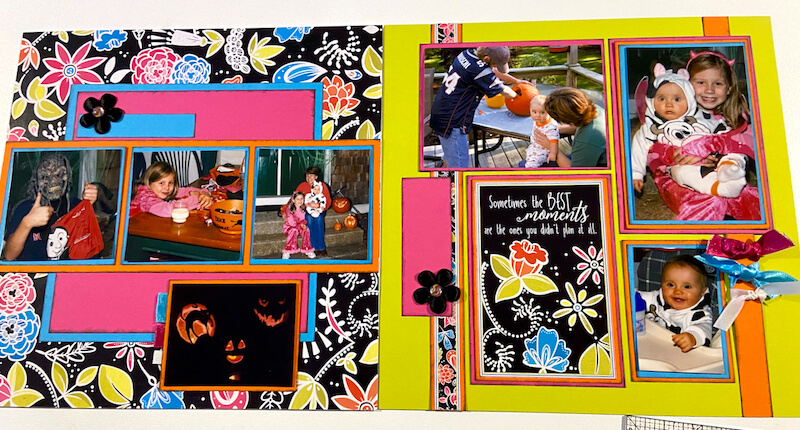
Rotate the right page 90 degrees to make the large Cutapart "readable".
Adhere swirl gems to the center of two black flowers with a glue dot. Add one to each side of the layout.

Place the photos over the mats best-suited to their orientation and sizing.
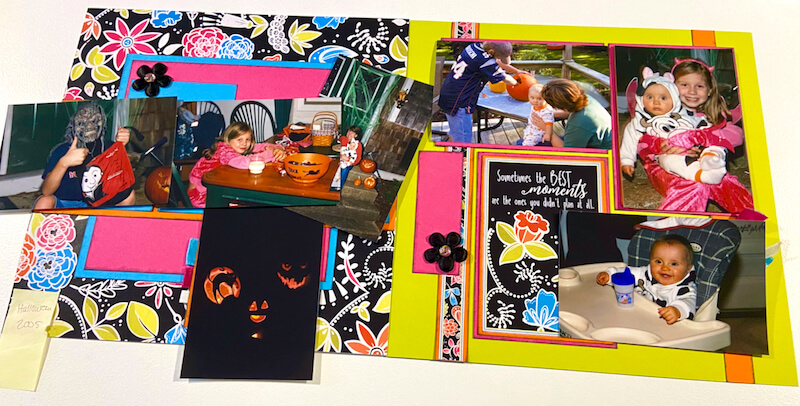
Crop each photo with a Paper Trimmer and adhere to the layout.
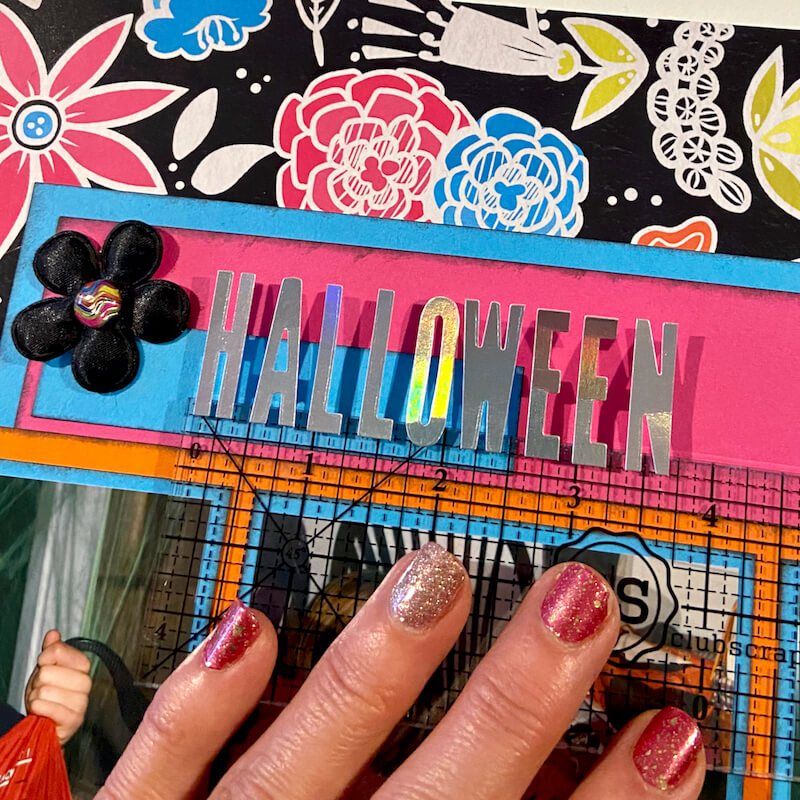
Add a title with alphabet and number stickers (from my stash) to the left page. Arrange the stickers onto a grid ruler to ensure proper alignment and spacing.
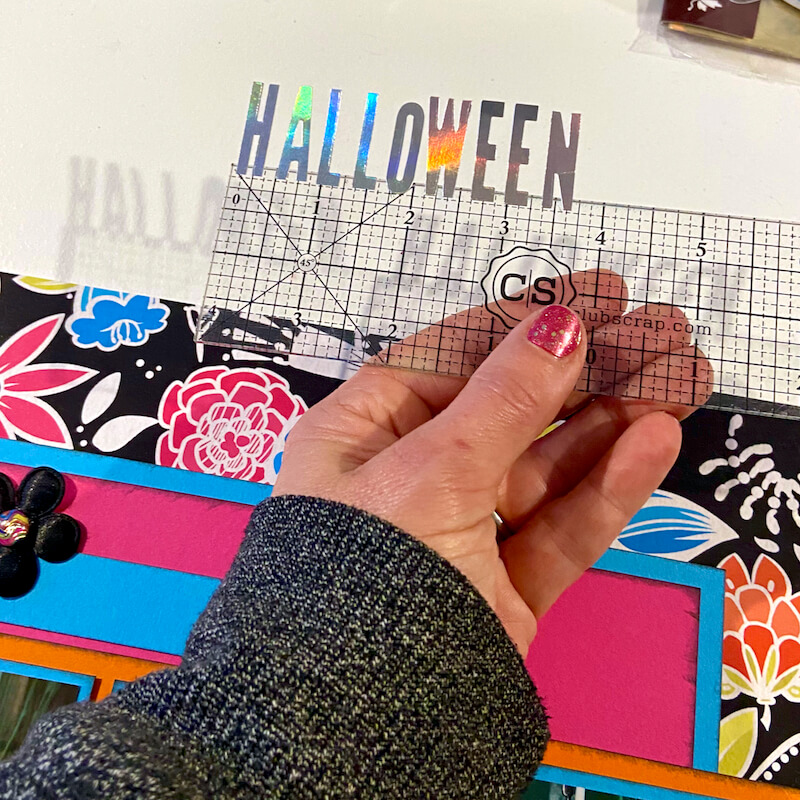
Adhere the tops of the stickers first, then carefully release from the ruler.
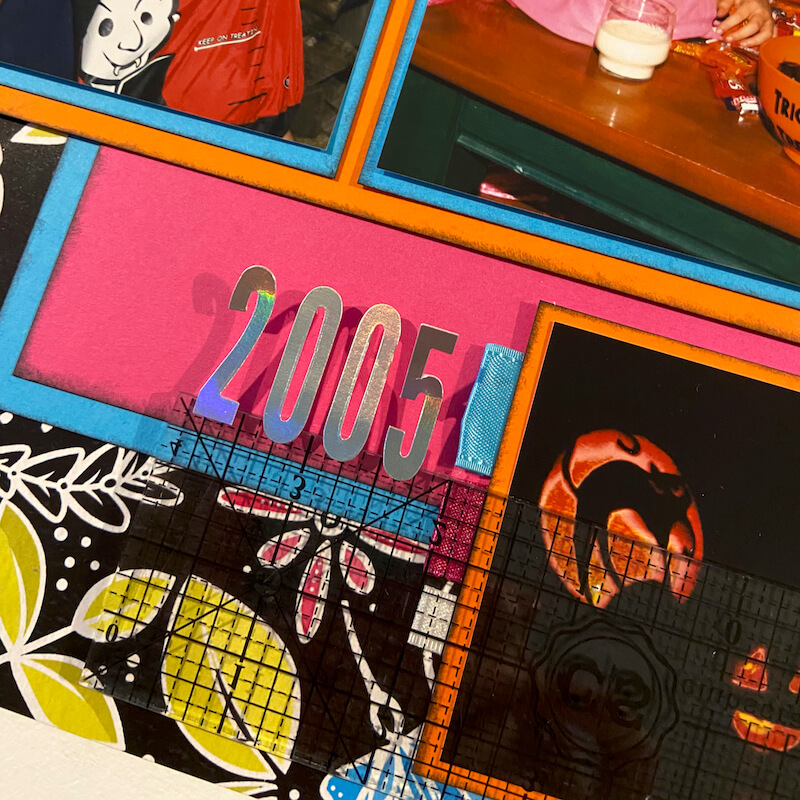
Repeat the steps above to add the year at the bottom of the layout.
Add handwritten journaling to one of the blank panels.
Happy scrapping!
3x14 Acrylic Ruler
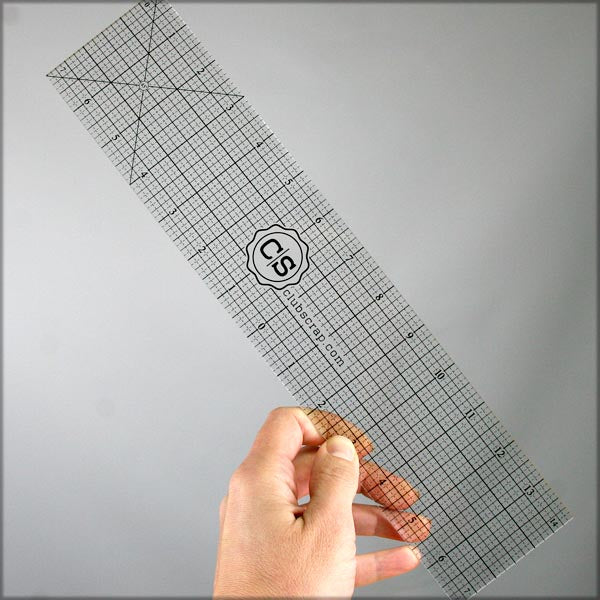
$15.50
You'll love our full-size clear grid ruler with easy to read grid marks, and big numbers. We've designed it just for paper crafters! You'll get perfect measurements every time; ideal for all your craft projects. Be sure to check out… Read More