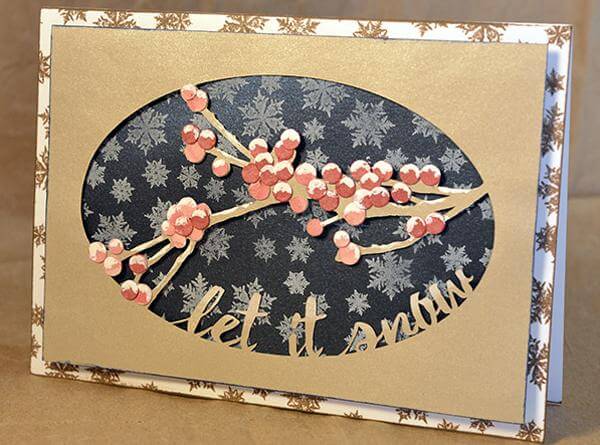
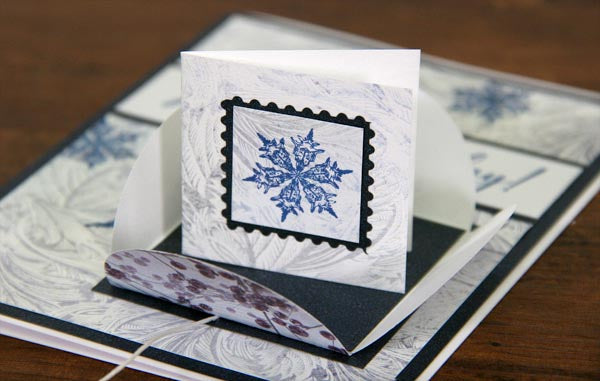
Because one greeting per card isn't always enough, this fun version holds an additional 1.75" miniature greeting.


Before we get started on the details, go ahead and PIN this image so you remember the idea!

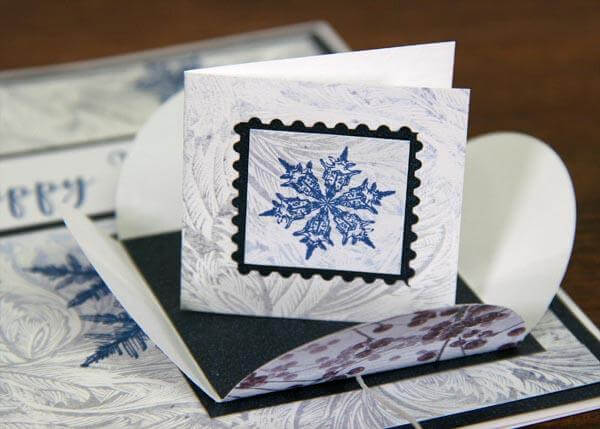
MINI MESSAGE TUTORIAL
1. Punch four 2" circles from the Shades of Winter 8.5x11 Quad Print and fold each in half.
2. Place double sided adhesive on half of each circle and adhere to the back of a 2" Blue square.

Once all four circles are attached to the back of the square, you've created an adorable envelope!

3. Pierce button holes in one flap of the envelope. You may find it helpful to hold the button in place with a Glue Dot.

4. Sew the Mother Of Pearl Button with waxed linen thread and trim tails.

5. Place adhesive on the back of the envelope.

6. Attach a 6" length of waxed linen so the thread trails from the bottom of the envelope.

7. Nest the envelope onto a 2.25" Blue square mat and layer onto the front of the card.

8. Insert a folded greeting card into the envelope and wrap the thread tail around the button to keep it closed.

Don't you think this is fun for hidden messages, gifts of cash, or more good wishes?

Double seasons greetings to you!
Kay