Happy Holidays from warm and sunny Florida! As I was making these cards, it was a bit over 80 degrees here in Kissimmee. Hot and humid!
Being a "northern gal", I’m not accustomed to making holiday cards while wearing a tank top, hoping the fan will keep the sweat to a minimum. But there I was, singing along with the carols playing on Pandora, making Christmas cards, and looking out the window at the sunbathers and swimmers in the pool.
Shades of Winter Greetings to Go
SET A: 3.25 x 8.25" SAND CARDS
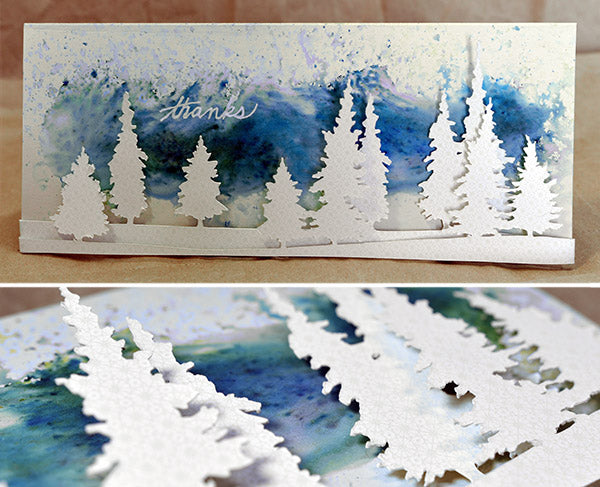
Custom-designed Cricut die cut trees. Layer with dimensional adhesive on hand-painted background. Hand-write greeting with White gel pen to finish.

Custom-designed Cricut die cut snowflakes (based on snowflakes from the collection), layered over pan pastel on card base.

Custom designed Cricut die cut evergreens (based on the evergreen rubber stamp from the collection), matted on Gold Plain panel, tied with fiber.

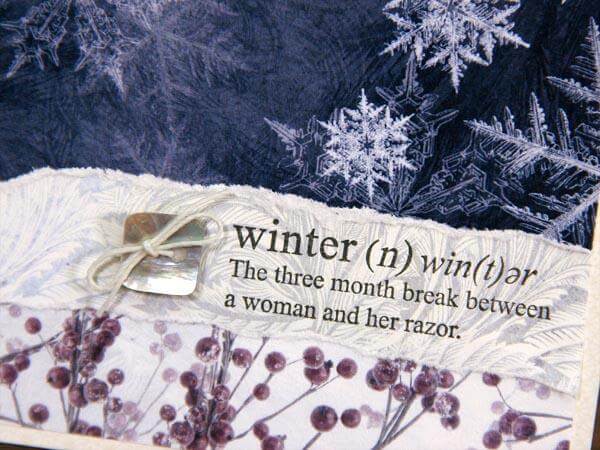
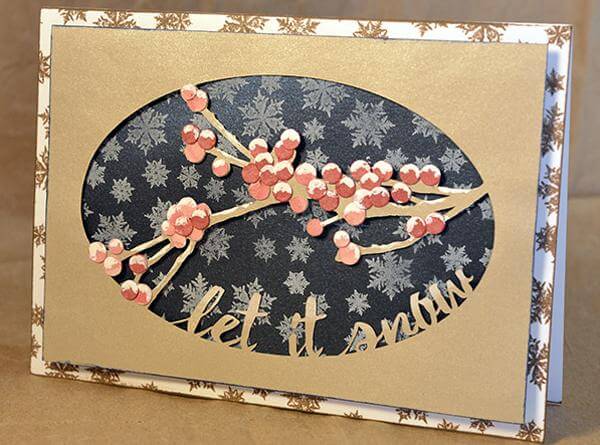
Machine-embossed Gold Plain panel. Ribbon, Cutaparts and embellishments from the collection. Custom designed Cricut die cut greeting in a cheery font and branch based on the collection. Berries: Paper-punch circles of Ivory Plain inked with WOW Red and Ruby Hybrid ink. Add a bit of white acrylic paint to mimic "snow". Adhere to branches.
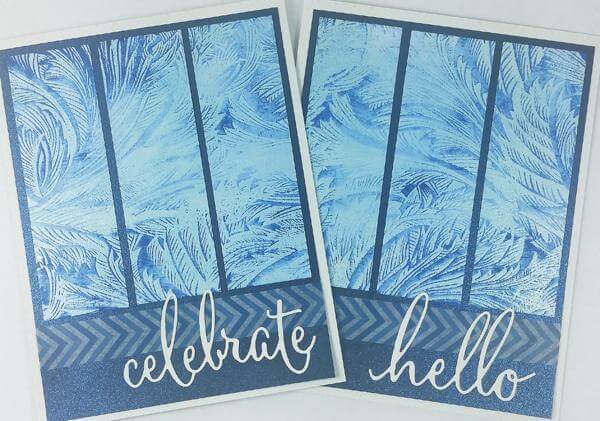
SET B: 5x7” WHITE CARDS

Stamp snowflake image in White Pigment ink, apply and blend pan pastels. Draw frame by hand with Faber Castel brush tip marker.

Stamp snowflakes in Earth ink snowflakes onto White Card Base. Stamp snowflakes in white ink onto Blue mat. Custom design Cricut die cut greeting and branches on Gold panel. Adhere with dimensional adhesive to create a "window" look. Add a hint of white pan pastel at the tops of the letters for "frost". (See instructions for berries above.)

Stamp evergreen branches in white ink to create tree shape. Tip: Ink stamp unevenly to add visual dimension. Adhere panel to card. Punch random holes through panel and card front. Outline holes with white gel pen and add sentiment. Place a battery-operated tea light inside the card and turn out the lights to get that warm ’n’ fuzzy holiday vibe going.

Custom designed Cricut diecut snowflake (based on the large snowflake from the Jumbo UM--snowflake remains attached/uncut holding it in place on each side). Thread ribbons through snowflake and tie into large bows.
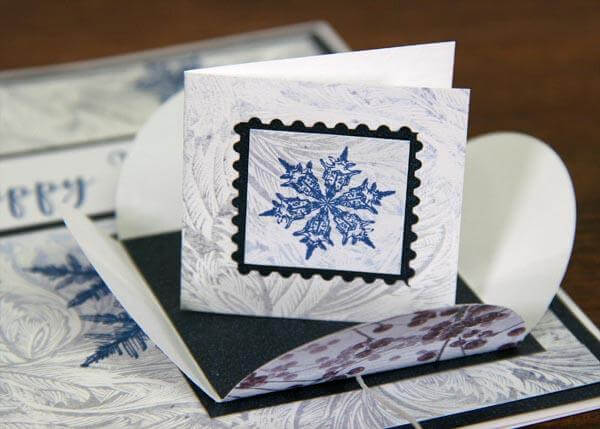
SET C: 4.25 x 5.5” IVORY CARDS

Pop-out card with an additional pop-up for the inside greeting. A bit of a variation on the suggested scoring and assembly directions found in this month’s Greetings to Go pack.

Machine embossed inside panel. Custom designed Cricut die cut makes a clean greeting for this peek-a-boo card.

Simple machine embossed panel, dusted with a touch of pan pastel. Layer elements with dimensional adhesive.

A quad-layered 3D card. Each layer die cut with Cricut using a custom made design. Simple pencil written sentiments and a blush of pan pastel finish the card.
I hope you’re keeping warm wherever you spend this week, and that you’re surrounded with friends and family.
Wishing you a sleigh full of creativity! :)
jac