It's one of my favorite days of the month when we can walk through the fourteen layouts from the Deluxe kit and the twelve cards from the Greetings to Go pack.
LITERATURE DELUXE KIT
LAYOUTS 1 & 2
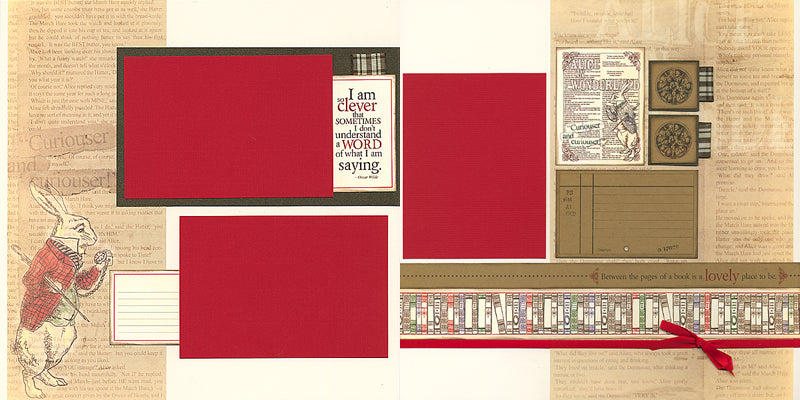
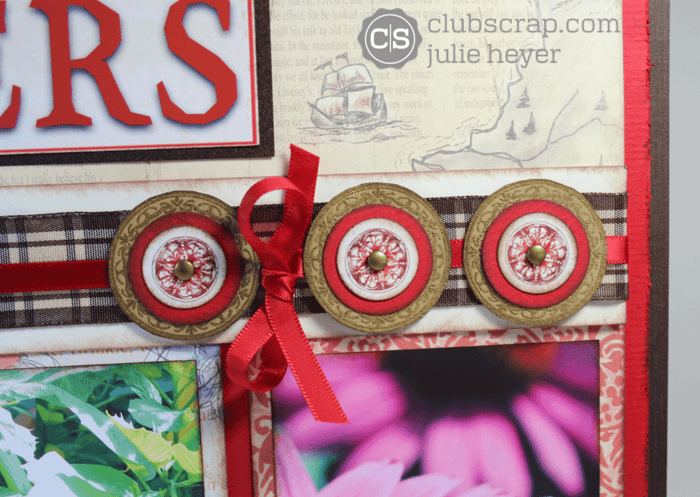
The wide plaid ribbon is such a sweet match for this kit. One of my favorite "wide ribbon tricks" is to trim a 2" length, fold it in half, and tape the ends to the back of a page element.

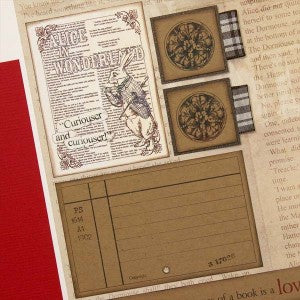
I added two loops to the right edges of the Dk. Kraft squares on the opposing page. Do you remember those old library catalogs where the cards were held in the drawer by a metal rod running through the bottom center of each card? We've re-created that memory for you, should you be able to recall!
LAYOUTS 3 & 4
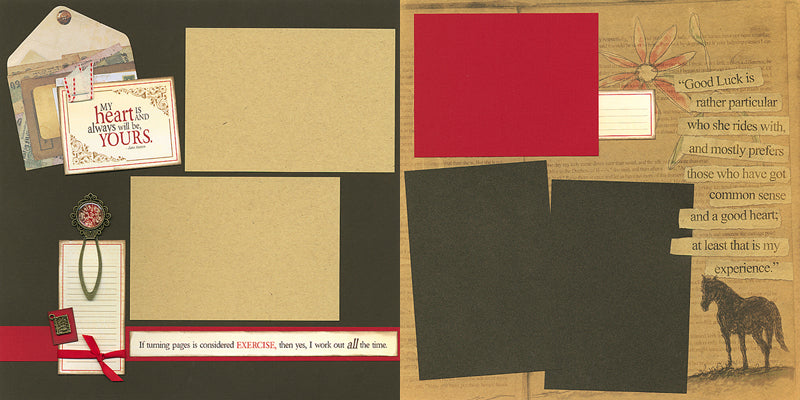
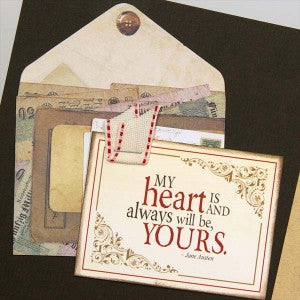
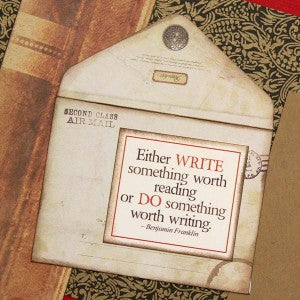
I just adore the set of miniature Vintage Envelopes we found! Jacqueline designed cutaparts to fit into the envelopes, but I wanted to show showcase front of the envelope on the page. (Note: Envelope artwork will vary by kit.) If you need more, we have a few extra packs in the store.
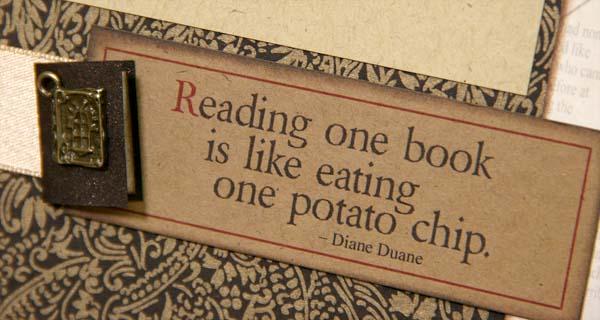
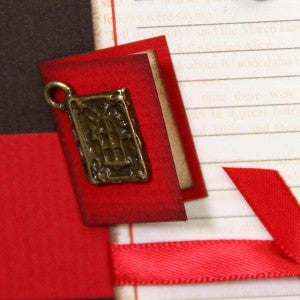
There was a 1x1.5" Red "scrap", so I folded it in half to make a "mini book". Glue a bronze book charm to the outside of the book. There was also a small scrap of Ivory from the cutaparts...trim and add to the inside of the book. (No paper left behind!)
LAYOUTS 5 & 6

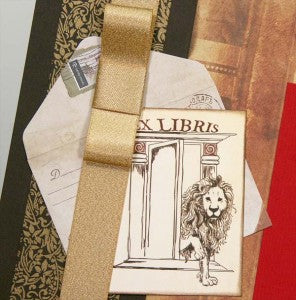
Tuck a mini vintage envelope and printed cutapart behind a metallic gold three-part bow. The uncut 8.5x11 Lt. Kraft print provides a perfect backdrop for the left side of the layout.
LAYOUTS 7 & 8
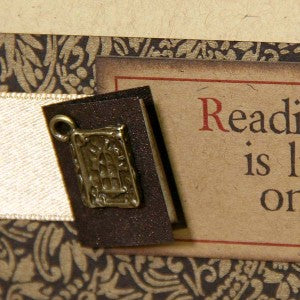
It's another "mini book" make from a 1x1.5" Bronze paper scrap. Same drill. Fold in half, add a bronze book charm, and add a .75x1.25" Ivory cutapart scrap on the inside.
LAYOUTS 9 & 10
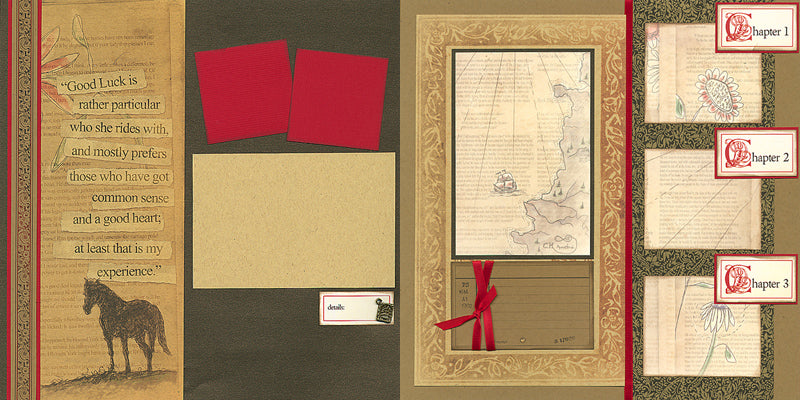
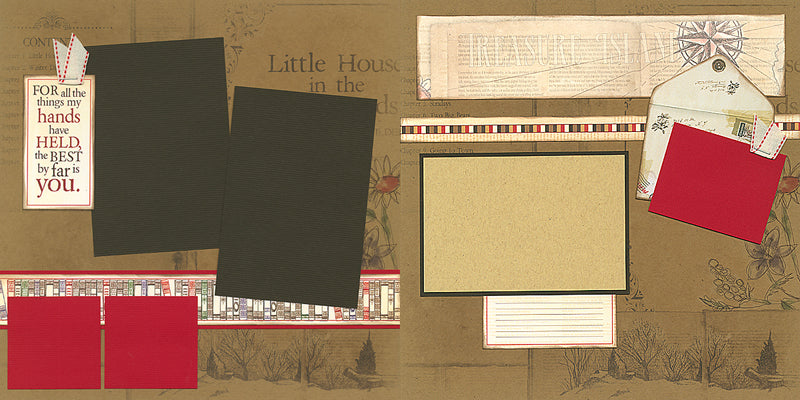
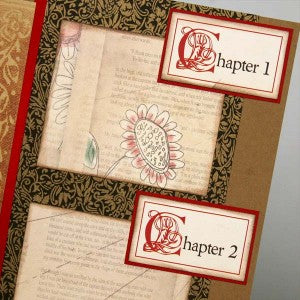
When adding elements to pages, use caution when applying adhesive to overlapping layers that will be a home for photos. Place adhesive on the right edge of each matted Ivory cutapart on the right page. Slide photos beneath the cutaparts when completing the layouts.
LAYOUTS 11 & 12
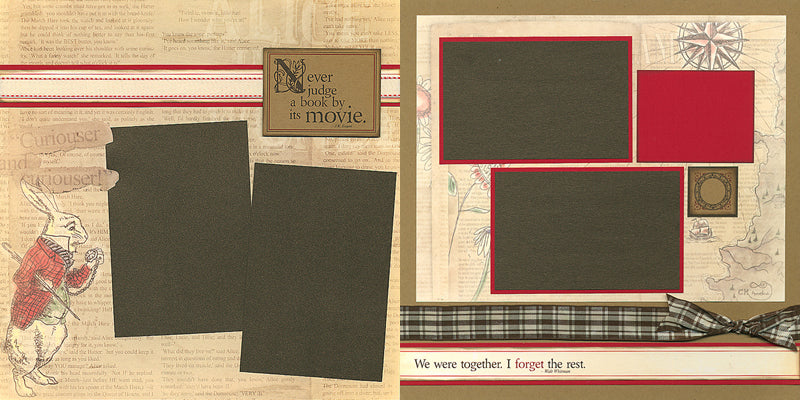
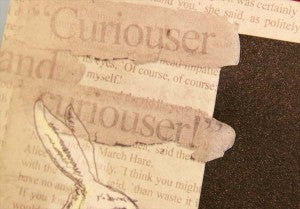
The 12x12 Ivory Print used for the base of the left page was the first piece of artwork Jac turned in for this collection, and we immediately became a fan! With strategic placement, you can keep the torn paper quote in the foreground by using a craft knife to cut around the words to accommodate the photo mat.
Stretch a 14" length of the red saddle stitched twill onto a nested Ivory cutapart; tape the ribbon ends onto the back of the layout.

LAYOUTS 13 & 14
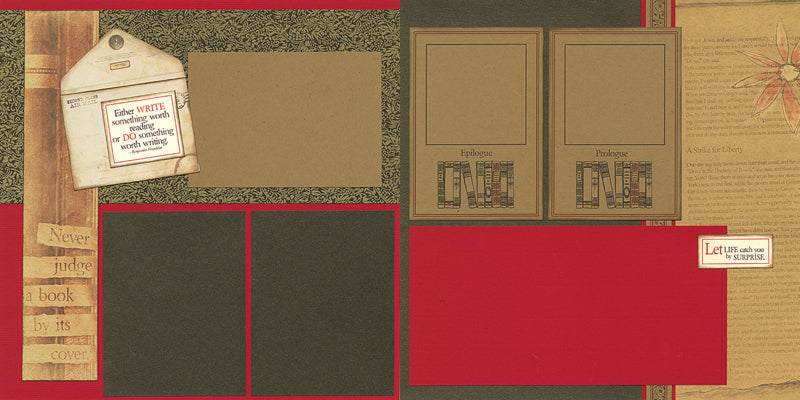
The 12x12 Brown paper is printed with metallic gold ink and reminds me of an old foil embossed book cover. It provides a gorgeous backdrop for this layout. Nest an Ivory cutapart onto a vintage envelope for a clever page title.
LITERATURE GREETINGS TO GO
SET A
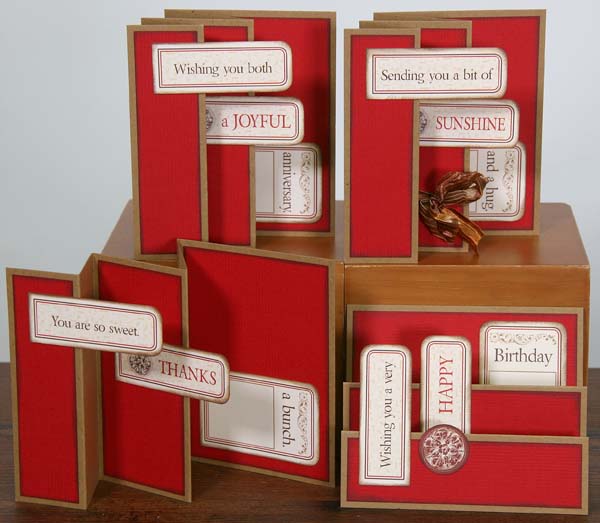
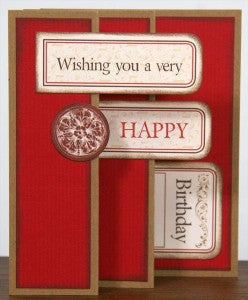
This set of cards comes with one Red panel that will be trimmed into three smaller panels to fit each flap of a fold-out card. I figured Deb wouldn't be all that impressed with the idea of collating twelve panels per kit just for this set of cards! Watch your instructions carefully for the simple trimming measurements.
SET B
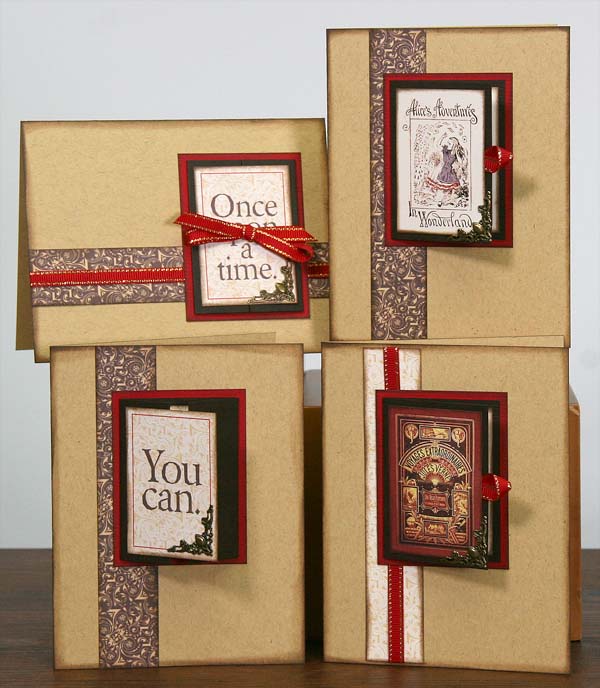
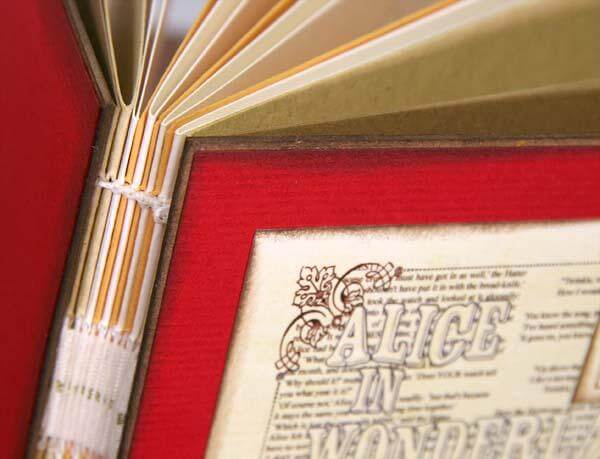
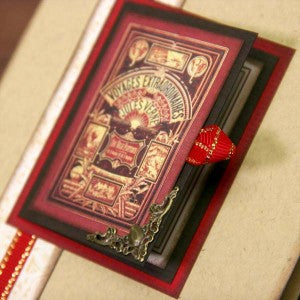
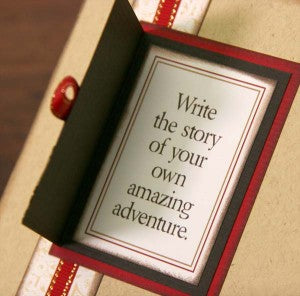
Set B includes a Brown panel for each card that will be folded in half to form a cute book. Next, Jacqueline designed fun artwork to add to the front and inside each folded piece. Check out the gorgeous bronze decorative corners on the front of each "book"!
SET C
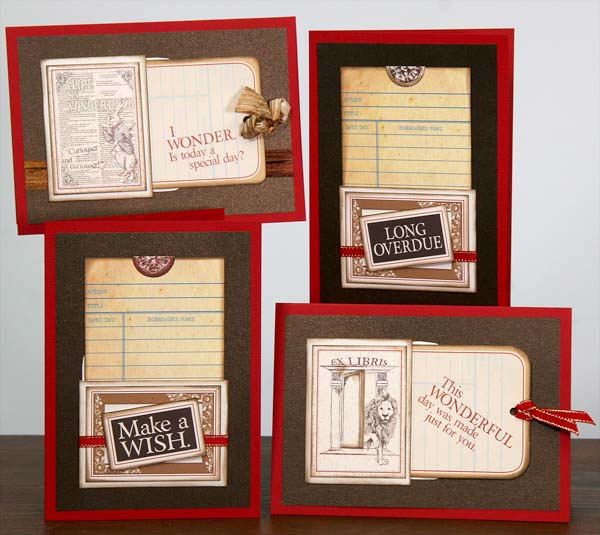
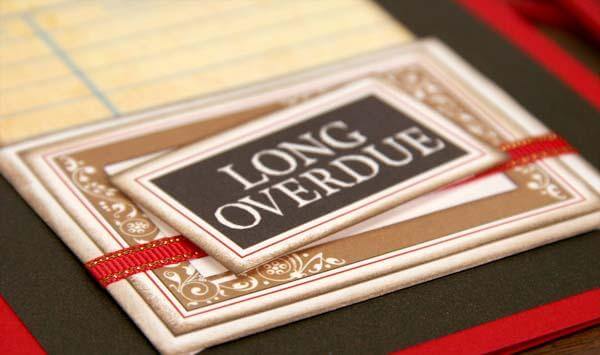
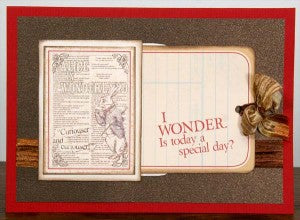
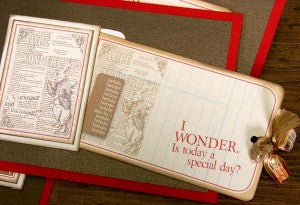
We couldn't resist including actual library card pockets in the Greetings to Go pack. We designed our own library cards to insert into each pocket, and they're sure to bring a smile to the recipient.
Enjoy working with your new kit, and we'll see you tomorrow when we take a closer look at the Literature Pocket Planner book project!
Tricia

