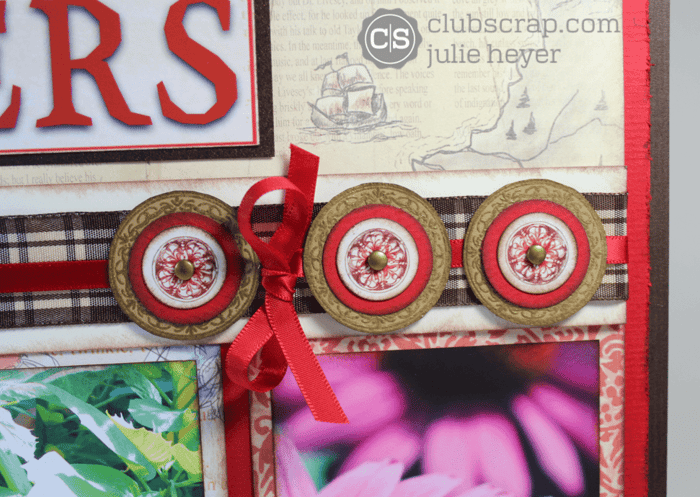

The process of creating your own stitch bound book is extremely satisfying. This basic single-page signature Pocket Planner book with simple kettle stitching and interactive pockets will be a beautiful complement to the Literature collection.


Here is a helpful video to walk you through the book-making process...
Use these basic highlights from the video to help recall the assembly steps.
1. Trim the two Red panels horizontally at 6.5".

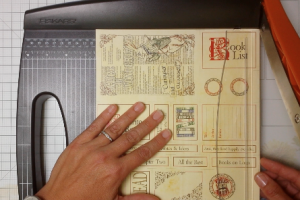
2. Trim the Ivory printed cutaparts into sections as indicated by the registration marks on the artwork.
3. Fold the Ivory, Lt. Kraft and Dk. Kraft inside pages in half and burnish creases with a bone folder.

4. Close the envelope flaps and fold in half with the flap on the inside of the fold.

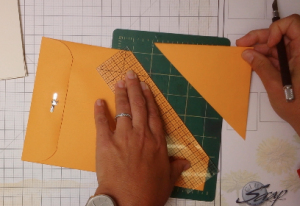
5. Place the envelope horizontally with the clasp on the left. Mark the top of the center crease with a pencil.

6. Measure and mark 1.75" up from the bottom right corner with a grid ruler and pencil.
7. Use the first envelope as a template to transfer the marks to the remaining two envelopes.

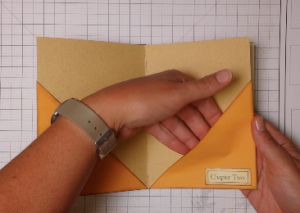
8. Position a ruler to connect the pencil marks and cut to remove the triangle with a craft knife and cutting mat. (A paper trimmer can also be used for this step.)
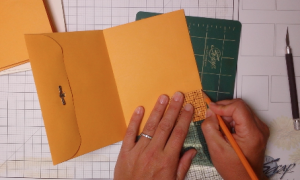
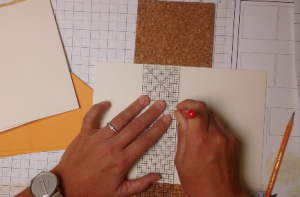
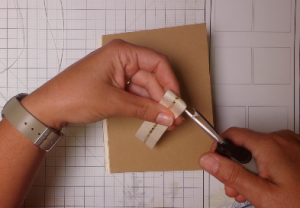
9. Pierce stitching holes into the crease of each inside page and envelope at .5, 1.5, 2.5, 4, 5 and 6". Place the page on a cork board and pierce with an awl or push pin. Save the triangular pieces for later.
10. Sort the pierced pages in the following order: Dk. Kraft, Lt. Kraft, Ivory, Envelope, Ivory, Envelope, Ivory, Envelope, Ivory, Lt. Kraft and Dk. Kraft.
11. Trim the twill ribbon in half with scissors.
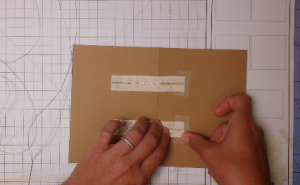
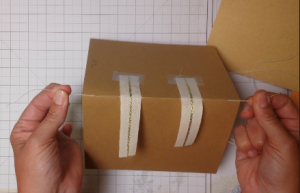
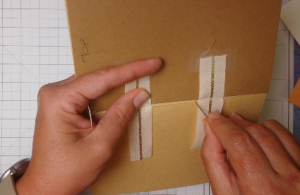
12. Open the first Dk. Kraft page. Center one ribbon over the 2nd and 3rd stitching holes, and tape the right edge. Center the second ribbon over the 4th and 5th stitching holes, and tape the right edge.
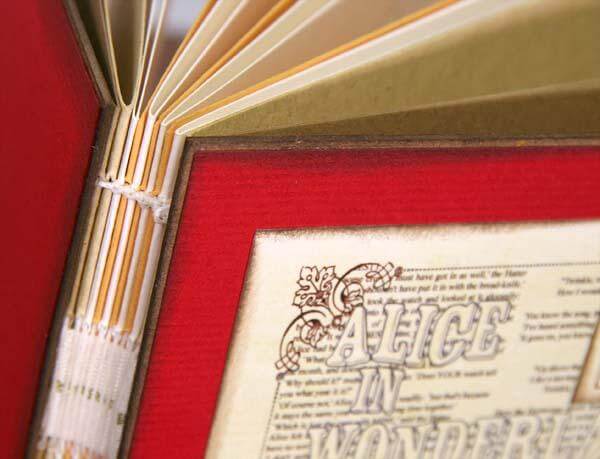
13. Thread the needle with waxed linen. Enter the first stitching hole at the head (top) of the book and leave a 3" tail. Stitch in and out of each hole (bringing the thread over the ribbon) until you reach the tail (bottom) of the book. Remove all slack in the thread.
14. Close the first signature. Place the second Lt. Kraft page beneath the first. Enter the nearest stitching hole of the second signature and stitch back to the top. Tie the thread tails in a knot to secure. Close the signatures and add the Ivory page. Stitch back to the bottom of the page.
15. To connect signature two to signature three, bring the needle beneath the stitch that connects signatures one and two; pull the thread until a loop is formed and drop the needle through the loop. Pull the loop tight to knot the thread. Attach all remaining signatures in the same manner.

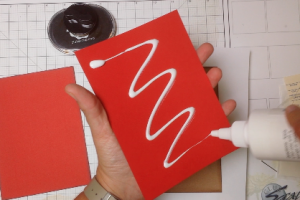
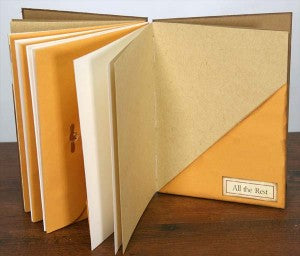
16. If desired, remove the tape from the ribbons and adhere them to the outside front and back pages of the stitched signatures. Glue the mat board covers to the first and last pages of the book. Glue the Red panels to the outside front and back covers.
17. Add a small dab of glue onto the bottom corner of an inside page, and slide a triangular pocket (removed from the envelope) onto the page to create additional pockets for the book.
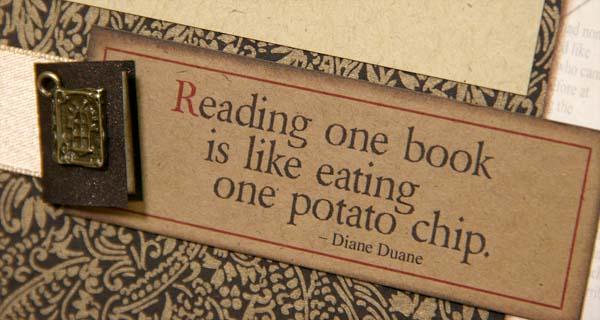
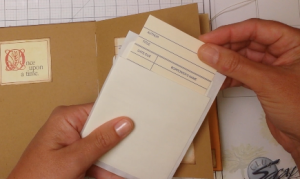
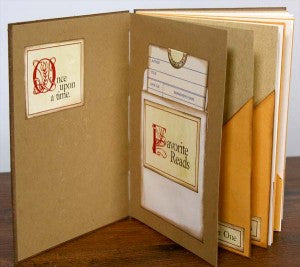
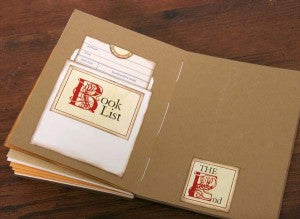
18. Decorate the book with the library card pockets, library cards and cutaparts.
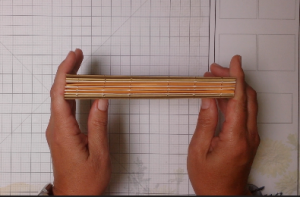
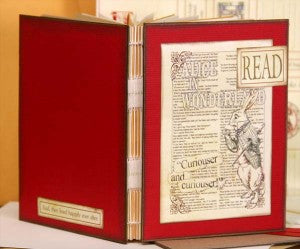
Take a look at the finished book . . .


Remember, the Literature Deluxe kit includes this project, or it can be purchased separately while supplies last. May your handmade book live happily ever after. The end!
Tricia