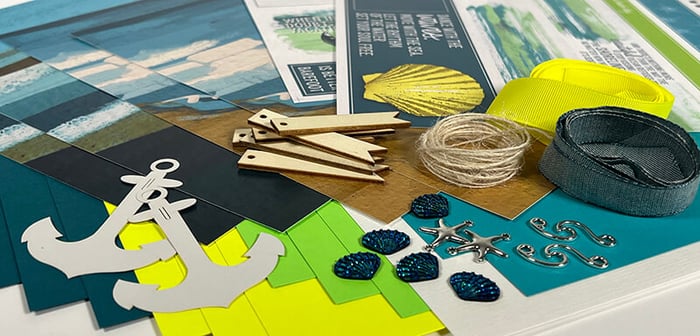
It's that time again! Join me for an in-depth look at all eight assembled layouts created using the Legacy Page Kit, before and after photos and journaling. Read on to learn more!
Legacy Page Kit
Even though each Club Scrap Page Kit creates eight pages, it's rare that I use all eight for a single occasion or event. The pages could easily end up in different scrapbooks, or even arranged in a different order from the instructions. Therefore, when choosing photos, I try to view each two-page spread independently.
Layout 5 & 6
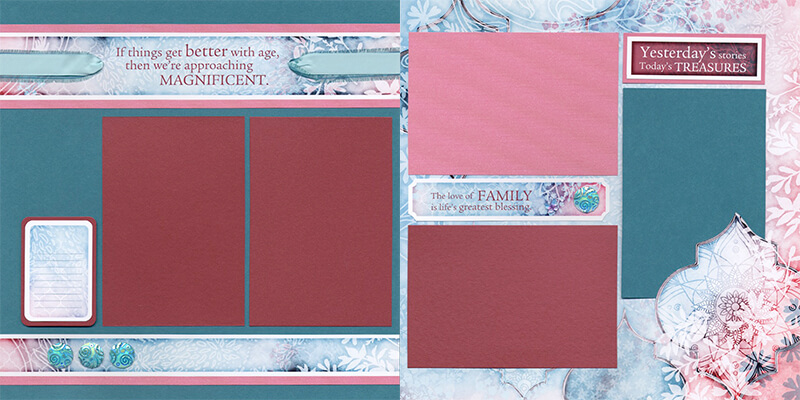
Both of my sons celebrated "milestone" birthdays this year. The "better with age" sentiment immediately inspired me to pull out their birthday photos.
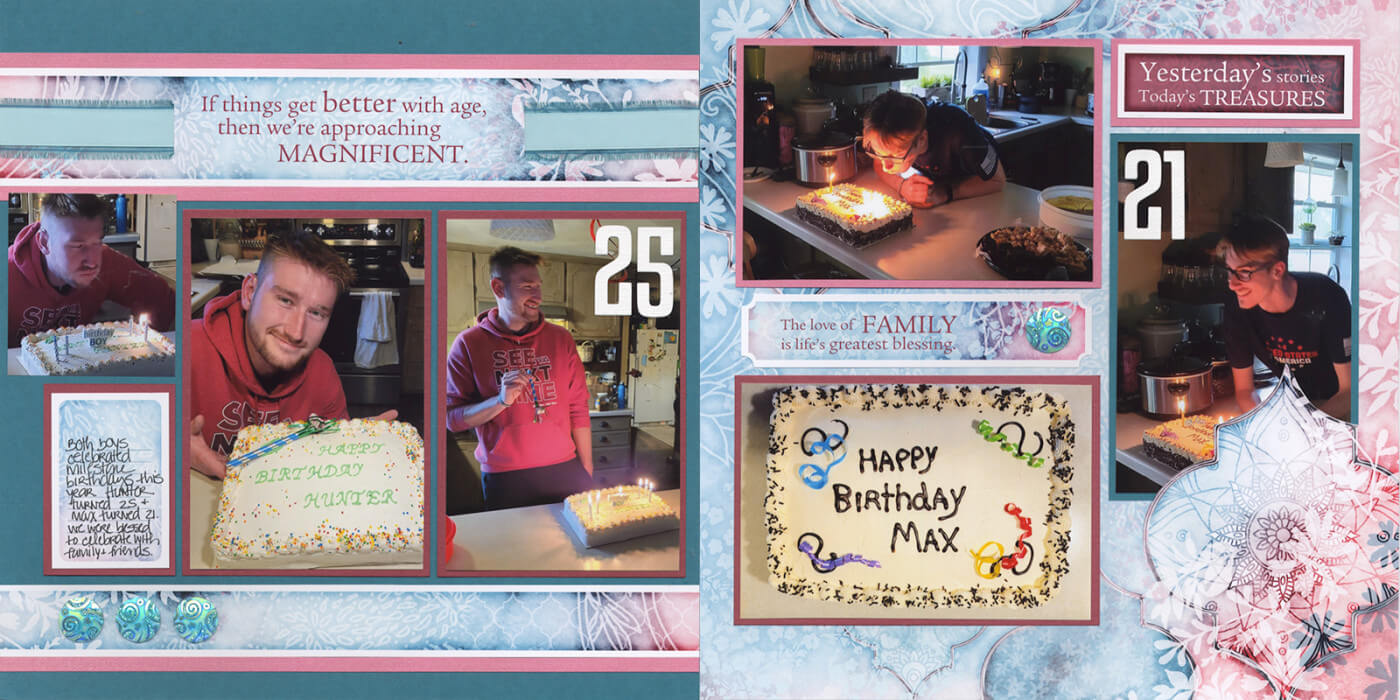
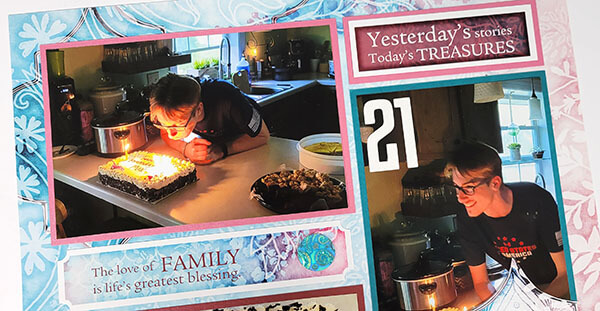
Even though their birthday celebrations occurred two weeks apart in May, I chose to scrap the photos together on this two-page spread. Note to self: Take more pictures next time!
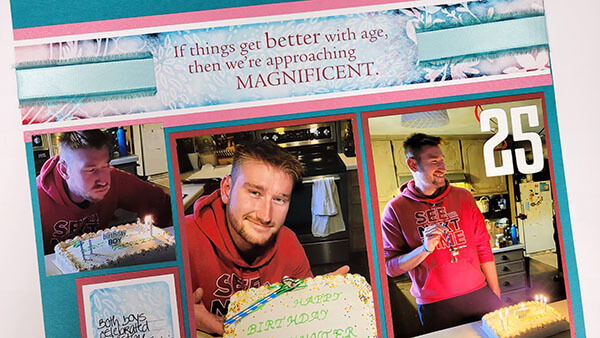
Adhere numbers die cut from plain white directly onto the photo to signify the milestone year. Crop an extra photo and tuck it into the open area above the journaling box. The 8x8 grid ruler helps determine the maximum size of the photo.
Layout 1 & 2
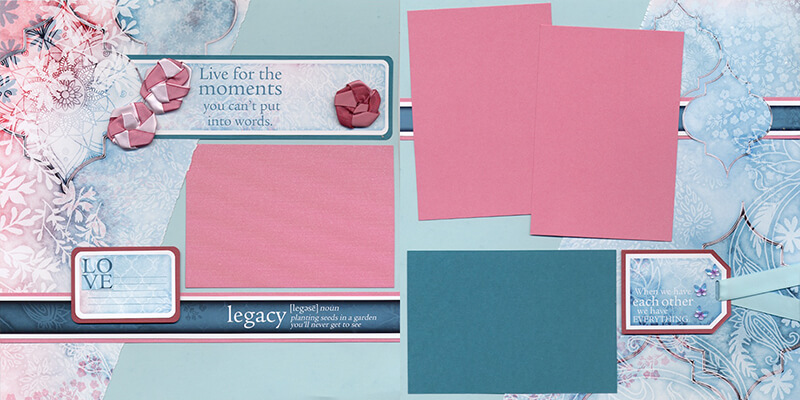
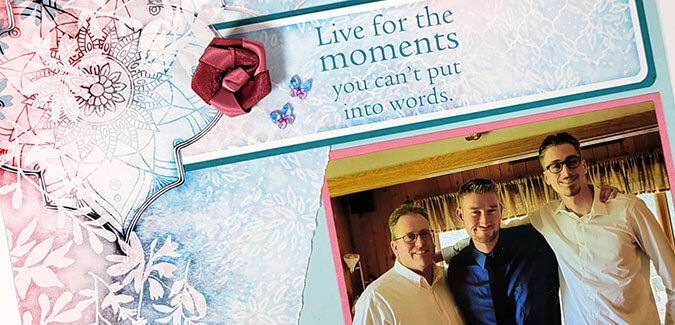
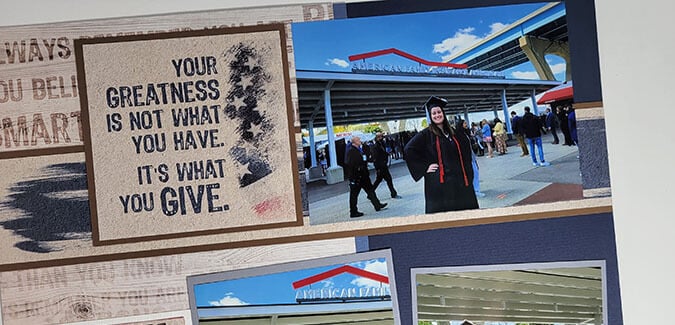
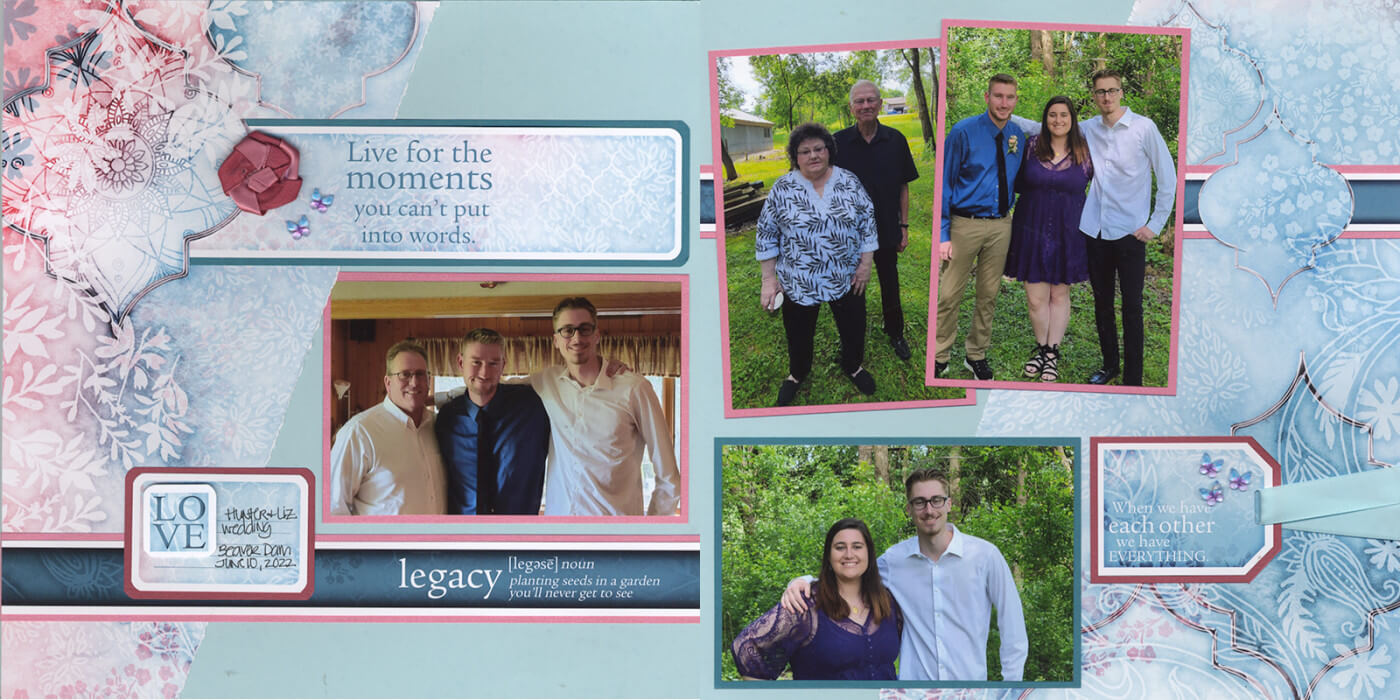
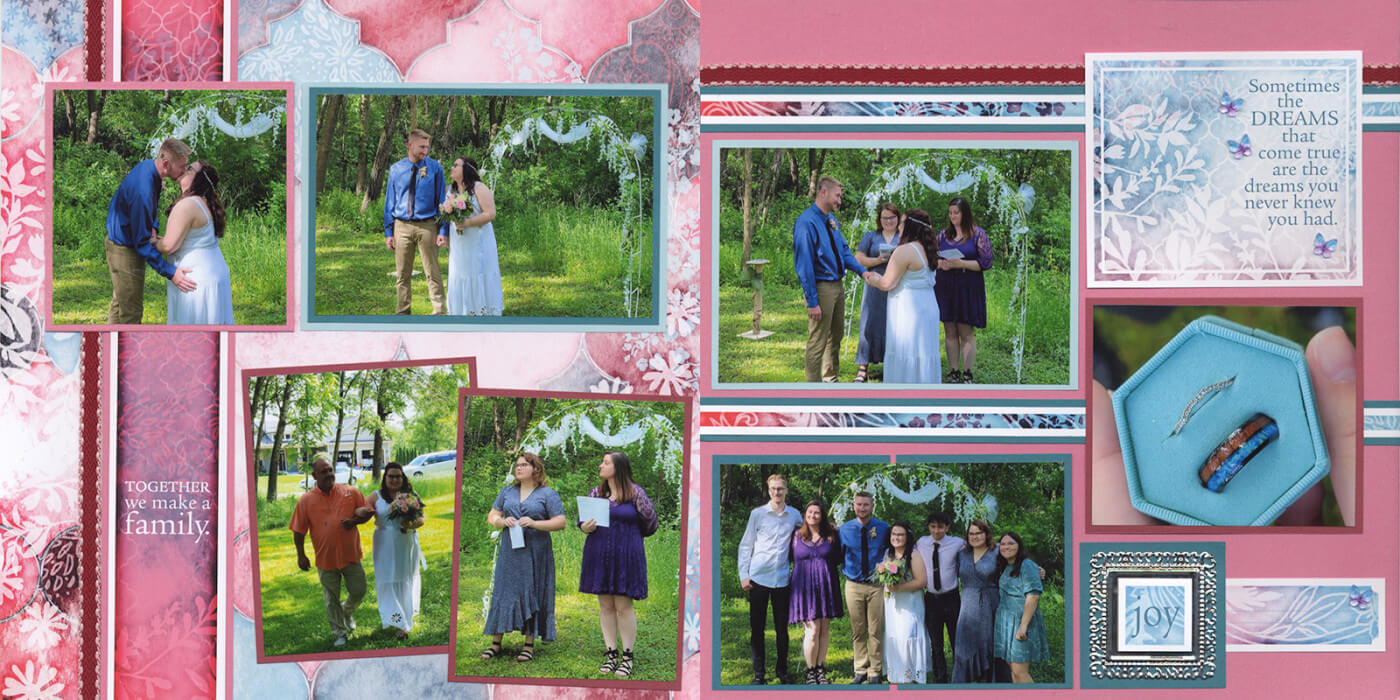
The remaining six Legacy layouts were perfect "as is" for candid photos I'd taken at my son's wedding in June. It was fun to scrap some of these precious memories while we wait for the professional photographs to come back from the printer.
Layout 3 & 4
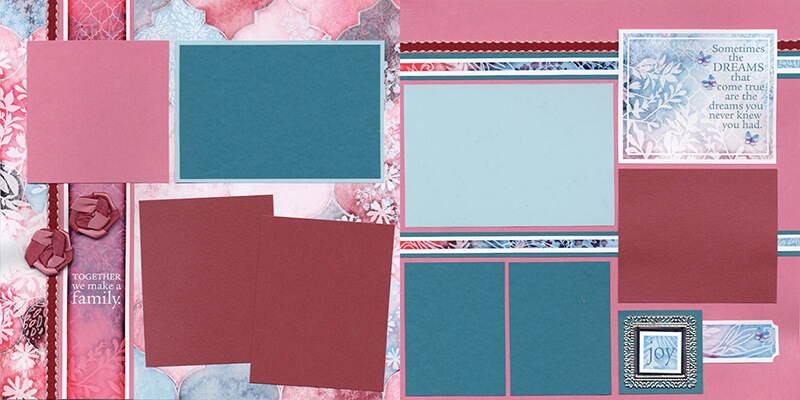
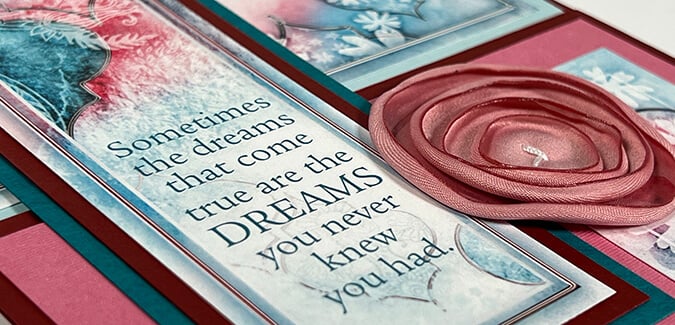
I chose to leave off the rosettes on this spread, as I have plans for them on another project.
Layout 7 & 8
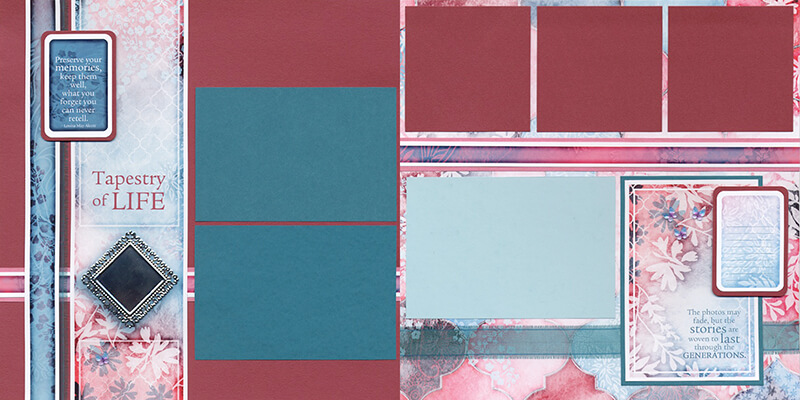
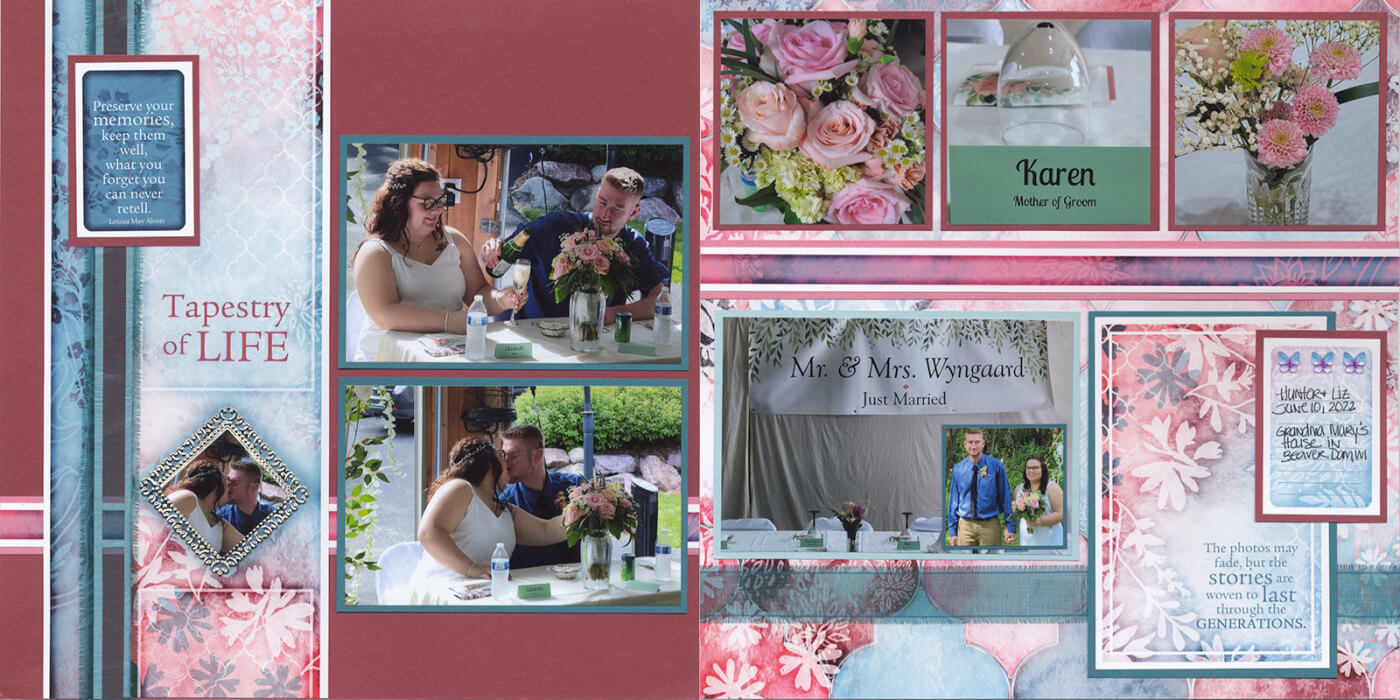
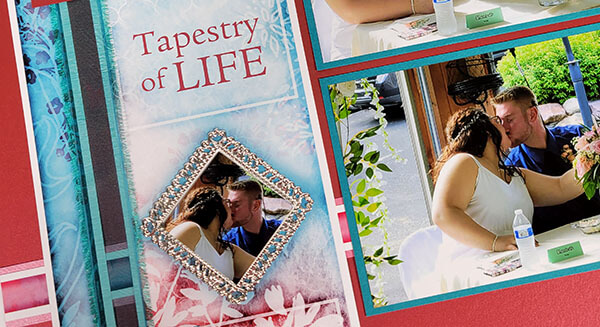
Crop a photo to 1.5" square to fit the silver frame. The 8x8 grid ruler is an indispensable tool to ensure successful cropping, especially with the diamond-shaped orientation.
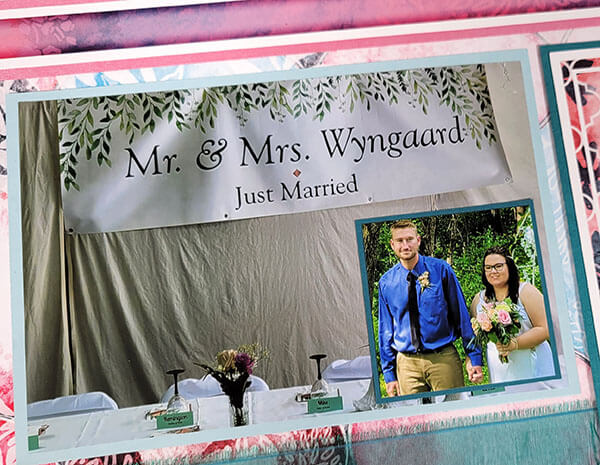
Mat a 2x2" photo of the couple in teal and attach directly to the open space on the 4x6". (Pack of Panels to the rescue!)
I look forward to seeing what memories others choose to scrap on the Legacy collection. Be sure to share your finished projects on the Club Scrap Chat group on Facebook.
Happy scrapping!
