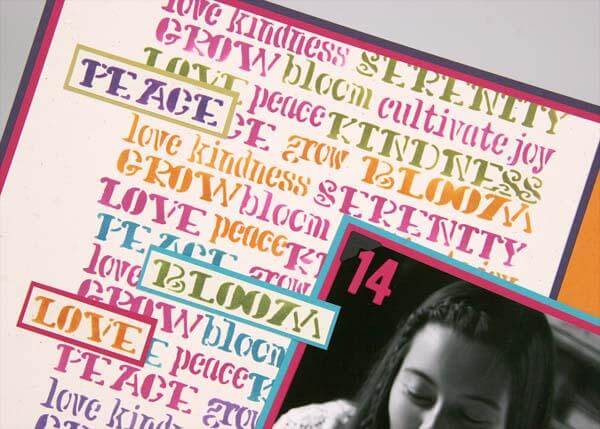
The individual words on the Garden Shed stencil are useful, but the words cleverly interlock to create a customized text background for an entire 12x12 layout!
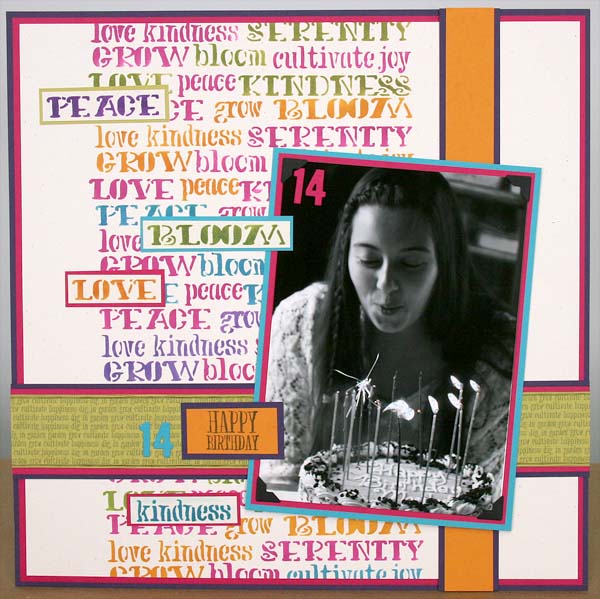

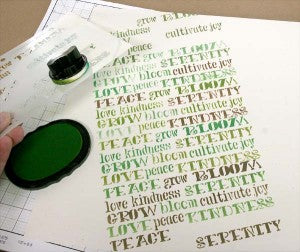
Stencil the entire set of words onto a 12x12 White Plain with CS® Fuchsia ink and a CS® Ink Applicator.

Slide the stencil down while maintaining the left/right alignment. Stencil again with Fuchsia ink until the page is filled from top to bottom.
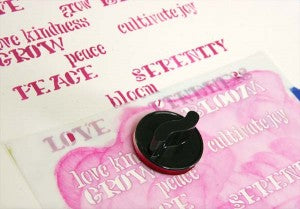
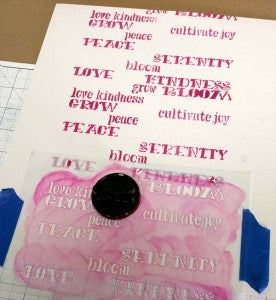
Clean the stencil and place on top of the first stenciled layer. Move the stencil upward until the words "interlock" and fill in the open spaces. Stencil with CS® Leaf Ink. You may find it helpful to stabilize the stencil with painter's tape while working.
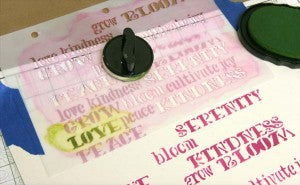
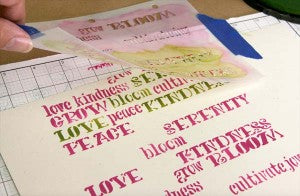
Clean the stencil and slide down until reaching the next interlocking location.
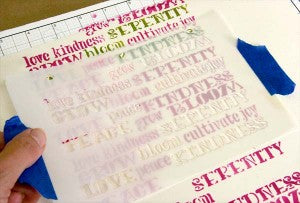
Stencil the three top rows of text with CS® Tangerine ink.
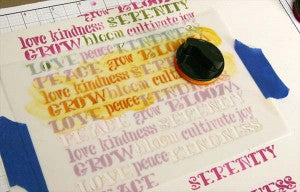
Stencil the remaining rows with Ocean ink.
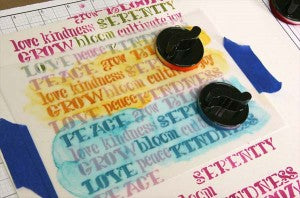
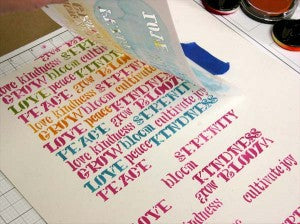
Continue to lift, clean, replace, and ink the stencil until the entire area is filled.
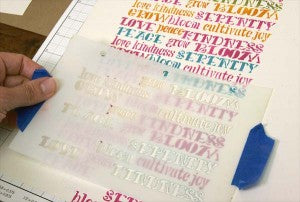
Trim the 12x12 White Plain to nest onto coordinating papers.
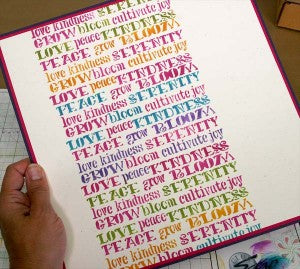
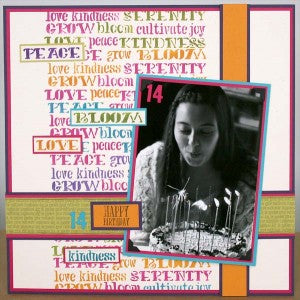
Finish the layout with anchoring strips and a matted photo. Stencil additional words onto a separate piece of paper, mat in a coordinating color, and add to the page.
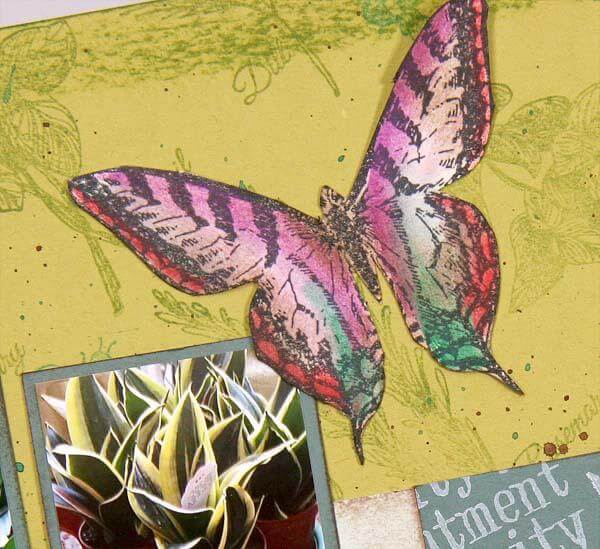
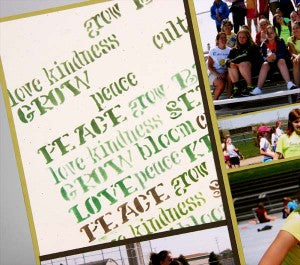
Create a completely different look with the same stencil and a new set of CS® ink colors: Leaf, Moss and Earth.
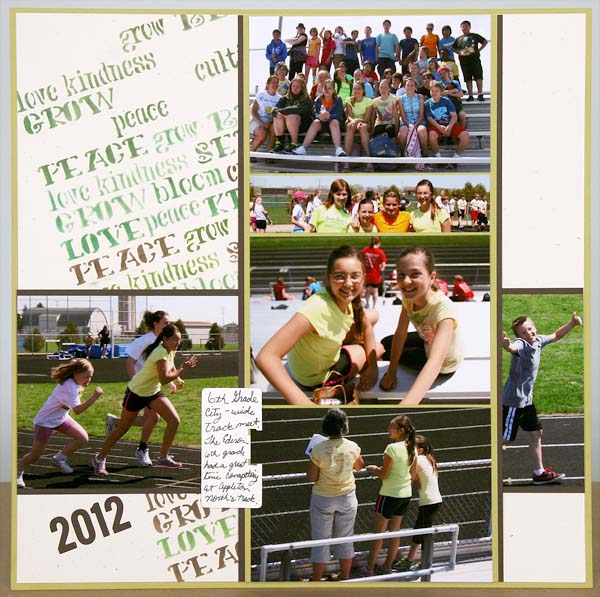
Stencil the words at an angle for a fun twist.
If you're new to Club Scrap, we typically create a stencil to coordinate with each collection and alternate by including it in the Deluxe kit (this month) or in the Lite kit (next month.) If you never want to miss a stencil, you can always order from the online store. Thanks for reading all the "words" today!
Kay

