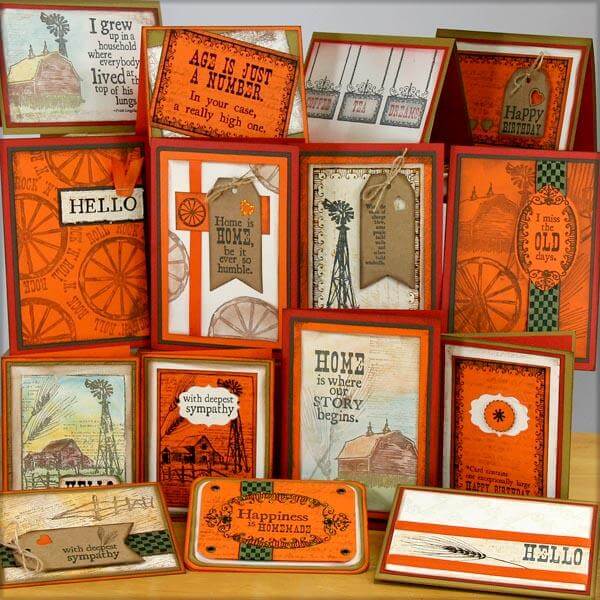
While you wait for the Homestead kit to reach your door, let's take a closer look at the layouts and cards you'll be able to make.
Homestead Deluxe Kit
LAYOUTS 1 & 2
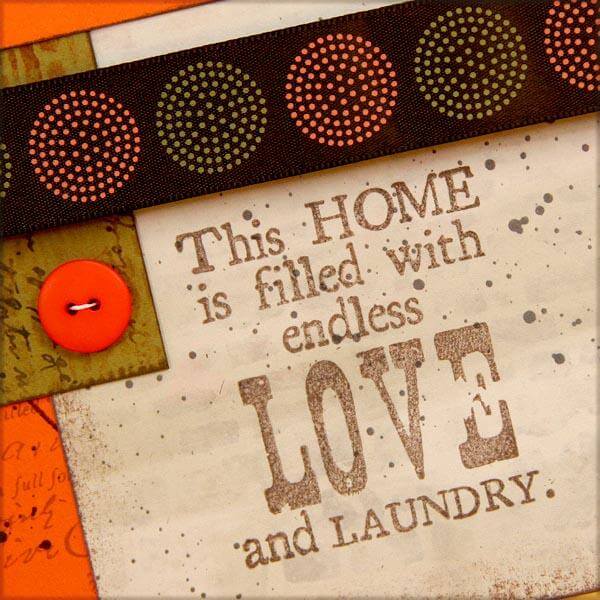
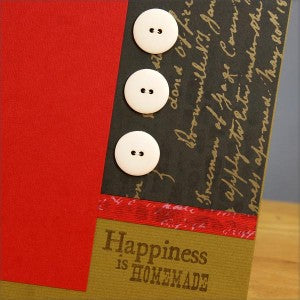
The coordinating buttons included in the embelishment pack add that homemade touch to Homestead.
LAYOUTS 3 & 4
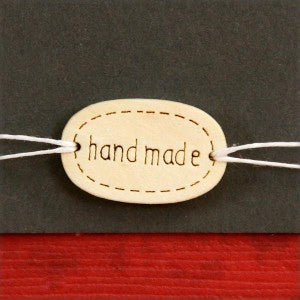
Attach the wooden "handmade" tags we've included with some sewing thread from your stash. Did you do any canning this fall? The tags would look adorable on a jar of your homemade jelly or sauce, as well! (There will be one or two extra. That was intentional.)
LAYOUTS 5 & 6
The printed satin ribbon makes me feel joyful. It matches so nicely with the splash of Pumpkin in this kit.
LAYOUTS 7 & 8
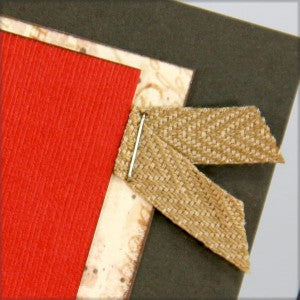
I allowed a little bit of extra room on the right of the photo mattes to allow for the addition of a stapled ribbon swatch.
The wooden tags included in the kit can be painted, stamped, stained and altered in any way. Have fun with your three-pack!
LAYOUTS 9 & 10
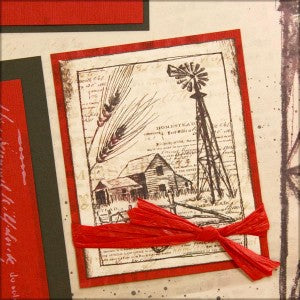
After the layouts were completed, I paged through all of the unmounted stamps in the collection and added captions with Earth ink.
LAYOUTS 11 & 12
The 12" Green border at the bottom of the left page is actually a 2x11" strip with the gap hidden behind the photo matte.
LAYOUTS 13 & 14
Remember, if you have more photos to incorporate into our page, you can always layer them over the printed cutaparts, if you can bear covering them.
Homestead Greetings to Go
SET A
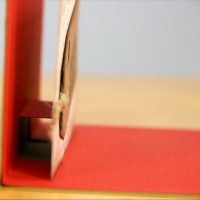
This set of cards pops. Literally. We've included an extra set of "innards" for this batch of five cards. Create a little tab on which to mount the inner panel. There's your pop.
SET B
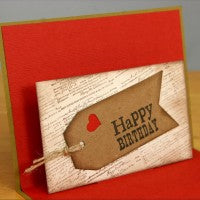
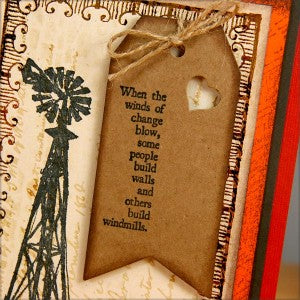
The die cut kraft tags are a sweet pairing. Leave them whole, or cut them in half to place one part on the outside of your card, and the other on the inner panel. Fill the heart-shaped opening with paper, ribbon or glitter glue.
SET C
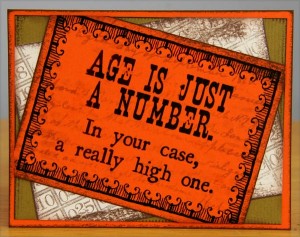
A simple angle or two can really switch things up. I attached the panels to the card and simply trimmed the edges to align them with the Green panel. Do you have someone in mind for this card? I added some stamped numbers to the Ivory panel with the Short Sleeve Pants UM sheet from the archives.
Don't forget to download your layout and card assembly instructions. Or, just do your own thing. Either way, make a home for this one.
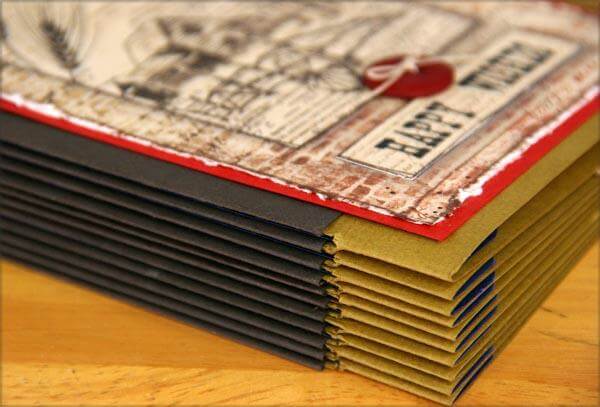
Tomorrow I will show you how to assemble your Accordion Hinge Album project kit that is coming in your Homestead kit! Can't wait!
See you then!
Tricia
