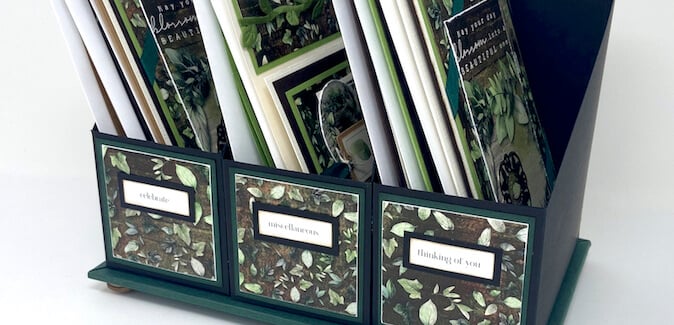
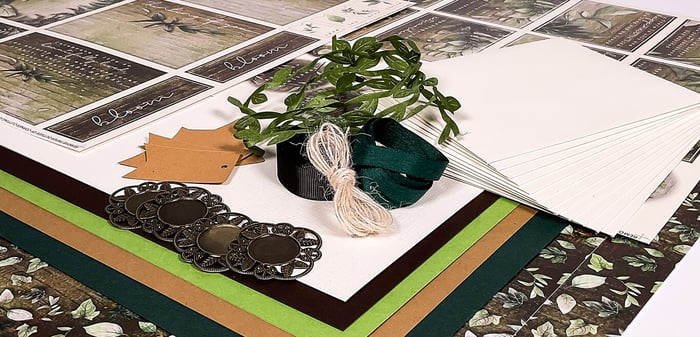
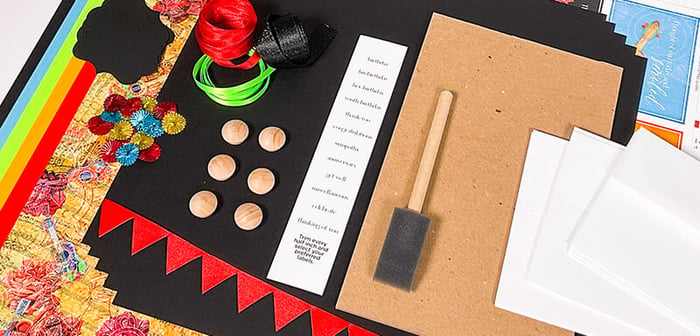
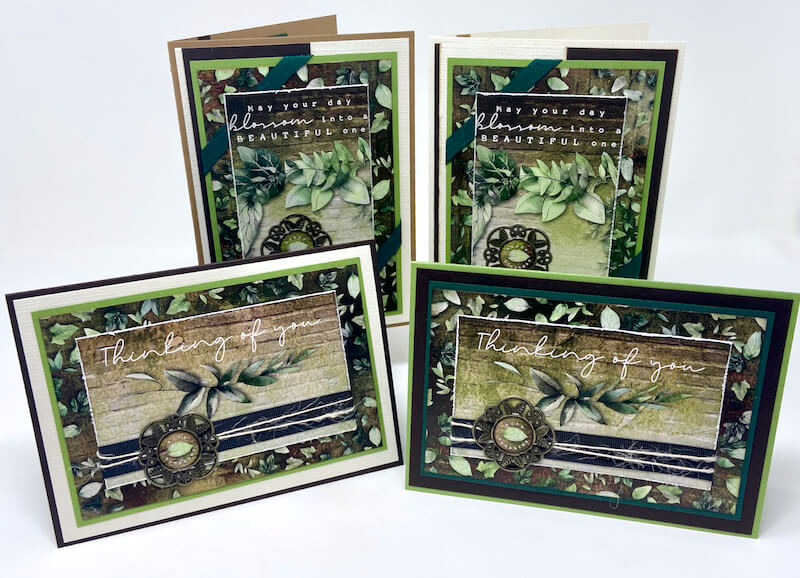
Create a gorgeous Flourish 5x7 Card Caddy as well as eight beautifully appointed cards with the February Card Kit and a Components kit. I also had enough leftovers to make three bonus cards.
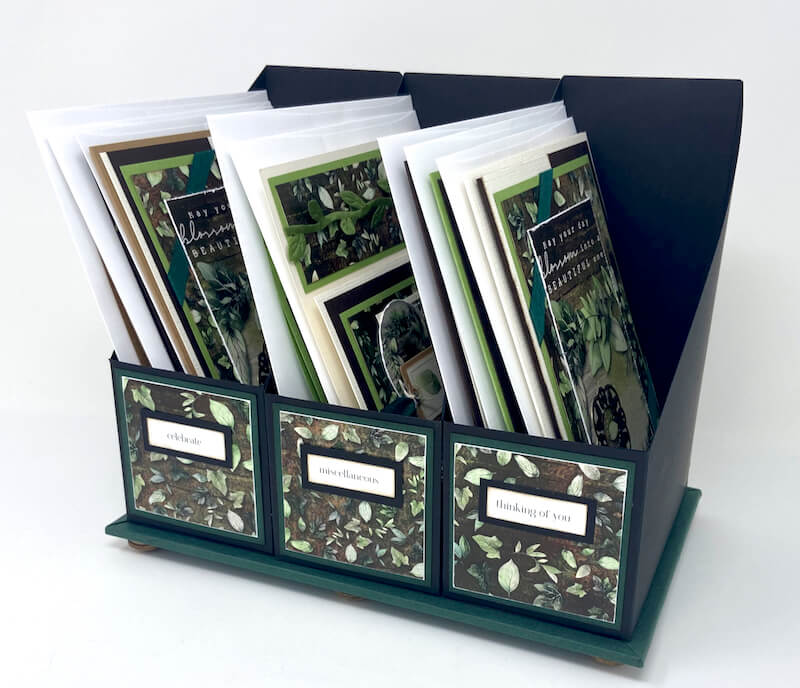
Flourish 5x7 Card Caddy
To replicate my project, gather a Flourish Card Kit and the 5x7 Card Caddy Components.
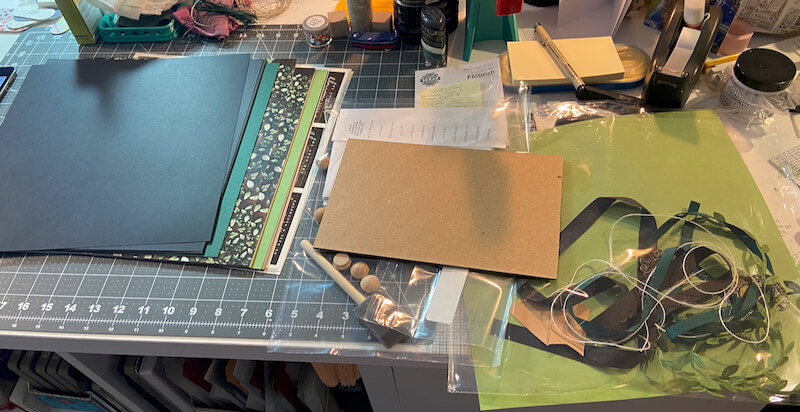
Construct the project using the following paper assignments from the Flourish collection:
Paper A = Dk. Green
Paper B = Brown
Paper C = Ivory Linen
Paper D = Lt. Green
Paper E = Kraft
Prints = Card Print
Trim the papers following the detailed cutting instructions to assemble the caddy.
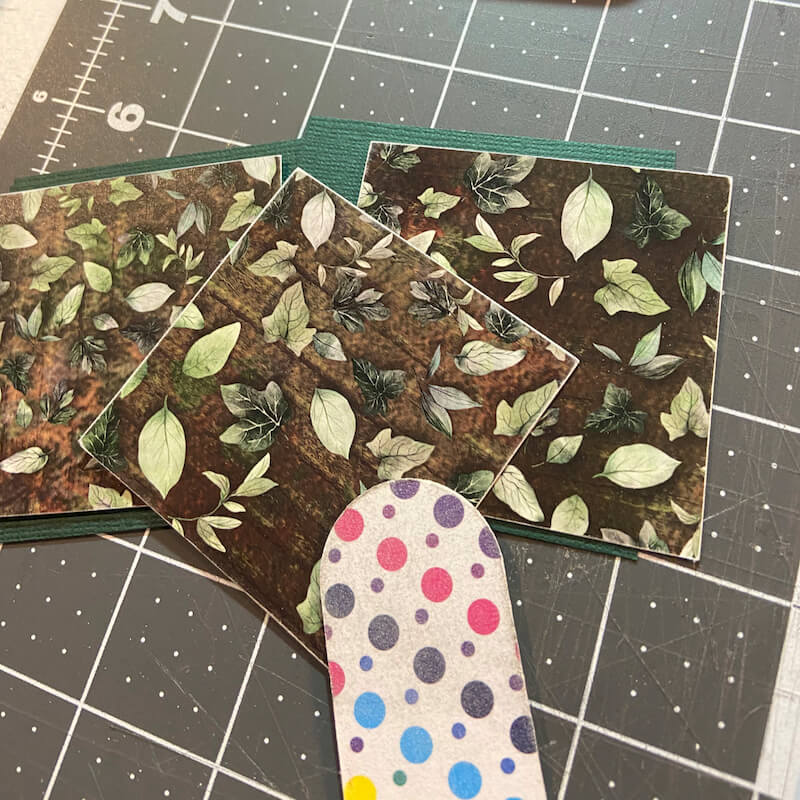
Distress the edges of the square prints with an emory board to expose the white paper core. I love how it makes the squares pop!
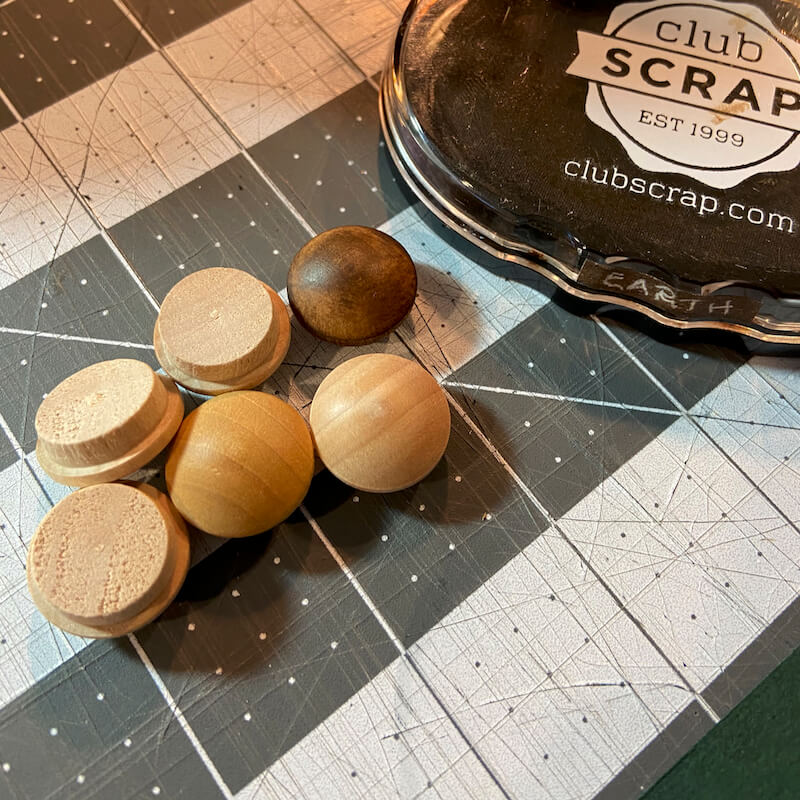
Did you know that CS Hybrid Earth Ink makes a great alternative to stain on wood embellishments? Ink each of the six Maple Buttons before attaching to the base of the caddy.
Select the labels and layer onto the black mats. Adhere to the decorative square prints with Bookbinding Glue.

Card Set A
Deal out the cut pieces for each card set. Select embellishments and cutaparts to fit each card design.
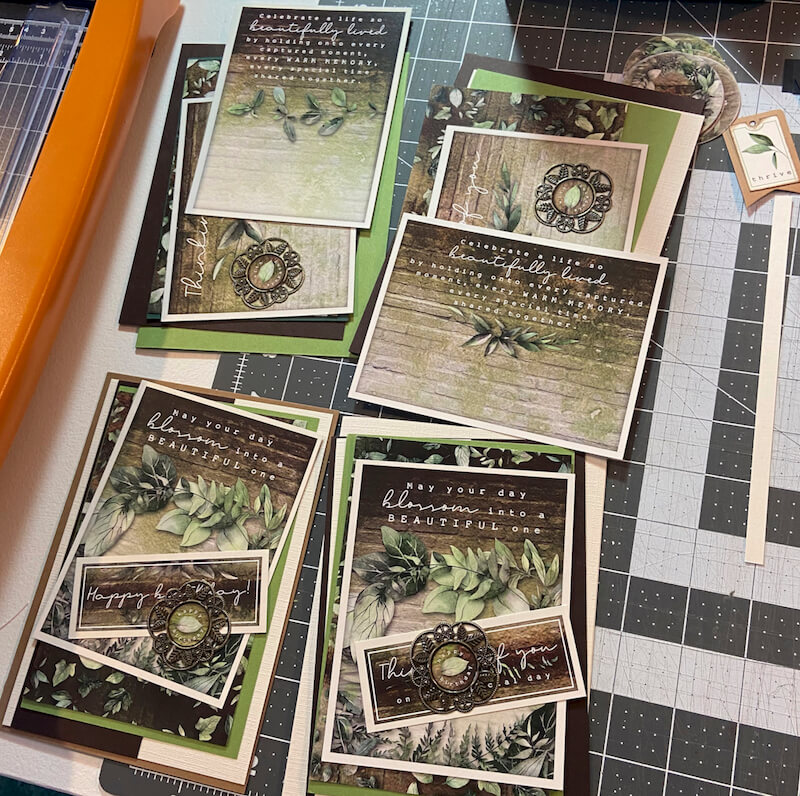
Make trimming adjustments to the cutaparts as needed. Rough the edges of trimmed cutaparts with a paper distressing tool to expose the white paper core.
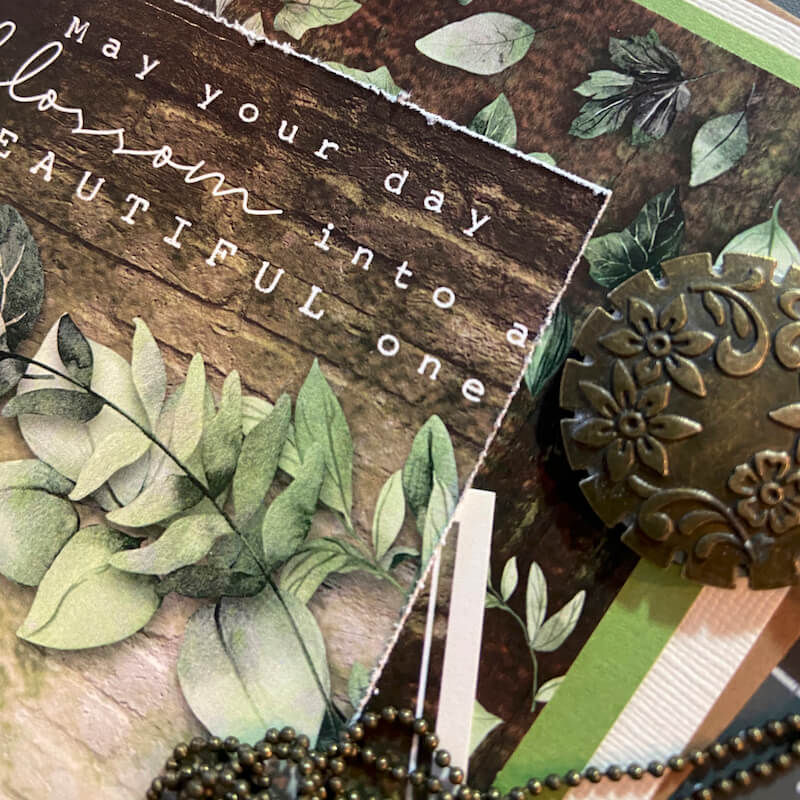
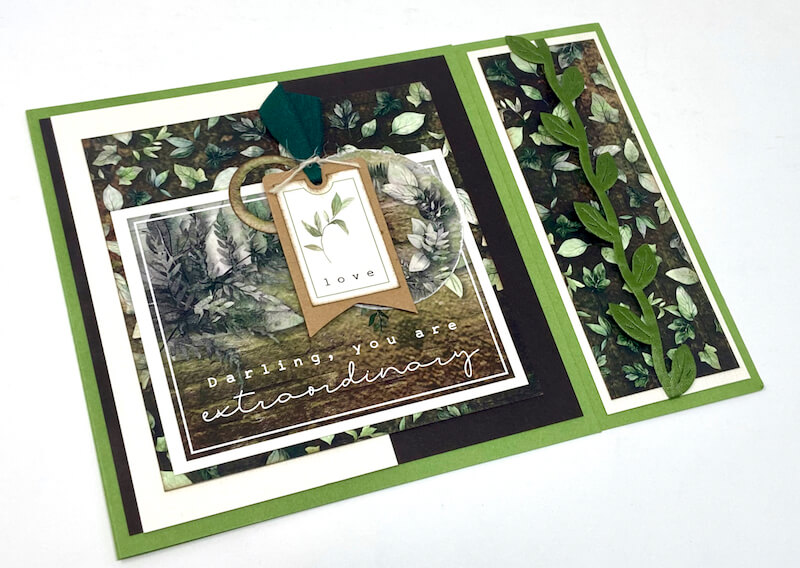
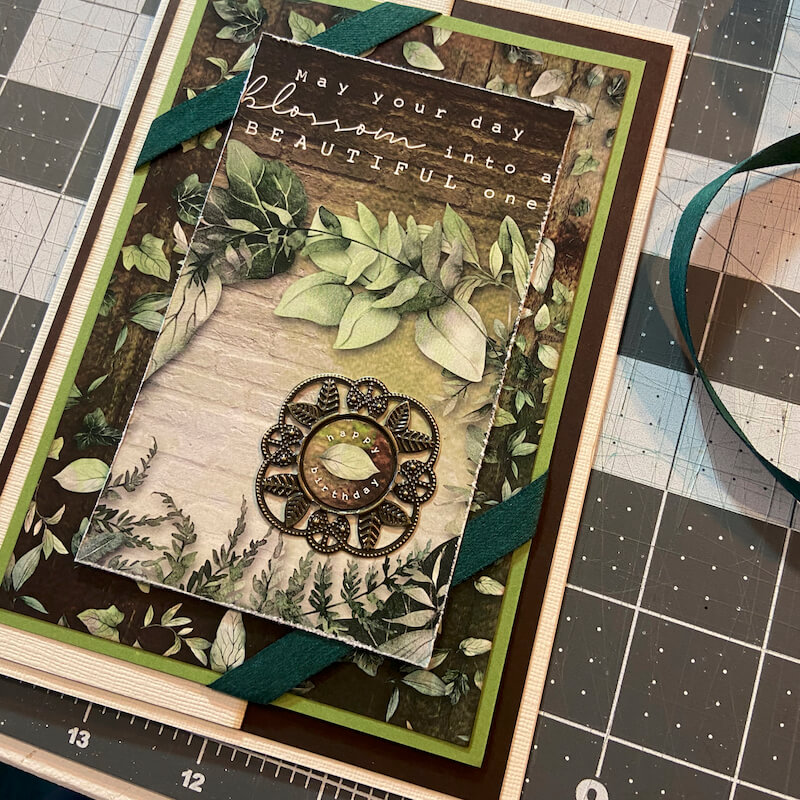
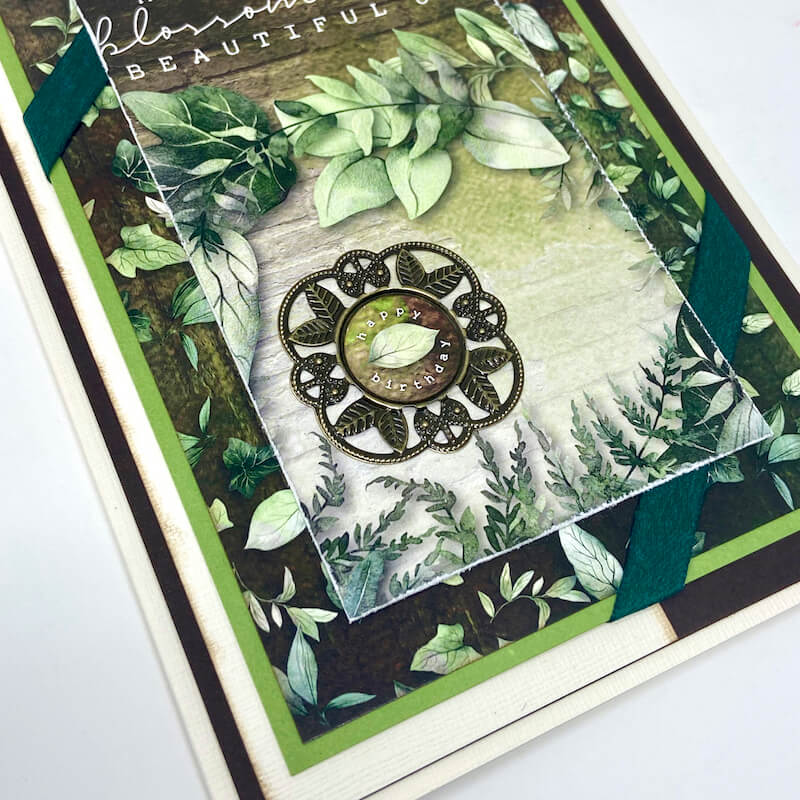
Wrap opposite corners of the layered panel with green ribbon and adhere a medallion with Bookbinding Glue.
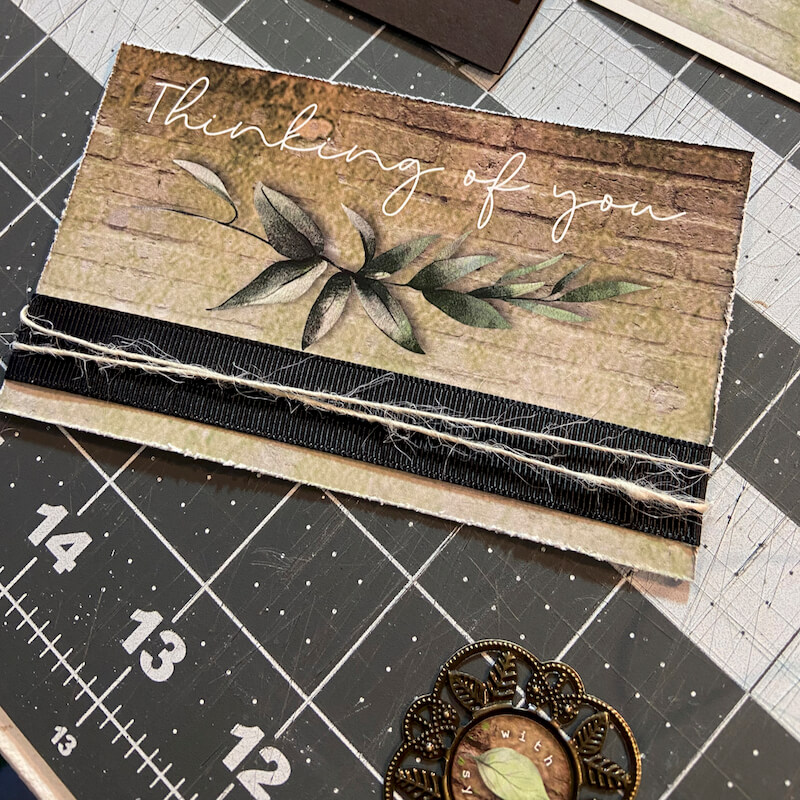
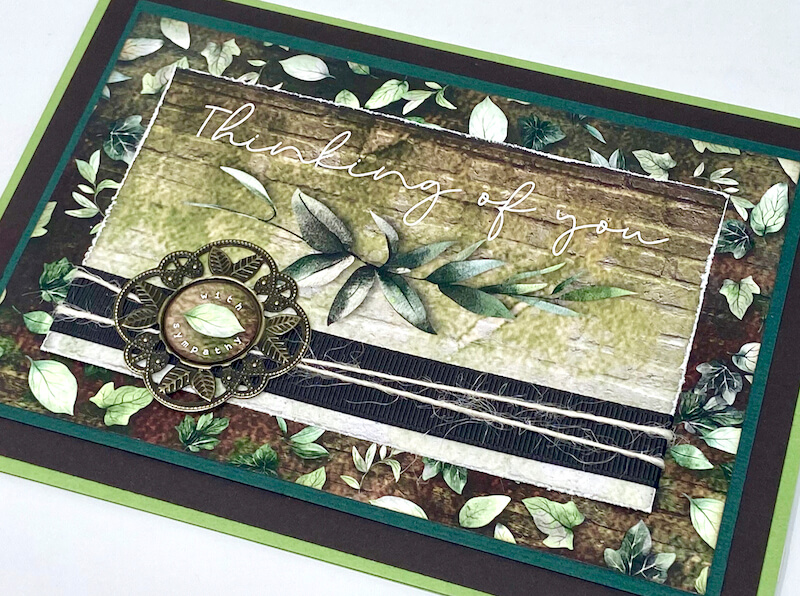
Wrap the bottom of each horizontal cutapart with brown ribbon and ivory jute. Adhere the medallion with glue dots.
Embellish the inside of each card from Set A with a complimentary cutapart sentiment and skinny paper strip.

Card Set B
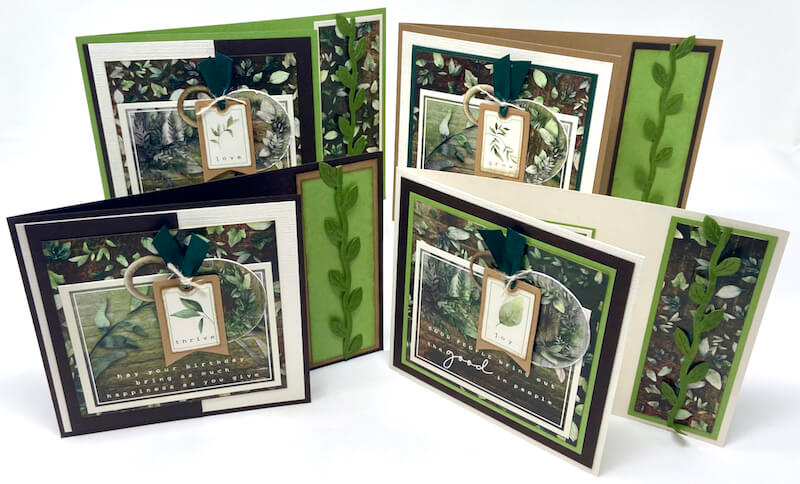
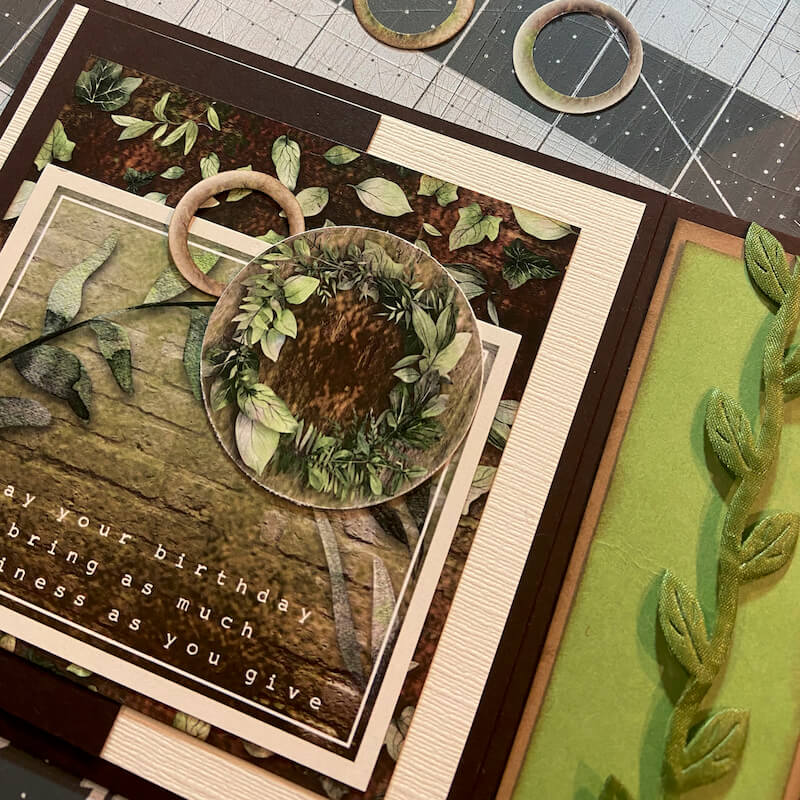
Create a cluster of cutaparts and embellishments to accent the sentiment on the front of each card. Wrap the leaf ribbon around the back of the layered panels and secure with clear tape. Adhere to the card base.
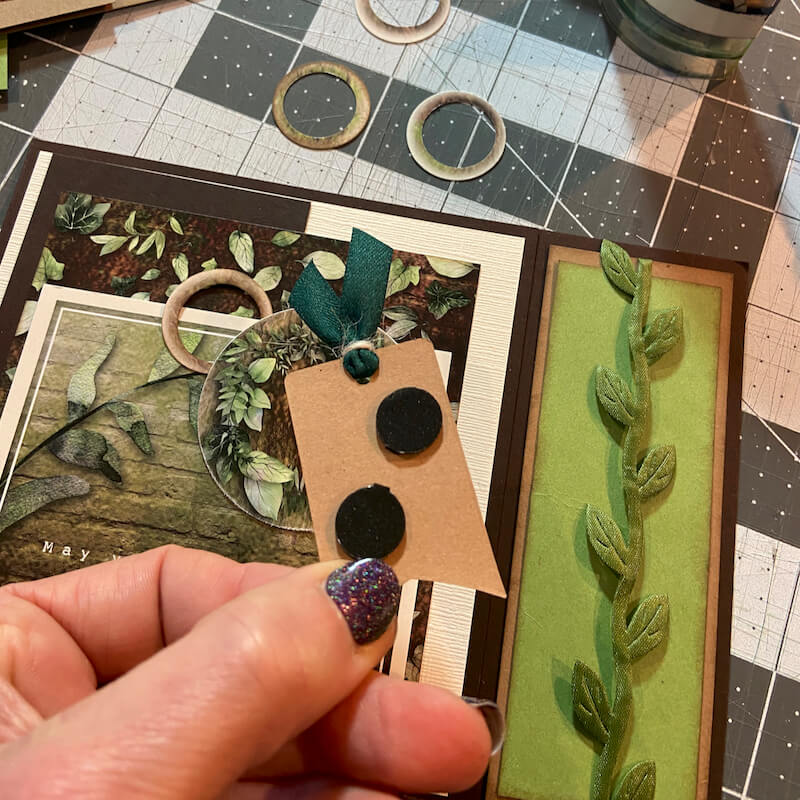
Thread a length of green ribbon through the punched hole in the tag. Tie the ivory jute around the green ribbon and secure with a knot. Adhere the tiny tag over the circle cutaparts with Foam Adhesive Circles.
Decorate the inside of each card with a complimentary cutapart sentiment.

Bonus Flourish Cards
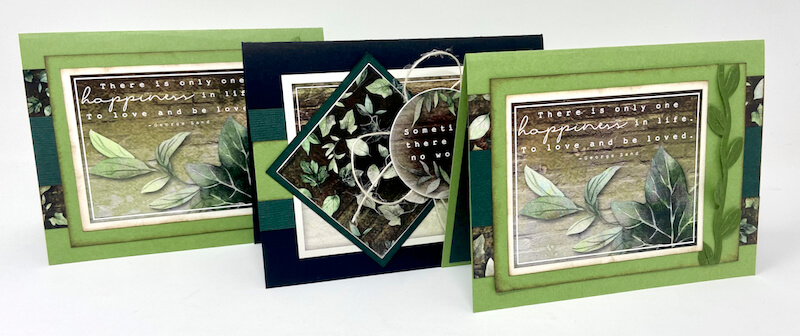
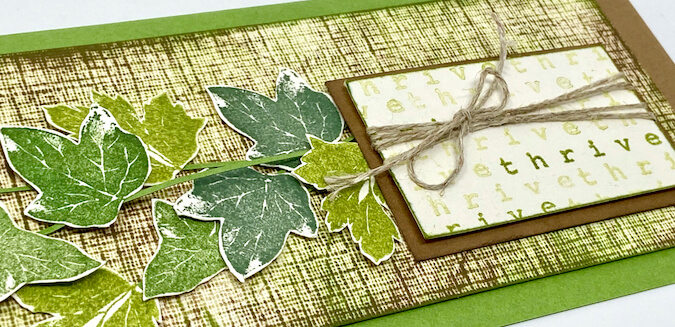
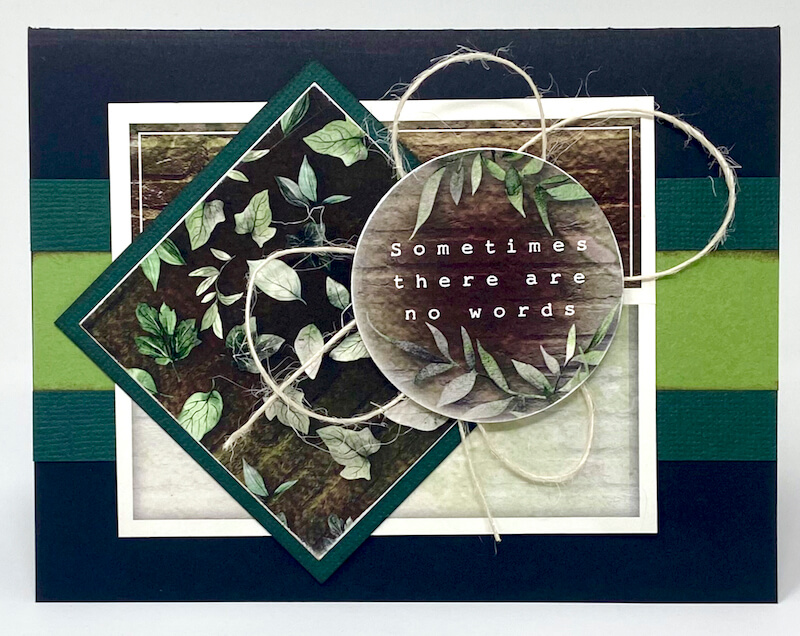
I had a few leftovers after the project was completed so I decided to make additional 4.25x5.5" cards. Trim the 12x12 Green and the 6x12 black component remnants into card bases.

Embellish each card with the remaining papers, ribbons, and cutaparts from the Card Kit.
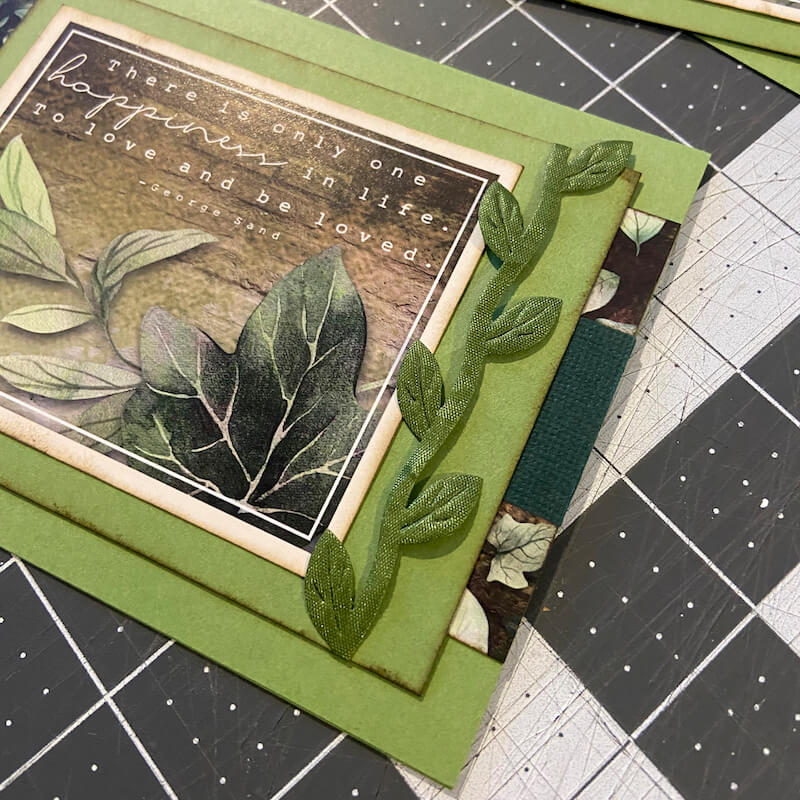
Adhere a strip grouping and sentiment to the inside of each card.

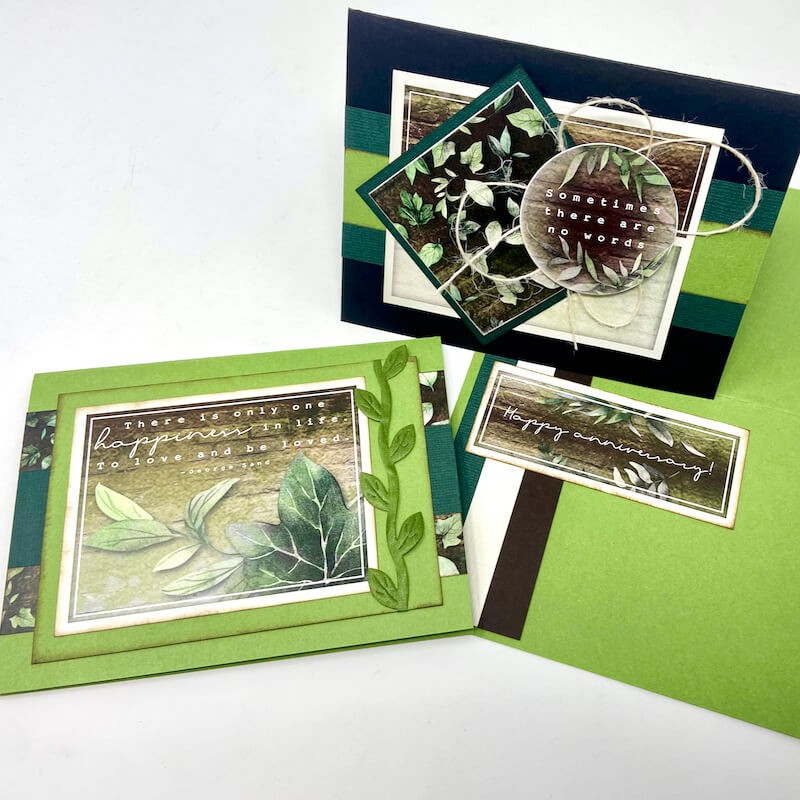
I made two identical Green cards and one Black card.

Have you made the 5x7 version of the Card Caddy project? Which kit did/will you use? Share your answers with me in the comments below.
