
Create stunning cards when you pair Flourish stamps with the rich earth tones of both the papers and inks. I am an avid gardener and the beautiful foliage images reminded me that spring and summer are just around the corner!

Flourish Stamps
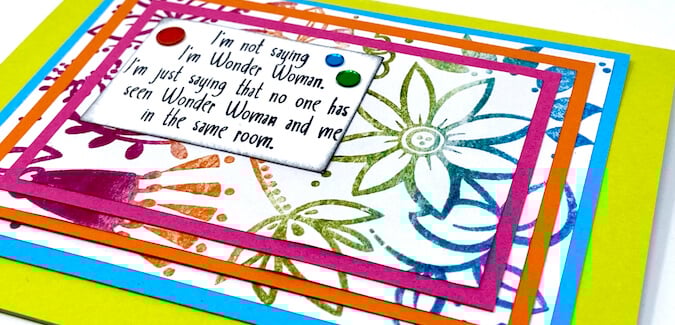
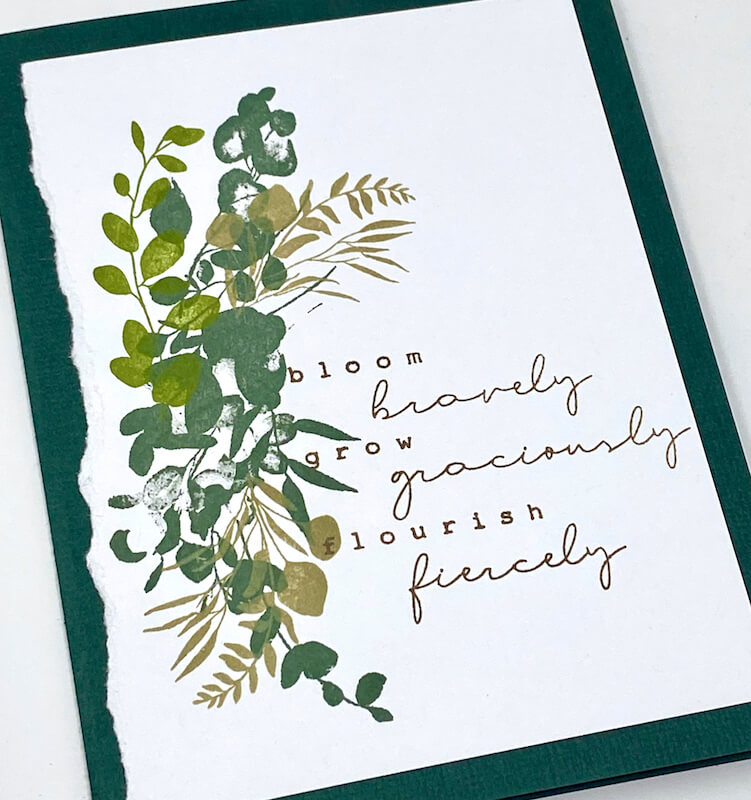
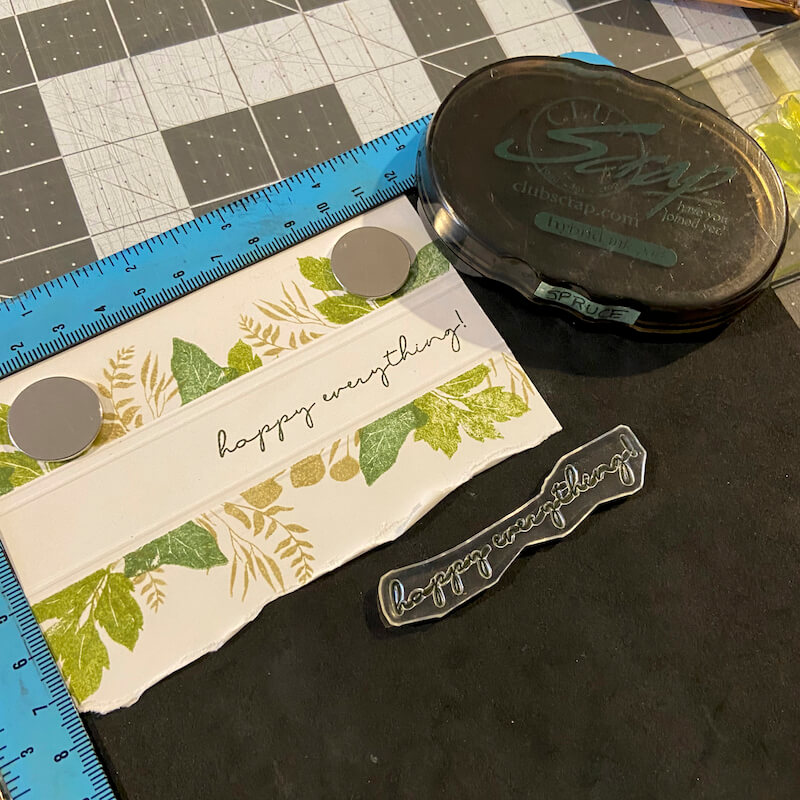
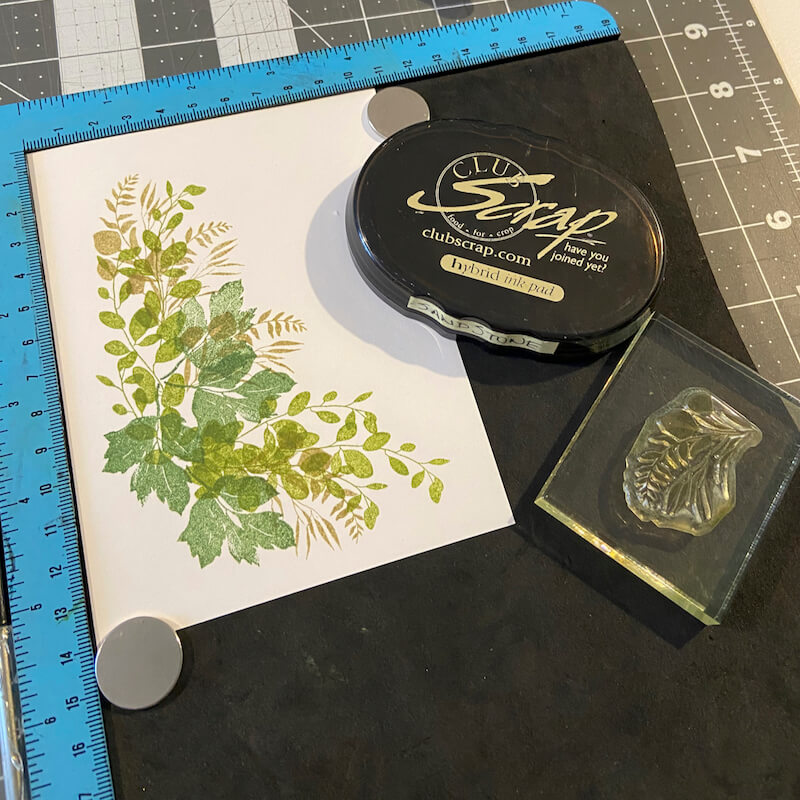
Card 1
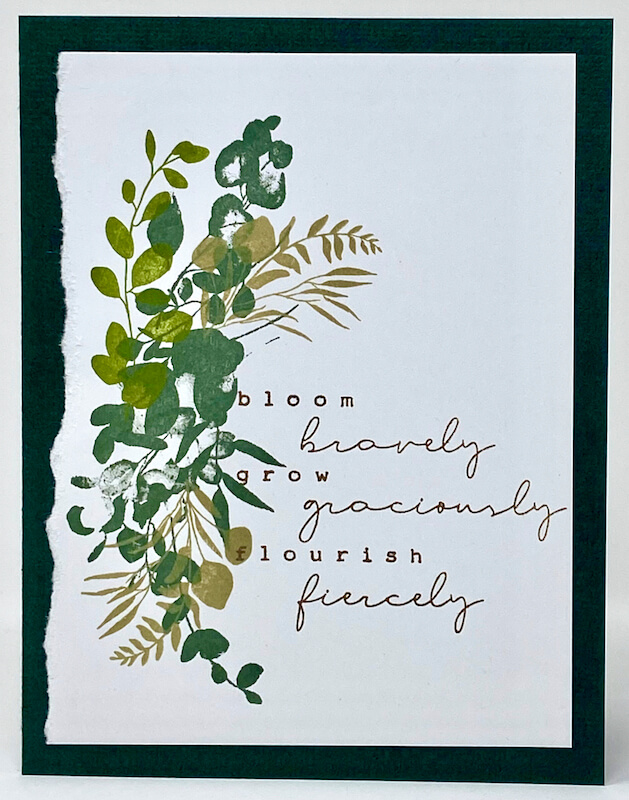
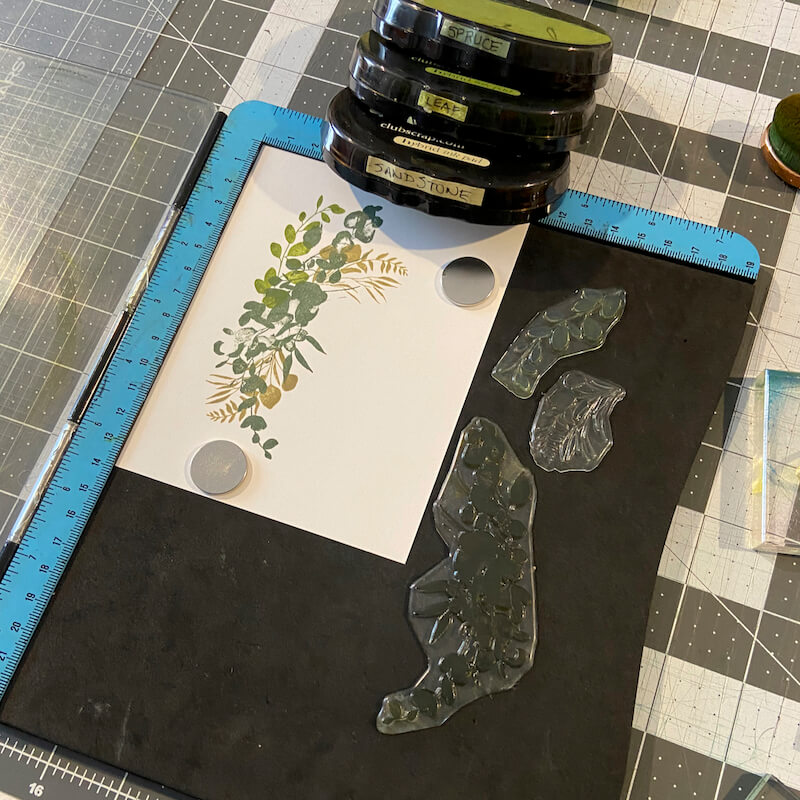
Stamp each individual foliage image with a unique shade of green Club Scrap Hybrid Ink. Stamp the smallest leaf/branch cluster with Sandstone ink. I love how the inks resist each other allowing the image to appear over the other inks.
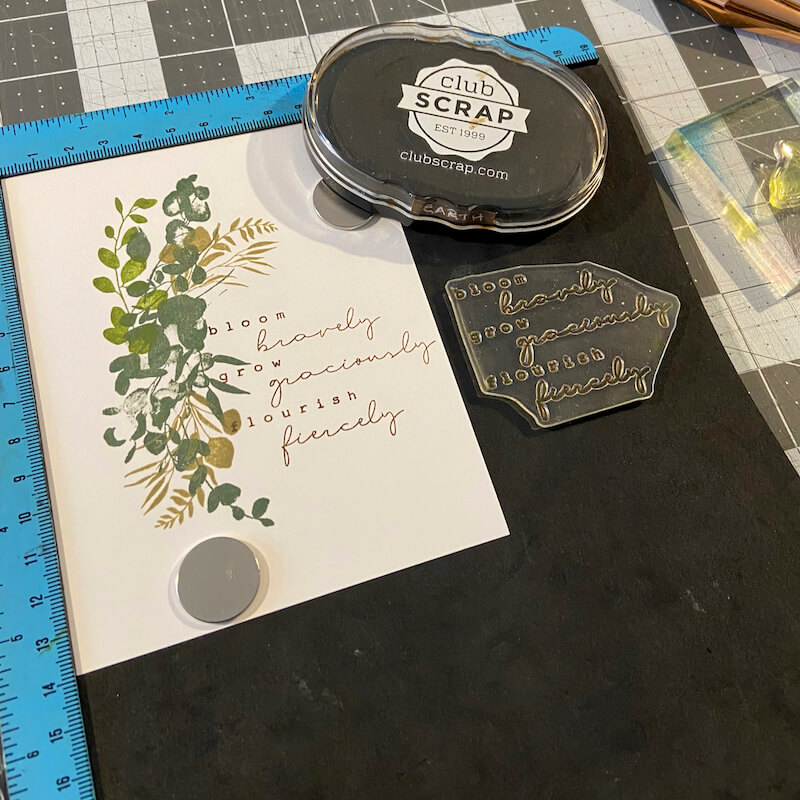
Add the sentiment to the panel in Earth Ink.
Tear along the left edge of the panel to add texture to the card.
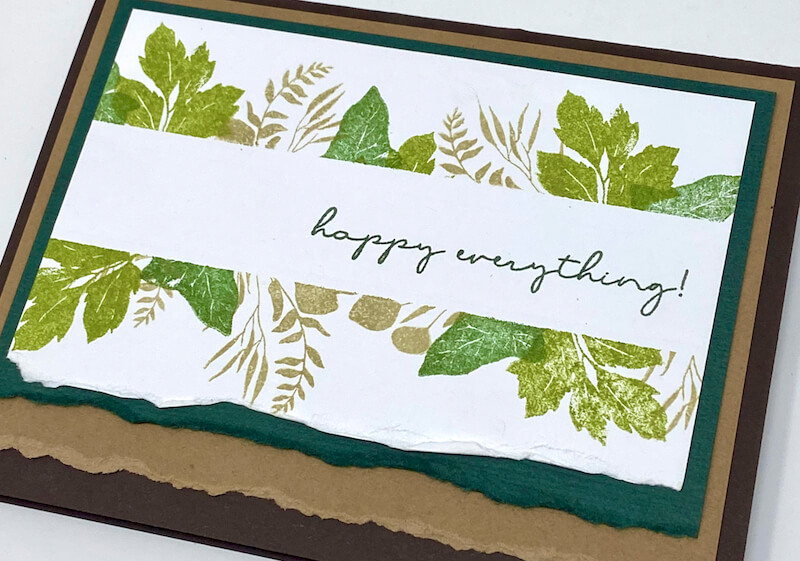
Card 2
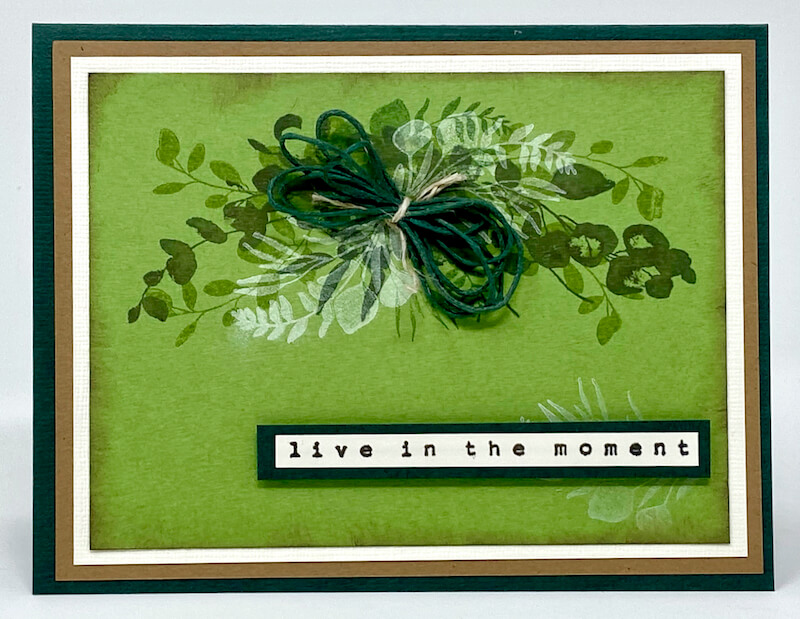
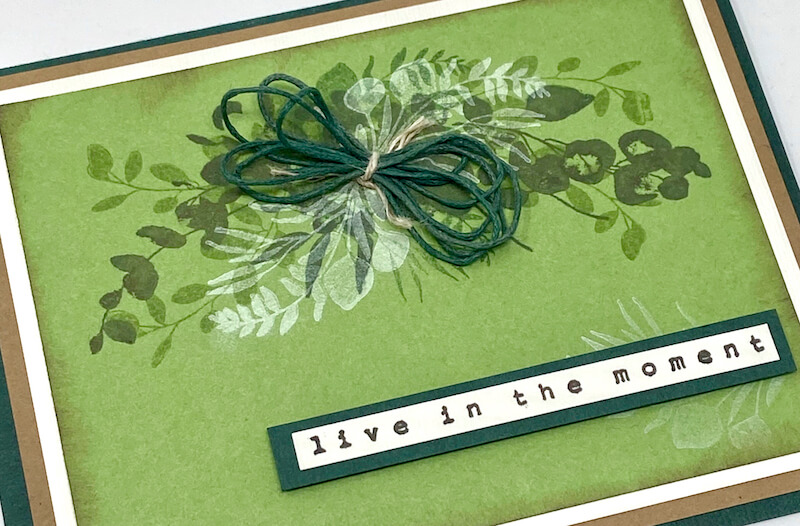
Stamp individual foliage images in a swag formation with Earth, Leaf, Spruce and Moss ink.
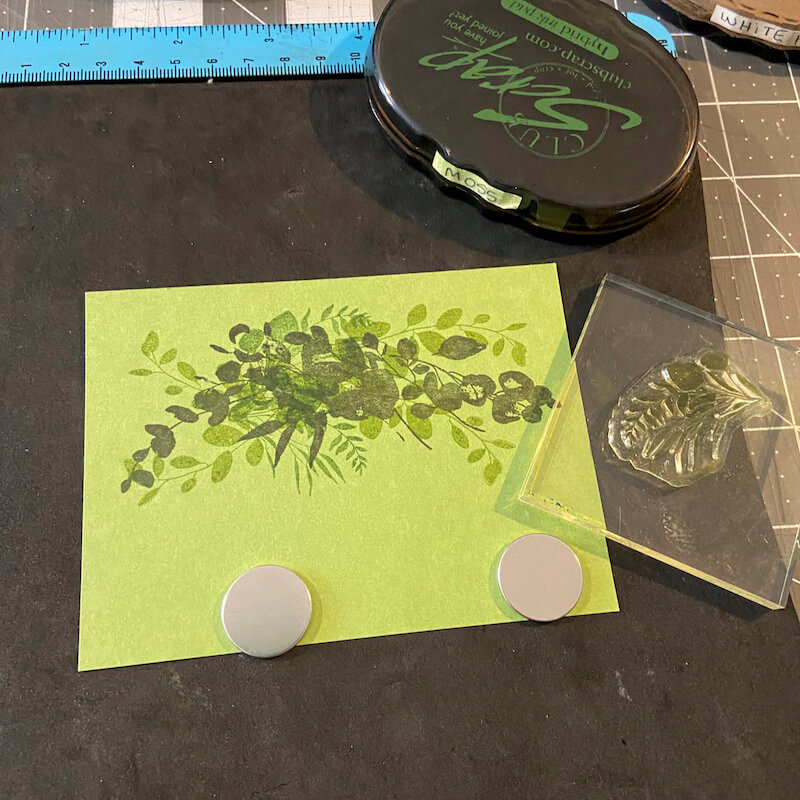
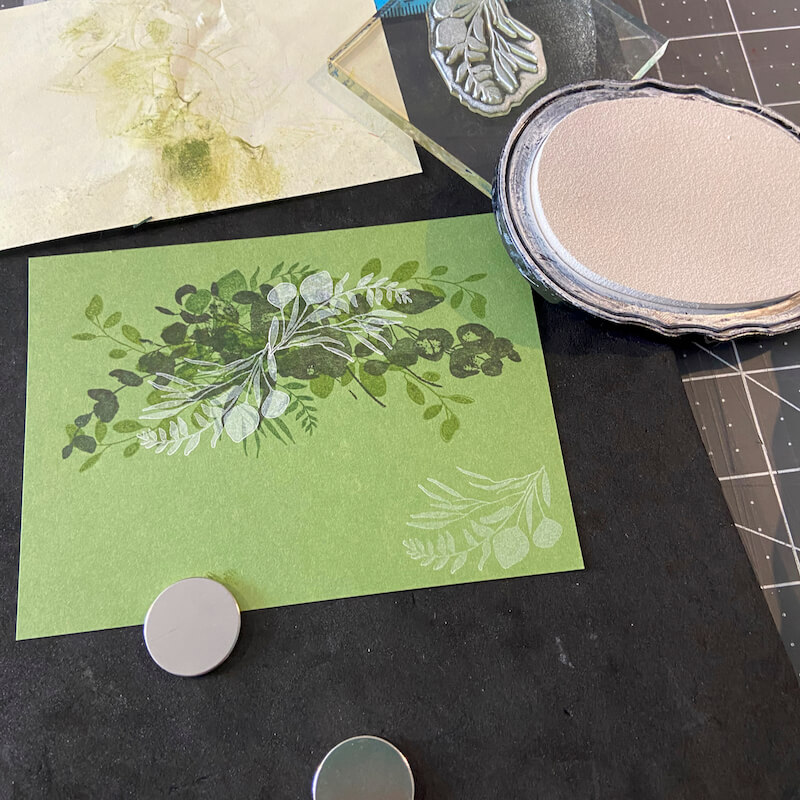
Add the smallest foliage cluster with White Pigment ink. Without re-inking, stamp the same image a second time in the bottom right corner of the panel.
Add a stamped sentiment, mat with Dark Green. Complete the card with loops of green cord tied with a small piece of twine.
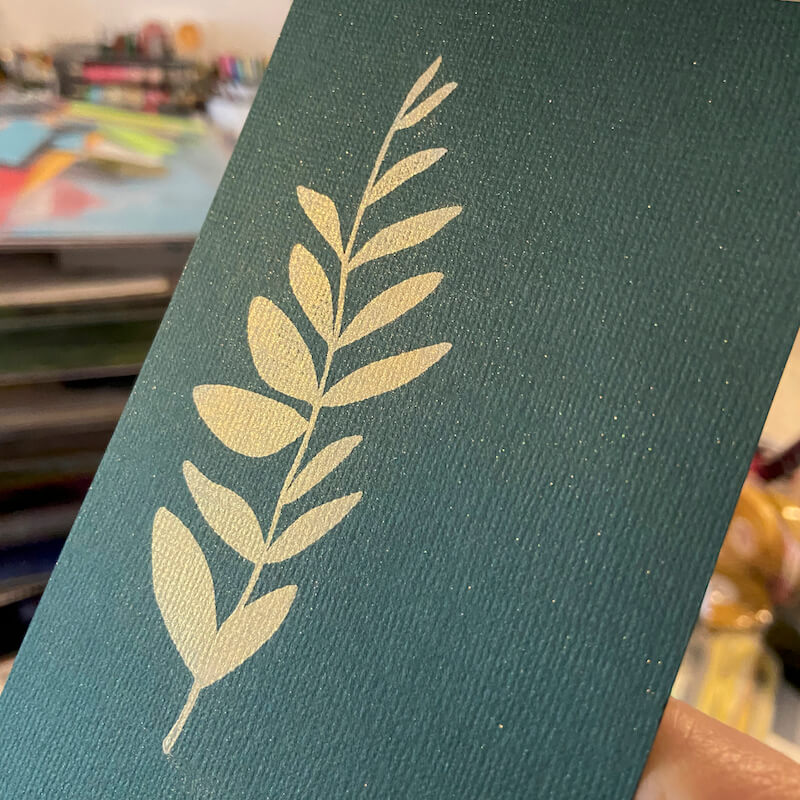
Card 3
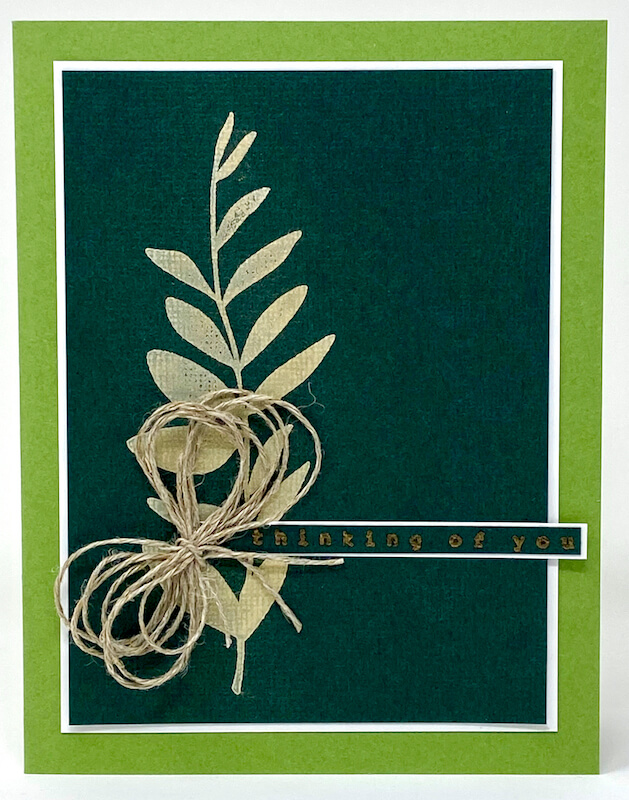
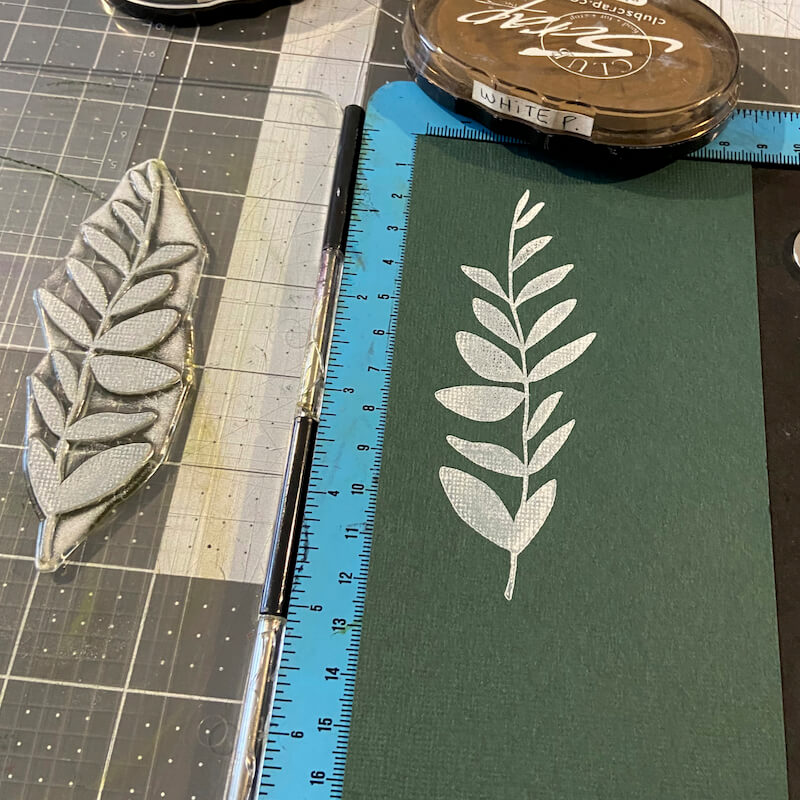
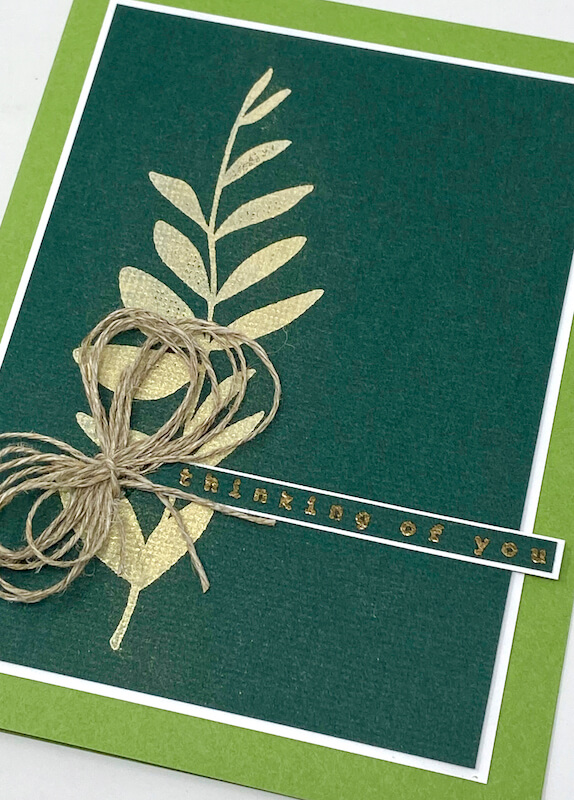
Stamp the Dark Green panel with the tall foliage image in White Pigment ink.
Sprinkle the wet ink with Gold Pearl Perfect Pearls.
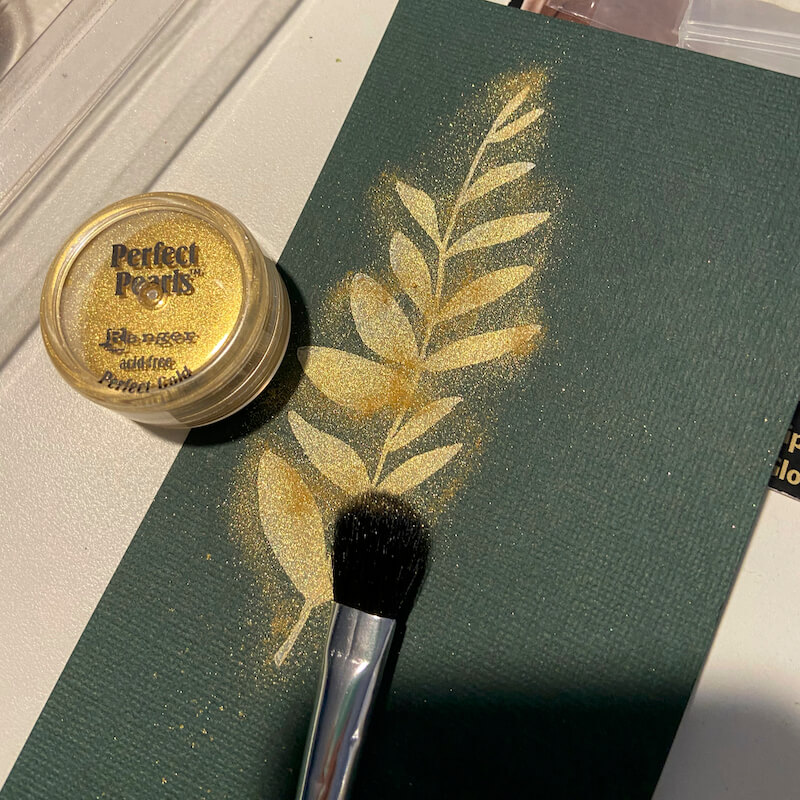
Dust off the excess powder with a soft brush.
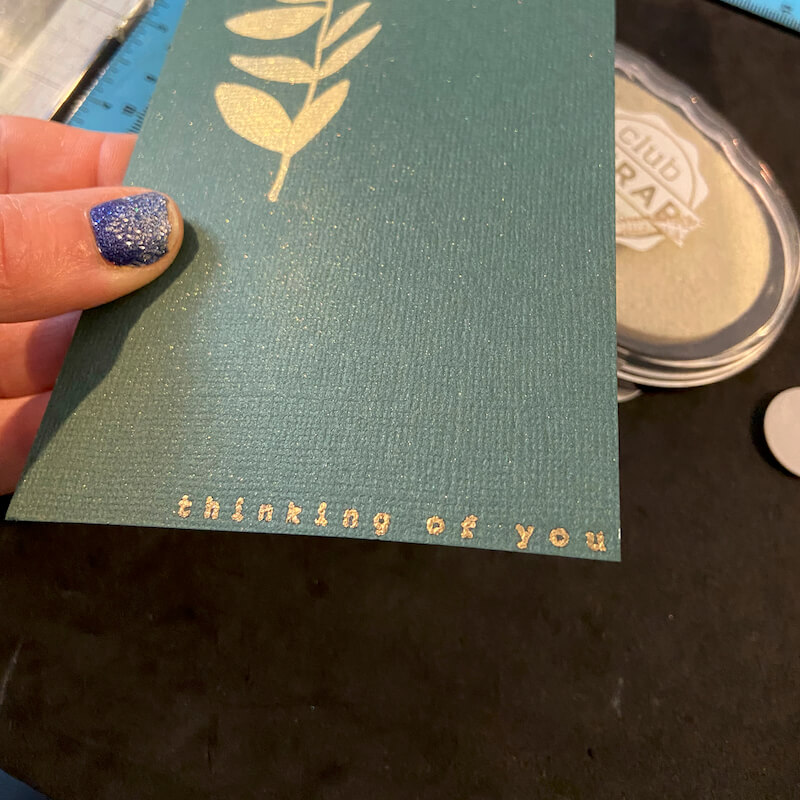
Stamp the sentiment at the very bottom of the dark green panel in Watermark ink.
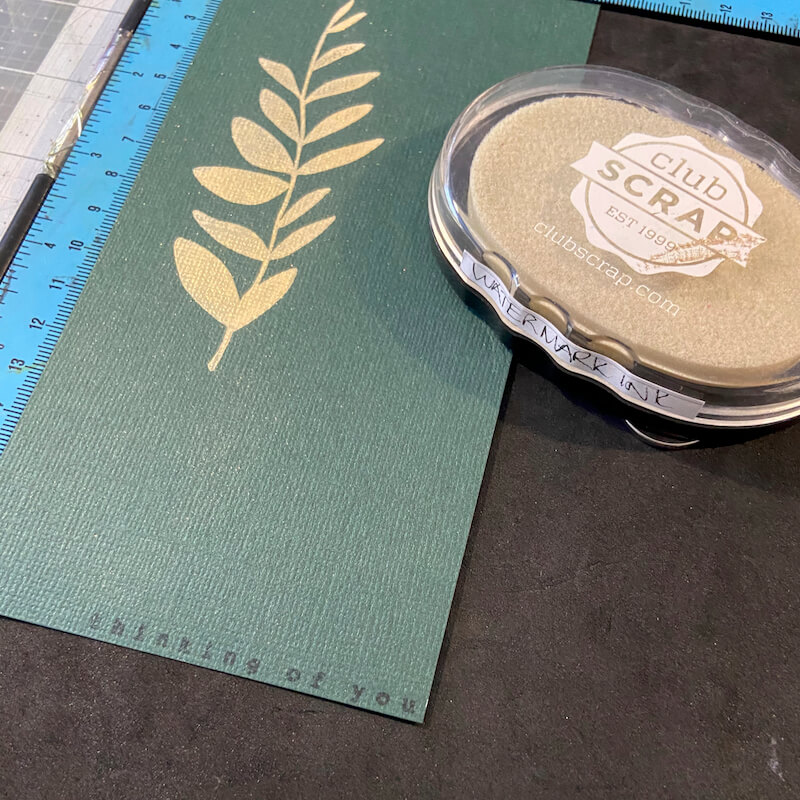
Sprinkle gold embossing powder over the sentiment, remove excess powder and heat set to melt.
Trim the sentiment from the bottom of the panel.
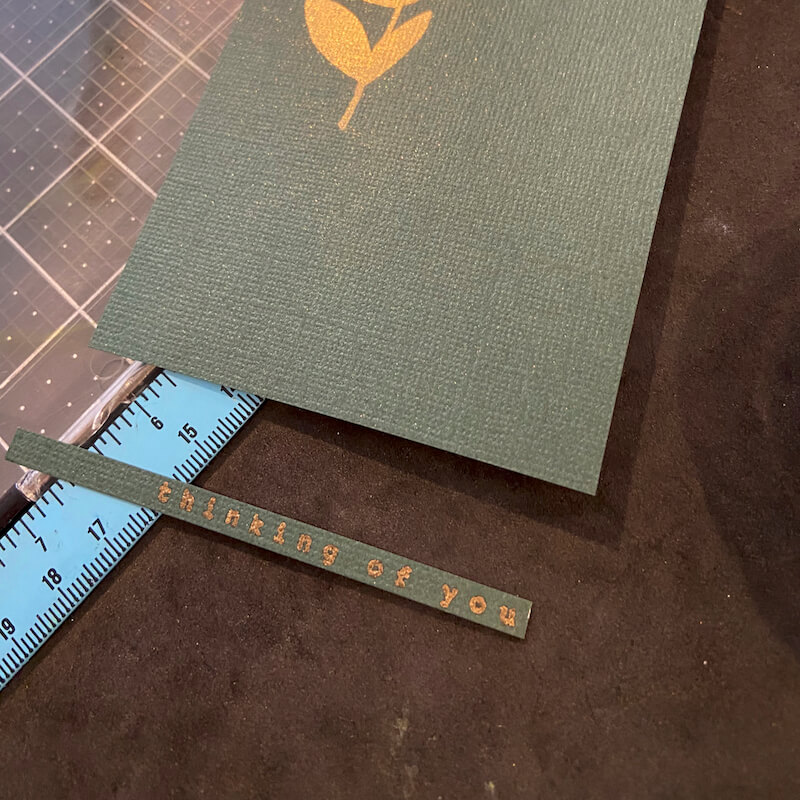
Mat the sentiment with white. Create a loopy bow with twine and adhere to the card with bookbinding glue.
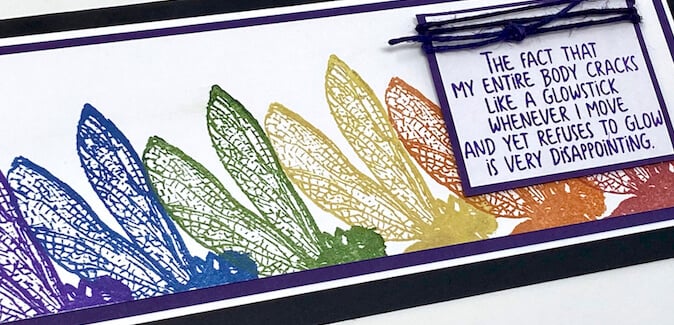
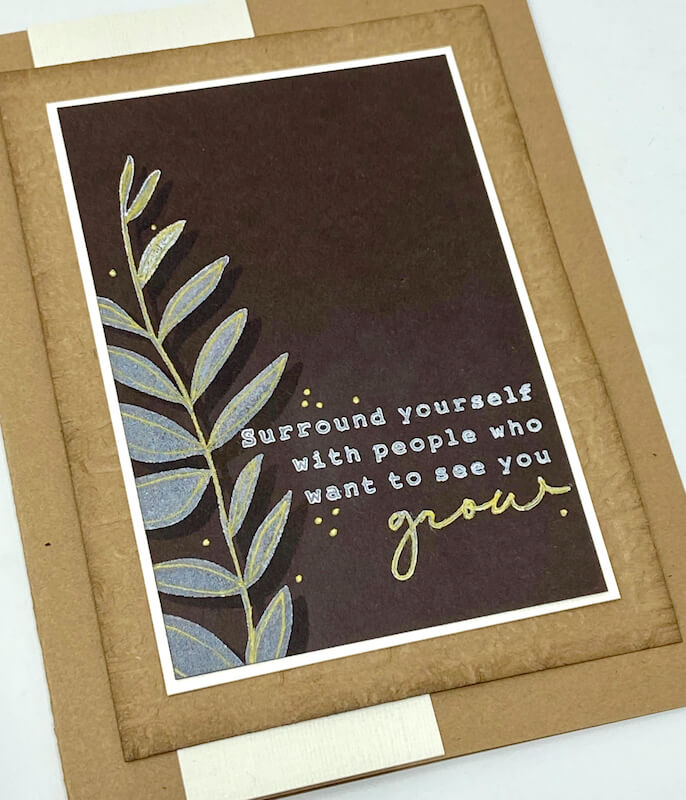
Card 4
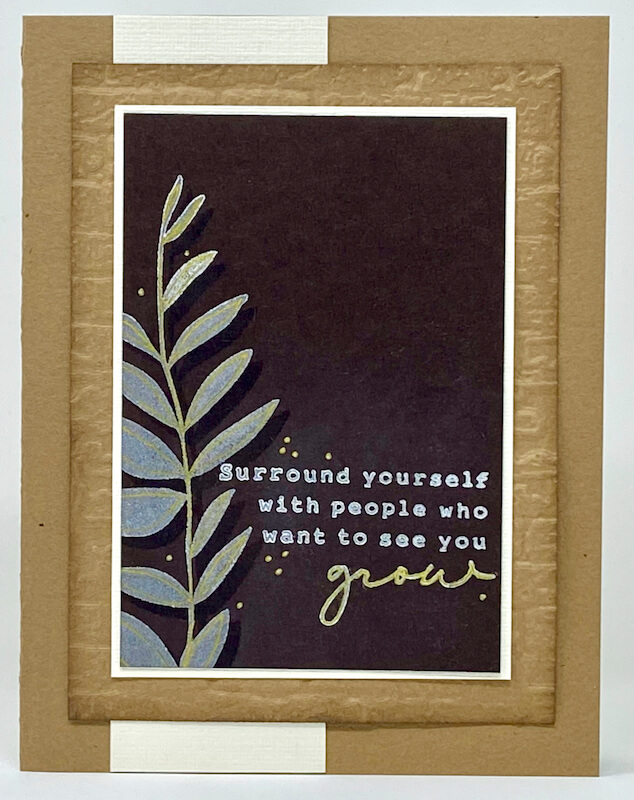
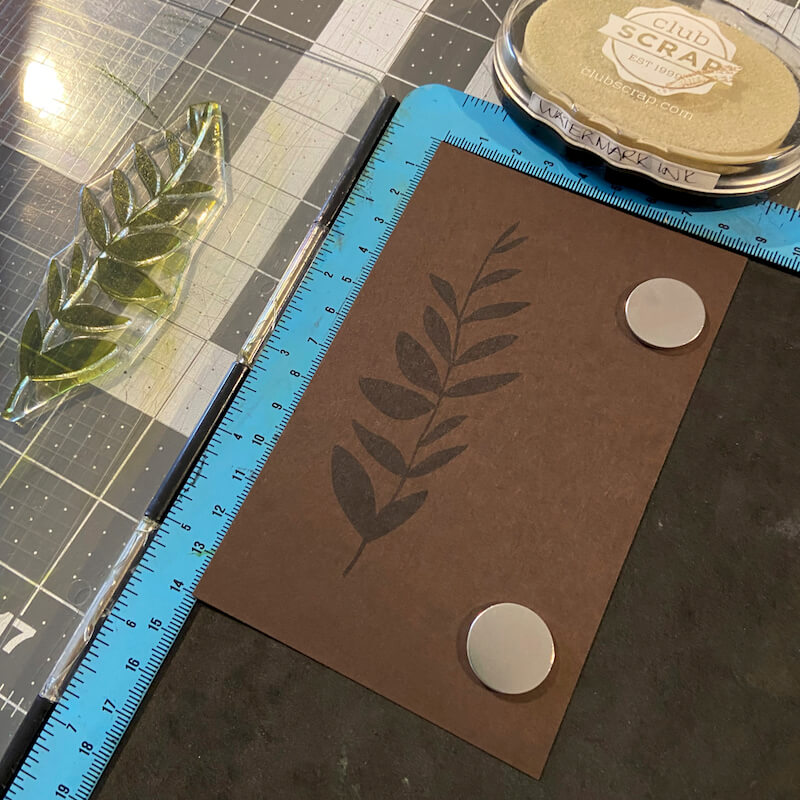
Place a brown panel into a stamp positioning tool. Stamp the tall foliage image with Watermark ink.
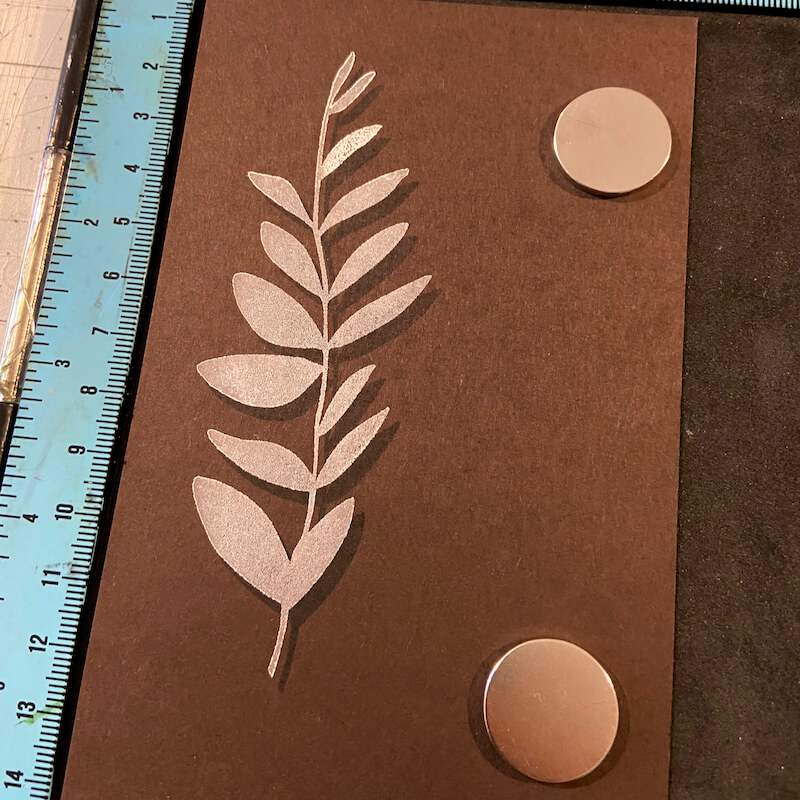
Open the lid of the tool and carefully shift the stamp slightly up and to the left of the watermarked image. Close the lid to pick up the stamp and ink with White Pigment ink. Close the lid to transfer the image onto the panel. I love how the white image appears to be floating over the panel!
Hand draw accents over the white image with a gold gel pen.

Stamp the sentiment next to the image with White Pigment ink.
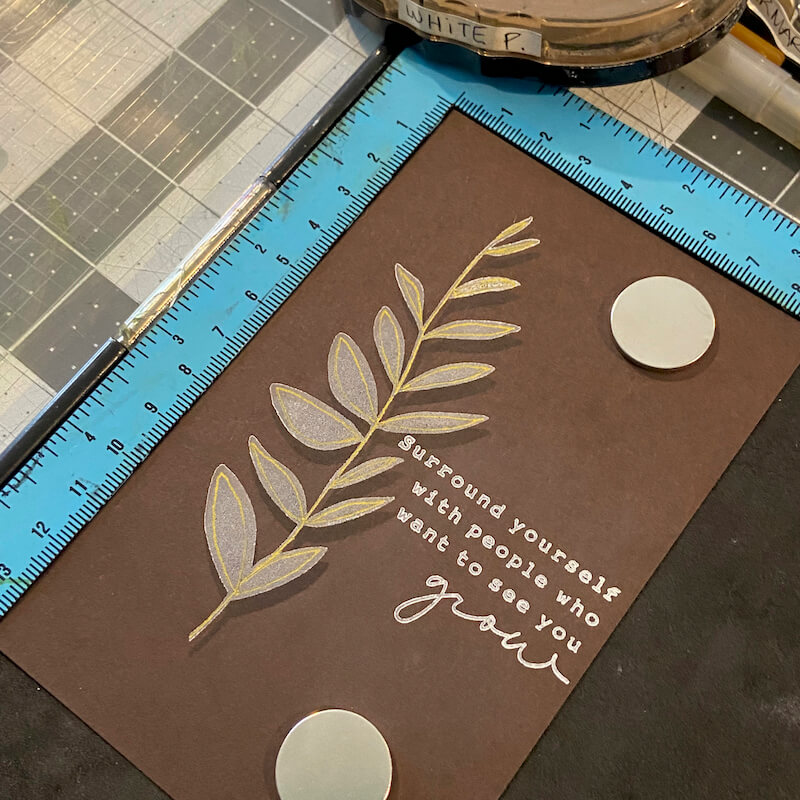
Trace the word "grow" on the sentiment with the gold gel pen.

Add tiny gold dot accents to complete the card.
Card 5
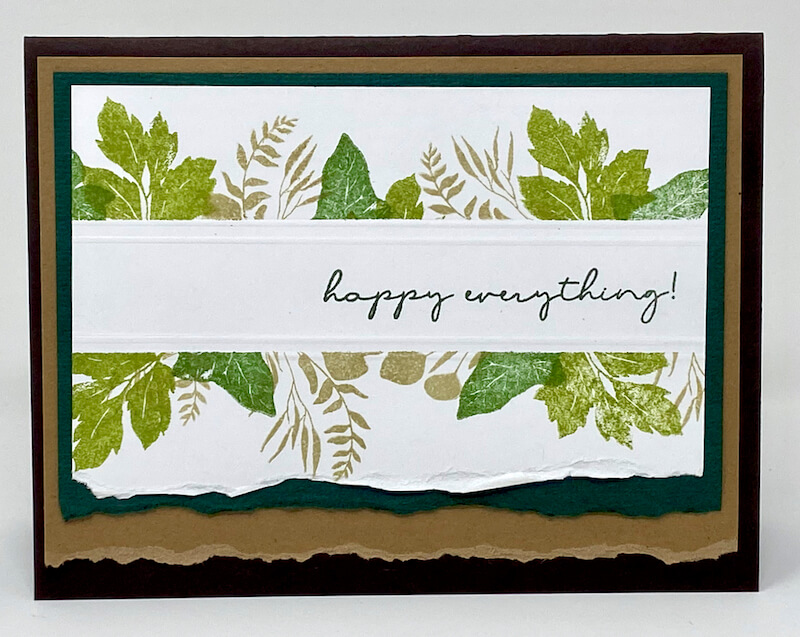
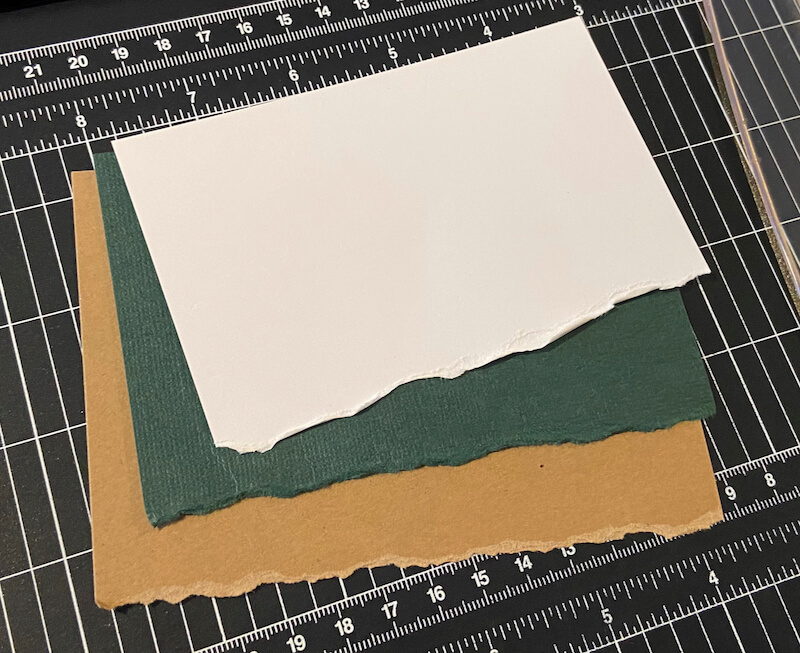
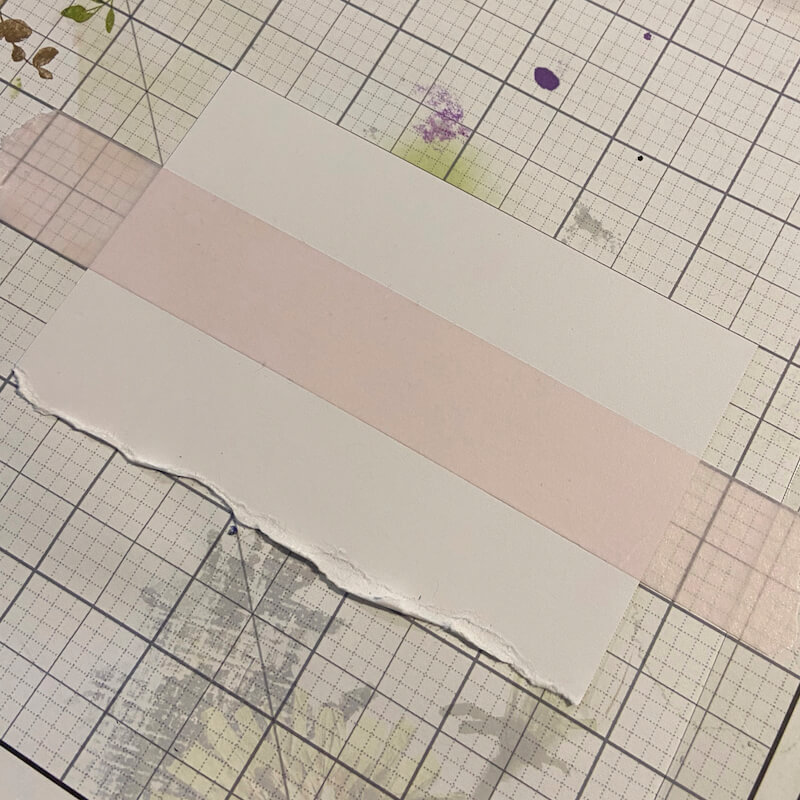
Tear the bottom edge from a white, green and kraft panel.
Position the white panel on grid paper and cover the center with a strip of masking tape.
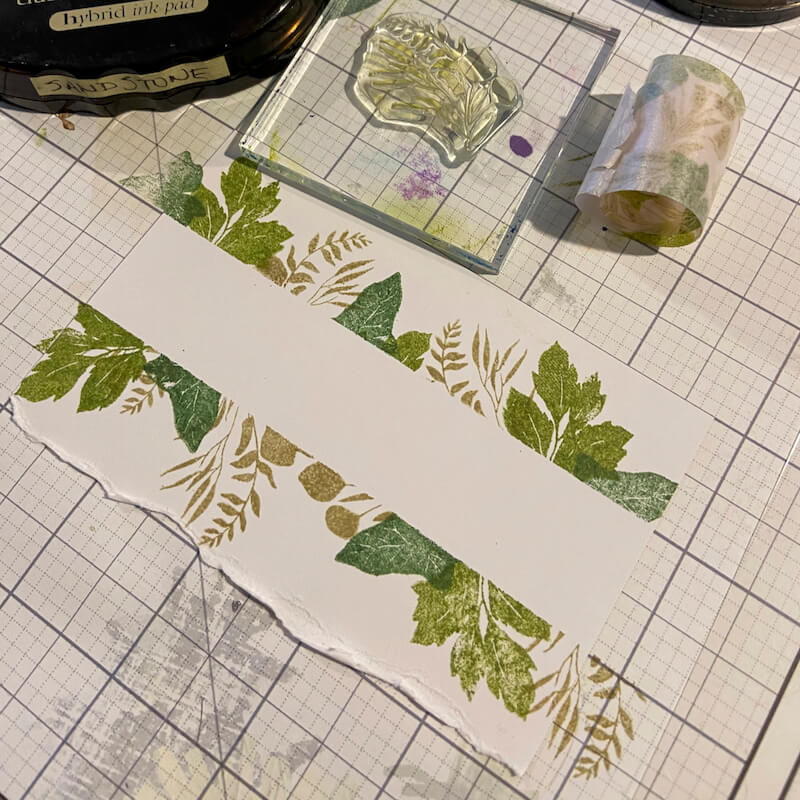
Stamp leaf images randomly over the taped area.

Carefully remove the masking tape from the panel.
Using light pressure, score the panel just inside both edges of the masked area.
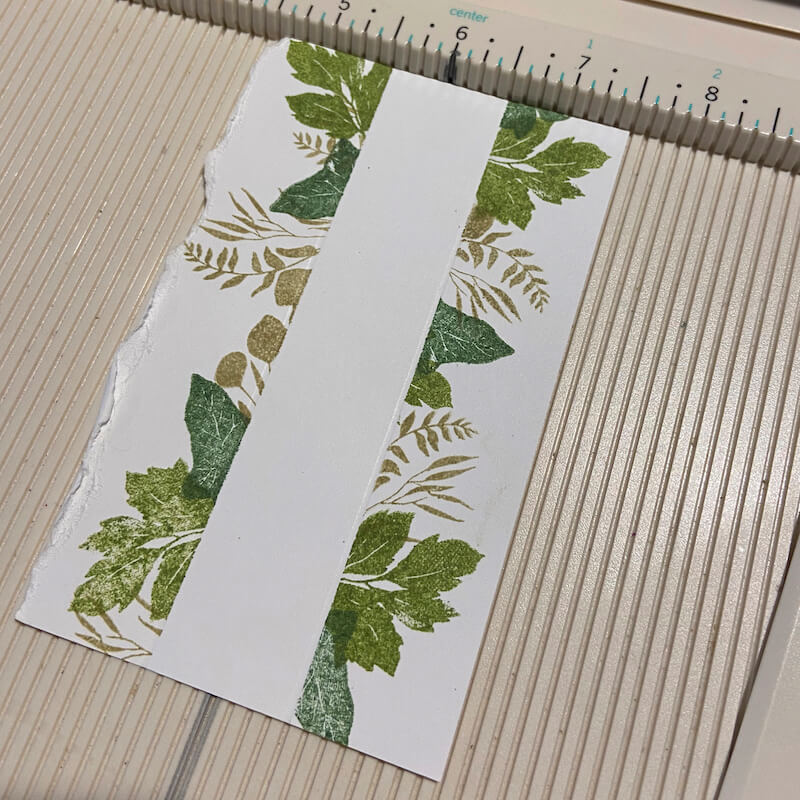
Flip the panel over from top to bottom. Score along the same lines with more pressure. Score a second pair of lines 1/8" from the first set.
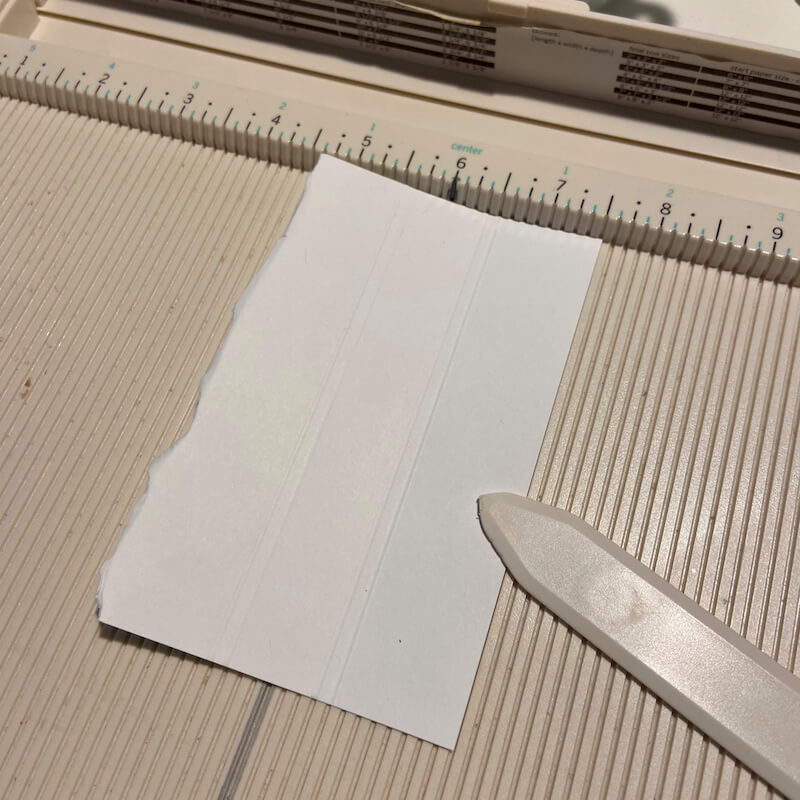
Remove the panel from the score board and add a stamped sentiment within the masked area. I love the subtle look of the embossed detail.
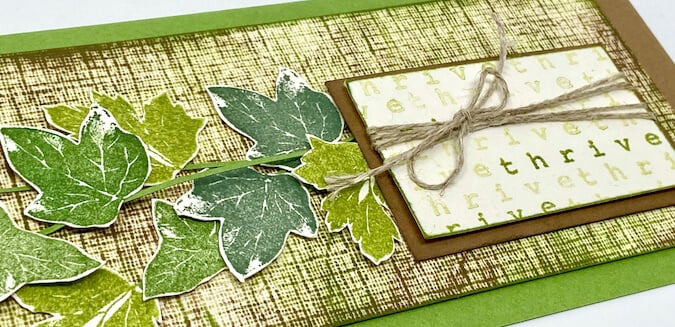
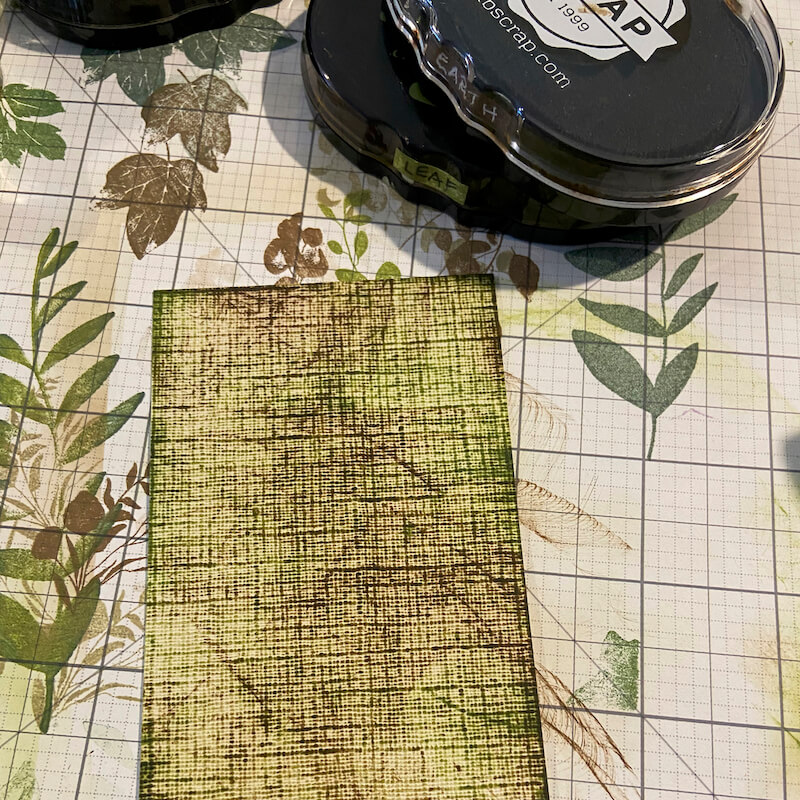
Card 6
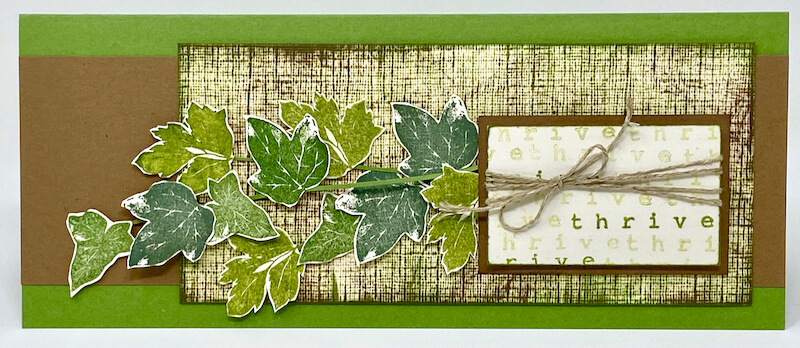
Place a piece of Ivory Texture paper onto your work surface; rub over the raised areas of the panel with a Leaf ink pad.
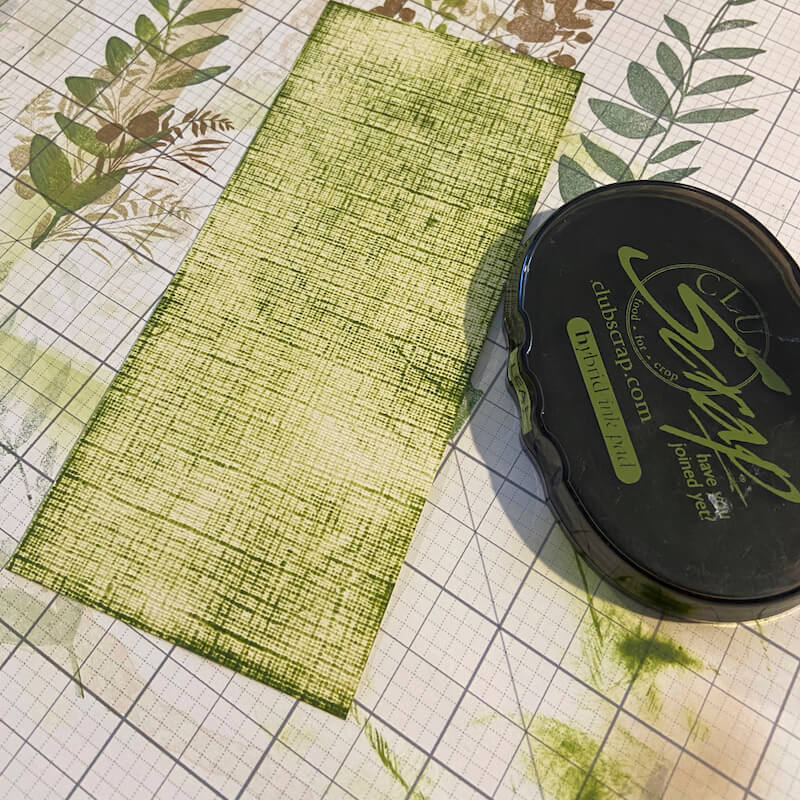
Add Earth ink until the desired look is achieved.
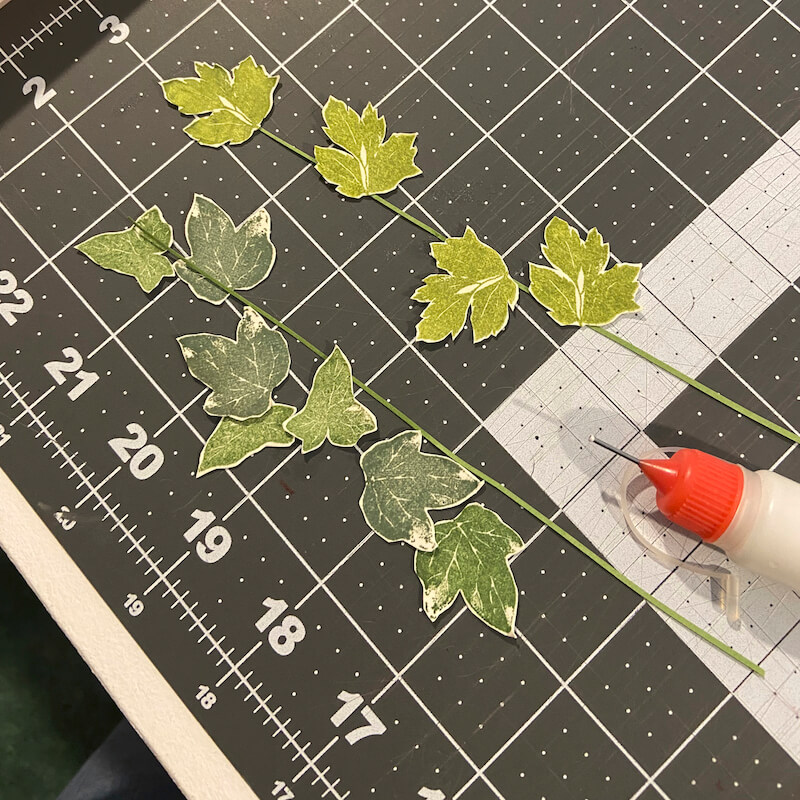
Stamp the single leaf images repeatedly onto a white panel with Moss, Spruce and Leaf ink.

Trim thin strips of Light Green with Club Scrap's Paper Trimmer. It amazes me how perfect it cuts such thin slivers of paper!
Fussy cut the stamped leaves and adhere to the thin strips with Bookbinding Glue dispensed from a Needle-tipped Applicator.
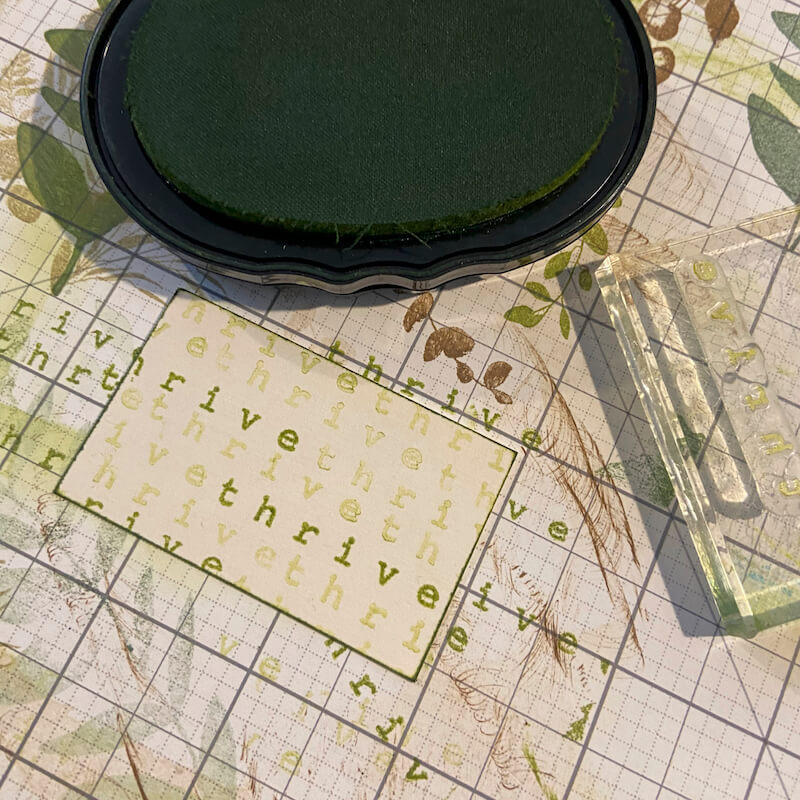
Add ink to the word "thrive", stamp off some of the color on scrap paper before stamping it repeatedly onto the non-textured side of an Ivory Linen panel. Stamp it once with a full strength ink application to make it stand out from the rest.
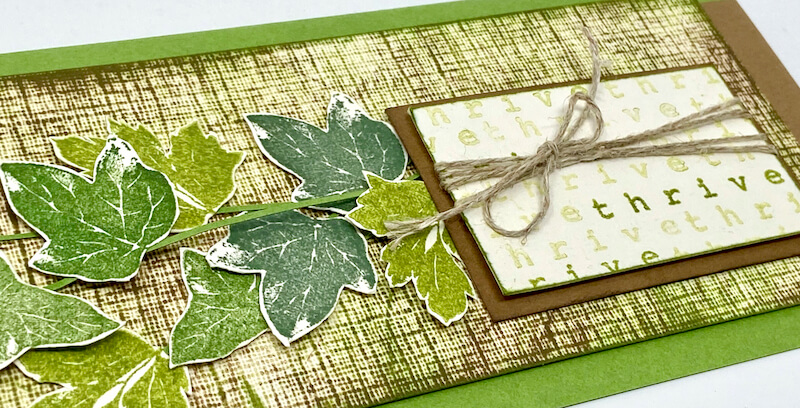
Adhere the leafy branches to the textured panel with Bookbinding Glue dispensed from the Needle-tipped applicator. Tie a bit of twine around the sentiment panel to complete the card.
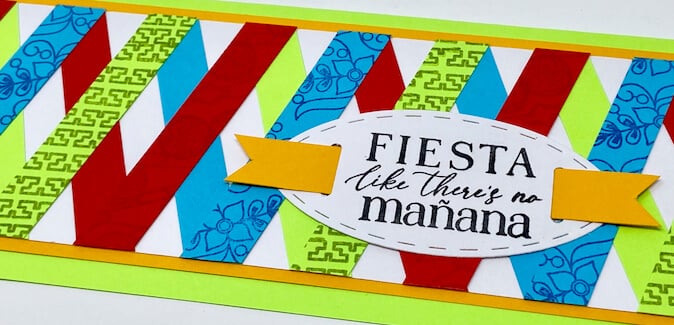
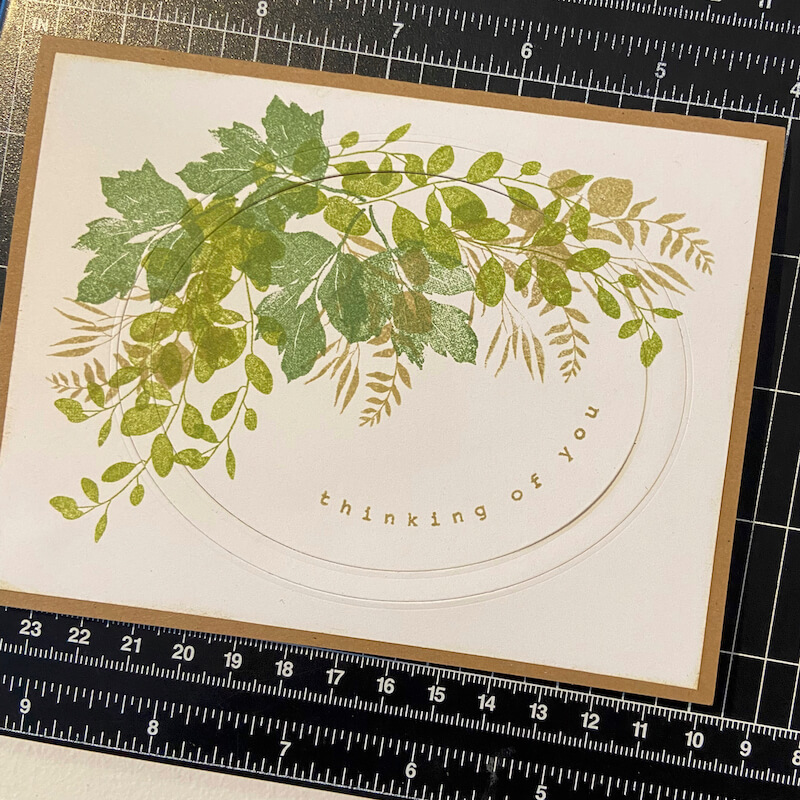
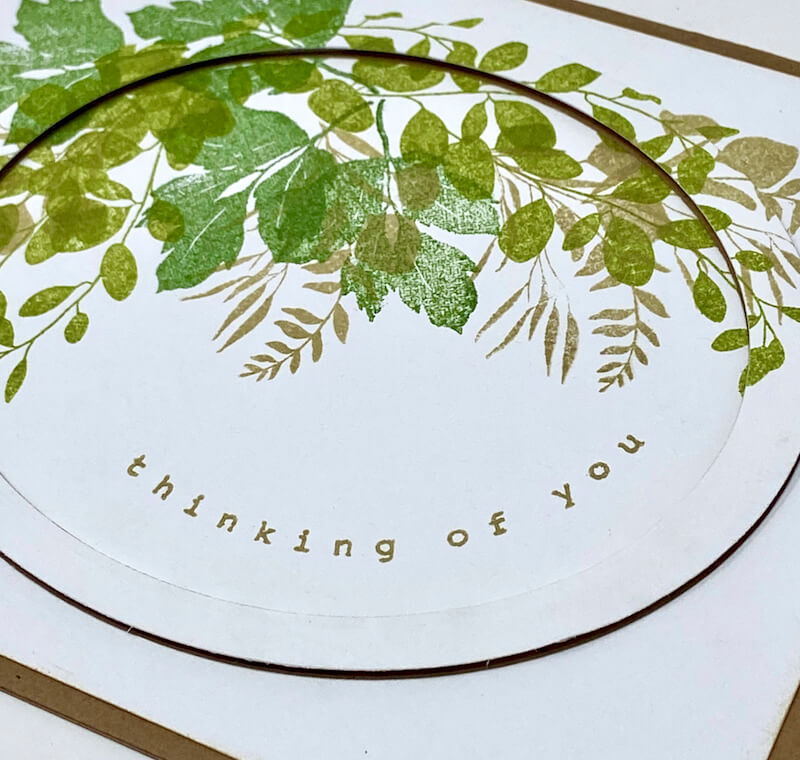
Card 7

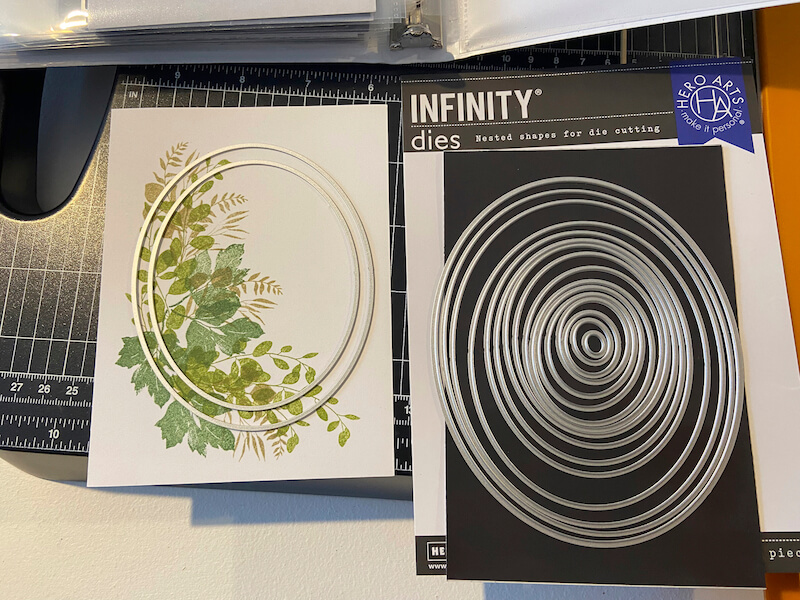
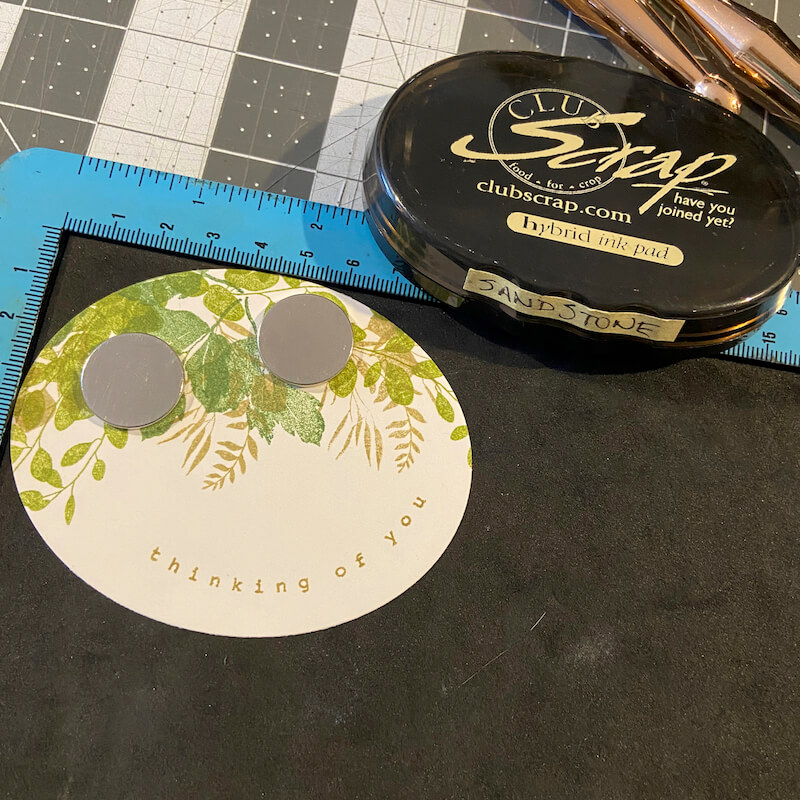
Stamp a variety of foliage images onto a white panel with different shades of Hybrid ink.
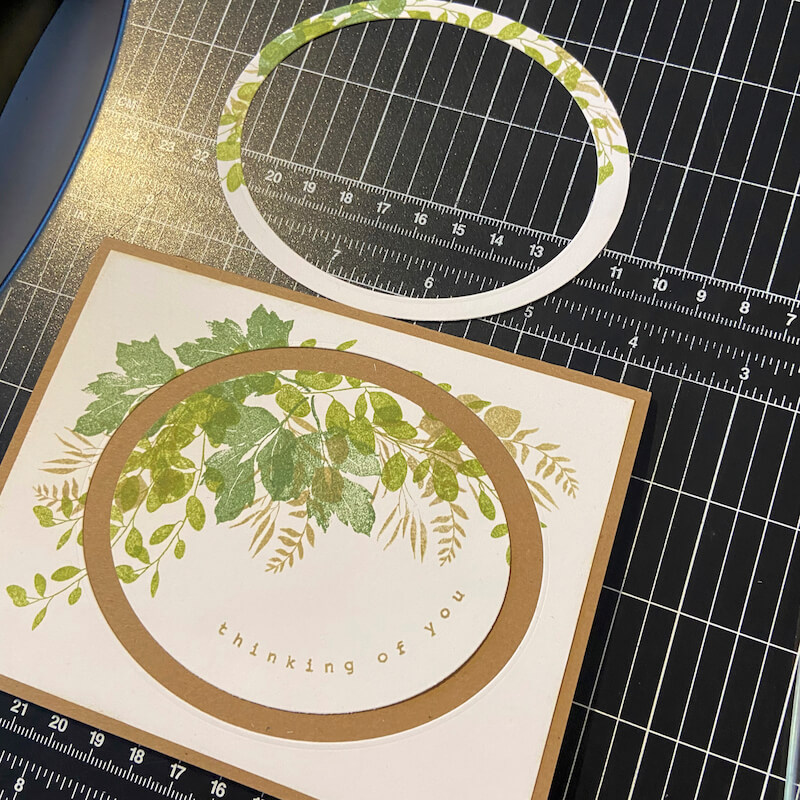
Gather a set of nesting shape dies. (I chose ovals for my card.) Select two nesting dies approximately 1/2" difference in size.
Temporarily secure the dies to the stamped panel with washi tape.
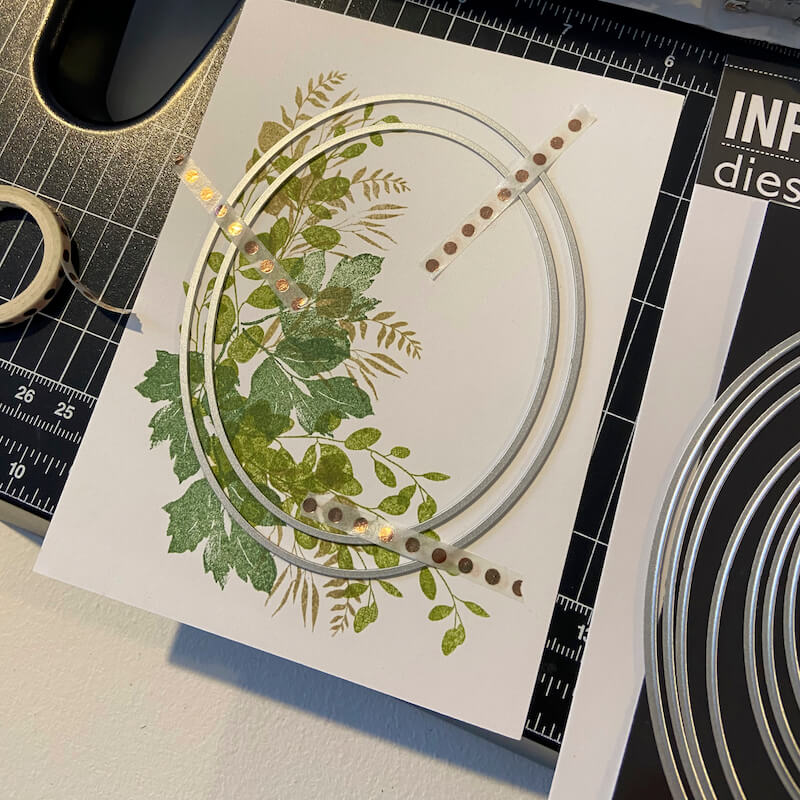
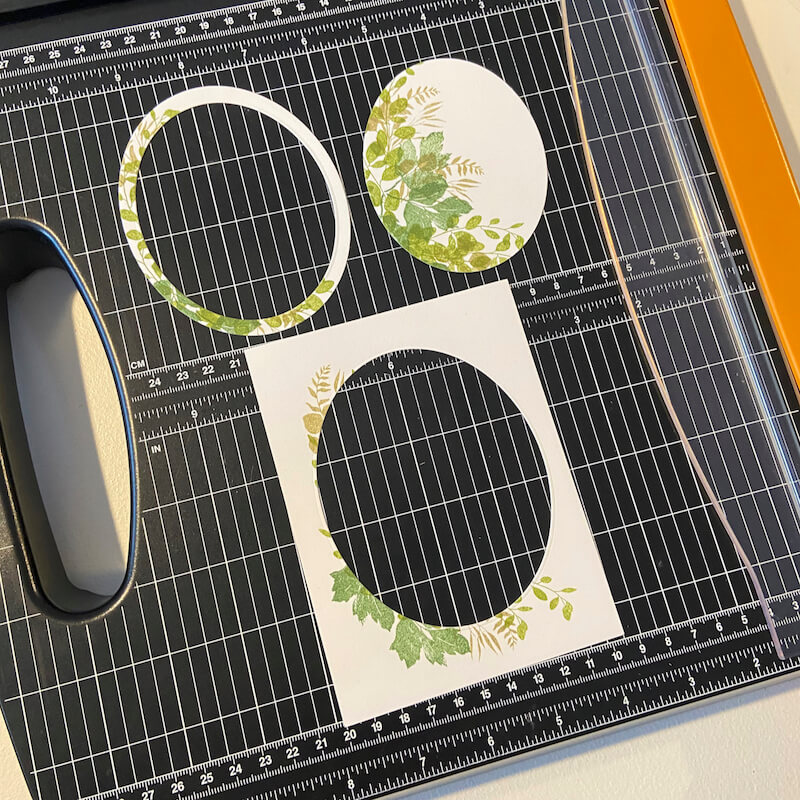
Die cut the shapes. The result should be three separate pieces: The base panel with oval opening, an oval "frame" and the center oval shape.
Place the center die cut oval into a stamp positioning tool. Gently bend the sentiment stamp into a curve and position onto the clear lid of the tool. (Skinny sentiments work best for this technique.) Without inking, check the placement of the stamp by closing the lid, making adjustments as needed.
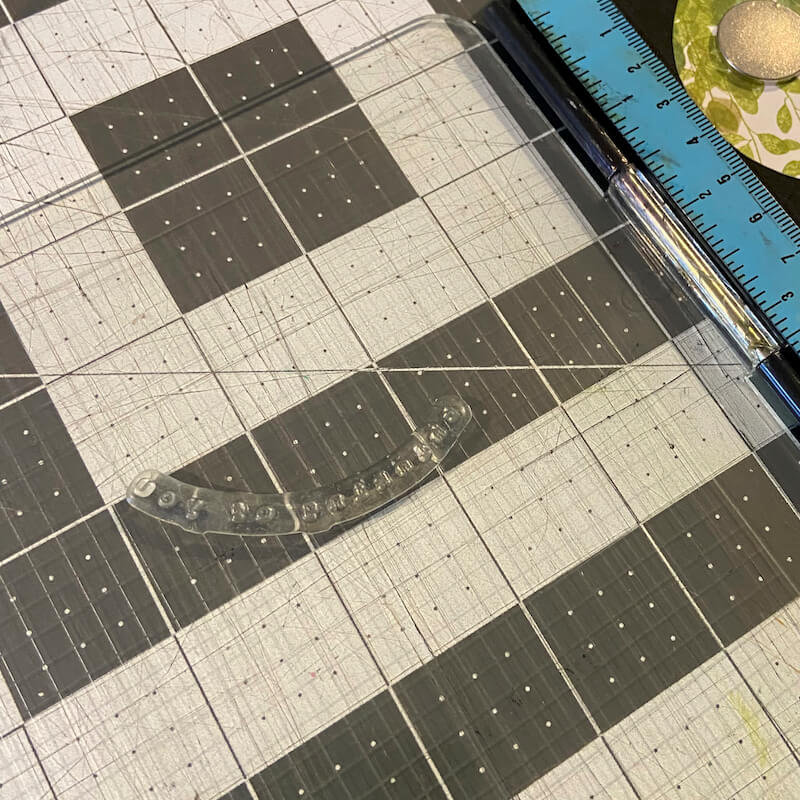
It took several tries to get the curve and placement just right, but I am so happy with how it turned out!

Once you are satisfied with placement, ink the sentiment in Sandstone ink and close the lid to transfer it to the paper.
Adhere the base panel with oval opening to a Kraft folded card.
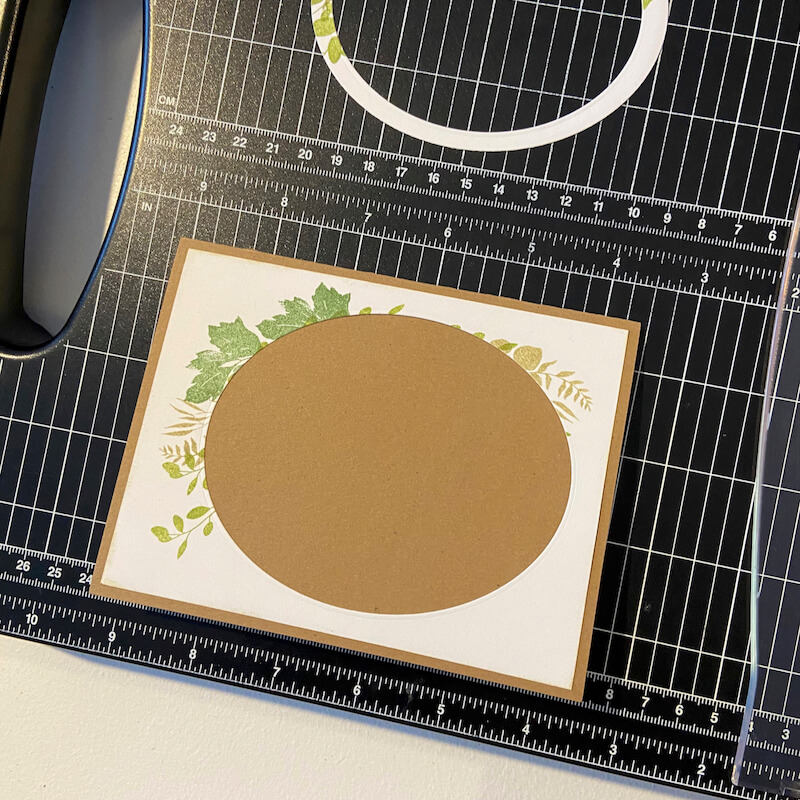
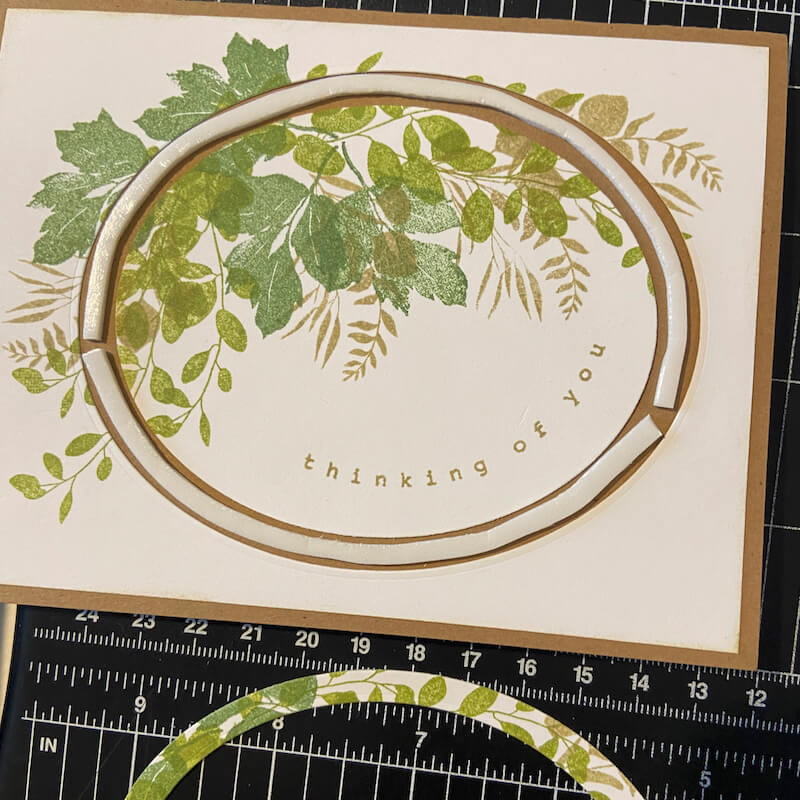
Position, but DO NOT adhere, the frame inside the opening on the card.
Add adhesive to the center oval (on which the sentiment was previously stamped), line up the imagery, and adhere to the card base.
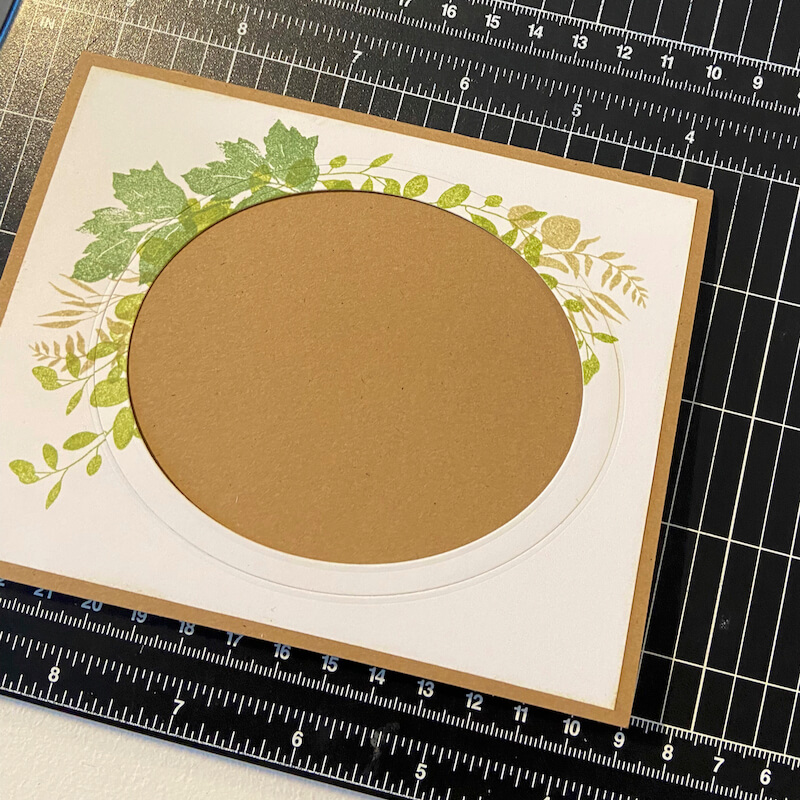
Carefully remove the narrow frame from the card.
Fill the open space with strips of foam adhesive.
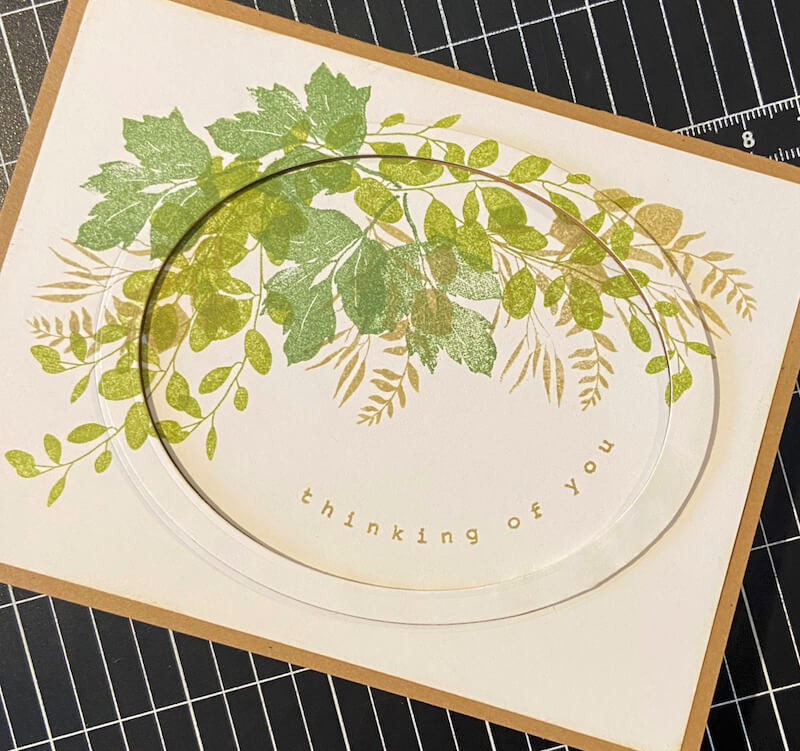
Remove the backing from the foam strips, carefully align the frame on the panel, and press into place.
A special thanks to Tricia for suggesting I try this technique with the Flourish stamps!
I hope you enjoyed this detailed tour of my stamped cards. Be sure to share your stamped creations on our Club Scrap Chat group on Facebook. It's a great place to inspire, or be inspired by, fellow paper crafters.
Happy stamping!
CS Hybrid Ink Pads

$6.35
Exclusively Club Scrap®, this hybrid craft ink combines the most exceptional ingredients of both pigments and dyes for a fine, crisp, fast-drying image! Don't forget to stock up on the coordinating re-inkers. Each ink pad sold separately. Please select the… Read More
White Pigment Ink Pad
$7.20
Club Scrap's pigment craft ink offers an exceptional formula, providing for multi-surface versatility as well as remarkable detail when embossing. The bright white ink loaded into this nice 'n juicy pad will last a long time. Re-inkers also sold separately.… Read More