Create artwork that takes your card making to new heights with the Floating Herringbone technique. Julie and Lisa are back together again to share their take on a variation of the popular Floating Strips. Read on!
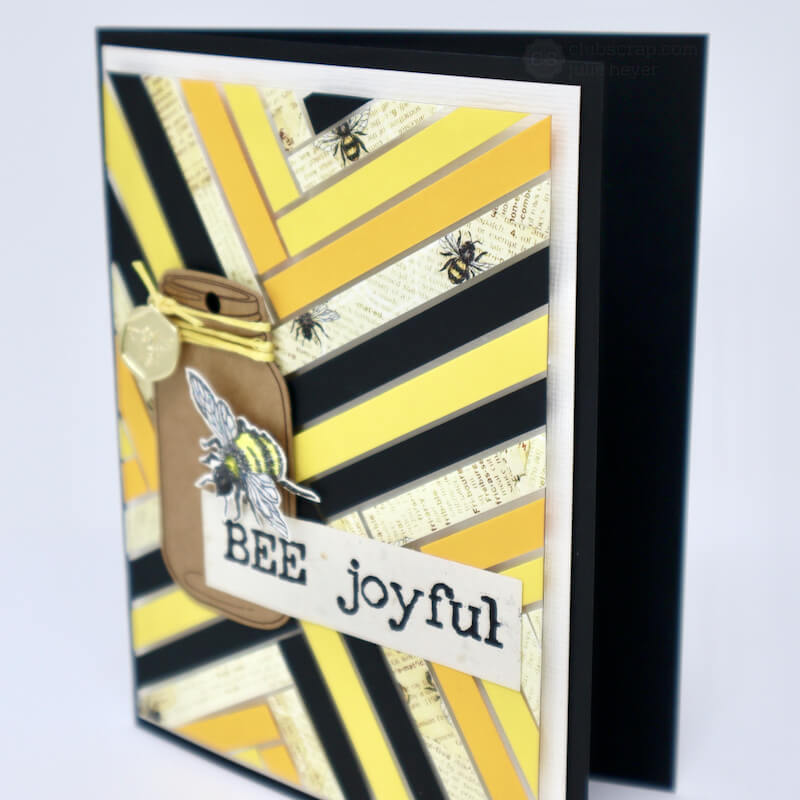
Floating Herringbone Technique
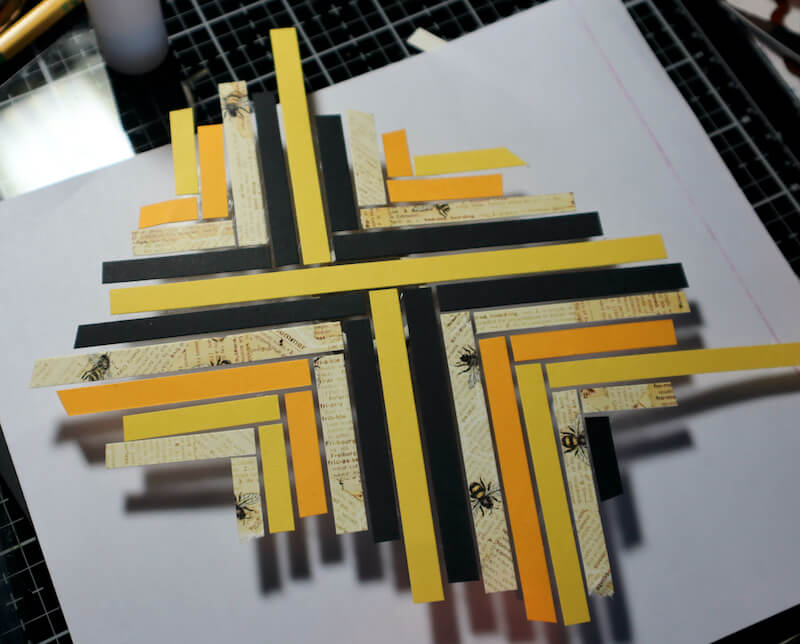
Trim a piece of acetate to 3.75x5". Cut a variety of Let It Bee papers into .25" wide strips. Glue strips onto the acetate at angles, as shown. Be sure to leave a bit of space between each strip to enhance the floating effect.
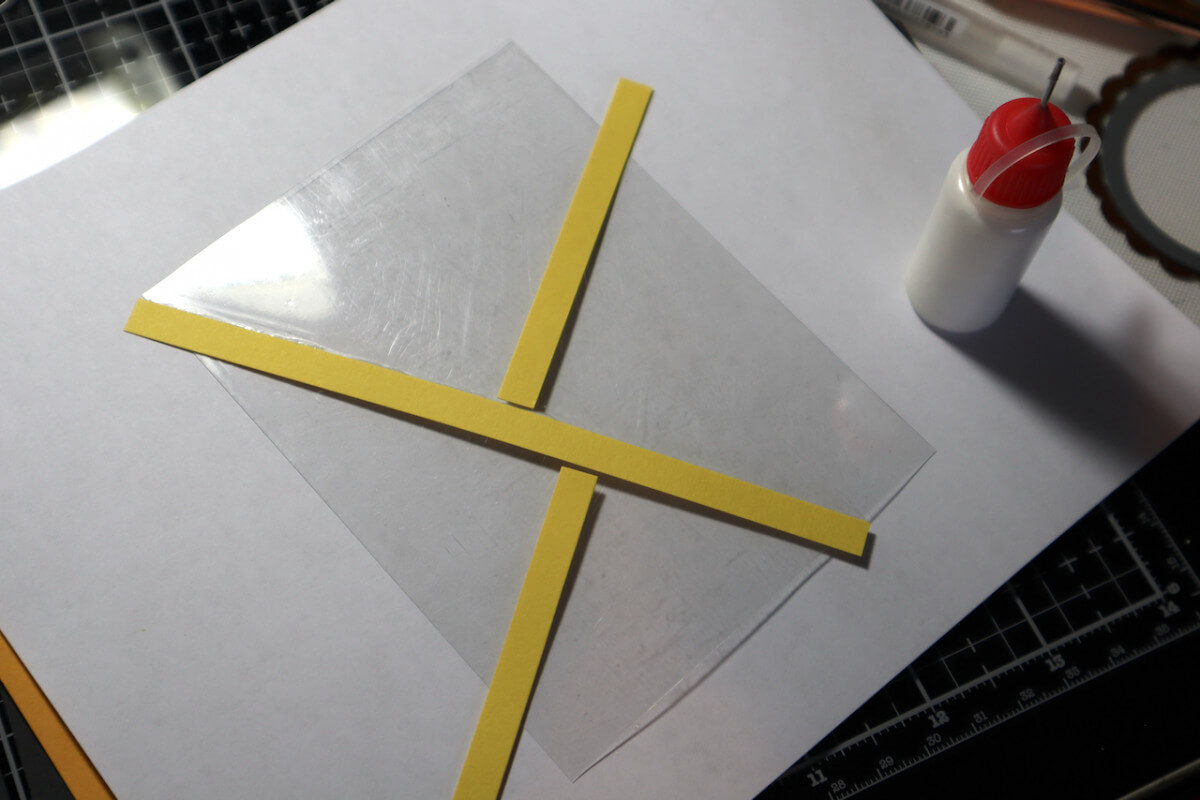
Run a thin bead of glue next to the first set of strips with Bookbinding Glue dispensed from a Needle-tipped Applicator.
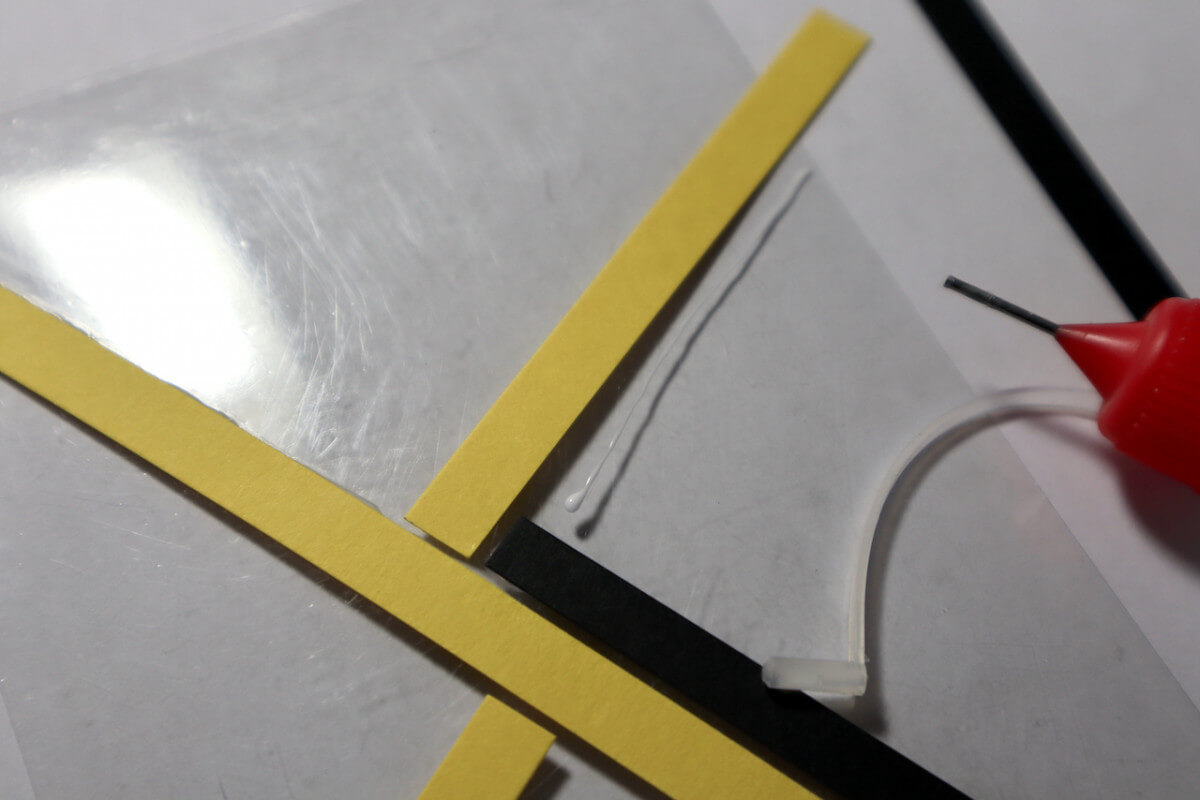
Continue to add more strips until the entire piece of acetate is covered.
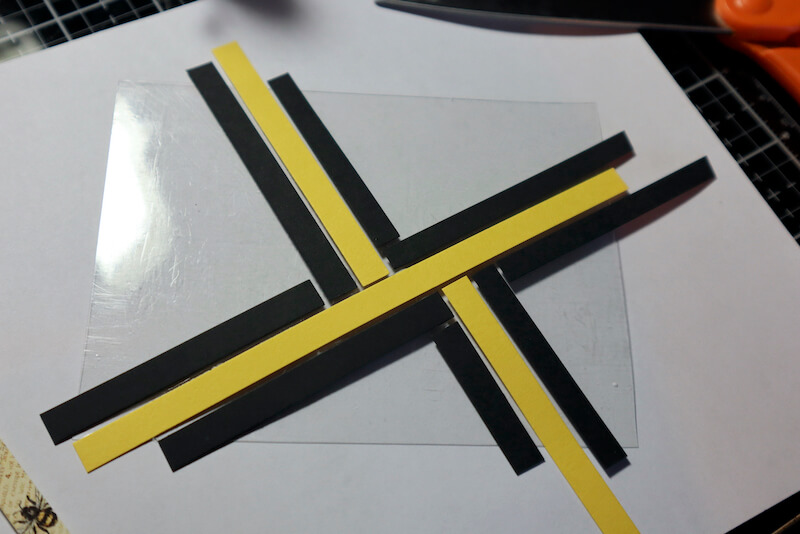
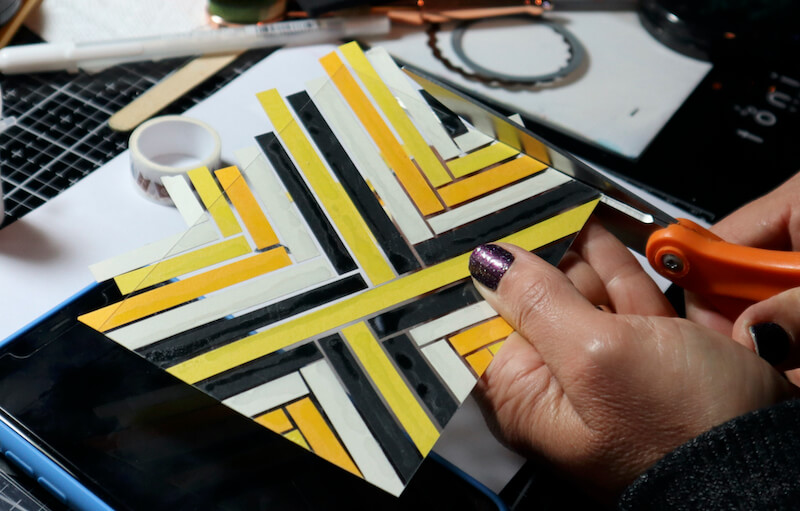
Flip the acetate over.

Remove the excess paper with scissors.
Line the back of the acetate with foam adhesive strips carefully positioned behind the paper strips.
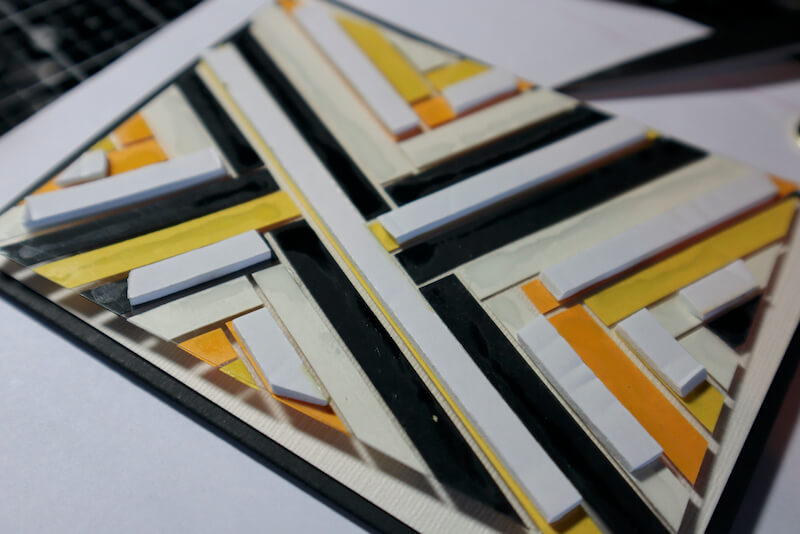
Remove the backing strips and center the acetate panel on a 4x5.25" Ivory Linen panel. Add to the front of a folded 4.25x5.5" black card base.
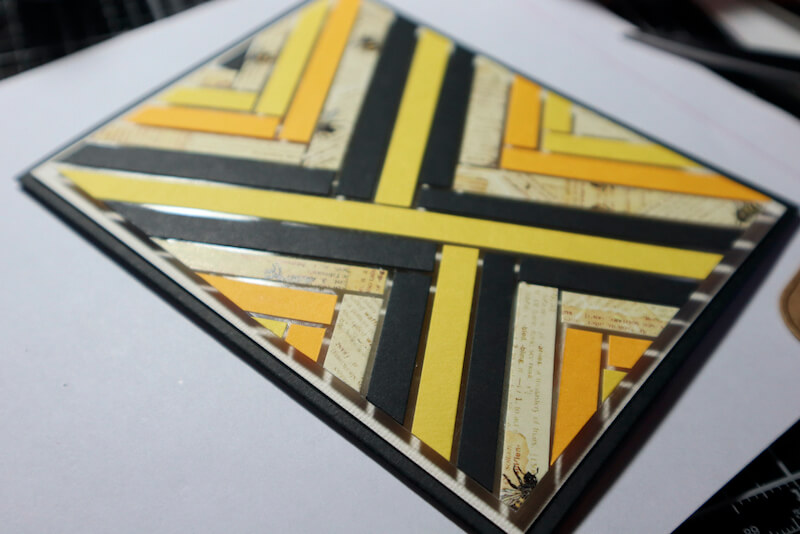
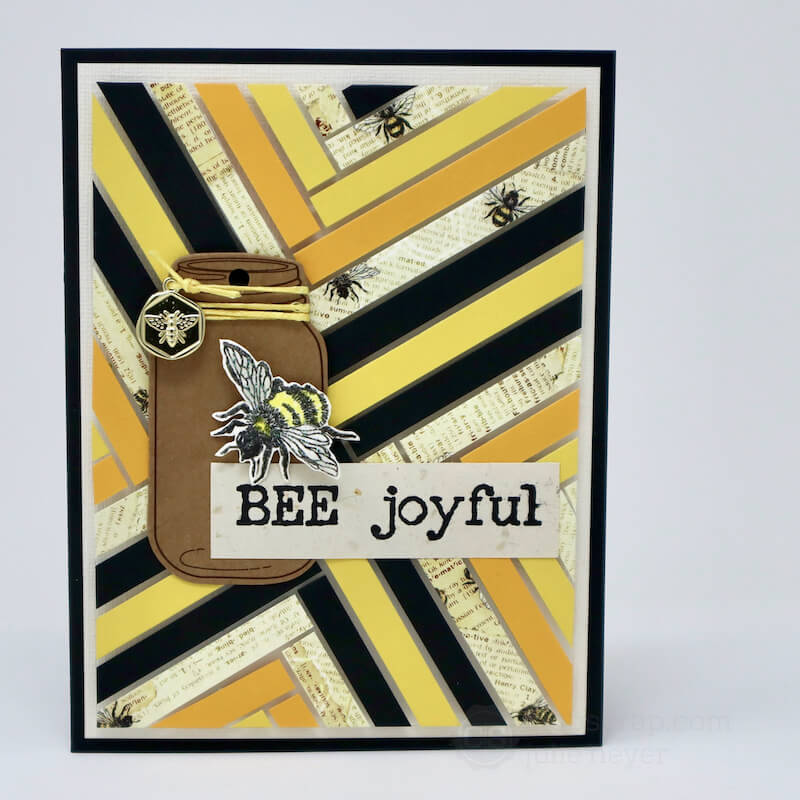
Let It Bee Card - Julie
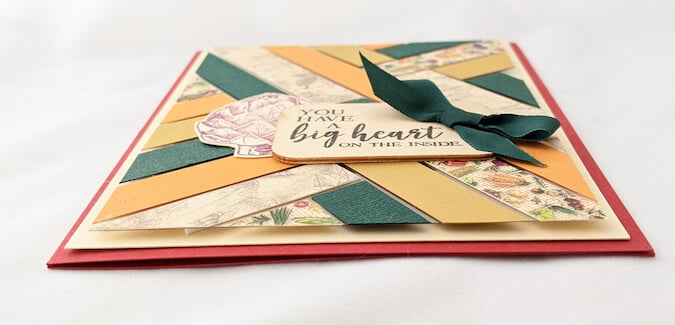
Let's take a look at the finished card.
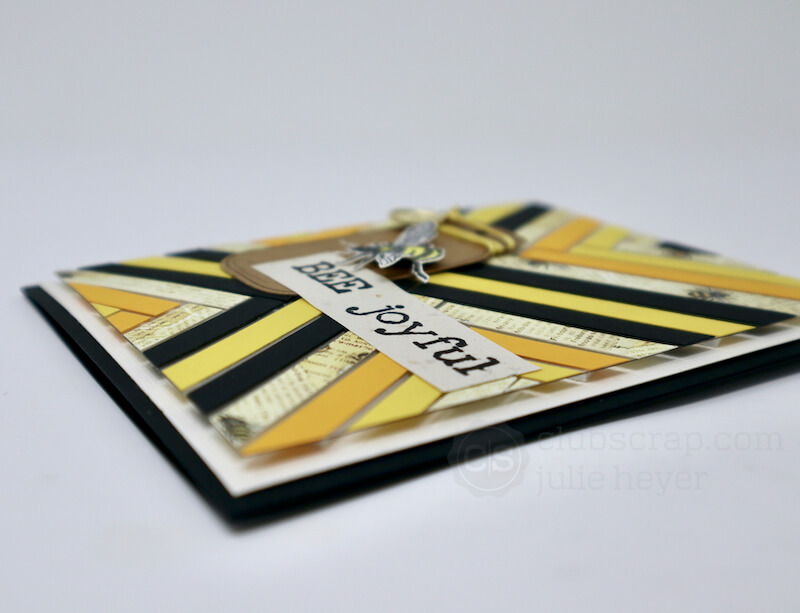
Look at that dimension!
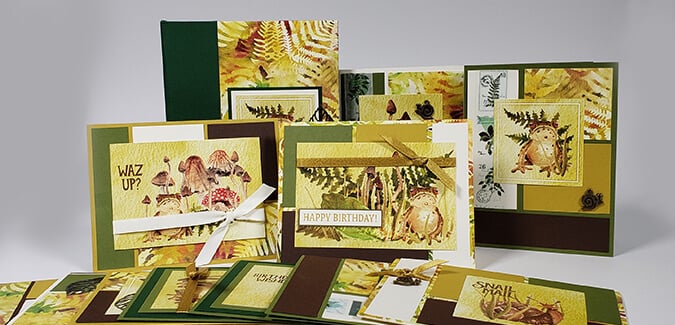
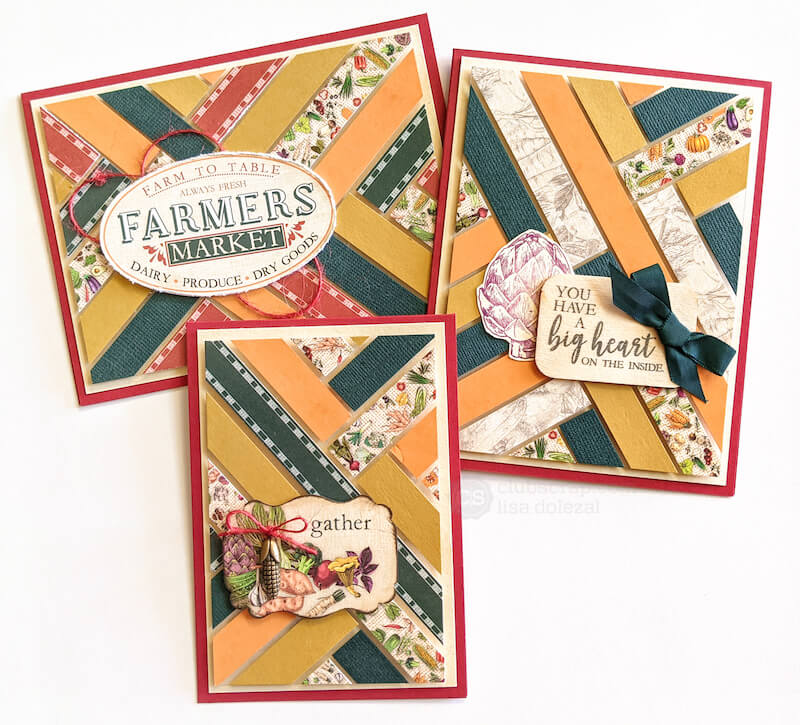
Farmstand Cards - Lisa
I am absolutely in love with Lisa's version of this technique. The printed paper is highlighted nicely with a wider .5" strip.
Lisa and I hope you will give this fun technique a try and be sure to share it with us on the Club Scrap Chat Group on Facebook. Happy Crafting!
 Lisa and Julie
