

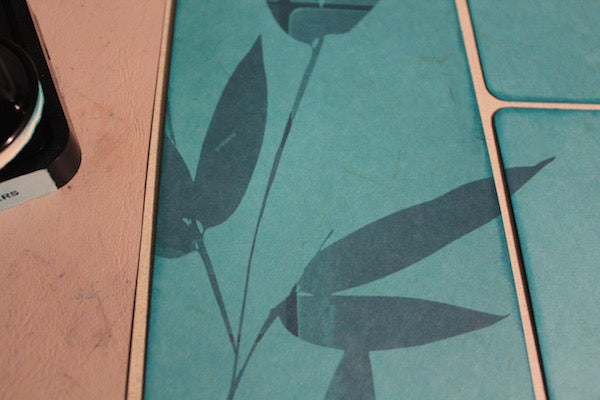
Create a one-of-a-kind layout using the gorgeous Transformations Deluxe 12x12 Lt. Turquoise Print as a guide for making some clever cuts.

Cut along the outside edges of the "tile grout" lines on the print using a craft knife or trimmer.

Trim 1/8" from each outside edge of the faux tile pieces.

Round the corners of each faux tile with the Corner Chomper on the 1/4" setting.

Color the edges of each tile with a CS Ink Applicator and Peacock Feathers Distress ink. Adhere the pieces to a 12x12 Lt. Green Plain.

Matte three 4x6 black and white photos with 4.25x6.25 Brown photo mattes trimmed from an 8.5x11. (Trim the 8.5x11 paper horizontally at 10.5 and 6.25". Cut the 6.25x8.5 horizontally at 4.25". Trim the 4.25x8.5 horizontally at 6.25".)

Stamp the Art Nouveau sentiment onto the 2x4.25" Brown scrap with White Pigment ink.

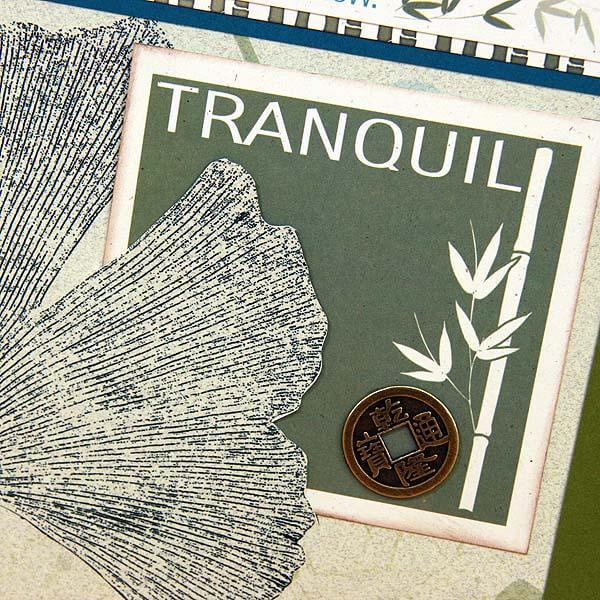
Stamp the gingko leaf (Borders & Backgrounds UM) and bamboo leaf (Art Nouveau UM) onto Lt. Green paper with a combination of Peacock Feathers Distress ink and CS Moss ink to create a marbled effect.


Fussy cut both sets of leaves with a craft knife and scissors.

Stamp the sentiment (UM Borders & Backgrounds) onto Eggshell paper with the marble technique. Trim and adhere to the layout.

Adhere the leaves and punched Eggshell flowers to the layout with the CS Glue Pen.

I really enjoyed sharing how I "transformed" this layout!
 Julie
Julie

