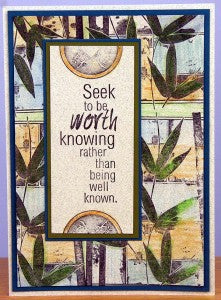
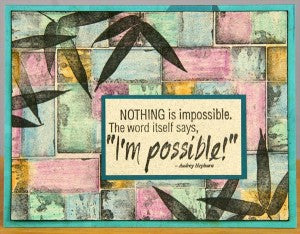
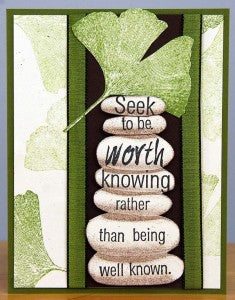
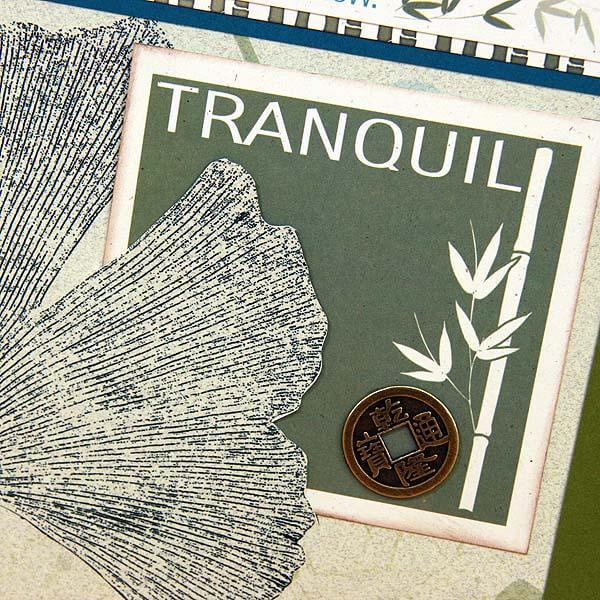
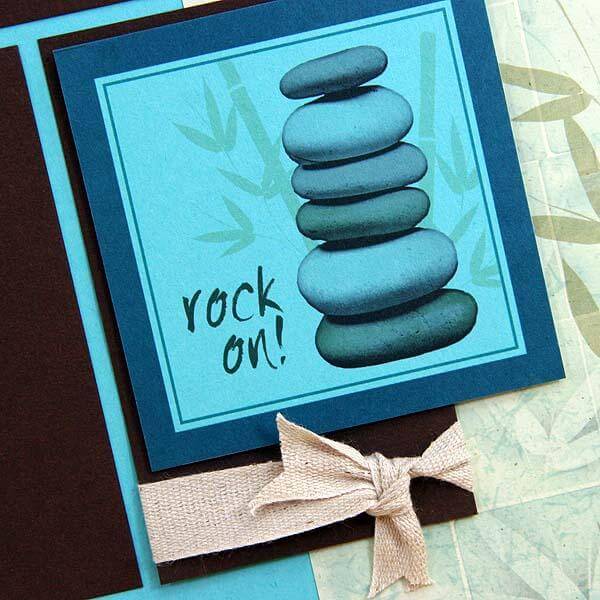
The fresh paper colors and rubber stamps from the Transformations Collection make wonderful greeting cards.
Let's take a closer look at some of the easy techniques used to transform these cards into great greetings.
WATERCOLOR CRAYONS
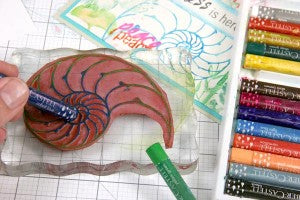
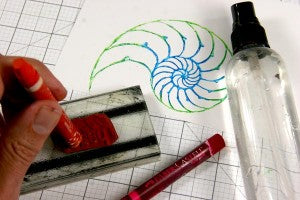
1. Use a mister to spray rubber stamp with water. Color directly onto rubber stamp with watercolor crayon.
2. Mist with more water if desired and stamp onto a card panel.
3. Repeat until card matte is filled with stamped watercolor art.
WHITE PIGMENT INK
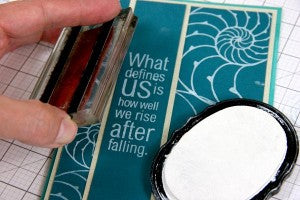
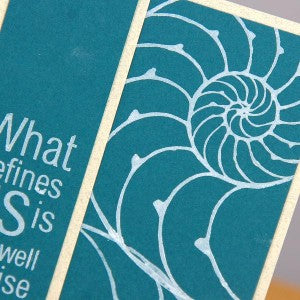
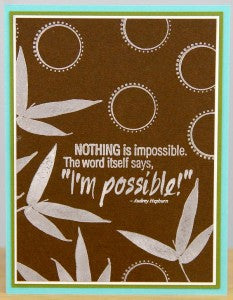
Club Scrap's White Pigment Ink looks wonderful on the deeper tones in this collection.
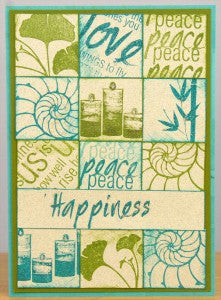
5x7" STAMP-BLOCKED CARD
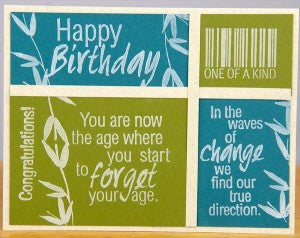
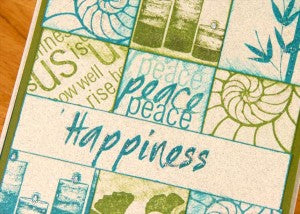
1. Cut (12) 1-1/2" Lt. Green squares, (1) 4-1/2 x 1" Lt. Green strips and (1) 4-3/4 x 6-3/4" Dk. Green panel. Stamp and image on each square and adhere to the Dk. Green panel with 1/8" reveal on all edges.
2. Stamp a sentiment onto the narrow strip to finish.
WATERCOLOR PENCILS
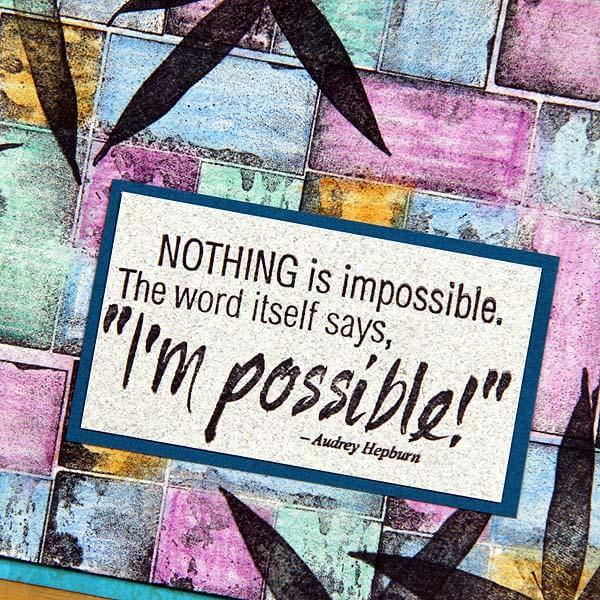
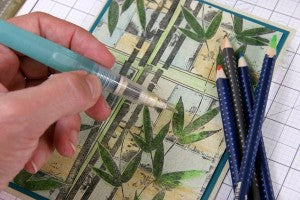
1. Stamp the large collage image onto an Eggshell panel with Black India Ink. Color with watercolor pencils and blend with a water brush.
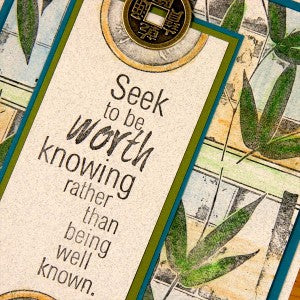
2. Stamp a sentiment onto a separate panel, matte, and adhere to the card panel.
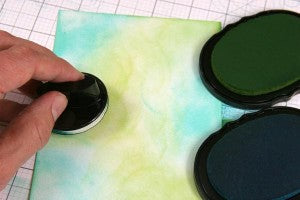
DYE INK COLOR
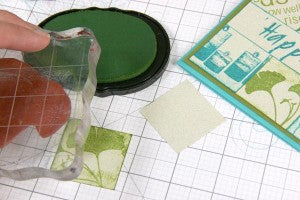
1. Use foam ink applicator to rub dye ink onto a card panel.
2. Use the same dye inks to stamp images onto the panel.
3. Matte the panel and adhere to a card base.
STACKED STONES
1. Cut a stamp sentiment or greeting into separate lines of text and stamp each word individually onto the stacked stones image from the UM Collection sheet.
2. Cut out the stones and attach to a card panel with foam dots.
Regardless of your favorite technique(s), I'm quite certain you'll enjoy the Transformations kit for card making!
