
Create a wintery effect with an up-cycled household item . . . a dryer sheet fresh from your laundry!

Visit the link for a helpful video tutorial.
Stamp the Mr. Gnome and gift images onto white paper with black Archival or India Ink.

Color the images with permanent markers.


Apply a generous amount of silver glitter glue to the image and spread onto the entire panel with a gloved finger. Ensure the glue covers all areas coming into contact with the dryer sheet.


Press the dryer sheet (fresh from the last laundry load) onto the glue. Apply more glitter glue to the top of the dryer sheet, if needed. Allow to dry completely.

Trim the Gnome panel and layer with Take Wing Green and Red panels.

Stamp a sentiment onto a piece of white paper and nest onto a Take Wing Lime panel.

Tie a baker's twine bow around the art panel and adhere to a 4.25x5.5" card base.


Bonus card - digital stamp
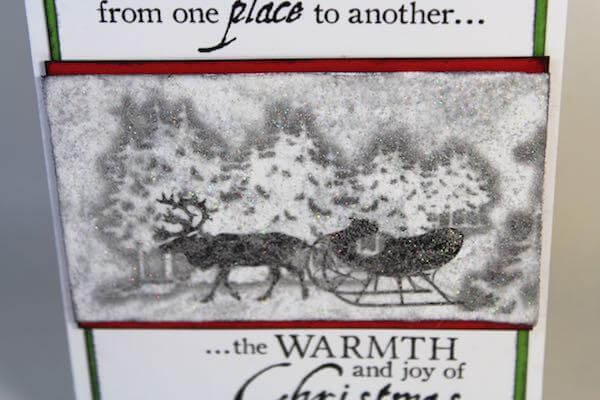
Create "stamped" images using a digital scrapbook application and the Digital Holiday WOW 2012 collection.

Print images onto white paper using a toner printer. Trim out the winter scene and apply a generous layer of glitter glue directly to the paper.
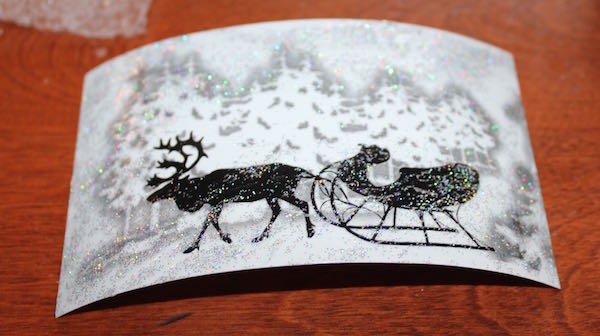
Place a dryer sheet onto the prepared image and continue as with the previous card.

Trim the sentiments from the digital printable.

Distress the edges with black ink. Layer the dryer sheet scene onto a red panel; nest the white sentiment with green and adhere to a 4.25x5.5" card base.

Bring a little sparkle into your holiday with this fun technique.
 Julie
Julie