Domino charms are mini art pieces that are fun to make, wear and give as gifts. They come together easily, and you only need a few items to get started.

Start with a game piece with a flat side. Dominos work great for this project, but don't limit yourself. You’d be surprised how many other game pieces from your stash that could work just as well.
TURN A GAME PIECE INTO AN ART CHARM
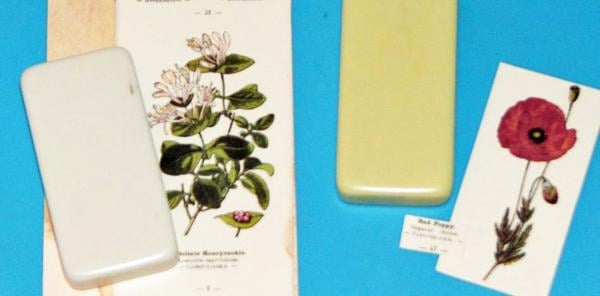
1. Select an image for your charm; trace the game piece shape and trim. (For these charms I used the Vintage Botany 8.5x11 Deluxe Ivory Print.)
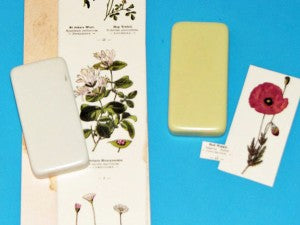
2. Sand game pieces both vertically and horizontally to provide a surface the adhesive can grab onto. Wipe away dust with a soft cloth.

3. Apply a dot of Bookbinding glue to the game piece; spread it around with your finger to ensure complete coverage. Immediately position the trimmed image onto the game piece; smooth out any air bubbles. Set aside to dry completely.

4. Once the glue is dry, sand the edges of the image as shown.

5. Optional: Add a bit of color to the edge of your charm using waterproof ink. This is also the time to add any additional embellishments as desired such as faux crystals, flat backed pearls, mini charms, text, etc.

6. Apply a layer of your favorite clear gloss medium (Crystal Lacquer, Glossy Accents, Diamond Glaze, Paper Glaze, Ice Resin, etc.) over the image; set aside to dry.

7. Attach a jewelry finding of your choice to the back of the game piece – this could be a bail (as shown), pin back, eye screw, etc.

In lieu of jewelry, these charms are also great for embellishing scrapbook pages, mixed media collage, canvas art, turned into mini book covers, etc. The possibilities for these little gems are endless.

Blog: Inkstains with Roni
