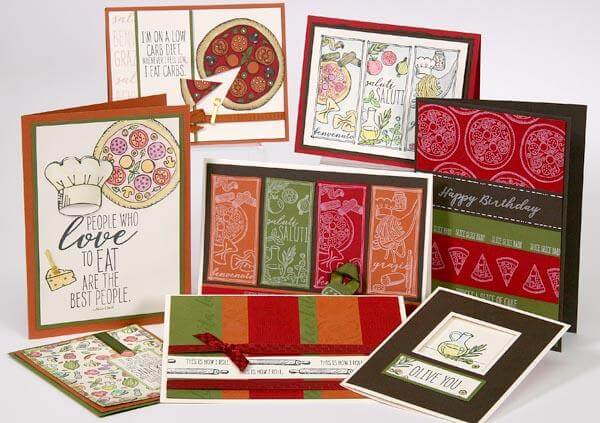
It's time to learn more details about our favorite foodie kit . . . Trattoria!

Trattoria Details - Deluxe Layouts
LAYOUTS 1 & 2
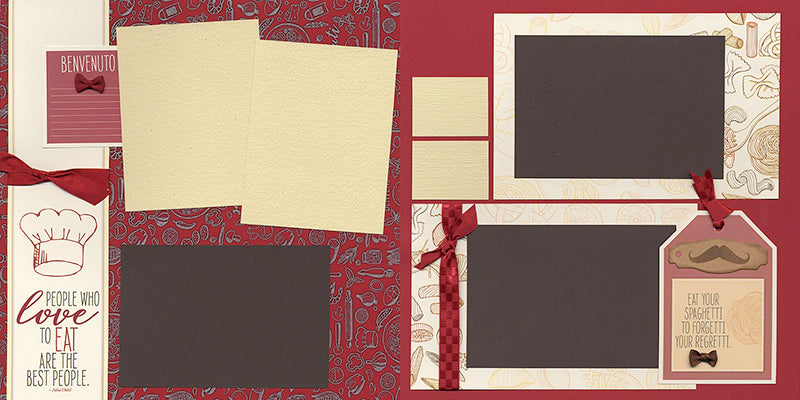
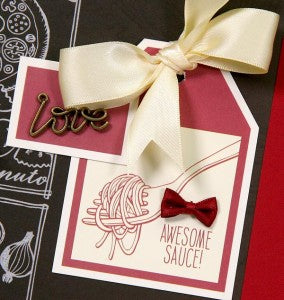
I adore the satin mini bow ties! We found them in three coordinating colors . . . red, ivory and brown. Adhere with CS® Bookbinding Glue in a needle-tipped applicator.
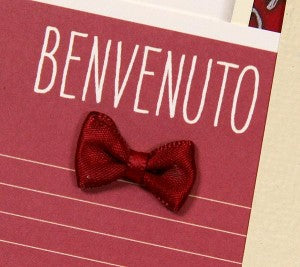
Look at that scrumptious texture on the Ivory photo mats . . .
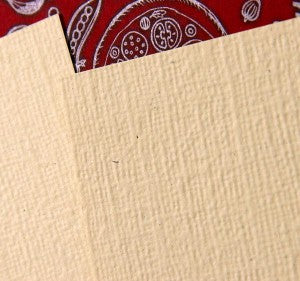
Stencil the adorable Italian mustache onto the kraft tag with Earth ink and an ink applicator.

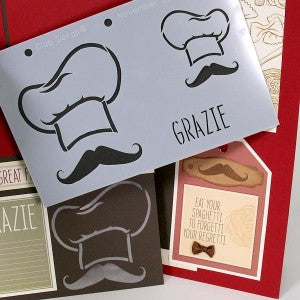
LAYOUT 3 & 4
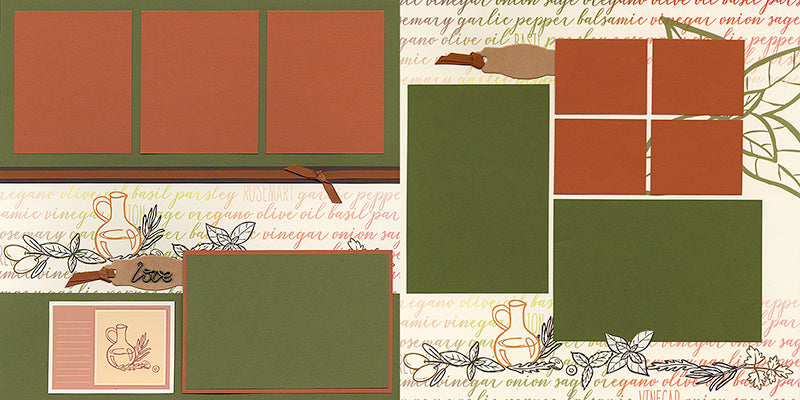
Temporarily place the photo mat on the Ivory Print and mark where the edge of the mat meets the edges of the basil sprig. Remove the photo mat and cut around the sprig with a craft knife, starting and stopping at the pencil guides. Tuck the photo mat behind the cut areas to bring the artwork into the foreground.

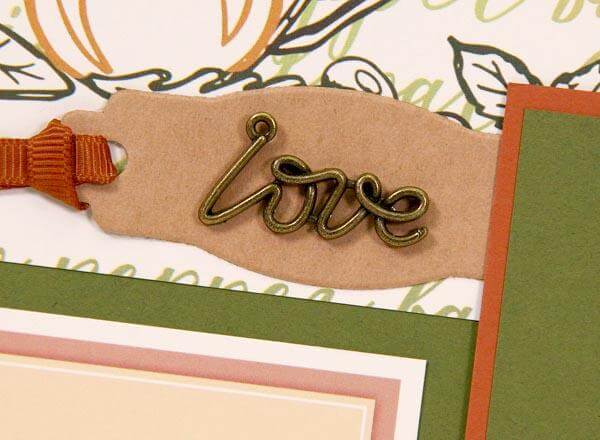
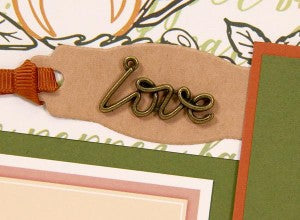
For some reason, this bronze "love" charm looks like it was made from a piece of spaghetti. Had to have it!
LAYOUTS 5 & 6
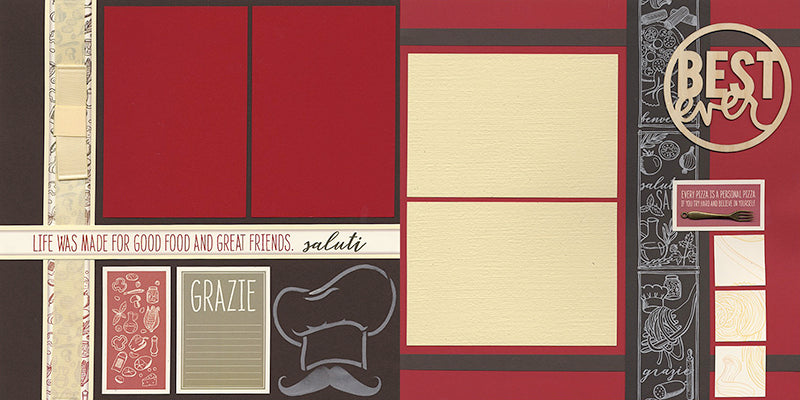
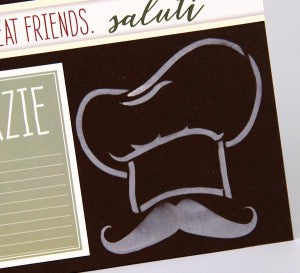
Stencil the chef's hat and mustache onto the lower right corner of the 12x12 Brown with Club Scrap's Parchment ink and an ink applicator.
Glue the "best ever" wood cut to the upper right corner of the layout for an instant, eye-catching page title.

LAYOUTS 7 & 8

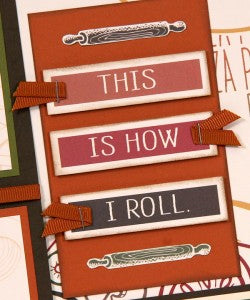
Trim the rolling pins from the Ivory cutapart and adhere above and below the word tiles. Staple a piece of folded ribbon on alternating words and adhere with foam adhesive.
LAYOUTS 9 & 10
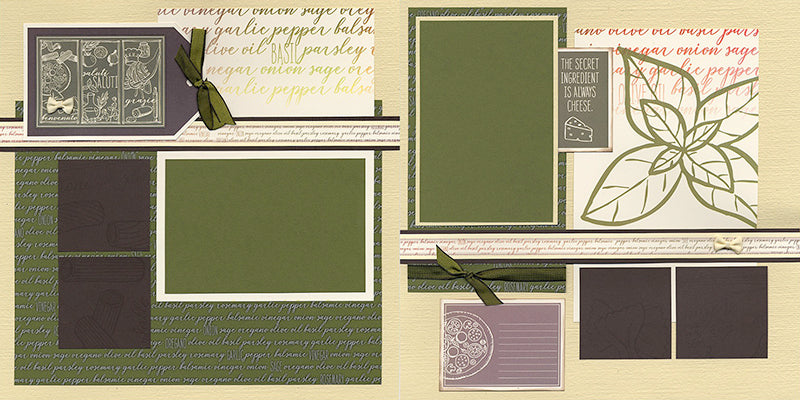
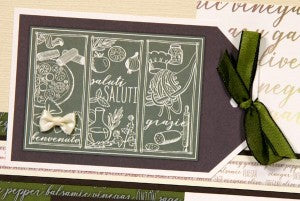
Punch a hole into the top of the Ivory cutapart tag and tie with a green bow. Finish with a mini bow tie.
LAYOUTS 11 & 12
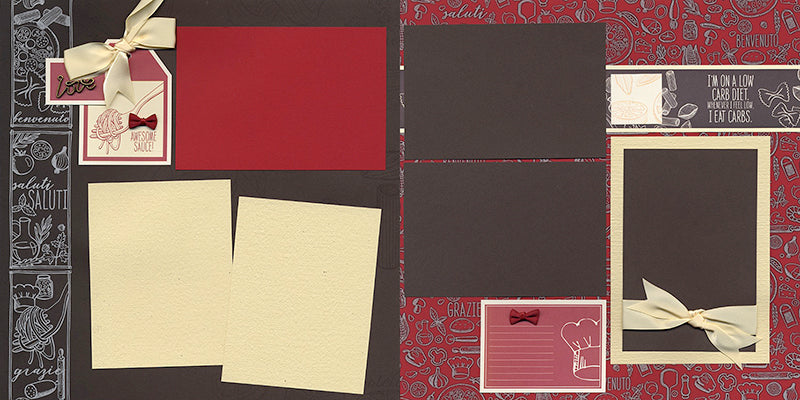
Tie a bow onto the top of the tag with the double-faced ivory satin. Add the bronze "love" charm to the cutapart and finish with a mini satin bow tie.
LAYOUTS 13 & 14
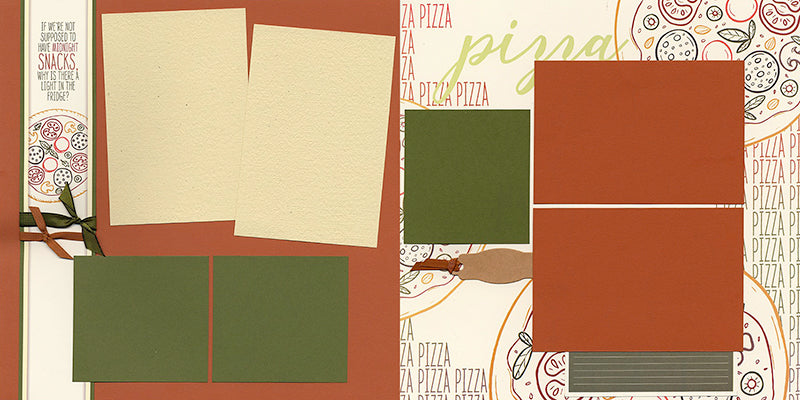
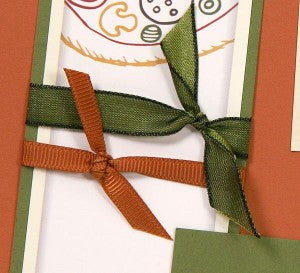
Take the last of the rust grosgrain and green ribbon and tie them around the vertical border strip on the left for a cute finishing touch.
Trattoria Details - Greetings to Go
SET A
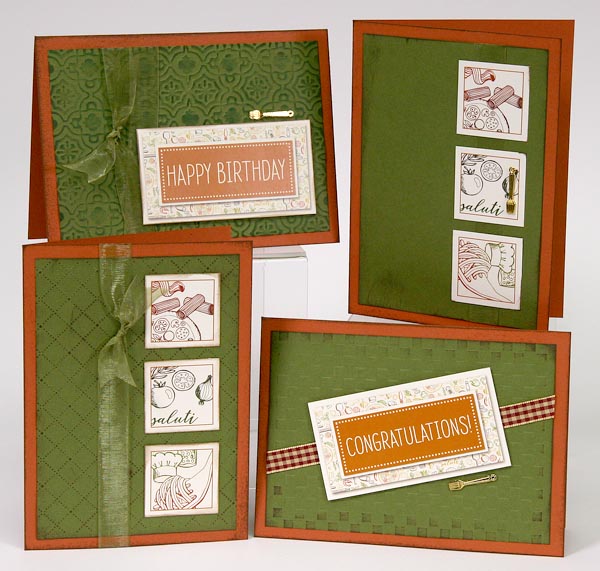
Bust out your embossing folders to add fun textures to the Green card panels. Rub an ink pad directly onto the raised surfaces to highlight the texture.

SET B

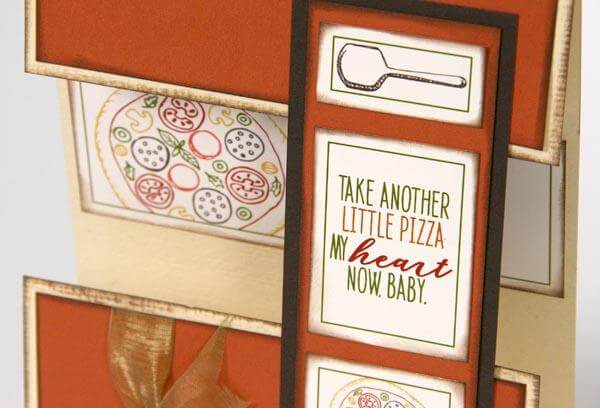
The Ivory cutaparts are designed to fit perfectly into the window opening created by the vertical hinge. Adhere the inner cutapart prior to adding the hinge piece for easier placement.
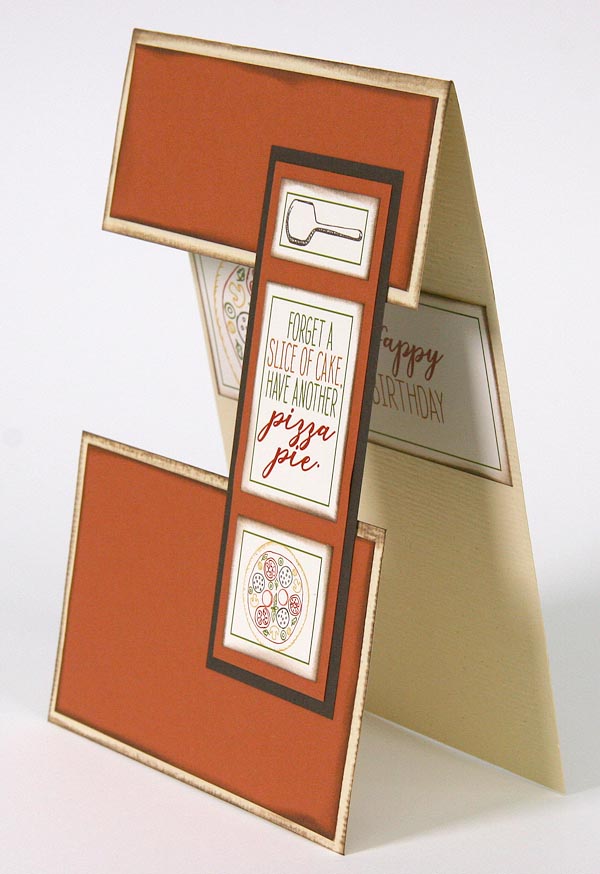
SET C
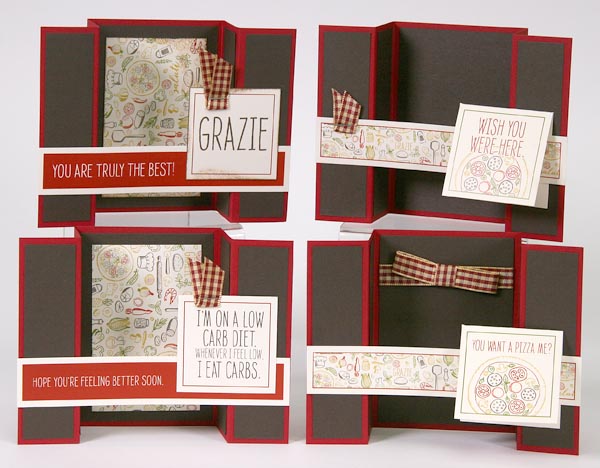
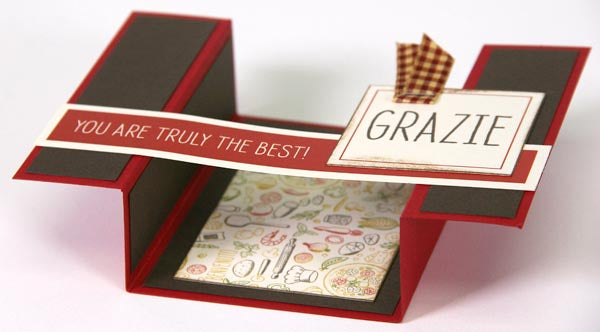
This trendy structure is called a "bridge" card. The left and right flaps are connected by a 1x5.5" cutapart strip. Tilt the strip to flatten and mail the card easily.
Don't forget to pick up your favorite Trattoria Deluxe and Greetings to Go kits while they last... Arrivederci!
Tricia

