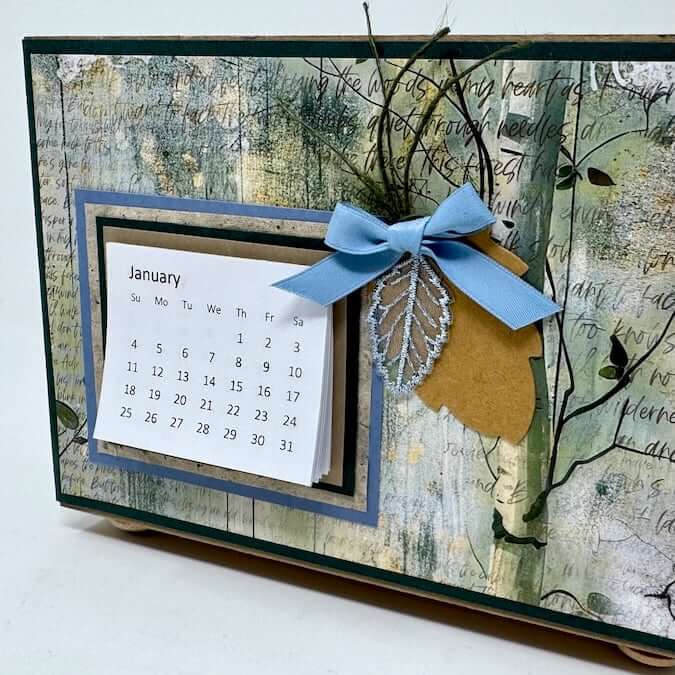

Create a unique desk calendar with the Photo Drop Box components and papers from the Northwoods collection. In December, I always try to find unique ways to include a calendar on my projects. This box will hold all my handmade greeting cards for upcoming birthdays this year.
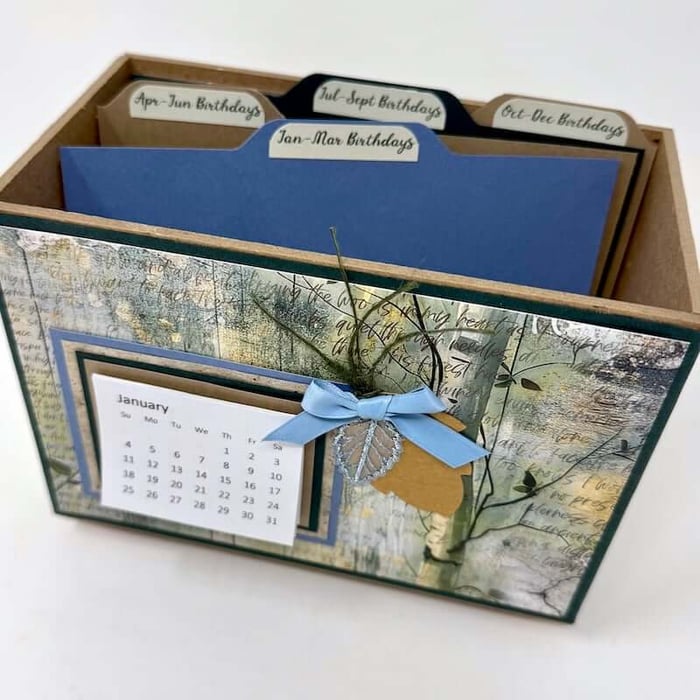
Desk Calendar Card Box
Box Assembly
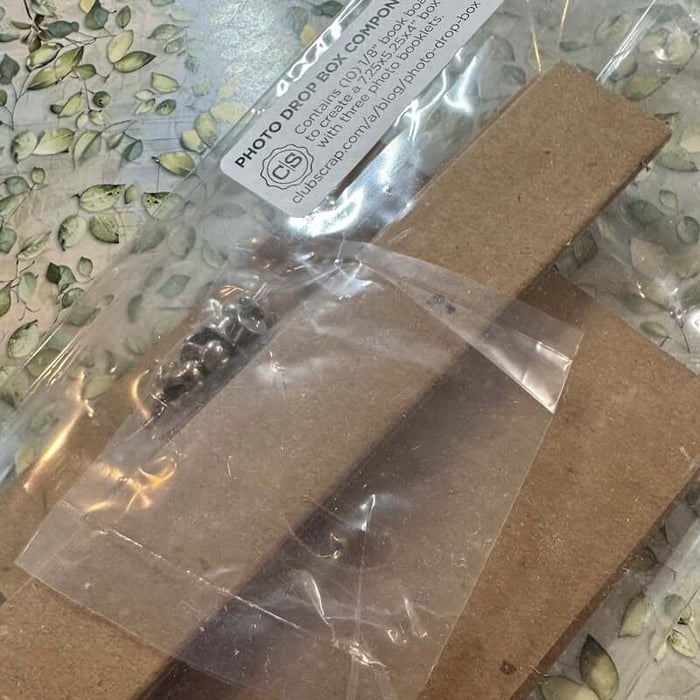
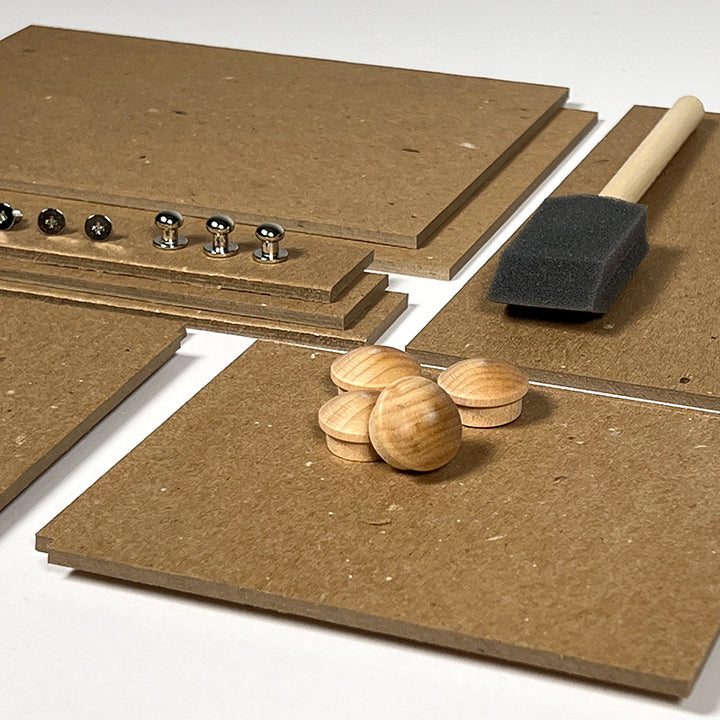
Gather the foam brush, wood feet, short walls, long walls and base book boards from the Photo Drop Box components.
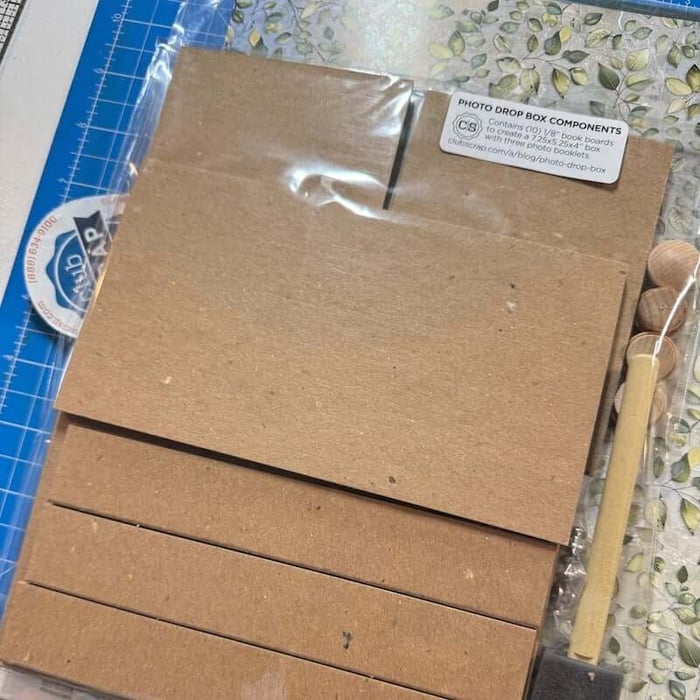
Set the spines, spine hardware, and short inside wall boards aside for a future project.
Assemble the box structure according to the downloadable instructions. Set it aside to allow the glue to cure.

Calendar Assembly
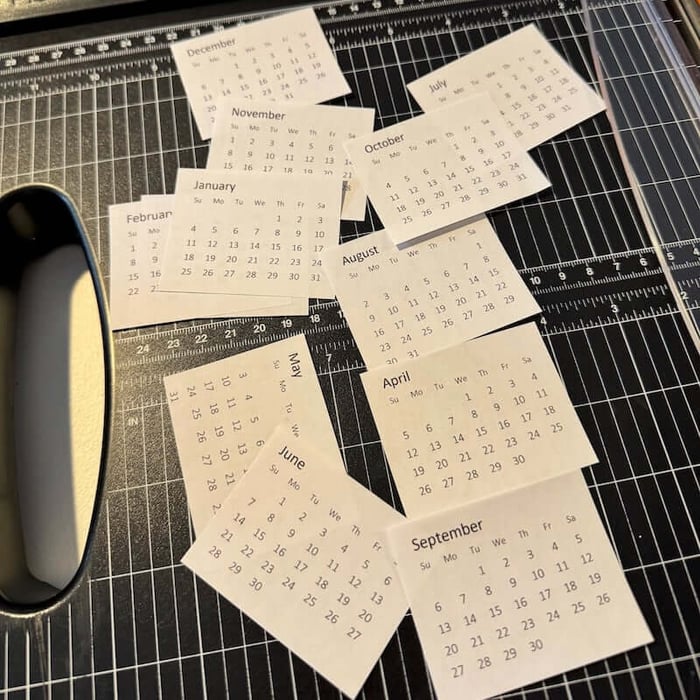
Print a 2026 calendar on copy paper in black and white. (I used a free digital download.)
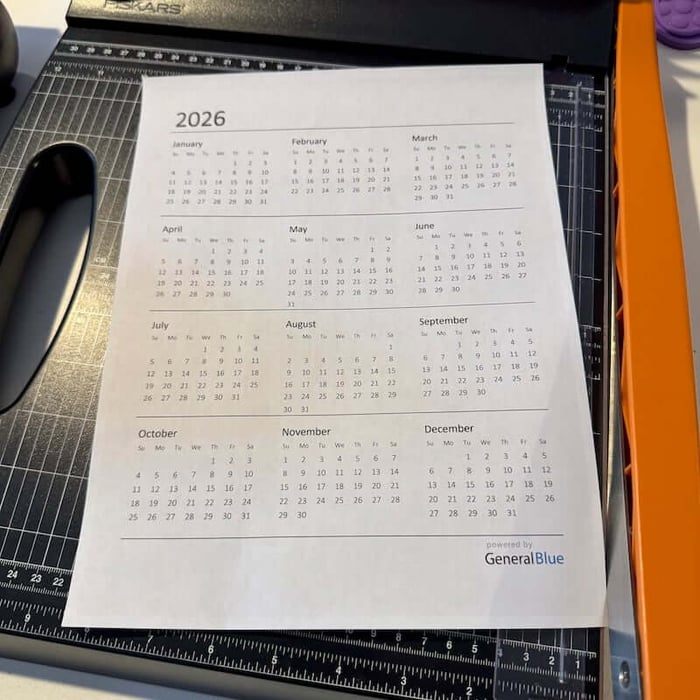
Trim each individual month to 2x2-1/2".
Stack the pages together and secure with binder clips.
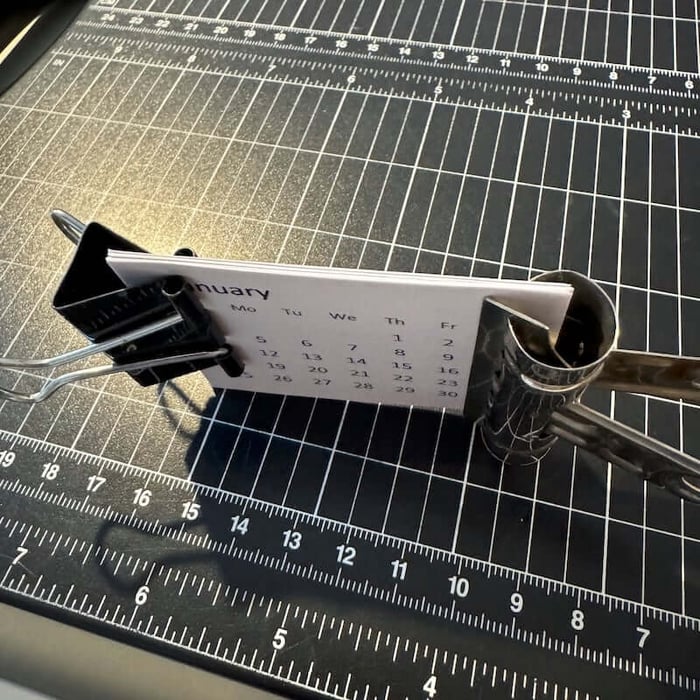
Run a line of Bookbinding Glue dispensed from a Needle-tipped Applicator along the top edge to "pad" the pages.
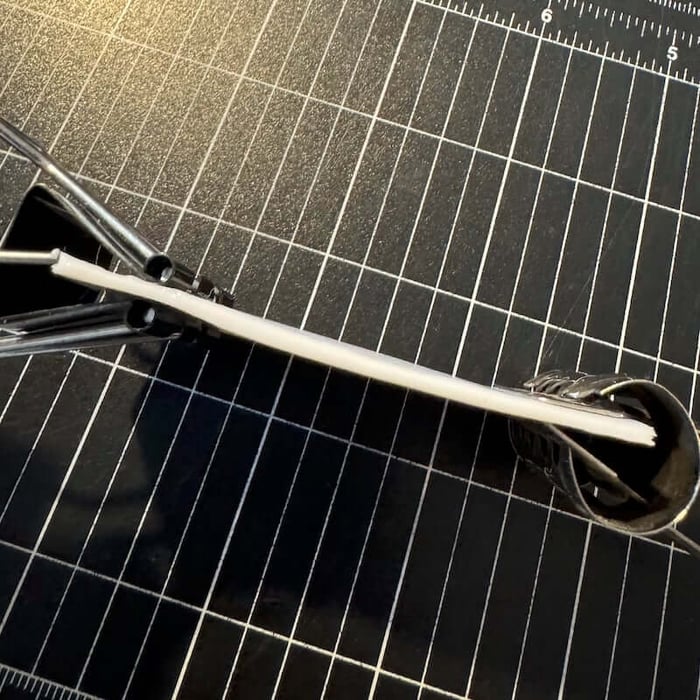
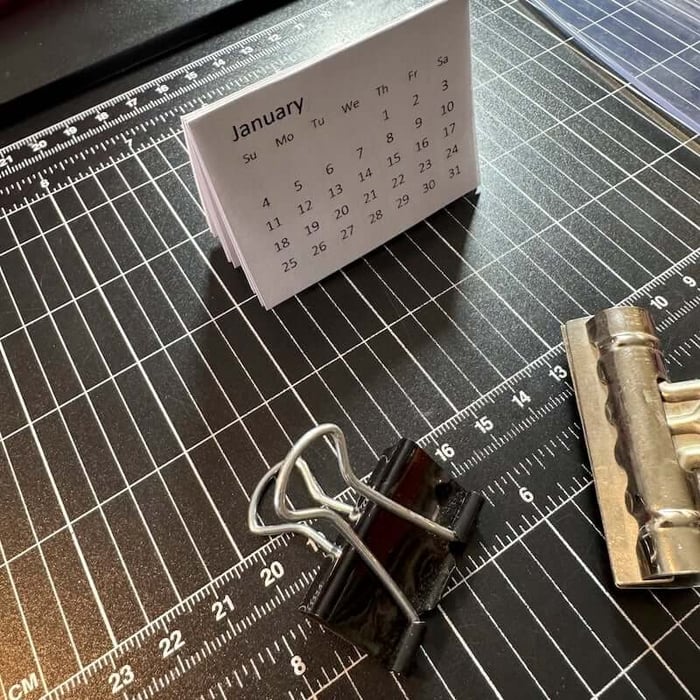
Set the pad of pages aside to dry completely before moving to the next step and remove the binding clips. Once dry, Bookbinding Glue is flexible making it perfect for creating paper pads.
Box Embellishments
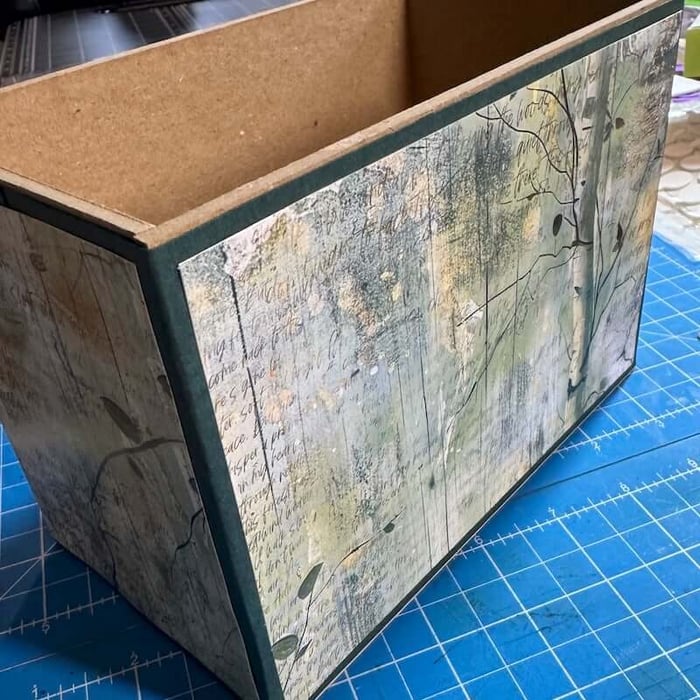
Once the box has cured completely, follow the cutting instructions for Paper A (Northwoods Green) and Paper E (Northwoods Script Print) to wrap the outside of the box.
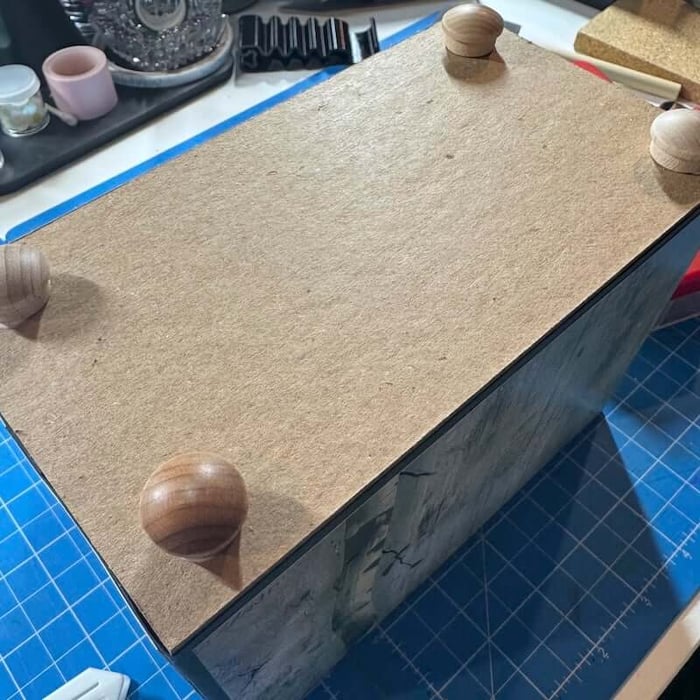
Adhere the four wood feet to the bottom of the box with Bookbinding Glue.
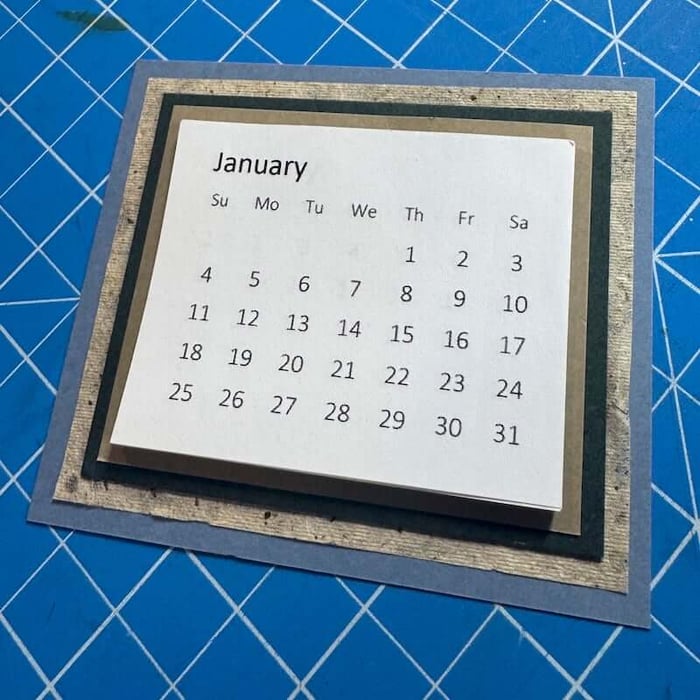
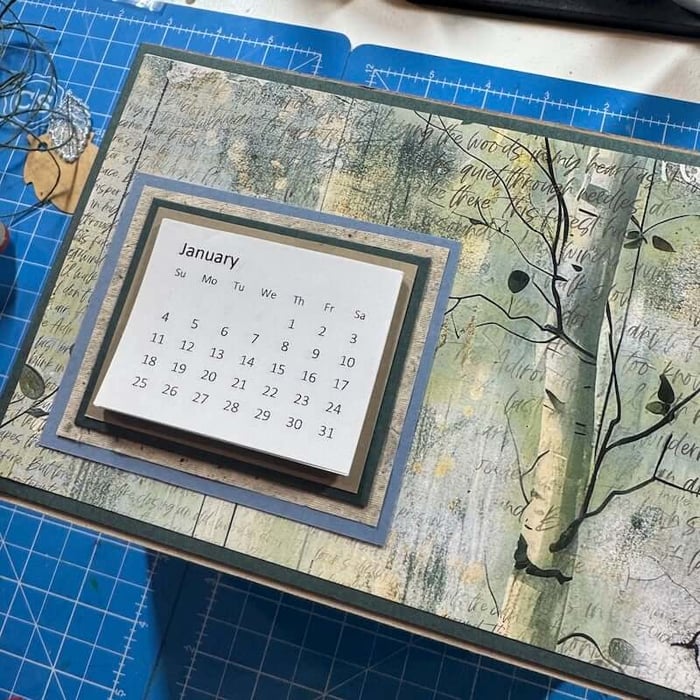
Trim a 3x3-1/2 Blue, 2-3/4x3-1/4 Rice Paper, 2-1/2x3 Green, and 2-1/4x2-3/4" Brown; nest together to create a mat for the calendar. Apply adhesive to the last page of the calendar...
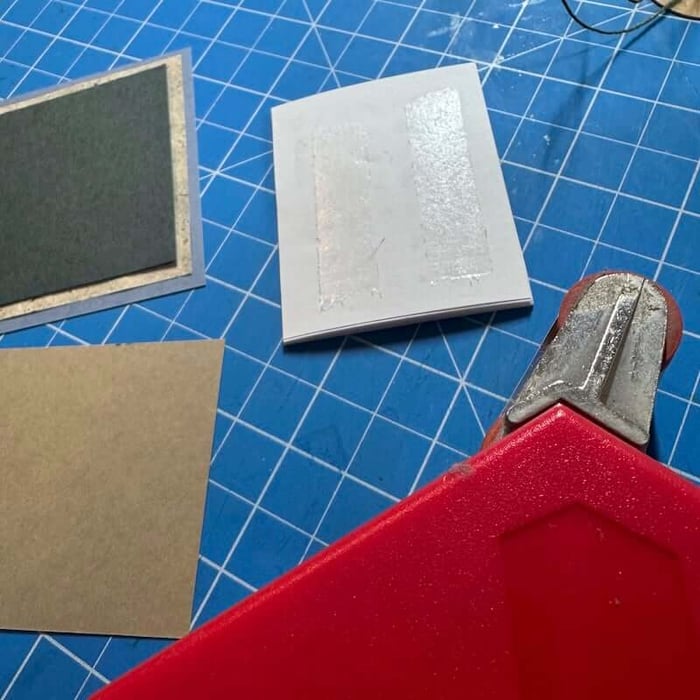
...center and adhere it onto the nested mats.
Create a cluster of embellishments with an embroidered leaf, kraft leaf tag and card kit ribbons.
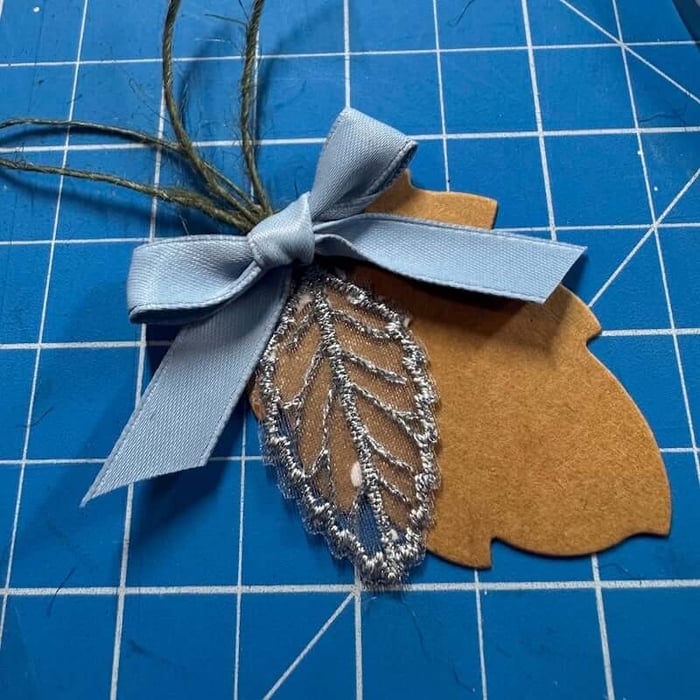
Adhere the calendar and the embellishment cluster to the front of the box.
Box Divider Inserts
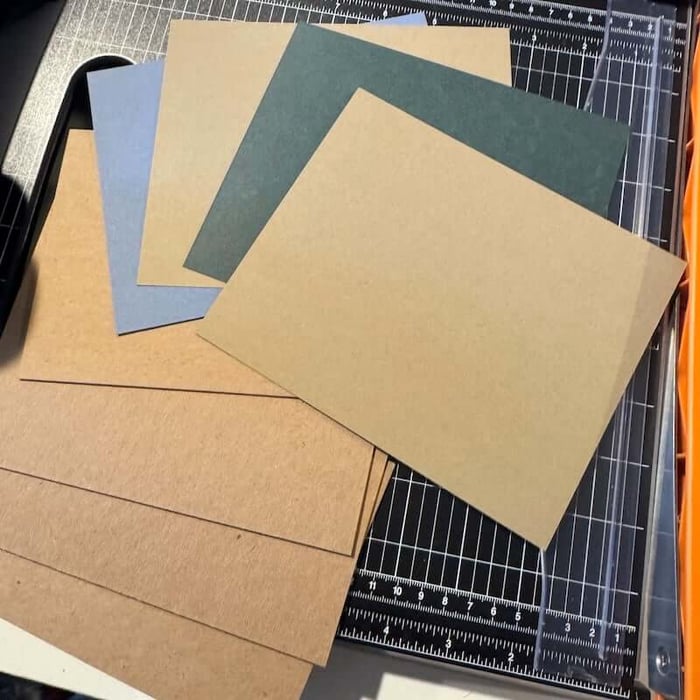
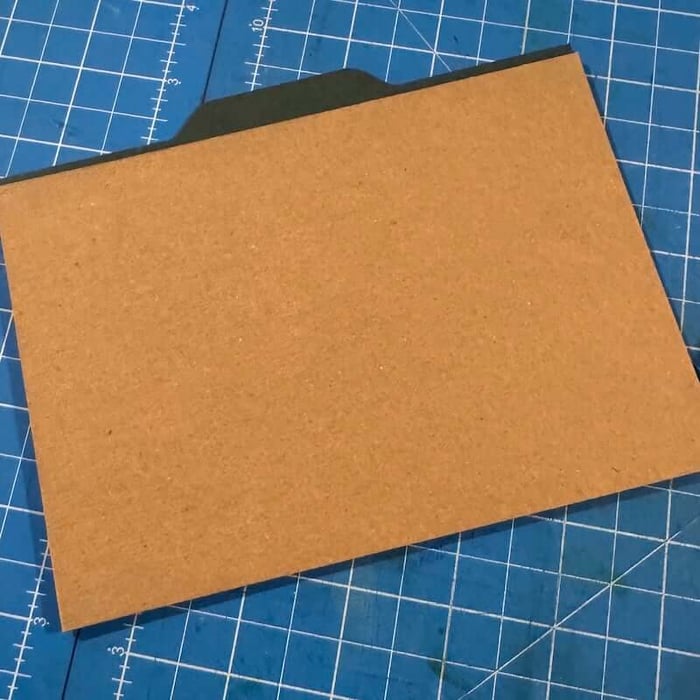
Trim two 12x12 mat boards into 4-3/4x6-3/4" panels. Cut two Brown, one Blue and one Green 5-1/4x6-3/4" panels.
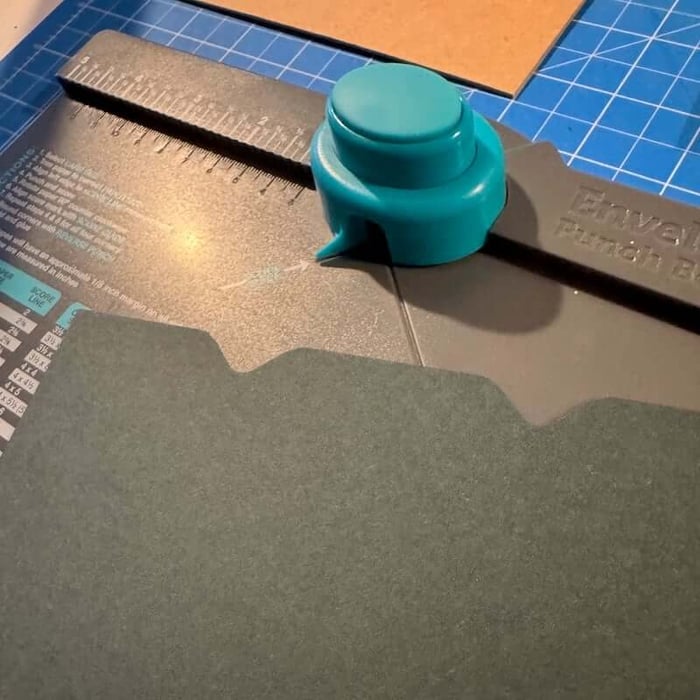
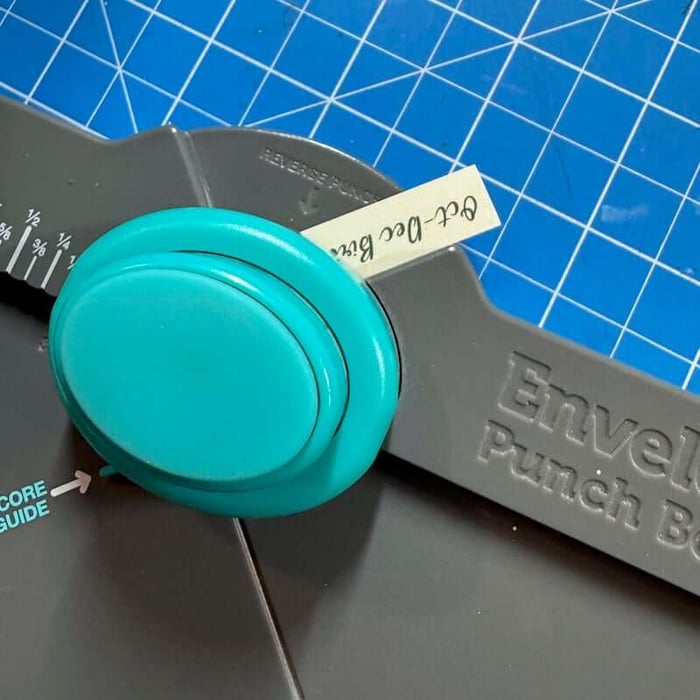
Place the Brown panels into an Envelope Punch Board*; line up the top left corner of the panel with the center of the board to make the first punch.

Slide the panel over to the 2-1/2" mark and punch again to create a tab.
Carefully remove the paper from both sides of newly formed tab with a paper trimmer or craft knife and cutting mat.
Add center tabs to the Blue and Green panels. Place each panel in the Envelope Punch Board* at 2" and then flip the paper from left to right and repeat the punch at 2". Trim off the excess paper to the left and right of each tab.
Adhere each trimmed mat board along the bottom of the tabbed panels as shown. Note: The mat board panels will be flush with the bottom and sides of each tabbed panel.
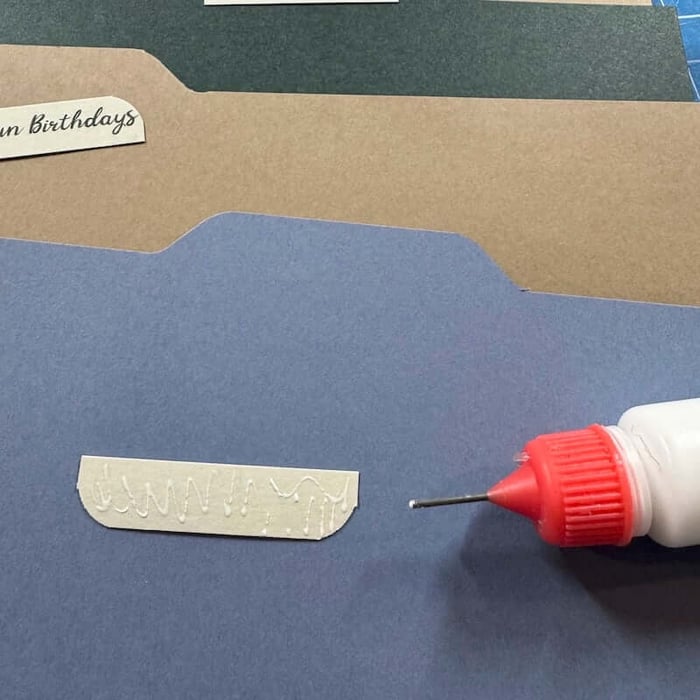
Create labels with matching font and colors using photo editing software. Print the labels on Gray paper.
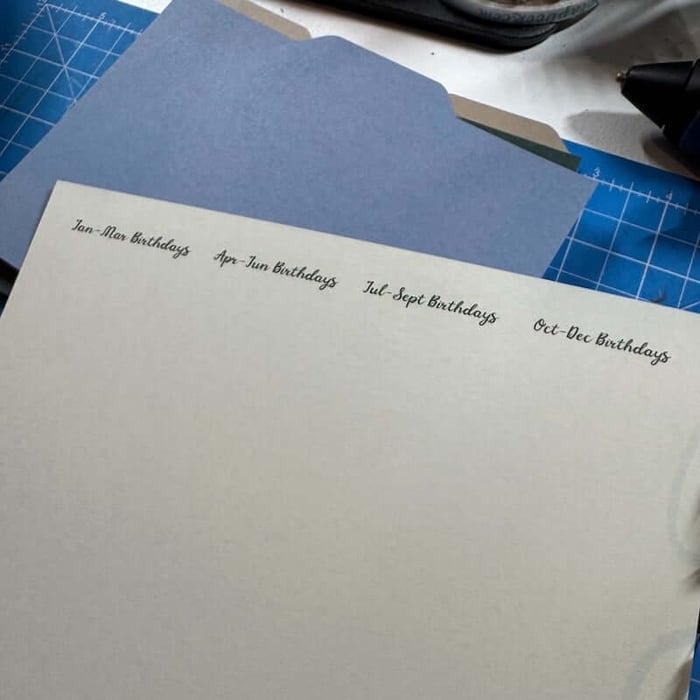
Cut the labels to approximately 1/2x1-7/8".
Round the top corners of each label.
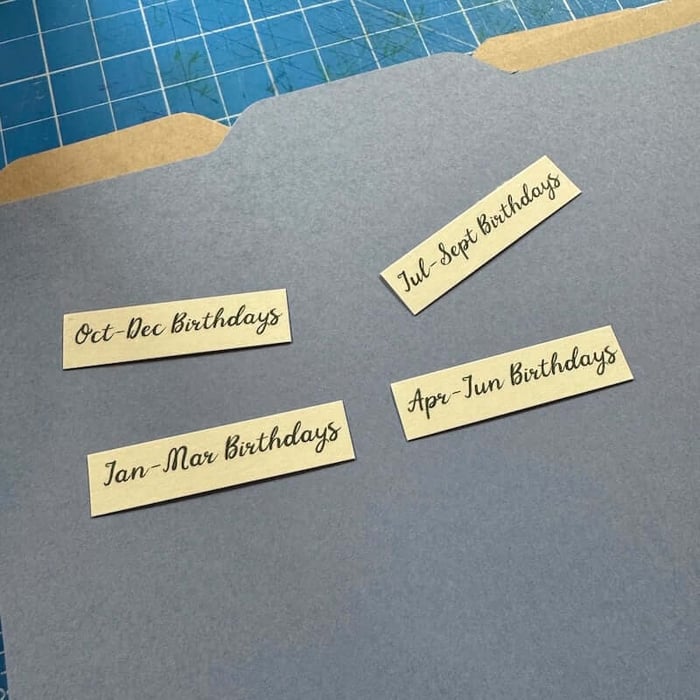
Apply a small amount of Bookbinding Glue to the back of each label; adhere to the tabs of each divider.
*As an Amazon Associate, Club Scrap earns from qualifying purchases. This means we may earn a commission if you make a purchase through links on our site. Thank you for supporting us!

Let's take another look at the completed project.

Check out these past blog posts for more desk calendar ideas!
Do you make a calendar for your desk each new year?
We invite you to share your finished artwork on our Facebook Chat Group. Not a member of the group yet? Simply answer a few questions and we'll get your request processed in no time!
Shop the products needed to make this project.
Photo Drop Box Components
$22.17
Learn how to make a clever and interactive photo storage solution when you pair the components with any CS page kit. The box measures approximately 7.25x5.25x4" and is home to three removable inserts for photos. (A few additional materials and… Read More
Bookbinding Glue 2 oz.
$6.55
Acid-free, quick drying, and easy to use for all of your bookbinding projects (and more). This is the one glue you MUST have in your stash! ***Please note: This product cannot freeze. We may not be able to ship this… Read More
Northwoods 12x12 Plain Paper

$1.39
12x12" premium plain scrapbook papers, sold individually, by the sheet.… Read More