
The process of creating the fourteen Deluxe layouts begins the same way each month . . . After confirming that I have the contents of the entire collection, I begin by spreading the papers on two eight-foot tables. Next, I distribute the photo mats, cutaparts and embellishments to the pages, and then patiently wait for inspiration to hit. After a day or two (or three), the layouts and instructions emerge. Let's take a closer look at some of the details from the Delft Deluxe kit.
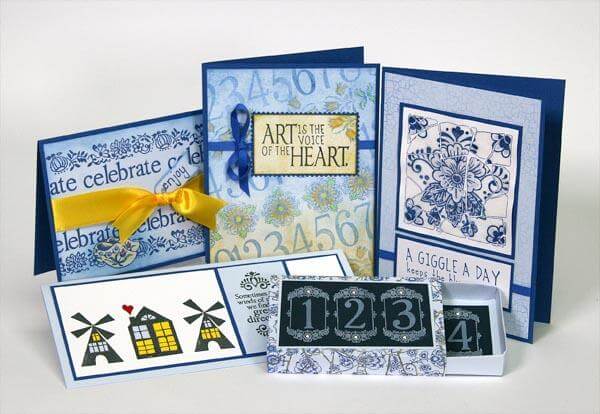
DELFT DELUXE KIT
LAYOUTS 1 & 2
Your collection includes three Silver Dome Settings and five Delft-themed Glass Cabochons. Adhere the cabochons to the settings with CS® Bookbinding Glue and allow them to dry. Cut the grosgrain ribbon at a severe angle to create a narrow point that will enable you to thread the ribbon onto the loop on the end of each bezel. Wrap the ribbon ends around to the back of the cutapart and secure with tape.

LAYOUTS 3 & 4

The 8x8" Cracked Porcelain Stencil creates a stunning border on the right edge of the spread. Use a ruler and pencil to mark a guideline about 2" from the edge of the 12x12 Lt. Blue Plain. Place the stencil within the marked area and apply clear embossing ink to the openings directly from the pad. Move the stencil down the page to ink the entire 2x12" area. Sprinkle the inked areas with clear embossing powder and heat to melt. Rub CS® Sapphire ink over the entire area and remove excess ink with a paper towel or wipe.

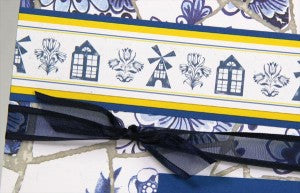
LAYOUTS 5 & 6

To conserve ribbon, trim to 14", stretch across the page and tape ends onto the back of the layout. Trim a small length of ribbon and tie around the longer piece to create a simple bow. For larger ribbons like this, sometimes it's helpful to refrain from taping both ends of the ribbon until after tying on the bow, as the ribbon length shortens slightly.

LAYOUTS 7 & 8

Perform the same trick with the gorgeous dark blue sheer/satin combination ribbon on the upper half of the left page.
LAYOUTS 9 & 10

Ink the edges of three cutaparts with Sapphire ink. Tie yellow satin ribbon around one cutapart and layer onto the page with foam adhesive. Attach the Silver Filigree Accent with a silver brad from your stash.

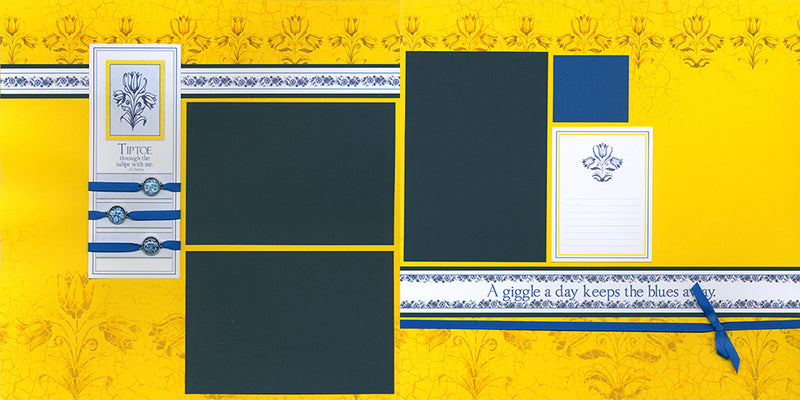
LAYOUTS 11 & 12

This double page spread pieces together in a well-balanced grid with the use of two un-cut 8.5x11 Lt. Blue Prints, two 1x8.5" Med. Blue strips, and two .5x12 Yellow strips. Create two eye-catching accents by tying yellow satin ribbon around the lower portion of the cutaparts.

LAYOUTS 13 & 14

Stencil a border along the left edge of this layout by following the same technique used in layouts 3 & 4. Nest the White cracked porcelain cutapart onto 12" strips of Medium and Dk. Blue, add a length of grosgrain ribbon, and finish with a silver filigree accent attached with a silver mini brad.

One of the most fabulous goodies in the kit is a pair of exceptional blue and black Gel Pens. I can't wait for you to test them out. They write like a dream!

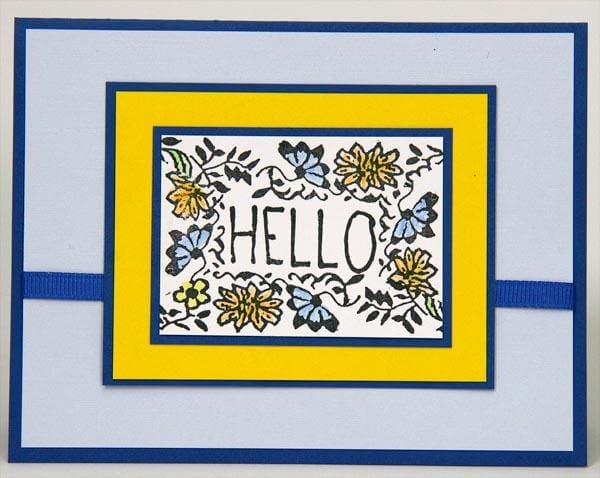
DELFT GREETINGS TO GO
SET A

Place the white cutaparts onto the Dk. Blue panel with a larger space between the two. Add lace within the opening and secure the ends on the back of the panel with tape.

SET B

Note how the Lt. Blue flap on the left side of the card is shorter than the card base to reveal the Yellow panel on the inside. The Med. Blue panel is scored to create a 1" flap which is cleverly tucked behind the Yellow panel.

Attach the silver filigree tile to the Lt. Blue flap with two silver mini brads and tuck the flap under the tile to hold it in place.

SET C

Kay perfectly captured the functionality of this 5x7" double flapped card with this image. The left and right flaps overlap by one inch. Simply cut a 1" slit in the center edge of the right card flap. Tuck the top portion of the left card flap beneath the right flap, and the four Yellow panels will fit into each quadrant.

Be sure you're all set to receive the Delft collection(s) of your choice during the month of March. Join us!
It has also been brought to my attention that I inadvertently forgot to include information about next month's collection. We're looking forward to Cherry Blossoms in the month of April. I was just peeking at the mock-ups of the prints, and Jacqueline's work on this kit is nothing short of stunning.
Tricia