
If you tend to follow our handy assembly instructions to create your layouts each month, you'll notice an update in your Color Me Happy Lite download. I've added miniature images of the cutaparts in the kit and assigned each individual image to a layout pair.

This should help ease the hunting when trying to figure out where the cutaparts were used. I hope you like the addition!
LAYOUTS 1 & 2

The pretty silver-edged blue ribbon is used to embellish the left page. Staple two folded pieces to the upper right edges of the cutaparts, and create a three-part bow beneath the border strip.

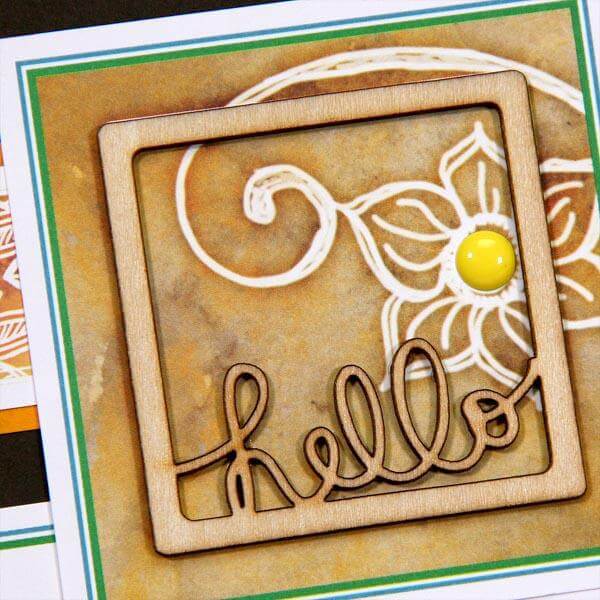
The cutaparts include three decorative squares.

They are cleverly designed to fit the highly detailed laser cut Wood Frames featured in the collection.

LAYOUTS 3 & 4

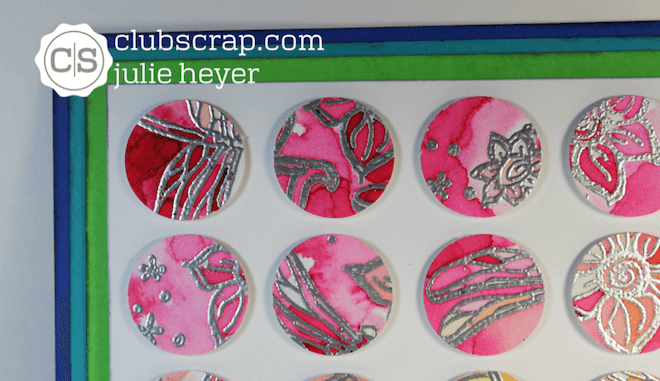
Embellish your pages with colorful self-adhesive Enamel Dots.

LAYOUTS 5 & 6
This layout uses one of my favorite formulas where one sheet of 12x12 paper is used to create four unequally-sized quadrants on a double page spread.

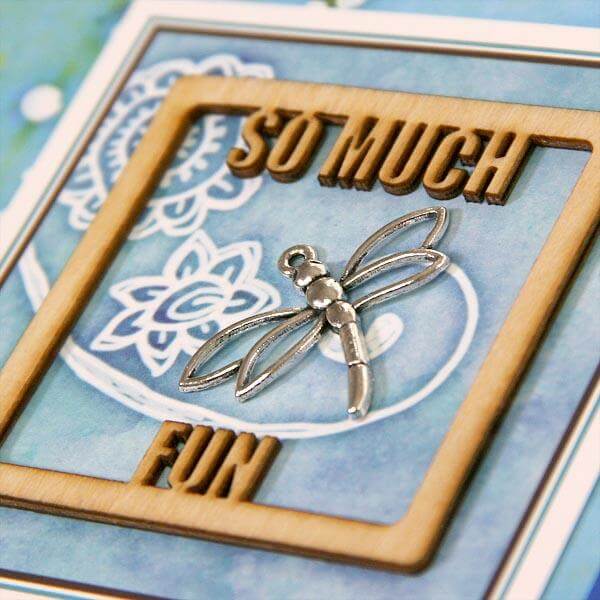
Build an attractive assembly in the upper left quadrant with cutaparts, enamel dots, fuzzy fiber and a laser cut wood frame.

LAYOUTS 7 & 8

Adorn the right edge of this journaling prompt with enamel dots. We always try to include at least one small journaling prompt per page. If you find that you don't have much to say, simply use it as a photo mat.

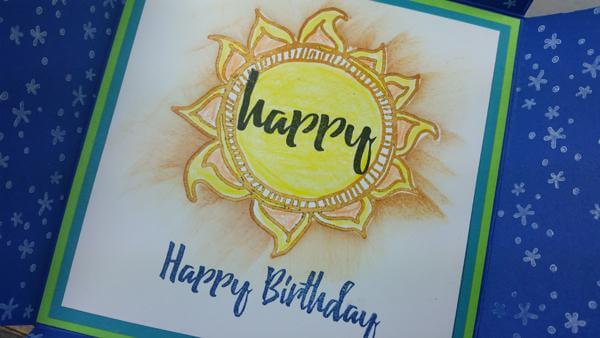
Off to enjoy some cake because it's somebody's birthday somewhere!

If you haven't already, order your Color Me Happy Lite kit today!
Tricia