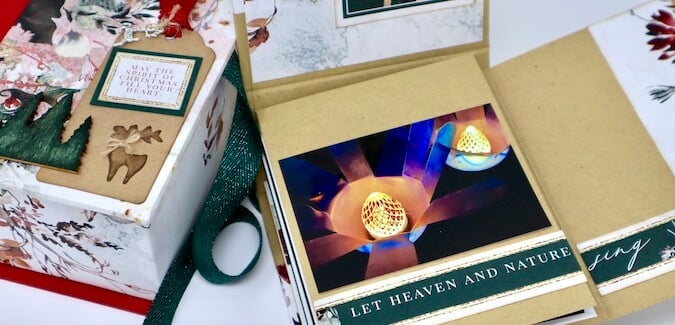
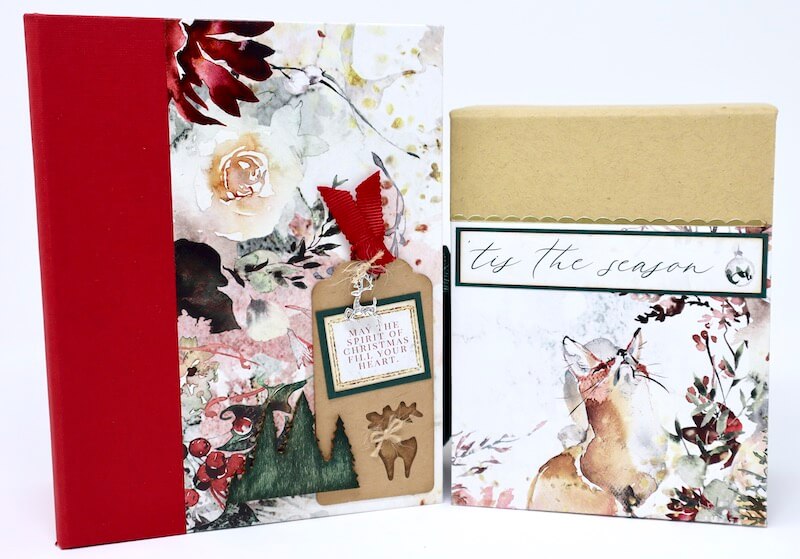
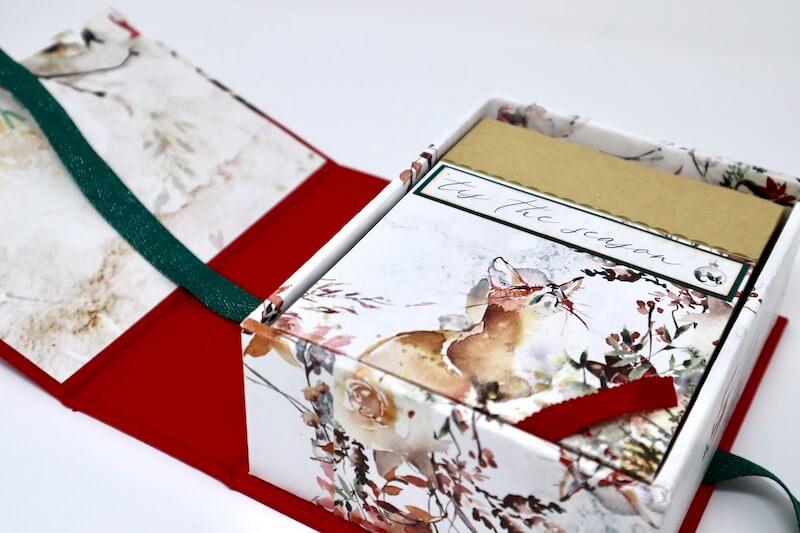
Create a Christmas Drop Spine Box project with Mini U-Hinge Book featuring the Woodland Christmas Page Kit. I adore this special release collection and knew it would make the most beautiful box and mini album for my holiday photos.
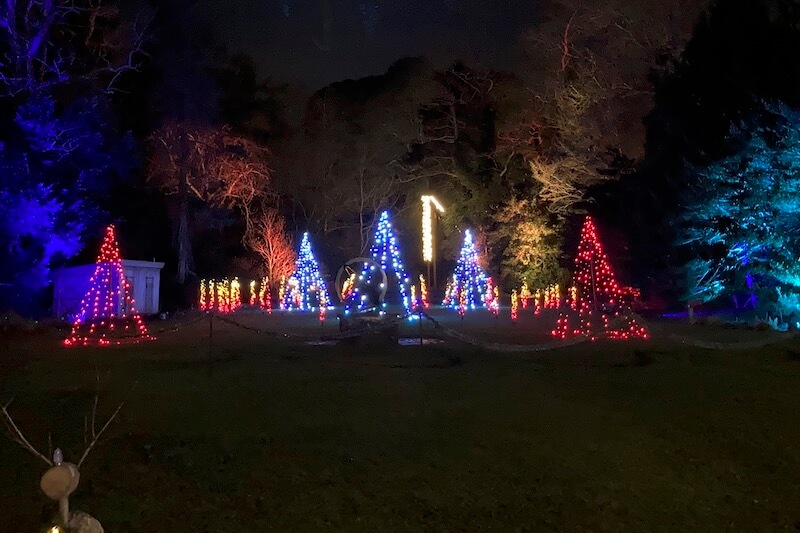
My daughter and I visited the Gardens Aglow annual holiday event. This celebration of lights takes place at Heritage Museums and Gardens in my hometown of Sandwich, Massachusetts.
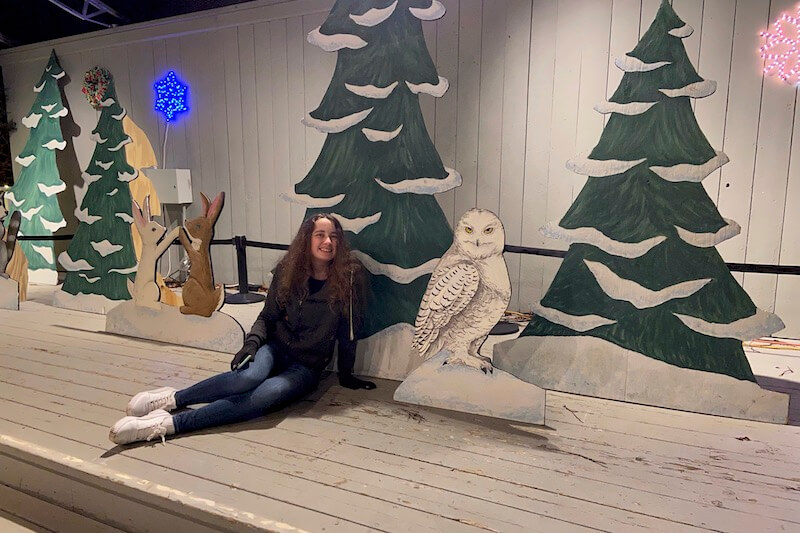
Shannon is a member of the National Art Honor Society at her high school and volunteered with her group to paint this gorgeous woodland themed display. As a thank you, they provided us with two complimentary tickets to the sold out event.
Christmas Drop Spine Box
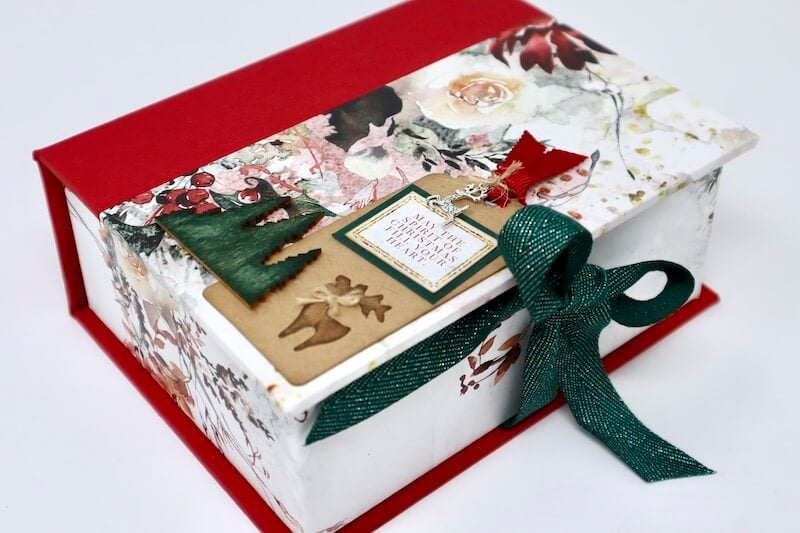
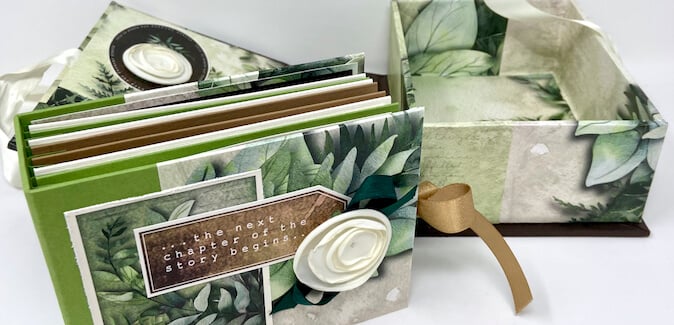
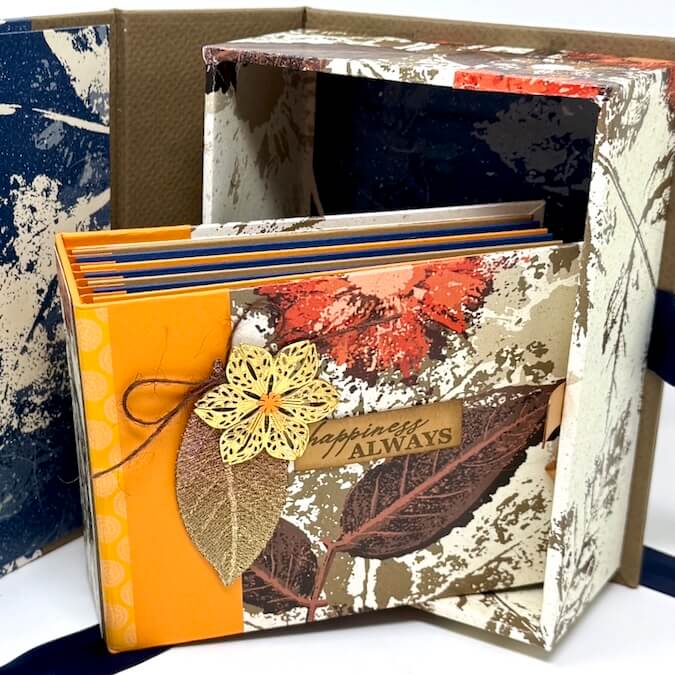
If you would like to make a Drop Spine Box and mini album of your own, simply purchase and download the instructions from our online store. Next, gather your favorite page kit, drop spine box components, 12x12 mat board and a few basic tools. Be sure to check out Tricia's gorgeous Let It Bee version on her blog post.
Mini U-Hinge Book Embellishment Tips
Make a Mini U-Hinge book with the supplies remaining after assembling the box.
Many of my photos from the event were in portrait format, so I decided to create my book in a vertical orientation.
If you plan ahead, you can edit any landscape photos in the batch by stacking two photos onto one 4x6" background prior to printing. This can be accomplished with most basic photo editing software.

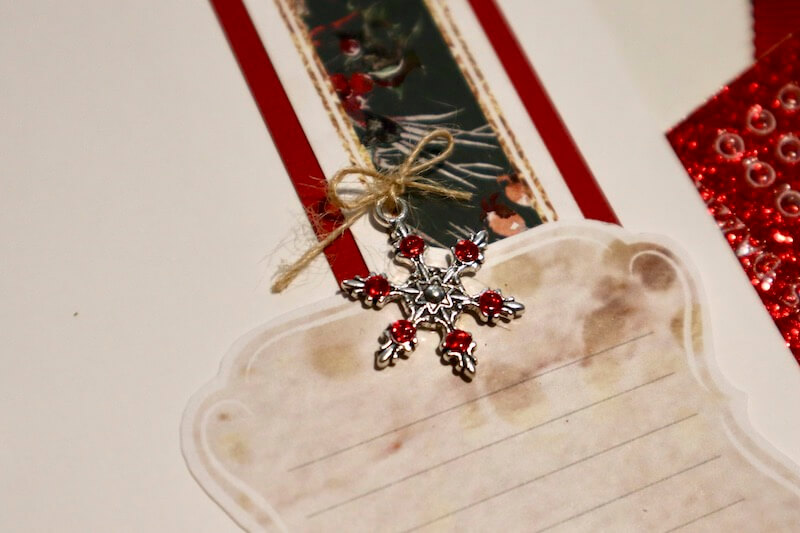
Follow the instructions to trim the page kit cutaparts. Fussy cut any pieces that have unique shapes. Adhere a snowflake charm adorned with Red Jewel Dazzles to the cutapart with Bookbinding Glue dispensed from a Needle-tipped Applicator. Finish with a piece of twine tied in a bow.
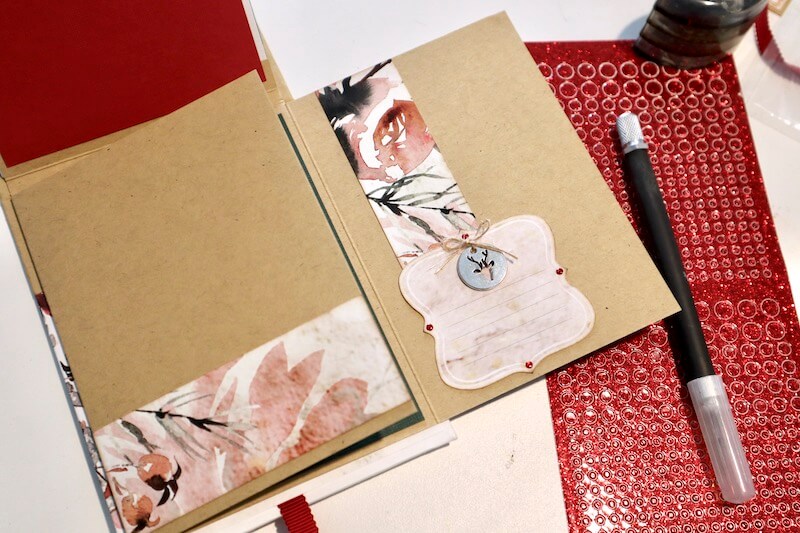
Cut the scraps from the print into anchor strips for some of the pages.
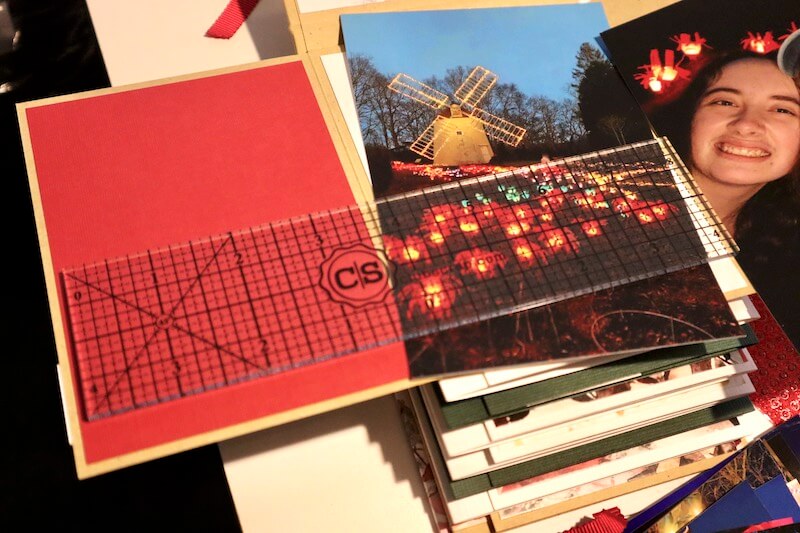
Trim the extra Green, Red, and Kraft 12x12 papers into 3.5x5.25 and 3.25x5.5" photo mats for the inside pages of the book. Ensure that photos are cropped properly by checking the length and width with a grid ruler.
Cut a long title strip into three sections, trim away the white borders, and adhere to the page with Bookbinding Glue dispensed from a Needle-tipped Applicator. Wrap a small length of twine around the end of the strip for added texture.
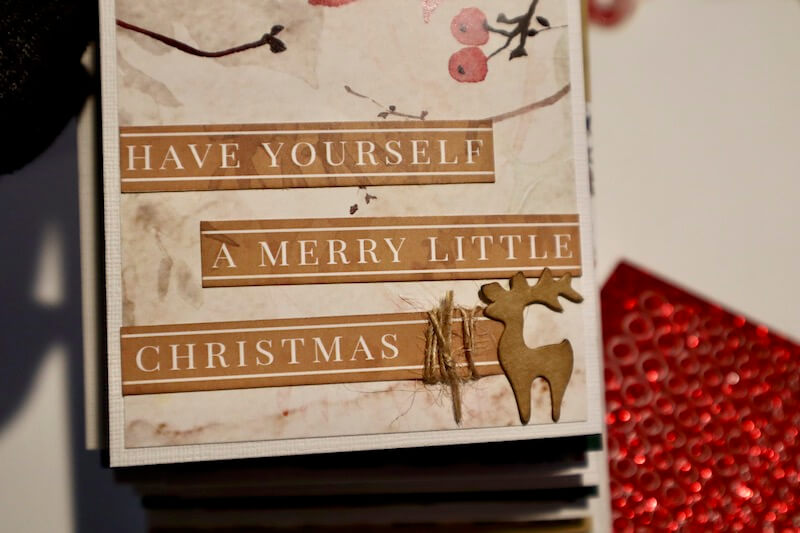
Trim a cutapart to fit on a page. Ink the edges to add depth and dimension.
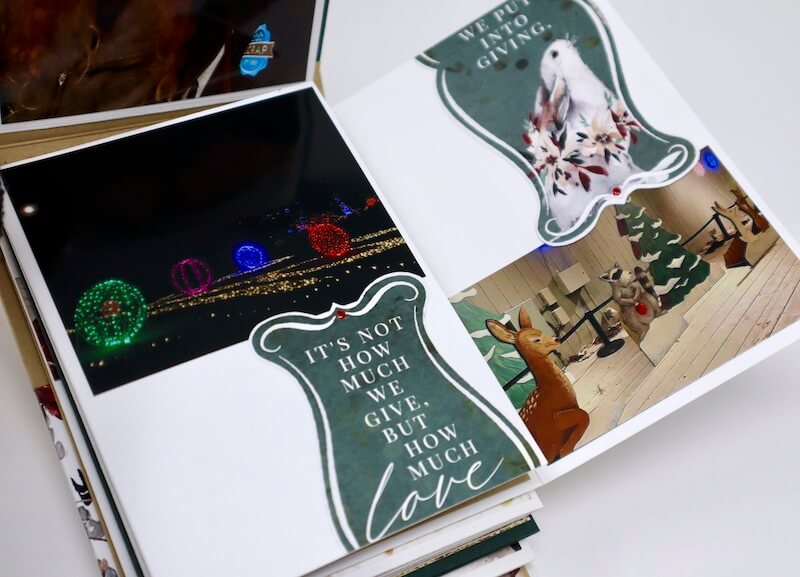
Let's take a look at some of the finished pages.
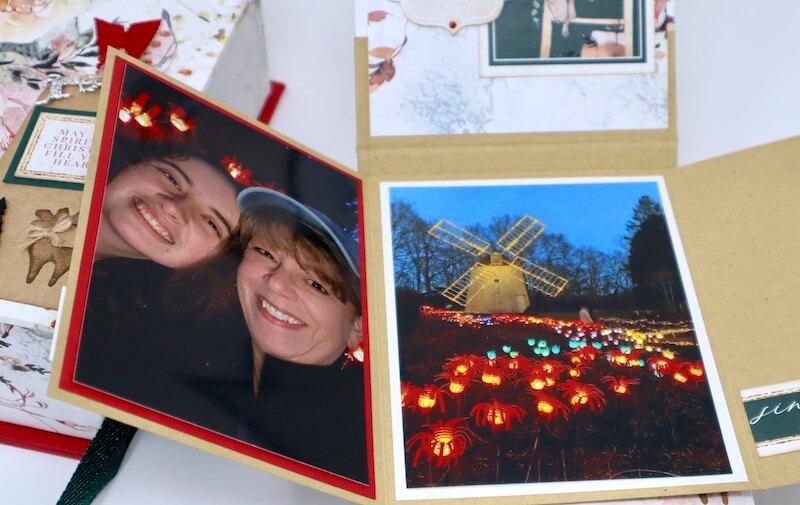
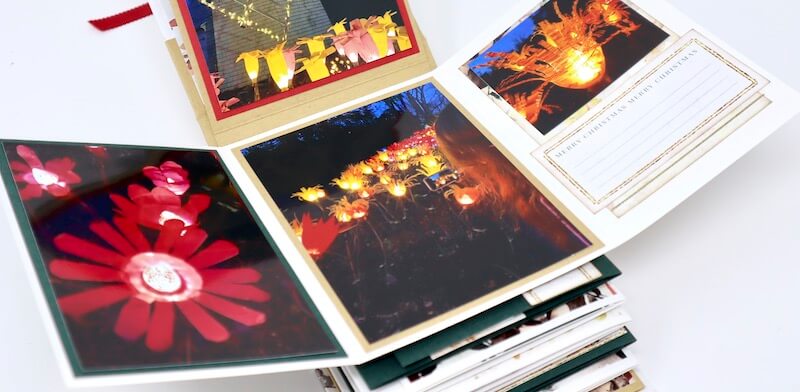
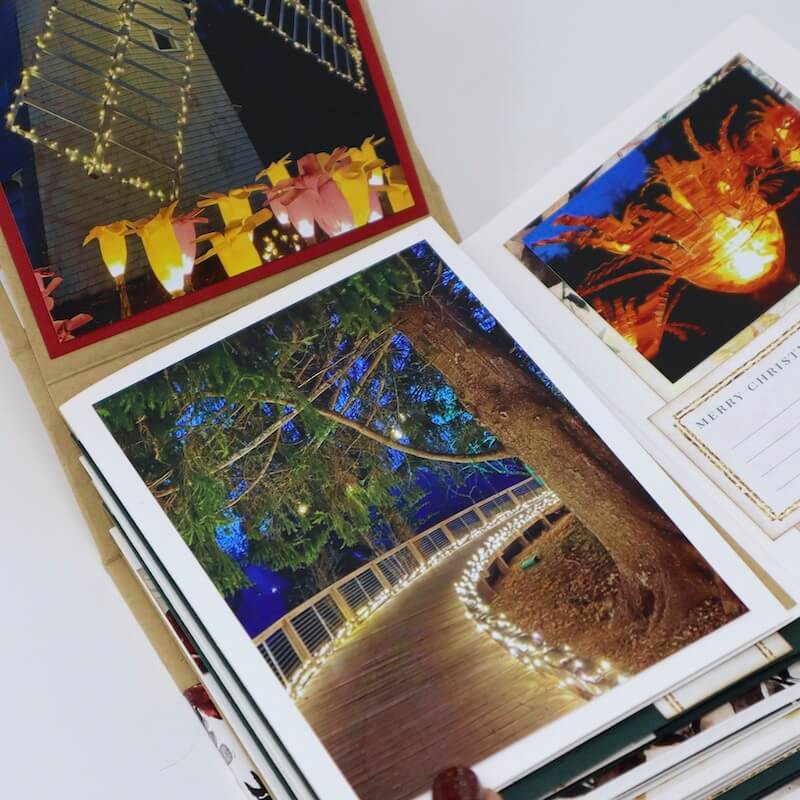

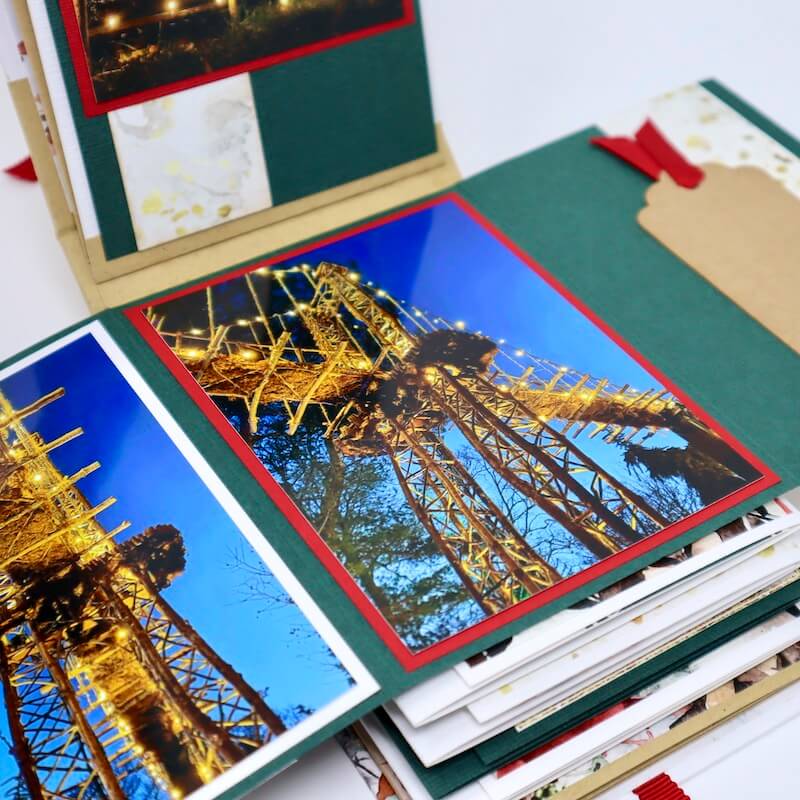
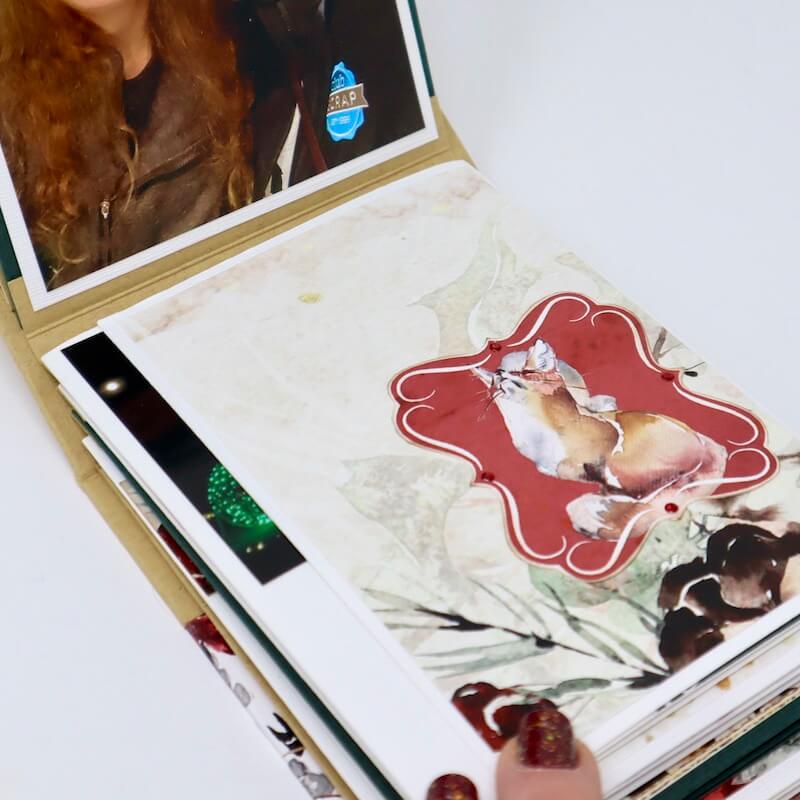
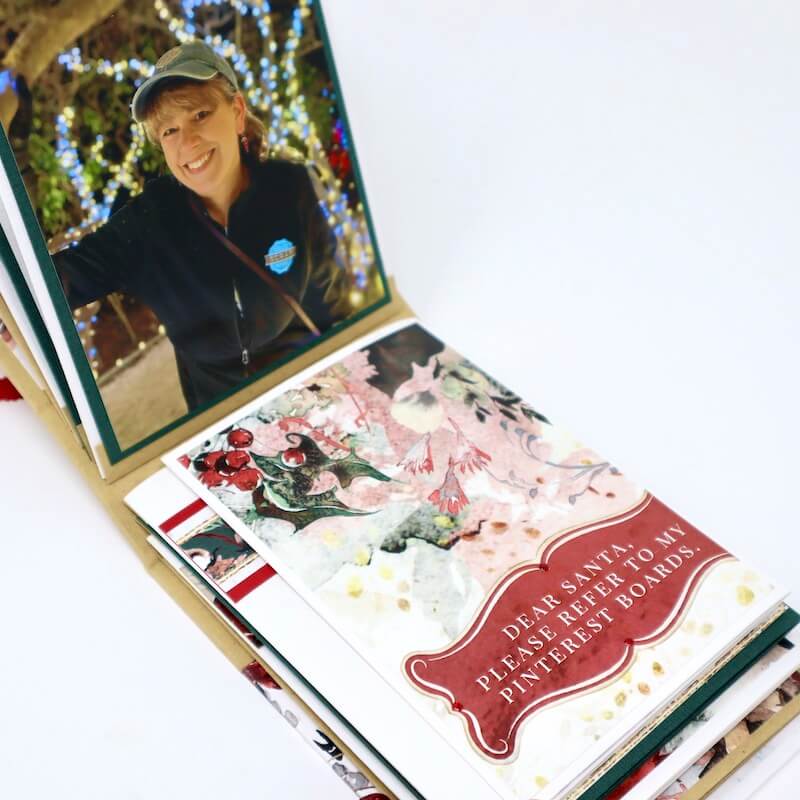

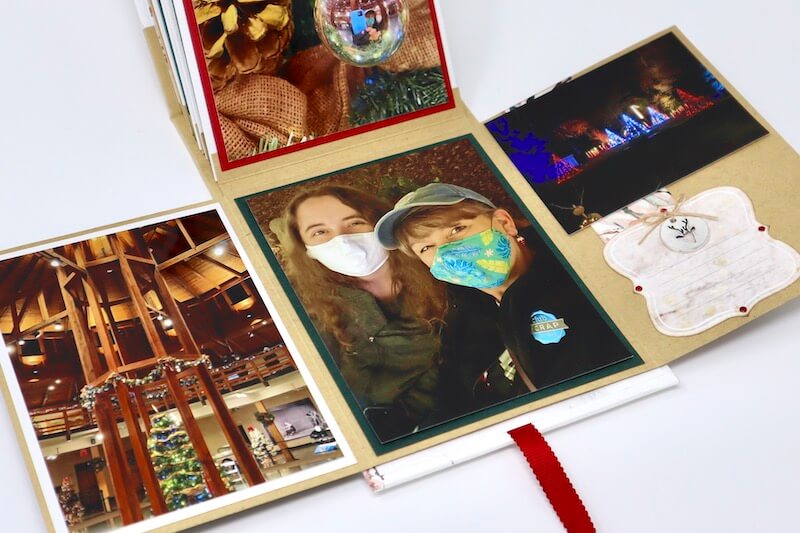
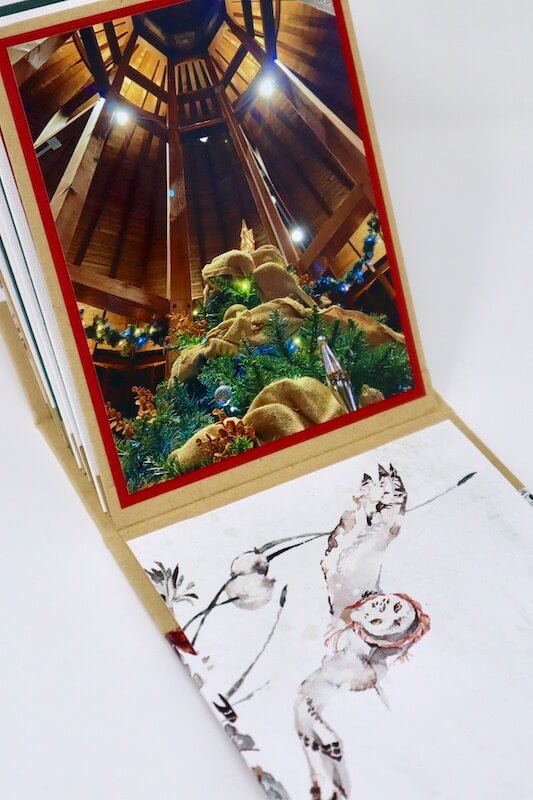
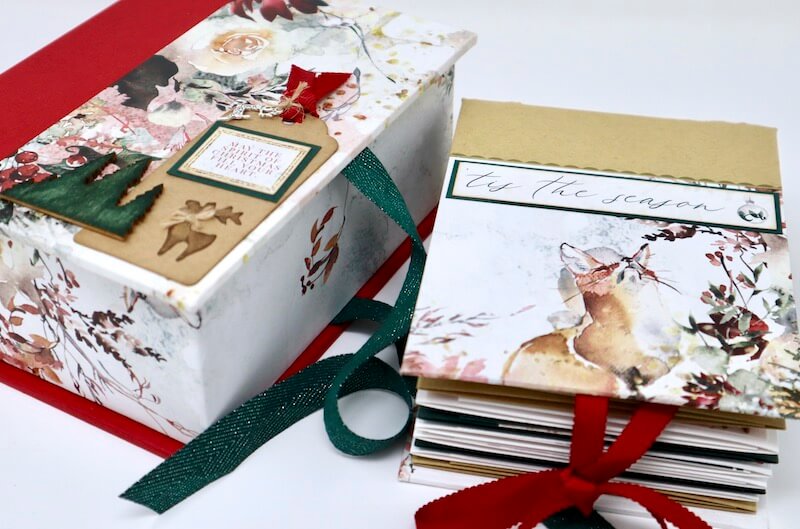
I hope you were inspired by these embellishment tips and tricks.
Have a wonderful holiday season!
Drop Spine Box Components
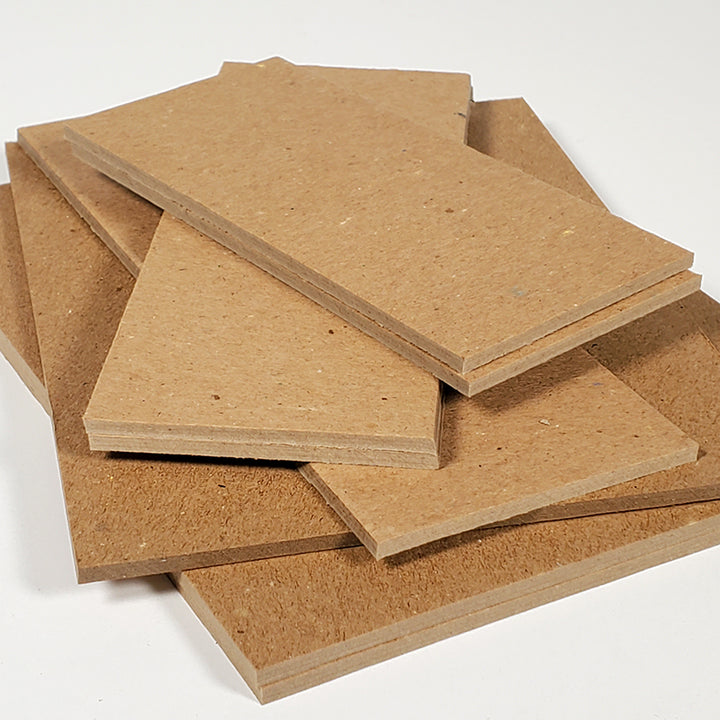
$13.50
Contains (8) pieces of 1/8" thick book board. Makes one drop spine box measuring 5.25x7x3". (A few additional materials and tools will be required.) Kit contains two book board covers, one spine, one box base, two short walls and two… Read More
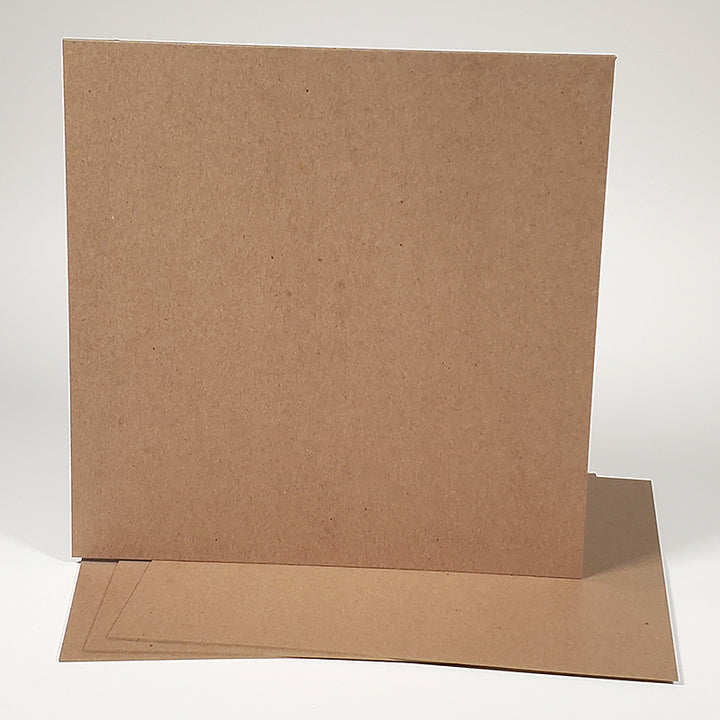
12x12 Mat Board
$3.25
Thicker than Folding Board but lighter than our Book Board, this 12x12 sheet of 60 pt. mat board creates the perfect base to make paper-wrapped covers for handmade books. Trim to size easily using our 12-inch paper trimmer. THIS PRODUCT… Read More
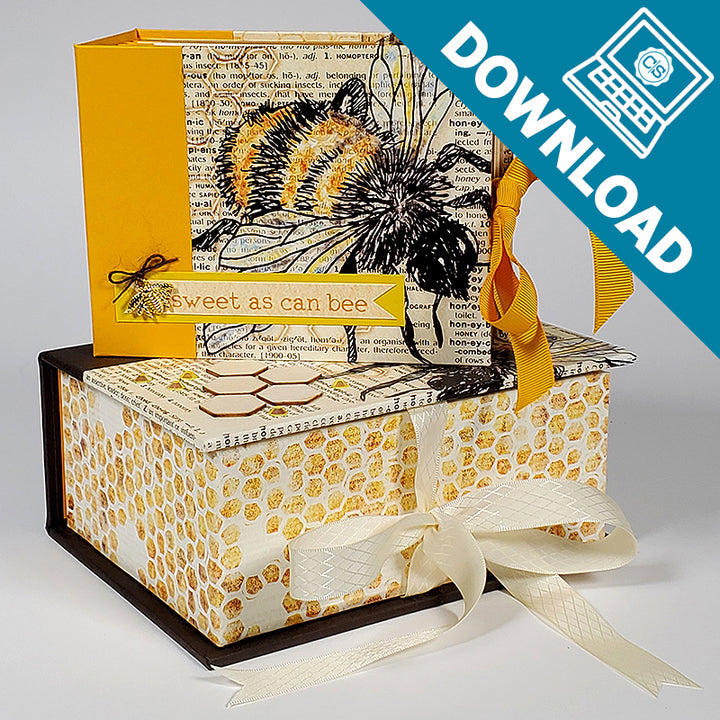
Drop Spine Box and Mini Book Online Class
$11.05
THIS IS A DIGITAL PRODUCT SENT VIA EMAIL Make an adorable mini album that fits into its own custom drop spine box using your favorite page kit. The sturdy 5.25x7" box features a unique drop spine design constructed from book… Read More
