
Give stamped images dimension and depth with a simple brush marker blending technique.
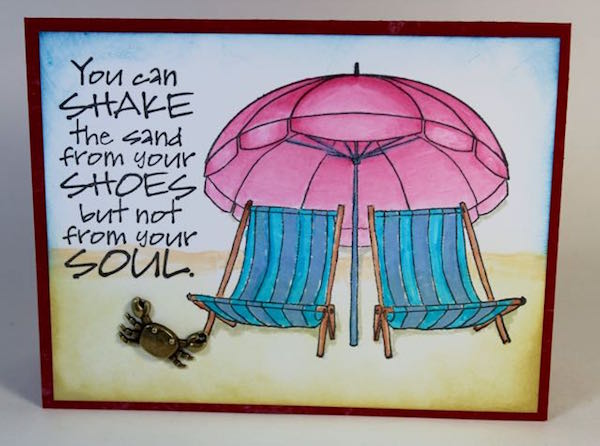
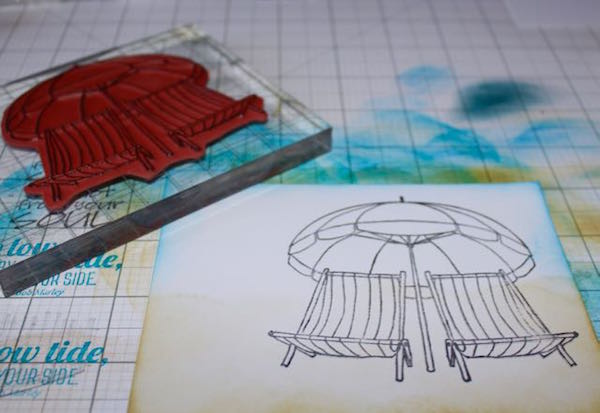
Cut a 4x5.25" white panel and distress the edges lightly with Lagoon and Sandstone inks.

Stamp the umbrella and chairs image from the Boardwalk Jumbo UM onto the panel with Onyx ink.
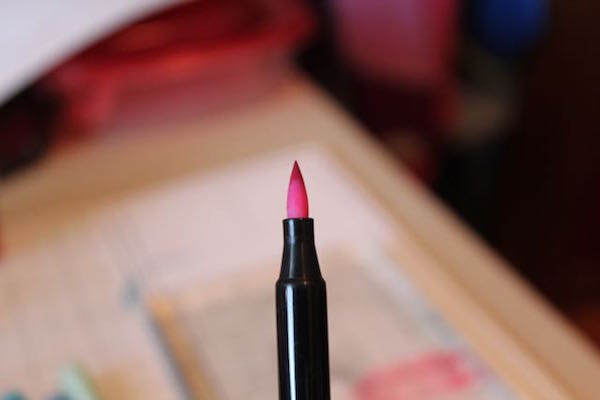
Swipe several bands of dark red marker ink onto an acrylic block.

Pick up the color with the tip of a pale pink marker.

Add color to the image beginning at the top and continuing down the sides of each umbrella panel.

Continue to pick up dark red color with the pale pink marker as needed to fill in the image.

Add more colors to the image with the same blending technique.

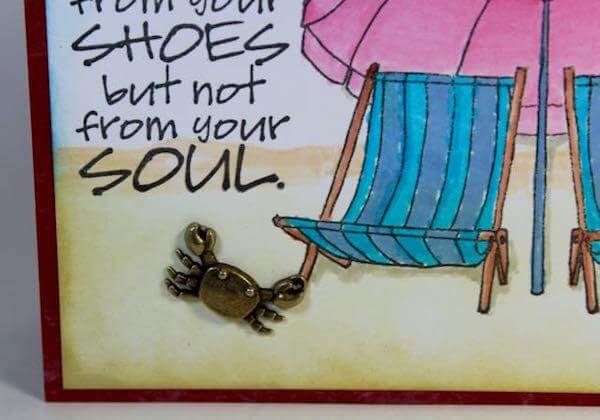
Add a shadow under the chairs and umbrella with a pale gray marker.

Draw a horizon line for the sand dune with a pale tan marker.

Finish the panel with a stamped sentiment from the May 2013 Cape Cod kit Borders and Backgrounds UM and a cute little bronze crab charm. Attach the panel to a folded 4.25x5.5 Red Print card base.
Do you have more brush marker tips and techniques? Share your ideas with us in the comments below. Happy coloring!
 Julie
Julie