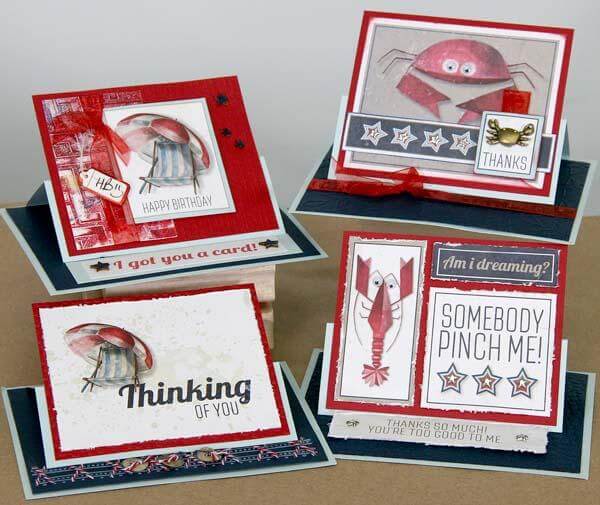
The June Greetings to Go Guest Artist is Lisa Dolezal. We just love the cards she created!
SET A: 3.5 x6.5" SAGE CARDS
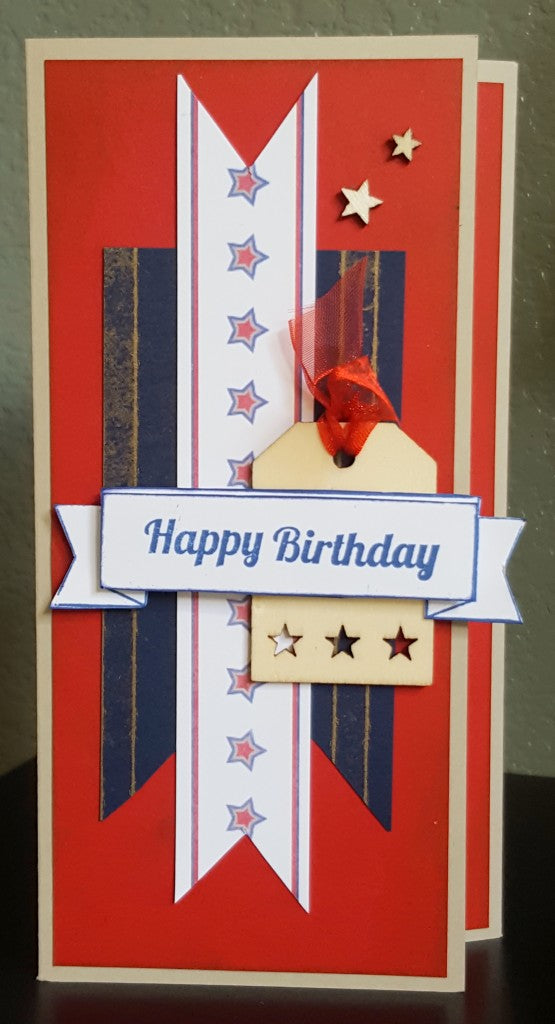
Trim border strips from the Greetings to Go Cutaparts and some the printed paper scraps into banner shapes. Stamp the Art Nouveau horizontal banner image twice . Stamp the Greeting UM "Happy Birthday" onto one banner, and trim rectangle section only. Layer onto second banner with dimensional adhesive. Add ribbon to tag, and embellish with wooden stars.
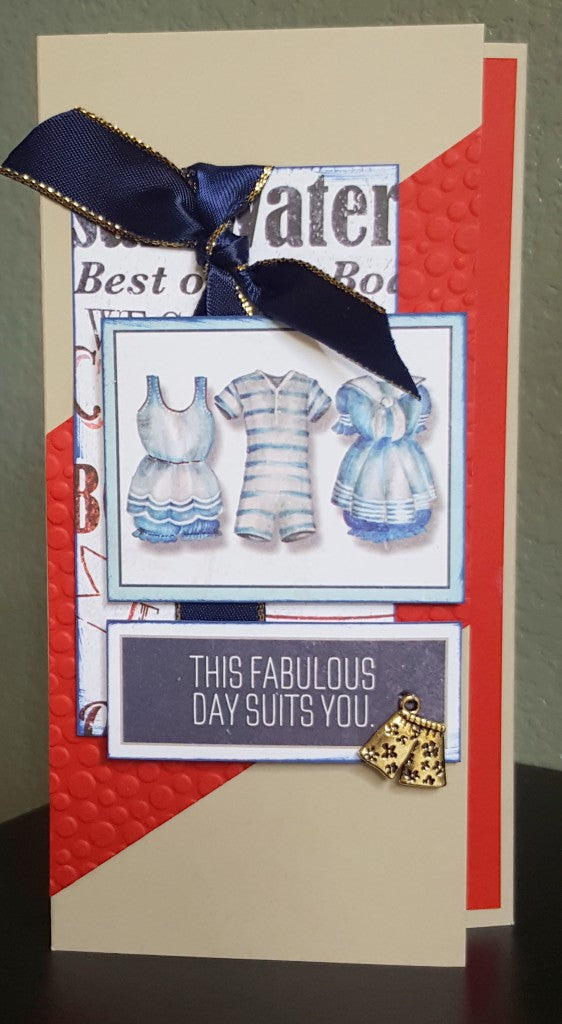
Emboss red strip with a Cuttlebug folder. Place onto card base on the diagonal and trim edges. Ink edges of Cutaparts and paper. Wrap mat with ribbon. Add charm.
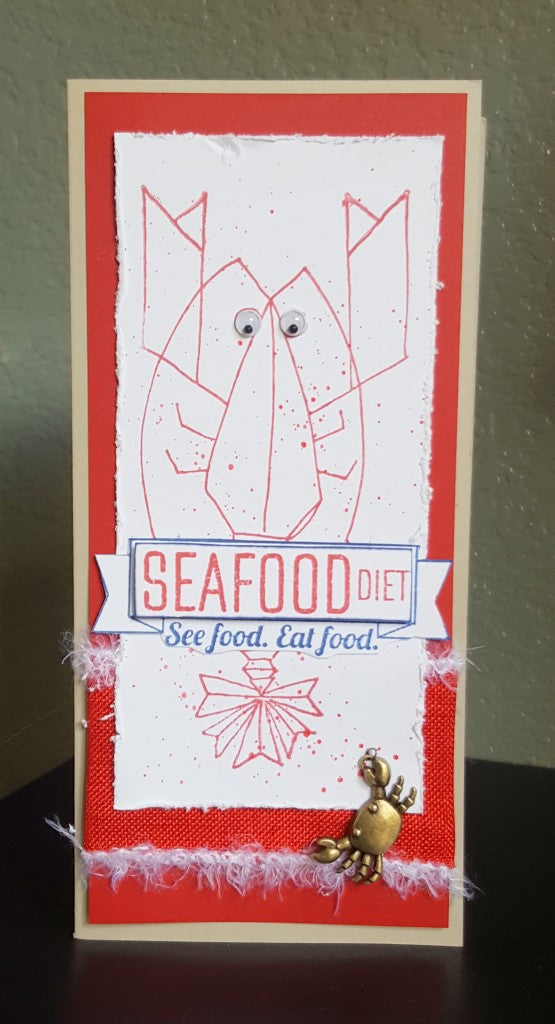
Stamp lobster image from the Jumbo UM onto a white panel and splatter with red Gelatos. Distress edges. Stamp banner twice. Trim "Seafood Diet" from one panel and layer onto second with dimensional adhesive. Wrap red mat with ribbon. Add charm.
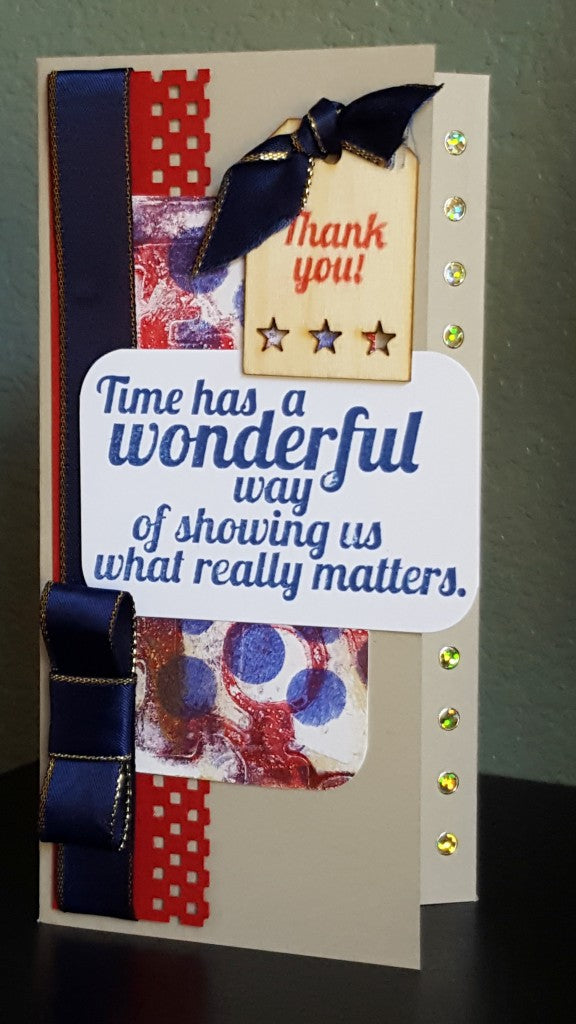
Create background with red, blue, white and gold acrylic paints using Gelli plates, stencils. Trim a small panel from Gelli artwork. Create a decorative edge on red border strip with Martha Stewart punch, wrap with blue ribbon. Finish with a "three part bow" using Tricia's tutorial. (I used glue dots.)
SET B: 4.25 x 5.5" SEA BLUE CARDS
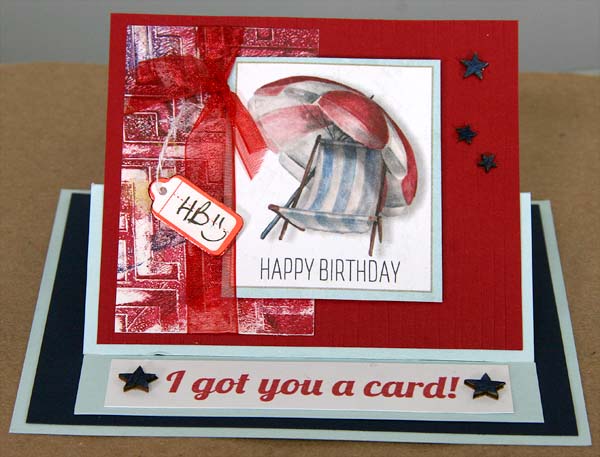
Trim a section of Gelli print, wrap with ribbon and small tag. Color wooden stars with Copic markers. Stamp sentiment onto white strip.

This one was just too cute to not reproduce, but add my own little twist. Separate Cutaparts and distress. Emboss Dark Blue panel using a Darice folder. Add google eyes to lobster and star brads to the center of the three stars on Cutapart. Add two more star brads to the sentiment strip for balance.
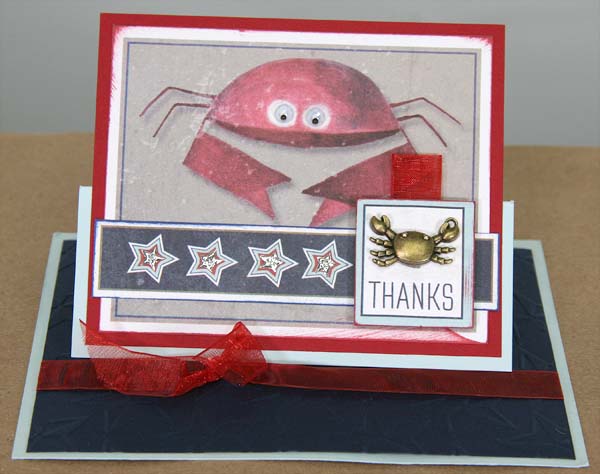
Separate Cutaparts. Emboss Dark Blue panel using a Cuttlebug folder; wrap tight with ribbon. Add google eyes to crab. Adhere star-shaped Dazzle stickers to centers of star strip. Add charm to the tag.
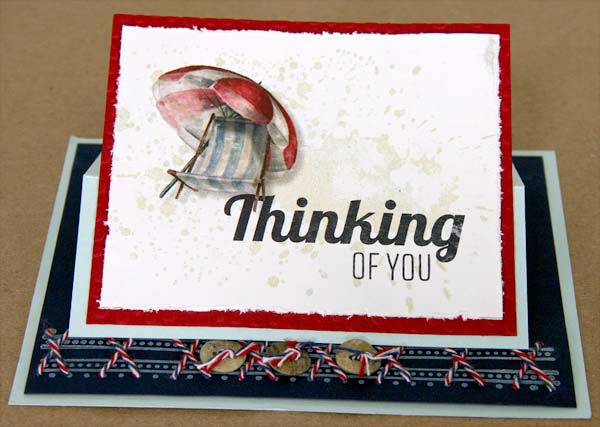
Stamp border stamp twice onto Dark Blue panel. (I used the Position it! tool.) Pierce holes where you'll be stitching. (This keeps the paper from getting wrinkled while sewing.) Stitch "X" with bakers twine and a needle, and add twine to buttons. Attach buttons with glue dots. Stamp the splatter image stamp (Dahlia Jumbo UM) in Sandstone onto white panel. Distress edges. Emboss Red panel using a Cuttlebug folder.
SET C: 3.5 x 5" WHITE CARDS
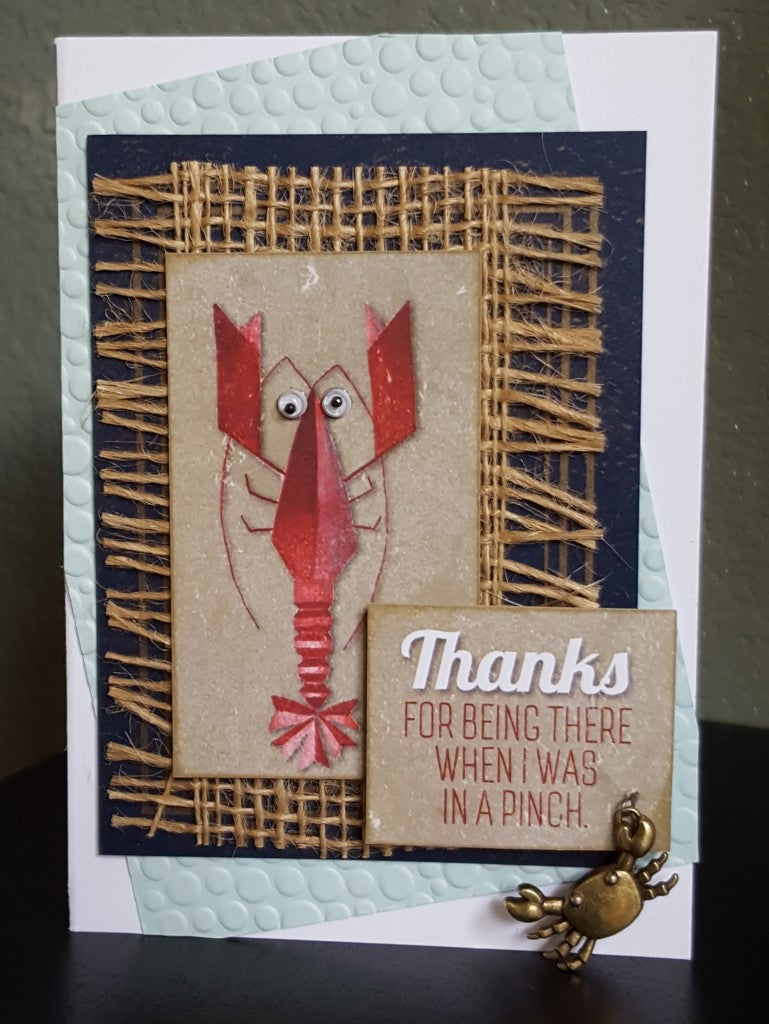
Emboss Sea Blue panel using a Cuttlebug folder. Separate Cutaparts and ink edges. Add burlap, google eyes and charm.
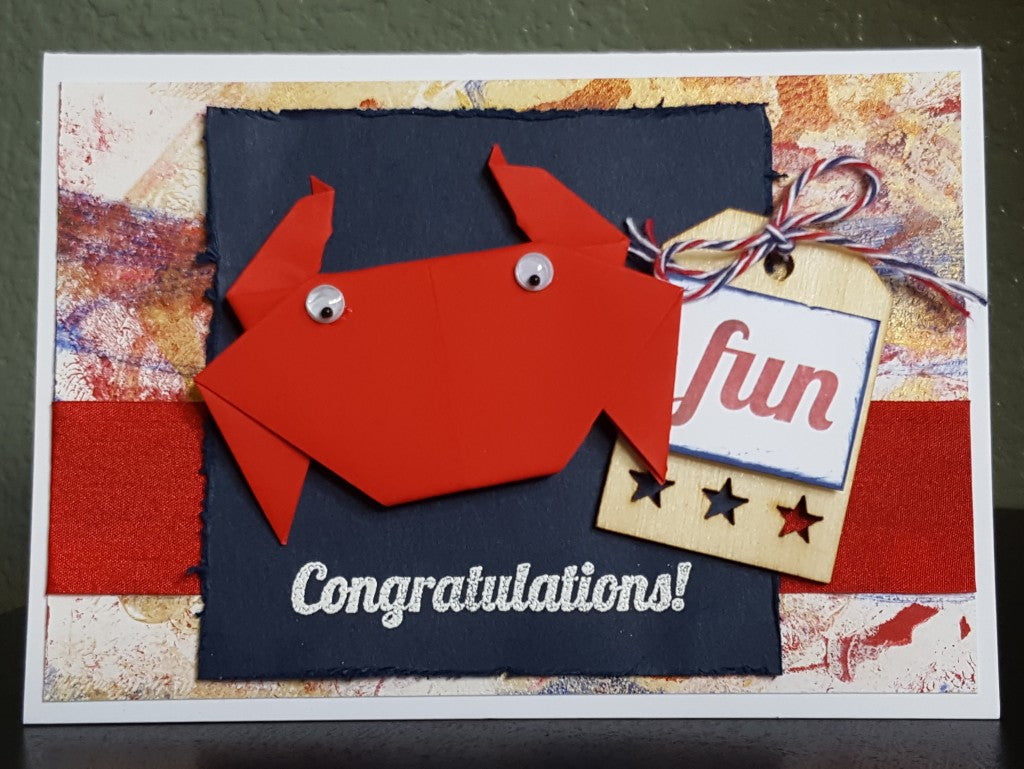
Wrap Gelli print panel with ribbon. Stamp sentiment in white and heat emboss. Distress edges. Add tag and twine to wooden tag. Create origami crab (instructions coming soon on my blog) and add google eyes.
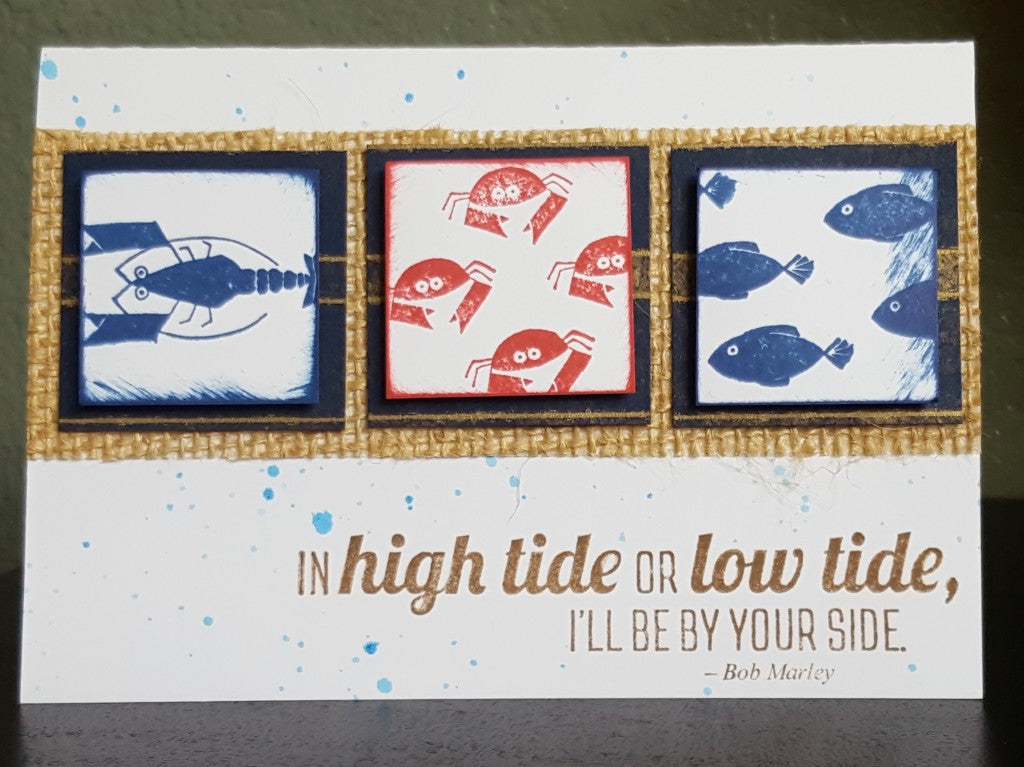
Stamp sentiment onto card base and onto a scrap paper to make a mask. Cover sentiment with mask and splatter Gelatos on base. Stamp small squares and edge with ink. Add burlap strip and adhere squares.
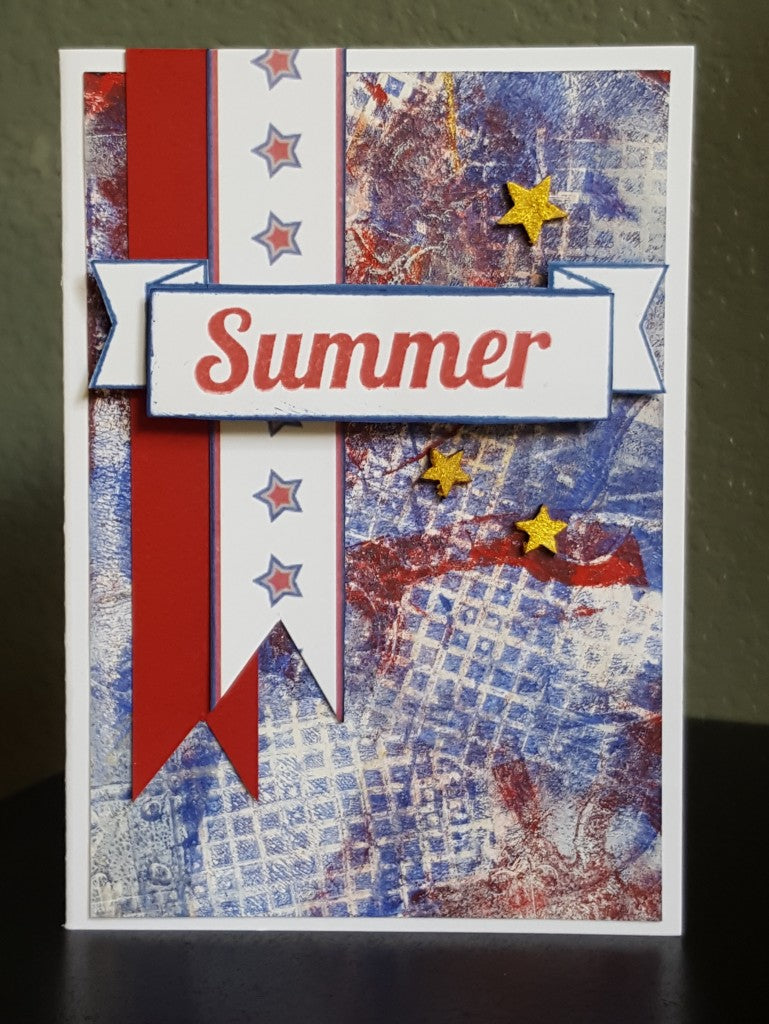
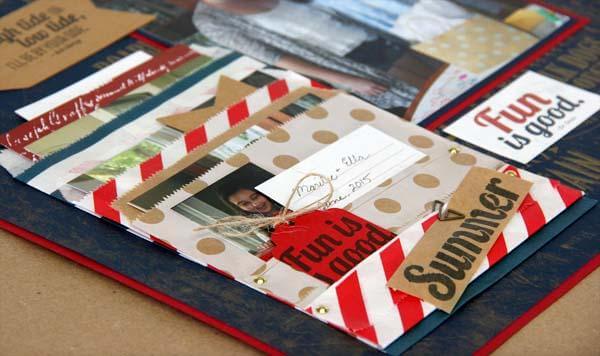
Start with another Gelli print panel. Trim border strip. Stamp banner twice. Stamp summer in one banner. Cut one full banner. Trim just the inside summer rectangle from second stamp and add pop dots to give dimension. Color wooden stars with Playcolor metallic paint.
Thanks for giving me the opportunity to share my cards. This was a wonderful experience!
