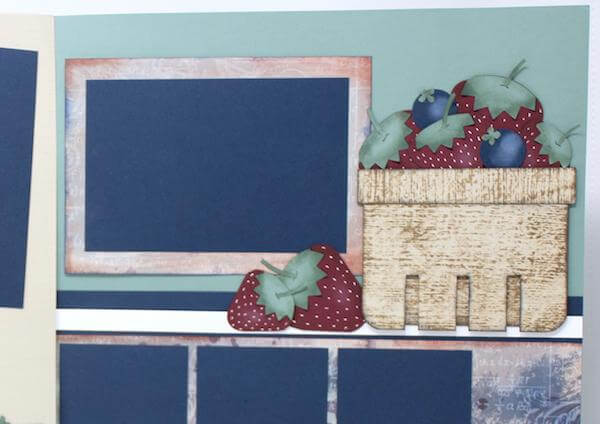
When I was a little girl, my parents would take my brother and I berry picking all the time. My folks live in Florida now and are keeping this tradition alive with my nephews. I wanted to capture some of these precious memories on my Ivy League pages.
Berry Picking Pages
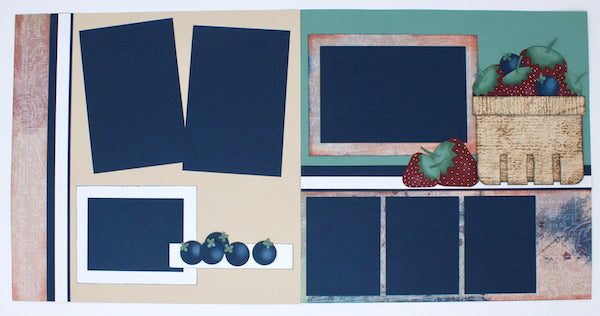
I never let the theme of a monthly collection stop me from making pages on a particular subject. The colors of this month's papers reminded me so much of all those berries I picked as a child. Let me show you how it all comes together. Be sure to visit this blog post which inspired me to make these fun pages. Download this month's bonus page formula (available to page and card kit members only) and gather papers from the Ivy League collection. I chose Green, Tan, Navy, and Math Print.
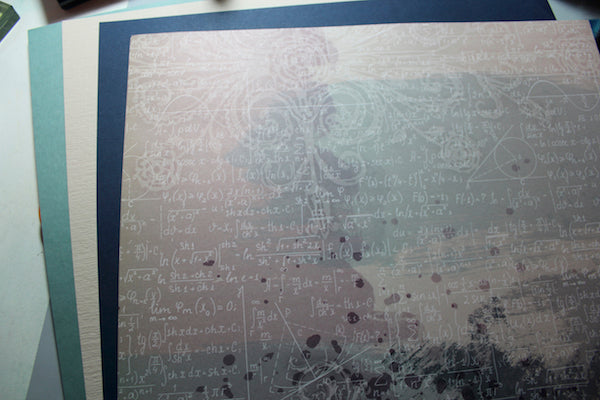
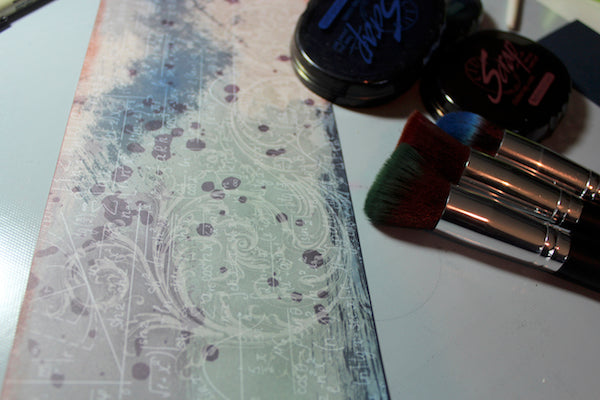
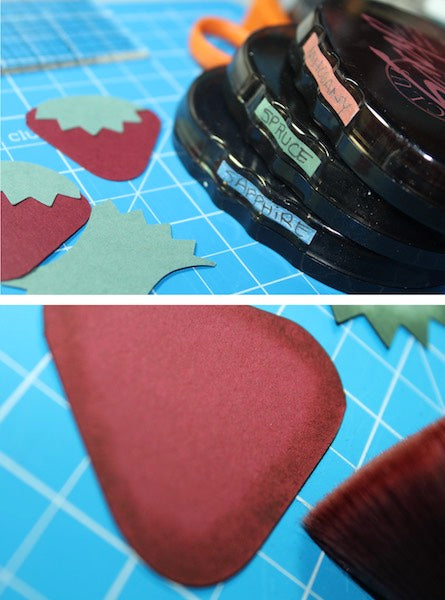
Add Sapphire, Spruce, and Mahogany Hybrid inks with brushes to boost the color of the print pieces.
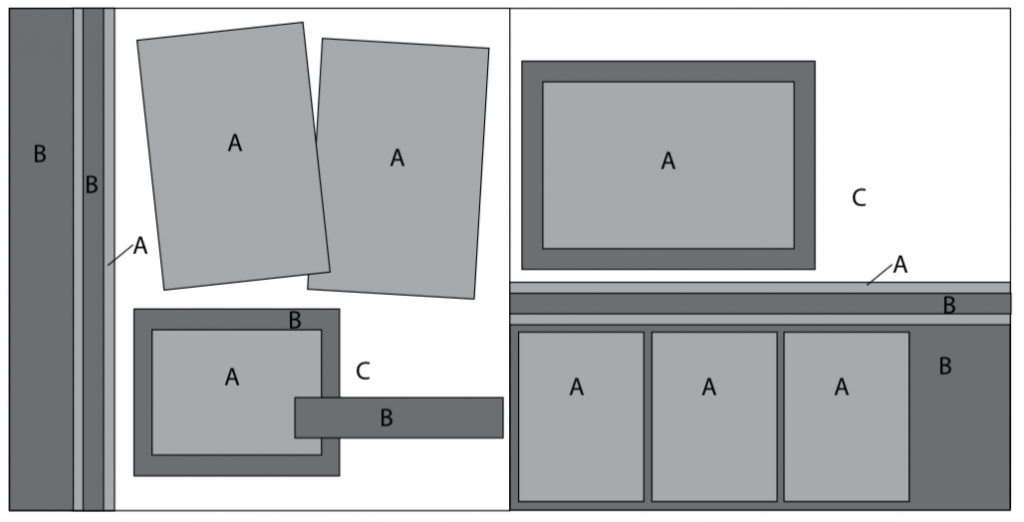
Assemble the pages following the sketch. Flip several of the print pieces to the plain white side to add contrast.
Berry Paper Piecing
Cut varying size shapes with a die cutting machine or fussy cut with scissors. Trim the Red pieces in half and round the remaining corners to create a strawberry shape.
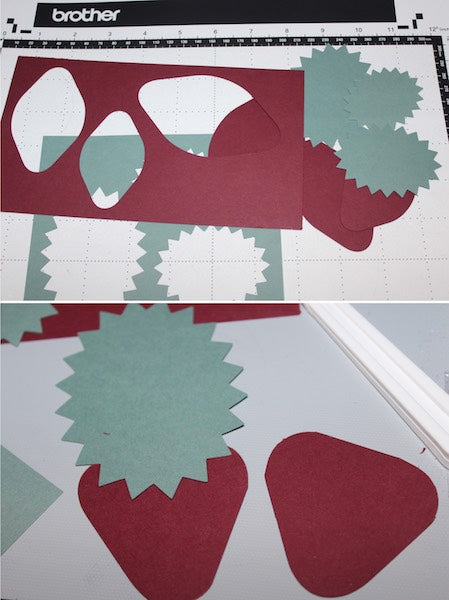
Trim the Green pieces as shown to fit the top of each berry. Ink the edges to add dimension.
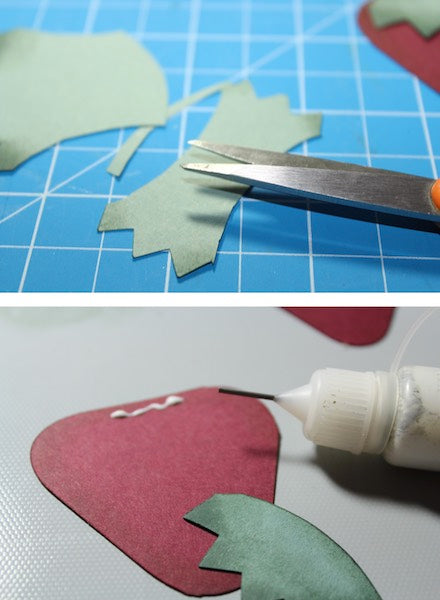
Cut the strawberry stems from the Green paper scraps with scissors. Adhere the tops and stems to the berries with Bookbinding Glue dispensed with a Needle-tipped Applicator.
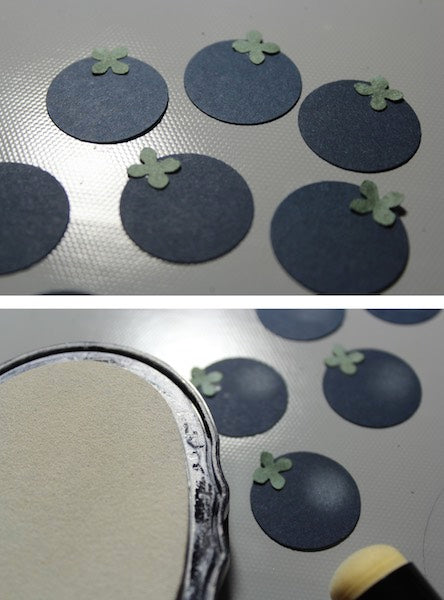
Make the blueberries with a 1" circle and tiny hydrangea flower punches. Add a highlight to each berry with a sponge dauber and White Pigment ink.
Berry Basket Paper Piecing
Gather Tan panels for the basket's rim, base, and the back wall. Round the corners on the base of the basket.
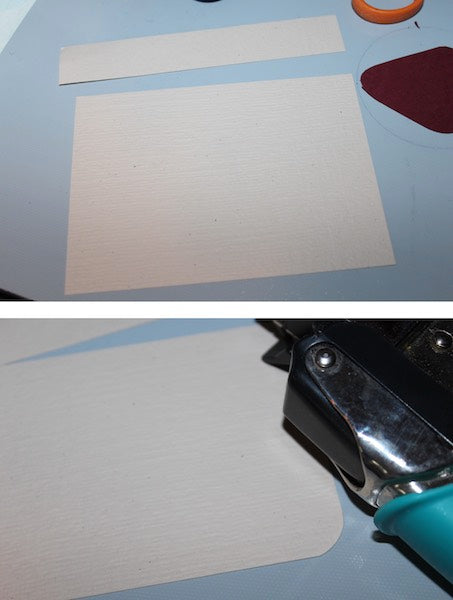
Cut and remove slits at the bottom of the base with a craft knife and cutting mat. Distress all of the panels with Earth Hybrid Ink.
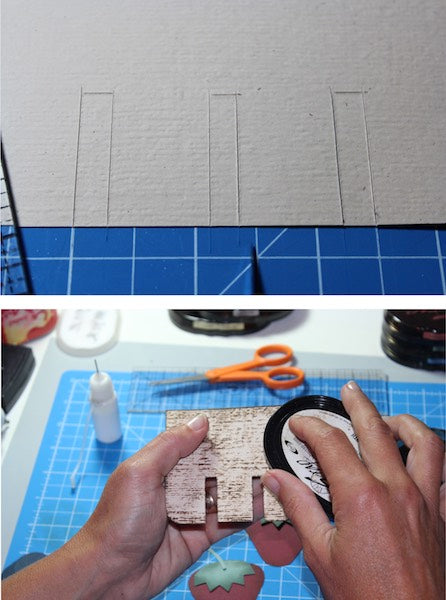
Adhere the rim to the base with Bookbinding Glue. Attach the back panel to the base with foam adhesive squares.
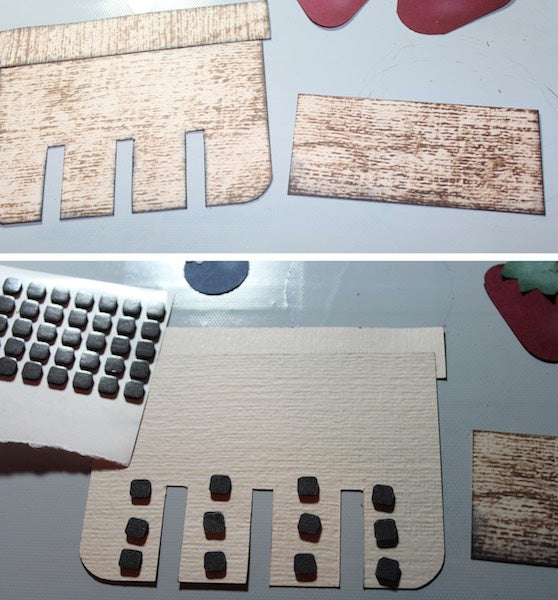
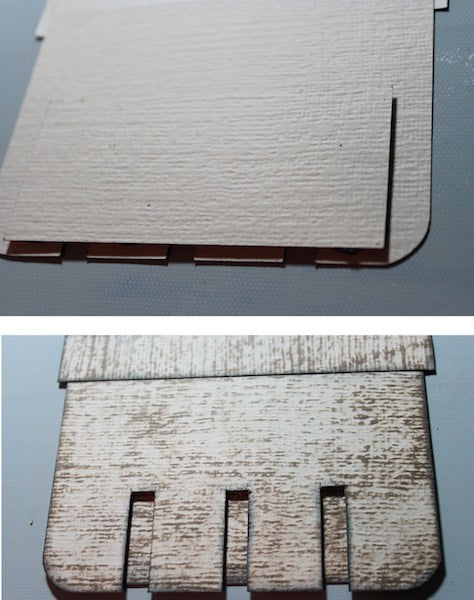
Draw tiny seeds onto the strawberries with a white gel pen and add a highlight with White Pigment ink. The paper pieced items are ready to be added to the pages.

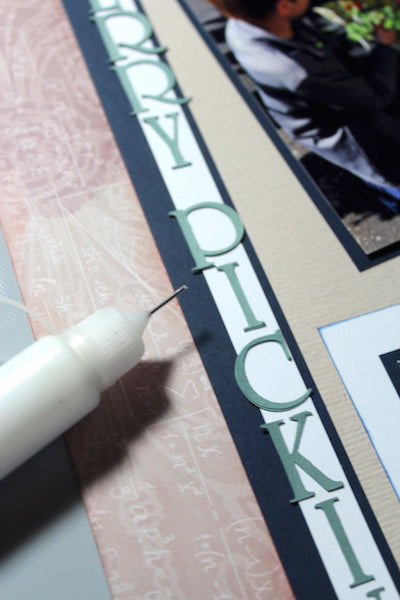
Cut letters for a title with an electronic cutting system (I used my new Brother Scan n Cut 2) from the Green paper.
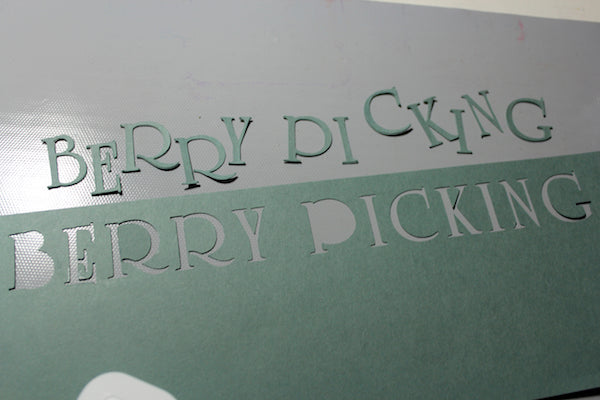
Adhere the letters to the page with glue and the Needle-tipped Applicator.
Let's take a look at the finished pages.
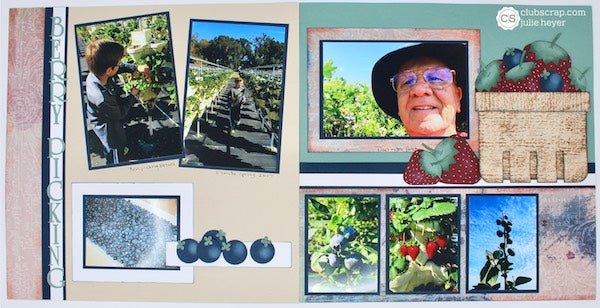
I hope you like this "berry" special set of pages. Happy Crafting!
 Julie
Julie
