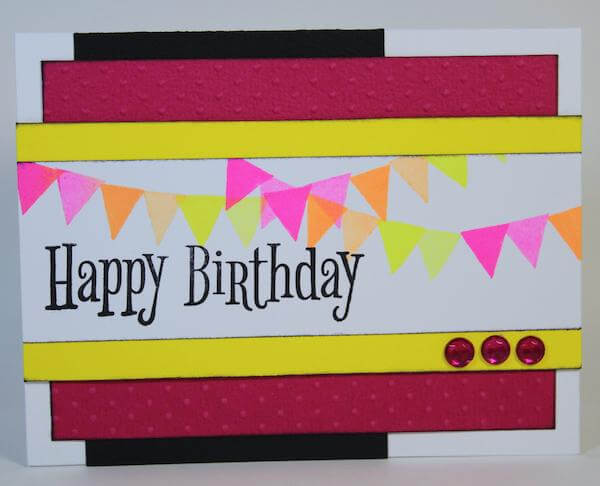

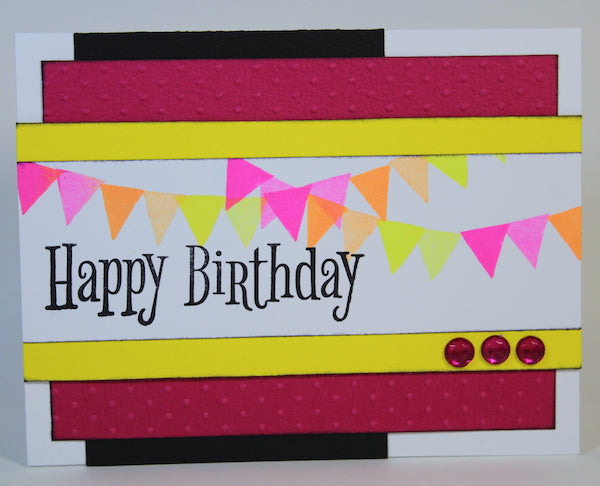
When we trim unmounted (UM) rubber images from the sheet, we end up with a pile of scraps. Let's upcycle them into something fun!
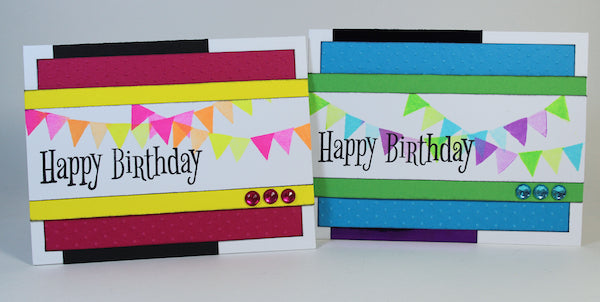
Re-visit my previous blog entry about how to make your own recycled stamps HERE! Creating a banner for a birthday card is easy when you follow these simple steps.
1. Cut tiny triangles from UM rubber scraps. Position on acrylic block in a slight curve leaving a 1/2" space between each.

2. Cover each triangle with different colors of Neon ink. Stamp onto white paper and then stamp again, before re-inking. This will create a lighter (second generation) stamped image. Position them between the darker (first generation) stamped triangles. This will form a complete row of banners.

3. Continue creating the banners until satisfied with the finished image.
4. Add a sentiment from the Picnic Greetings UM Rubber stamp sheet.

5. Matte with coordinating paper colors and attach to a white A2 (4.25x5.5") card base.

Stay tuned to the blog for even more UM stamp scrap ideas. Who knows what I have up my sleeve! Feel free to make guesses and suggestions below.
 Julie
Julie