
I kept things relatively simple this month with my Constellations Club Stamp creations. We'll trim and fold twelve cards with basic stamped panels carefully measured from just one sheet of 8.5x11 paper.

Let's do the trimming first. Like last month, I created another handy printable of the cutting instructions. (I hope you like it!) Click to download: 0115ALCM
Let's make some cards!
CARDS 1 & 2

The artwork on the White Text Weight panels inspired the placement of the ribbon at an angle. Simply tape the ends on the back and center the quote beneath the ribbon.

CARDS 3 & 4

Stamp the text weight panel with the large UM image and White Pigment Ink and then trim out the image with a craft knife, ruler and cutting mat. It will nest perfectly onto the Pearl Print panel. Stamp the Black Starburst Tags with a favorite greeting and top with ribbon.


CARDS 5 & 6

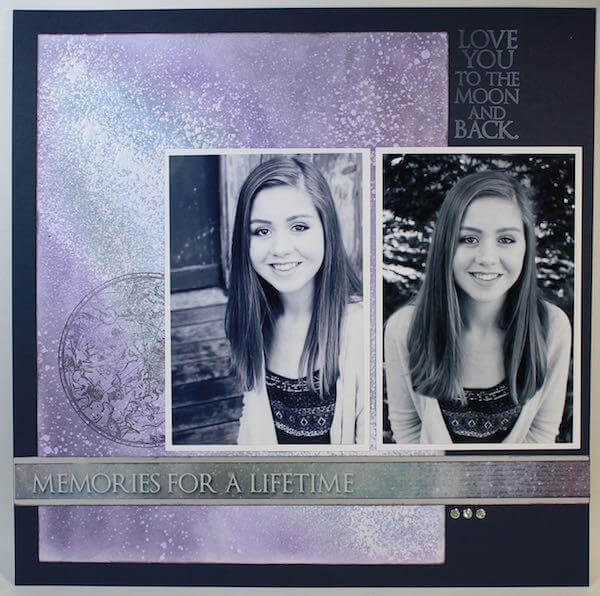
I didn't have a black nesting panel for the "Moon and Back" sentiment, so I anchored it onto the card panel with a strip of Silver Sparkle Tape included in the Constellations Lite collection. That stuff is wonderful.

CARDS 7 & 8

Align the circular image from the UM Collection sheet onto the black tag and stamp with white pigment ink.

I like how this card ended up with five layers. It's a beauty.

CARDS 9 & 10

Wrap the folded 5.25x8.25" Pearl panels around the Blue card bases. Punch two holes into the folded edge of each card and tie with ribbon. Stamp the die cut tag and add a flat-backed gem or brad to the hole at the top.


Adhere the nested sentiments to the inside of the cards.

CARDS 11 & 12

Let's end on a super-simple note by adding the panels and sentiments to the card bases. And--done!
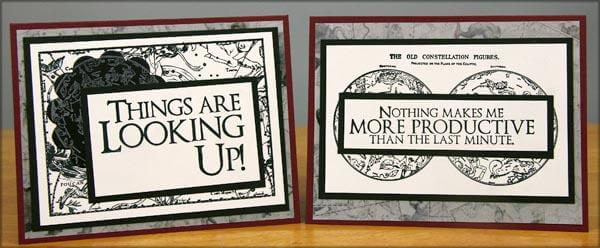
Things are looking up!
Tricia