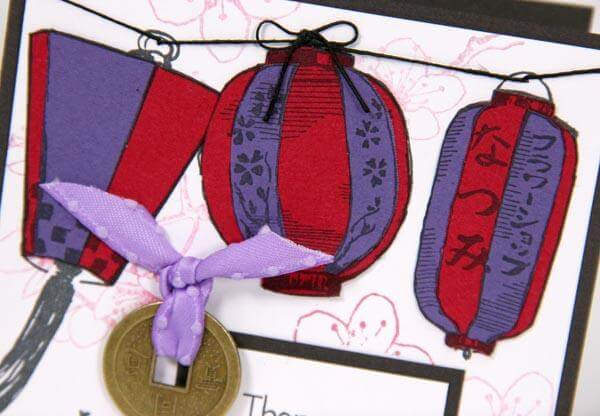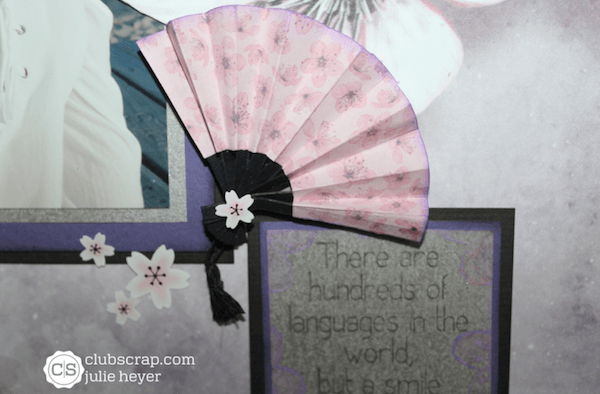

Create an adorable miniature paper fan to compliment the theme of the Cherry Blossoms collection on any card, layout or project.


Steps to make your own fan:
Print the Cherry Blossoms digital kit backgrounds onto text weight/copy paper.

Trim various size circles with a cutting tool. Note: No special tools or dies are required. Simply trace any circle shape onto the back of the paper and trim with scissors.

Cut the circles in half with a craft knife.

Accordion fold the circles as shown to create a fan shape.

Trim the tips from the fans with scissors.
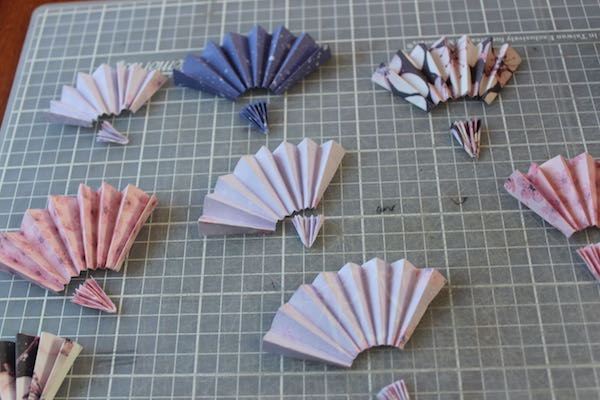
Stamp the fan with the small blossoms and Japanese text images from the Jumbo UM for added interest.

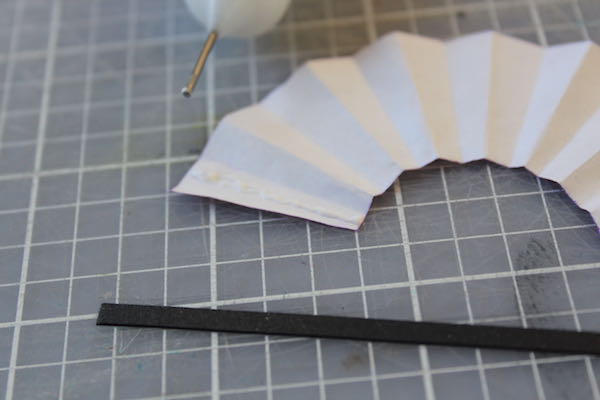
Cut 1/8 x 3" strips from cover weight paper. (I used Cruisin' Black, if you go back that far!)

Adhere the strips to the back of the fans with Bookbinding Glue dispensed from a Needle-tipped applicator.

Fold over the last remaining flap and secure with glue to complete the fan structure.

Tie a piece of black wax linen thread around the fan blades while open and secure with a knot.

Cover the knot with a small Blossom Sticker and trim off any excess blades to finish the fans.

Attach the fans to a card or layout with Foam Adhesive Circles.

I am a big "fan" of these tiny embellishments! Happy Crafting.
 Julie
Julie