
Oh, this theme is so lovely. I can't wait to point out the fun little details you might miss from the printed assembly instructions. We'll start with the layouts created with the Cherry Blossoms Deluxe kit.

CHERRY BLOSSOMS DELUXE KIT
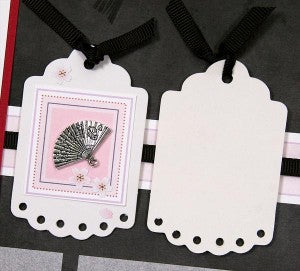
LAYOUTS 1 & 2
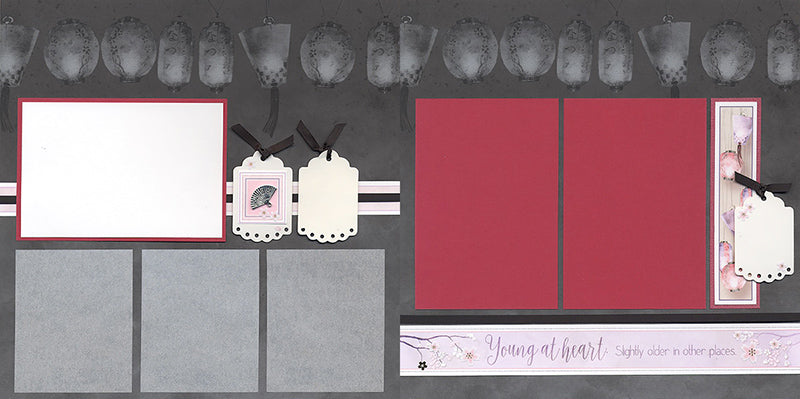
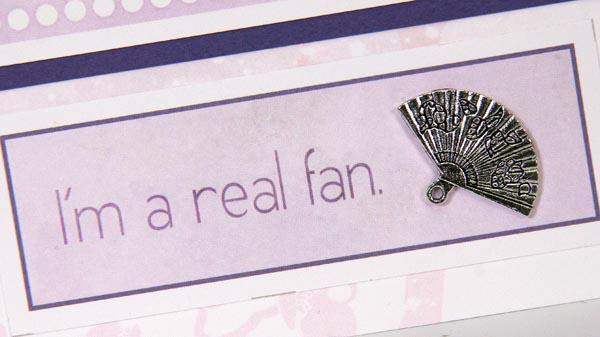
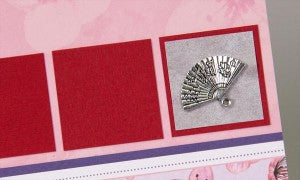
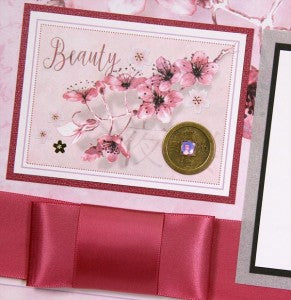
Pop the little circles out of the die cut tags with an awl or tweezers and top them with grosgrain ribbon. Several cutaparts are sized to fit the square area of the tags. Nest one onto the tag, add a few blossom stickers and adhere a silver fan charm with bookbinding glue.
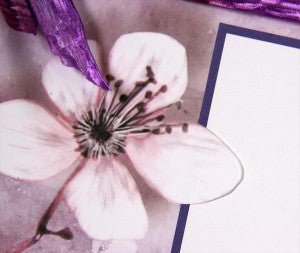
LAYOUTS 3 & 4
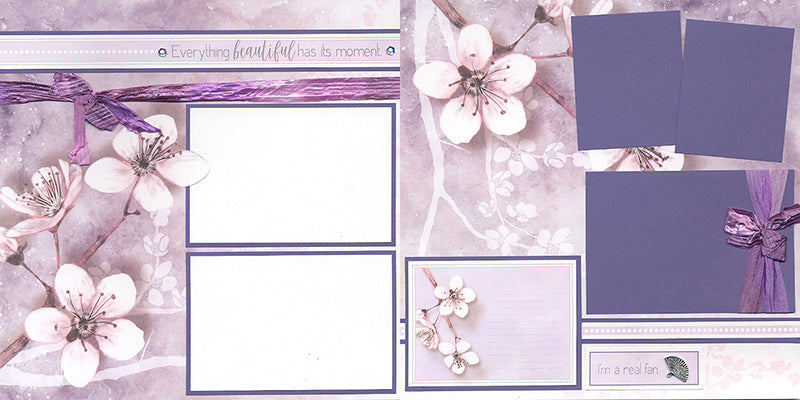
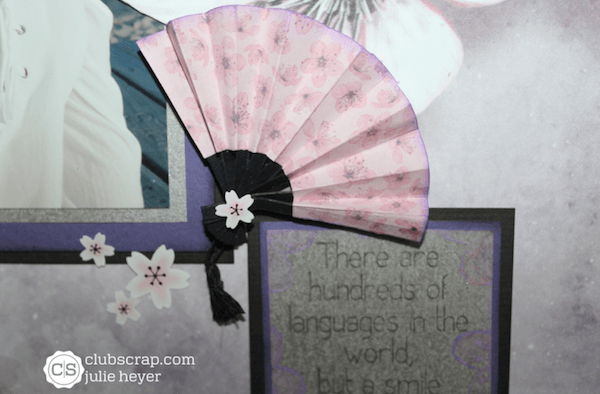
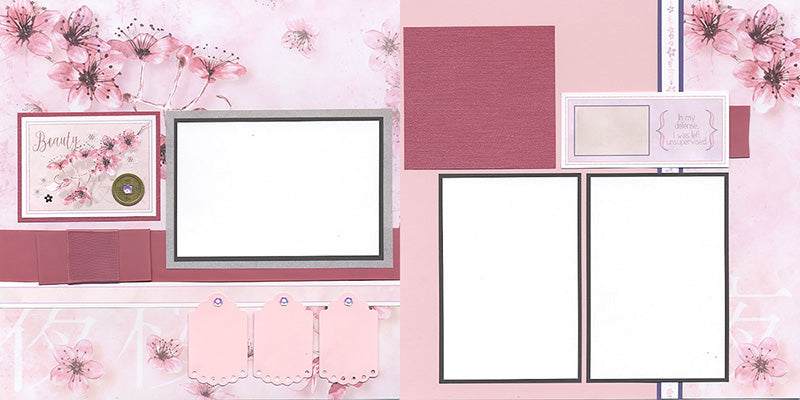
Use my infamous "background-into-the-foreground" trick to highlight the cherry blossom petal on the left layout. Simply use a craft knife to cut around the portion of the petal hidden by the photo mat, and slide the mat behind it.
LAYOUTS 5 & 6
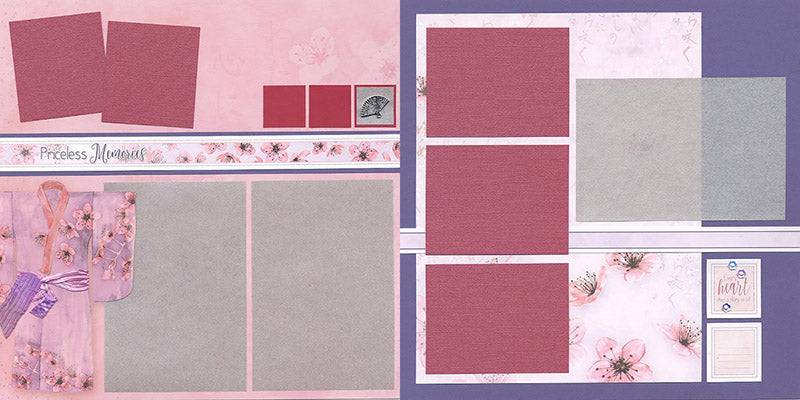
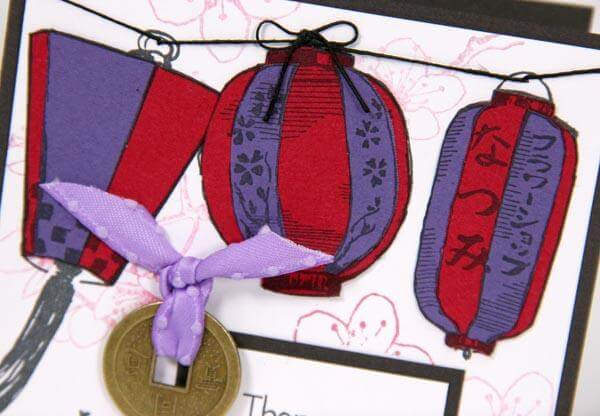
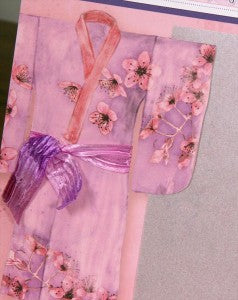
I was finishing this layout and eyeing the remaining 12" length of purple ribbon on my work table. Boom. Idea. Cut a slit on each side of the waistline on the kimono, thread with the ribbon and tie a simple knot. So sweet! If you're into small details, research the ways a traditional Obi (sash) is tied.
There will be a small scrap of Silver available after the paper trimming process. If 1/8" measurements don't frighten you, trim to 1-1/8" square and layer onto the Cherry panel to set off the silver fan charm.
LAYOUTS 7 & 8
The wide silk ribbon is so elegant. Make a three-part bow and use it to anchor the photo mats, tags and embellishments on the left side of the layout.
LAYOUTS 9 & 10
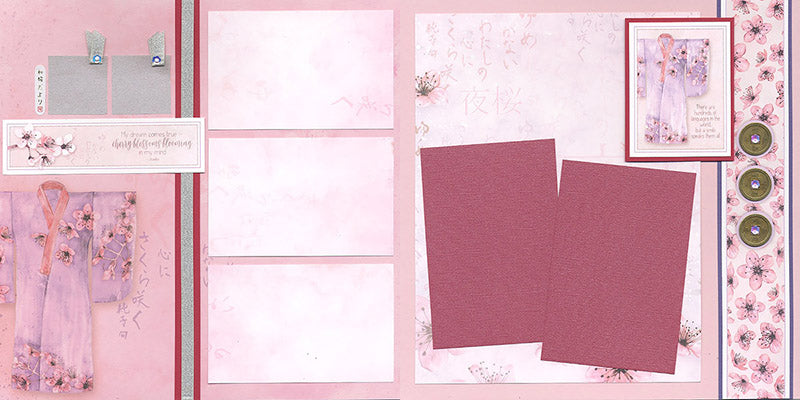
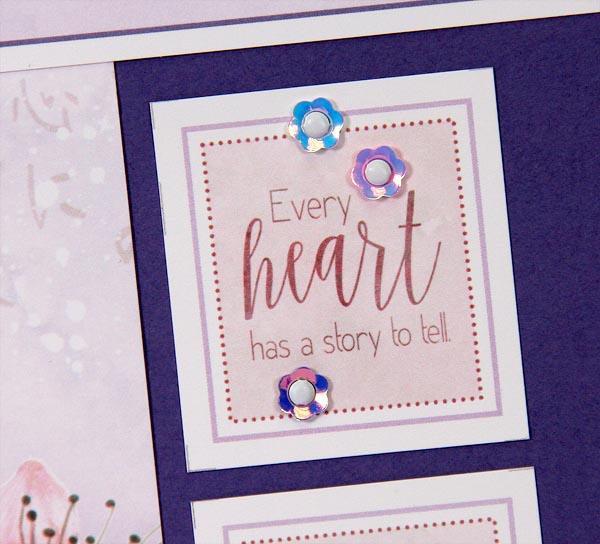
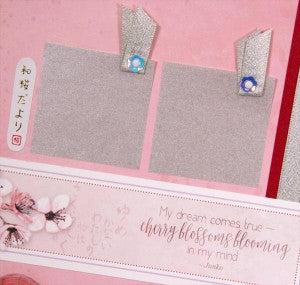
See the little white piece of artwork on the left side of the Silver squares? It's from the blossoms sticker sheet. Attach two pieces of folded silver ribbon to the top right corner of the squares with a white microbrad and sequin. (We know those brads are quite tiny, but it was the only size that would fit through the sequin. Hello, reading glasses.)
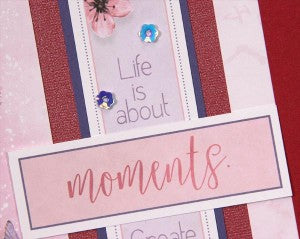
LAYOUTS 11 & 12
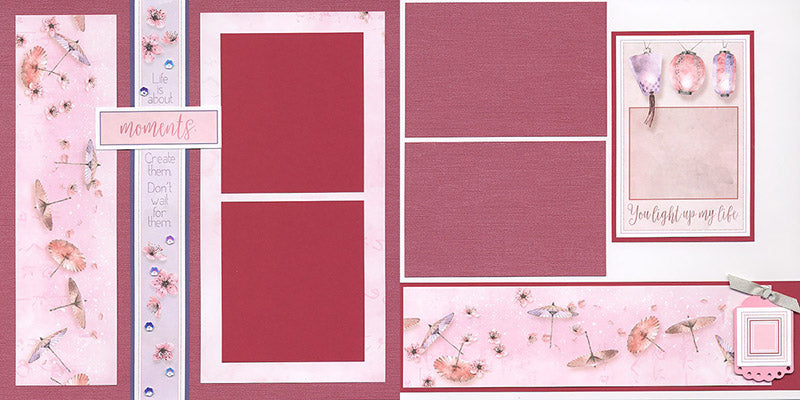
Jac designed a two-part border strip. There will be an open space in the "life is about..." quote. Match it up with the word "moments," and it will be complete. Accent the strip with a few sequins adhered with CS® Bookbinding Glue.
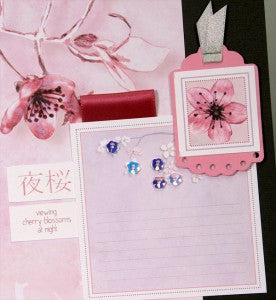
LAYOUTS 13 & 14

Build a miniature collage assembly with cutaparts, sequins, a piece of folded silk ribbon, die cut tag and stapled silver ribbon. NOTE: "Viewing cherry blossoms at night" is the translation of the corresponding Japanese characters.
CHERRY BLOSSOMS GREETINGS TO GO
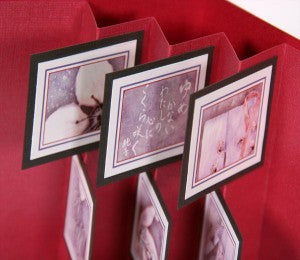
SET A
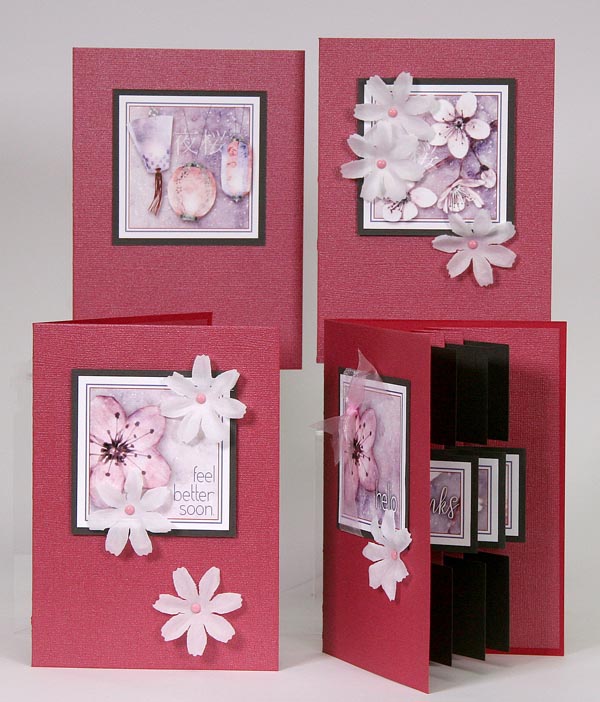
Each A7 card in the Greetings to Go kit contains nine little pieces of matted artwork. Adhere the top and bottom rows of art to the right side of the accordion folds, and adhere the center row to the left side of the fold. The resulting pop-up effect is fantastic!
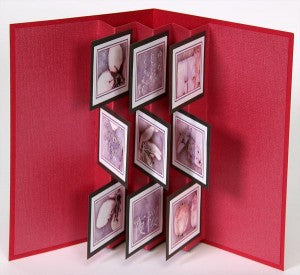
Keep the accordion-folded area free of adhesive when you attach the mechanism to the folded card base.
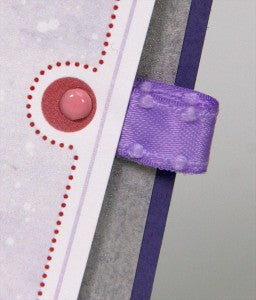
SET B
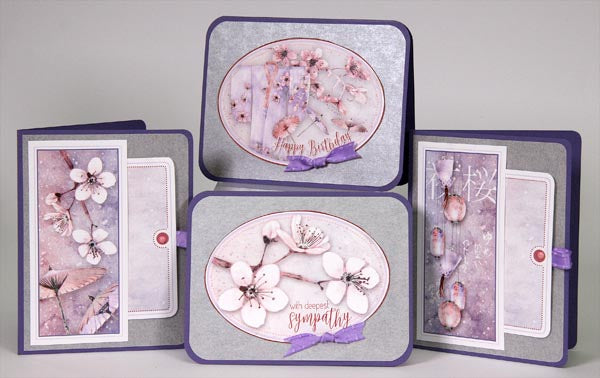
Jacqueline designed a clever pocket/insert combination for two of the 4.25x5.5" cards. To create the pocket, add glue to the top, bottom and left edges of the cutapart. Make a pull tab for the insert by attaching a ribbon loop with a pink mini brad and slide the card into the pocket.
SET C

These little z-fold cards have a clever cutapart on each front panel. Since we're trimming the oval and round shapes manually, lightly ink the edges of the trimmed shape to disguise minor cutting imperfections. For the smoothest cut, use a craft knife.

May your Cherry Blossoms kit arrive quickly. (More quickly than a Wisconsin spring, for starters!)
Tricia