I sailed through the assembly process for this collection in no time flat! Before making your first cut, be sure to identify the color name of each paper: White, Grey, Silver, Powder Blue, Denim, Navy, and Midnight Blue. It can be a little daunting with all of these wonderful shades of blue!
The Blues Deluxe Kit
LAYOUTS 1 & 2

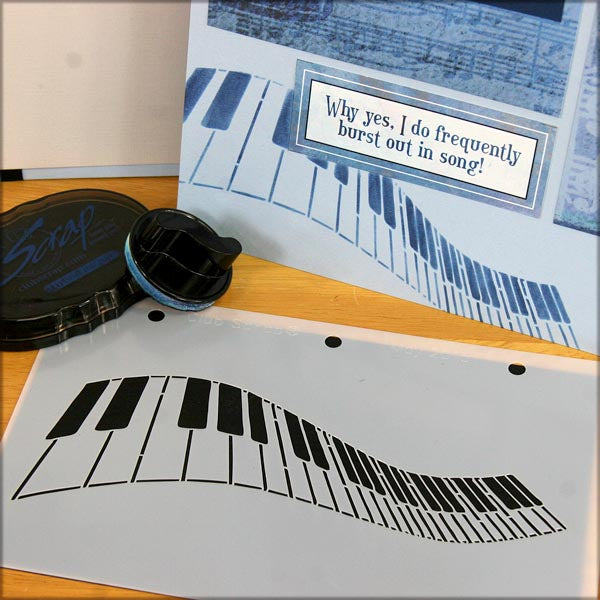
The Keyboard Stencil in this collection is easy to use with our Sapphire ink and Ink Applicator. Flip the stencil to change the direction of the "swoosh."
LAYOUTS 3 & 4

Look at the adorable Blue Striped Brads included in the embellishment pack! Five evenly-spaced brads were added near the right edge of the White cutapart on the right side of the layout.


LAYOUTS 5 & 6

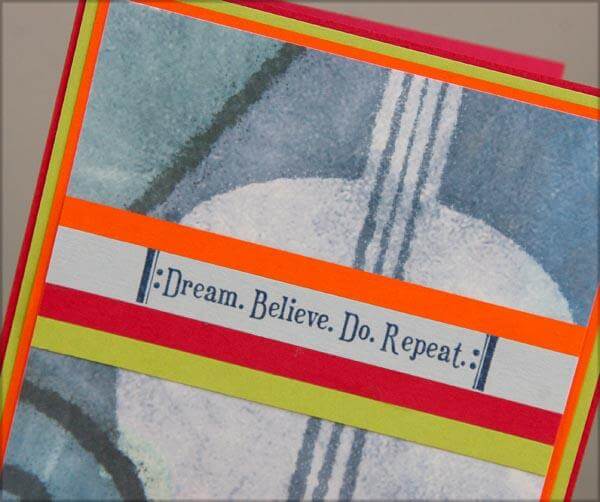
I like how the eyelets placed at the end of each border strip look like "repeat" signs. Play it again, Sam!

LAYOUTS 7 & 8

Use a grid ruler, paper piercing tool and cork board to pierce the location for each brad to ensure equal spacing.

LAYOUTS 9 & 10

We scored a very lucky find with this die cut grosgrain ribbon. Simply wrap it around the 2" Navy strip at an angle.

LAYOUTS 11 & 12

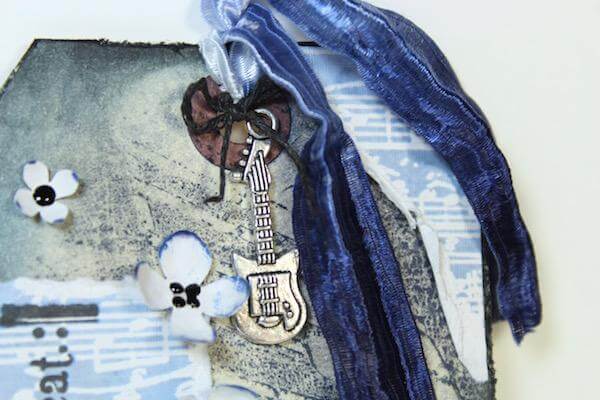
Each silver Guitar Charm comes with a hanging loop at the top. Simply remove the loop with a jewelry wire cutter and then attach with Bookbinding Glue, or keep the loop and attach with a silver mini brad from your stash.

LAYOUTS 13 & 14

The ribbons and fibers in the embellishment pack are stunning. The variegated ribbon features nearly every shade of blue in the collection, and the mesh-like ribbon has a sparkling silver edge.


The Blues Greetings to Go
The process of creating the Greetings to Go cards begins when we select the paper and dimension of each card/panel combination. We then carefully calculated how to best use the cutaparts to enhance the cards with artwork from the collection. Most of the work is done, simply cut, fold and assemble!
SET A

Have some Foam Adhesive Squares handy for adding art elements to the card panels. The dimension adds so much! We also incorporated a few silver photo mounting corners from our stash.

SET B

I liked the whimsical feel of the angled elements on this gate fold card. I also added glitter glue to many of the lines in the art elements. Be sure to apply glitter glue last and set the card out of the way to prevent smudging. Be aware of the cat.

SET C

The Navy panel was torn in half vertically and layered onto the card with the torn edges peeking out from behind the Grey panel. The gap between the two pieces is cleverly hidden by the cutapart and panel.

Now it's your turn to download the instructions, crank up the tunes, and get busy making beautiful things with The Blues. If you don't have a kit on its way, we'd be happy to fix that. Join us today!
Tricia