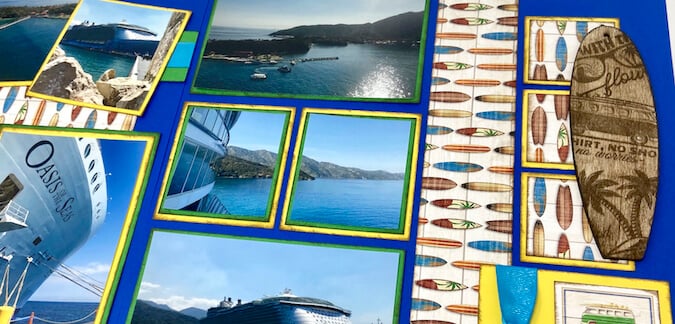
Embellish your pages, cards, or other projects with this fun stamped surfboard. Club Scrap Page Kit members received two of these board woodcuts in their Surf Shop kit this month. I loved the unfinished boards but thought I would try to "kick it up a notch" with some simple stamping and inking techniques.

Stamped Surfboard Tutorial
Place a woodcut board on a protected work surface. Drag an Earth Ink Pad directly onto the board, from top to bottom.

Add several images from the Surf Shop Stamps on to the board with Earth Ink. Did you know that Club Scrap's Acrylic Rulers make great stamping blocks for larger images and sentiments?

Continue to stamp additional images on the board until desired look is achieved.

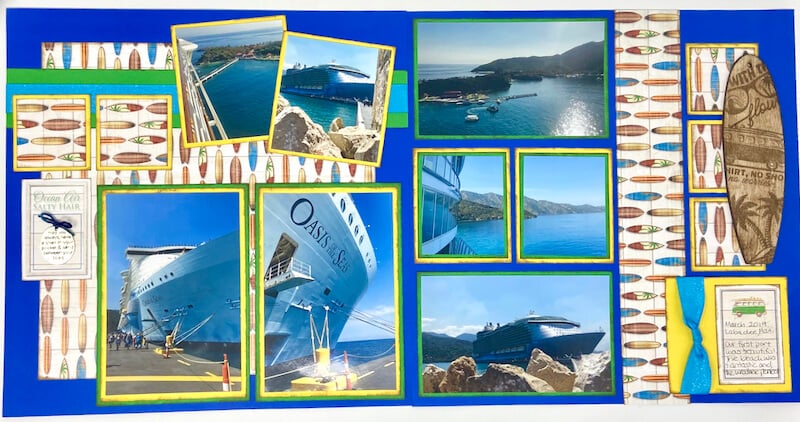
This altered woodcut can be added to any page, card front, or project. I chose to feature my stamped board on a pair of scrapbook pages.
Surf Shop Scrapbook Pages
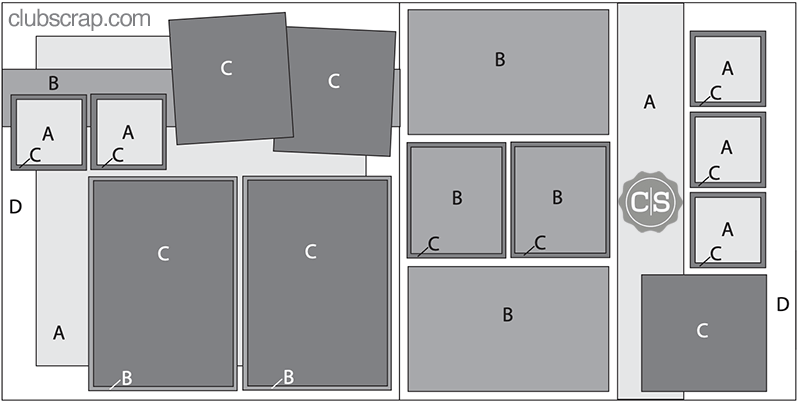
To recreate my layout, gather the following Surf Shop papers: Card Print (A), Green (B), Yellow (C), and two Blue Plains (D).

Trim the papers according to the detailed cutting instructions. Dry fit all of the pieces following the sketch as a guide.

Embellish a cutapart with the silver charm finished with a twine bow.

Add a length of aqua ribbon across the center of the Green border strip on the left page.

Decorate the journaling blog with more aqua ribbon: Tie a simple knot in the cener and secure the ends to the back of the Yellow mat with tape. I love how the journalling block nests perfectly in the remaining open space.

Add the board woodcut along the right side the stack of nested squares.

Select and crop photos that coordinate with colors in the layout.
Members: Don't forget to download and save your bonus page formulas each month. Active members* receive a Member Exclusive email on shipping day with tons of awesome info - including the bonus formula.
Happy stamping and scrapping!
*An active member is defined as one who paid for and received the current monthly kit.
