
Create a dimensional embellishment for any card, page, or project with this stamped geode tutorial. It is fun to experiment with different mediums when making these gorgeous rock formations. Supplies can range from dry glitters, sequins, to glitter glues.

Stamped Geode Tutorial
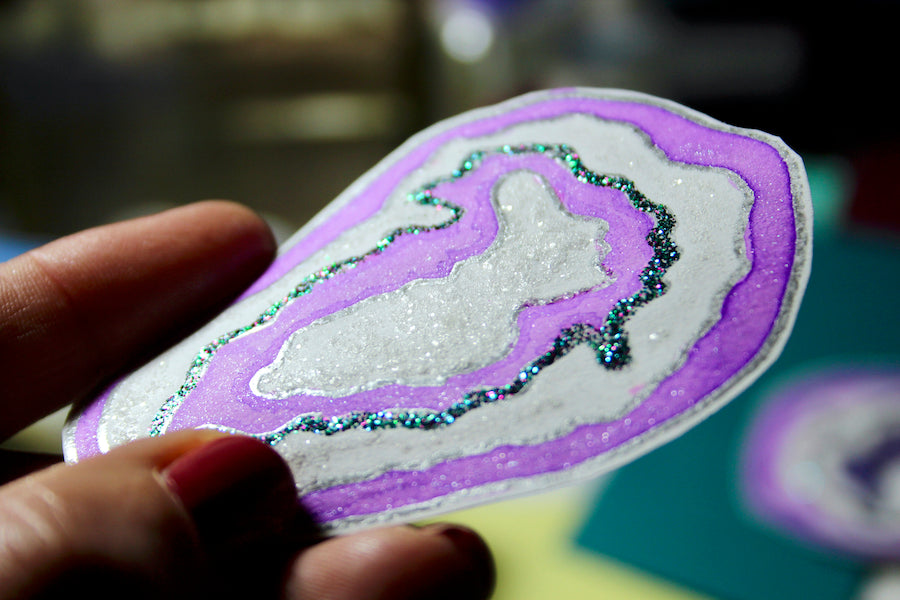
Stamp the largest geode image onto white paper with Watermark Ink. Dust the geode with silver embossing powder and heat set to melt. Apply Bookbinding Glue dispensed from a Needle-tipped Applicator onto the center of the image

Sprinkle the wet glue with glitter flakes from the January 2018 Surprise collection. (You may still have these in your stash if you were a member at that time!)

Note: Substitute dry glitters or other sparkly embellishments for the glitter flakes.
Allow the glue to set for several minutes. Gently remove the excess glitter flakes onto scrap paper and return to the jar.

Add colors to the remaining areas of the stamped image with Ken Oliver's Liquid Metals (Metallic Rose and Amethyst) and homemade silver shimmer spray applied with a water brush.
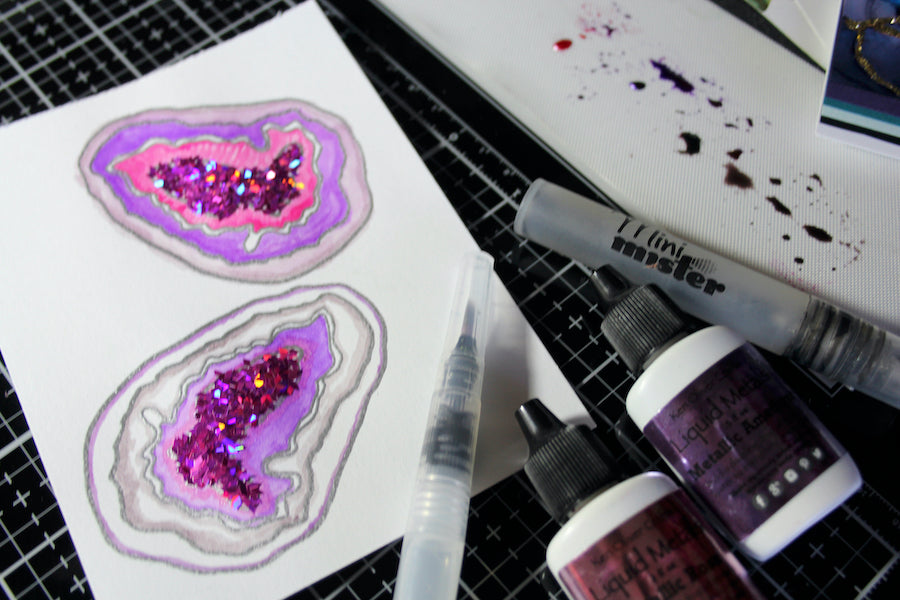
Fussy cut the images with scissors.

Card Assembly
Nest a 3.75x5" Geodes Purple panel onto a 4x5.25" Confetti Pink panel and white folded card base.

Create a frame around the perimeter of the Purple panel with Silver Slimline Dazzles included in the Geodes Page Kit.

Repeatedly stamp the dots image onto the center of the purple panel with White Pigment Ink.

Use a soft bristled brush to dust the wet ink with Pearl Perfect Pearls.

Wipe away any access with a soft cloth and mist lightly with water to set the pearls.

Stamp the Happy Birthday sentiment onto a Confetti Pink panel with Amethyst ink. Use a stamping platform to create more intense color.

Trim the sentiment and adhere to the layered panels on the front of the card.

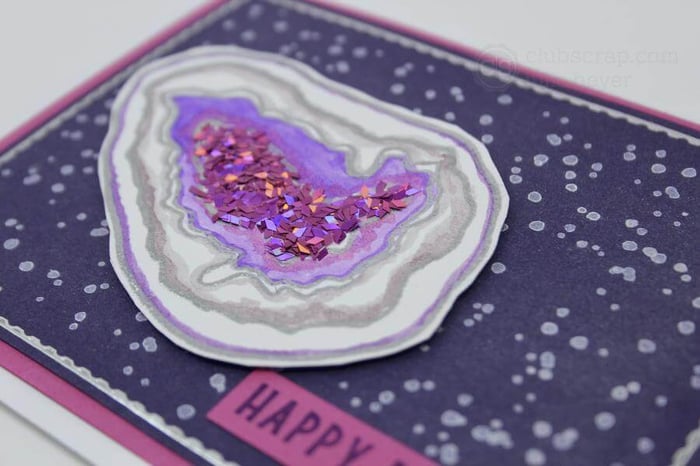
Add Foam Adhesive Circles to the back of the fussy-cut geode.

Add the gorgeous dimensional embellishment to the front of the card.
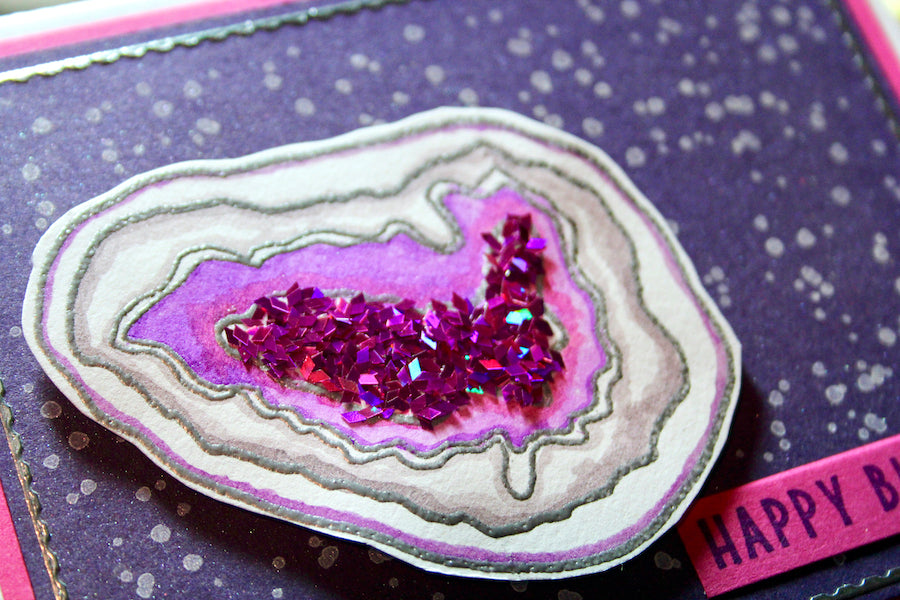
Let's take a look at the finished card.

Looking for another fun faux geode tutorial? Visit the Faux Geode Tutorial for more inspiration. Happy Crafting!
 Julie
Julie