
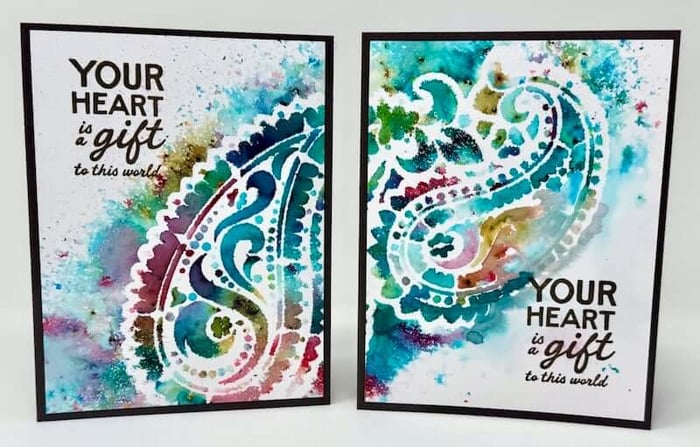
Get two panels for the price of one with the Split Image technique. Lisa and I love trying out new ideas and this particular one combined our love of stencils and pigment powders!
Club Scrap has offered some amazing stencil options over the years. Grab one from your stash and let's get crafting!
The finished size of each card below is 4.25x5.5", unless otherwise noted.
Split Image Technique
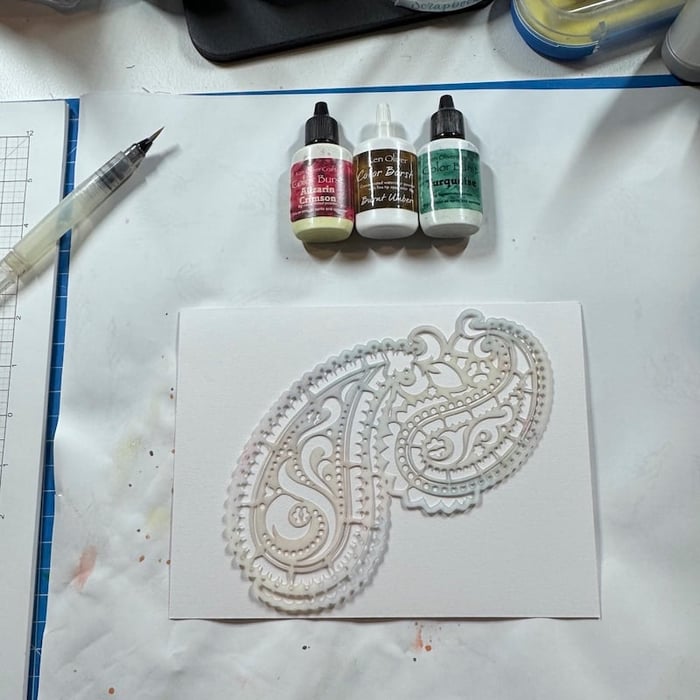
Gather the following tools and supplies:
- CS® Stencils of your choice
- Mixed Media Paper
- Water in a Mister Bottle
- Water Brush or Paint Brush
- Pigment Powder in assorted colors
- Stamps and Inks
Tutorial
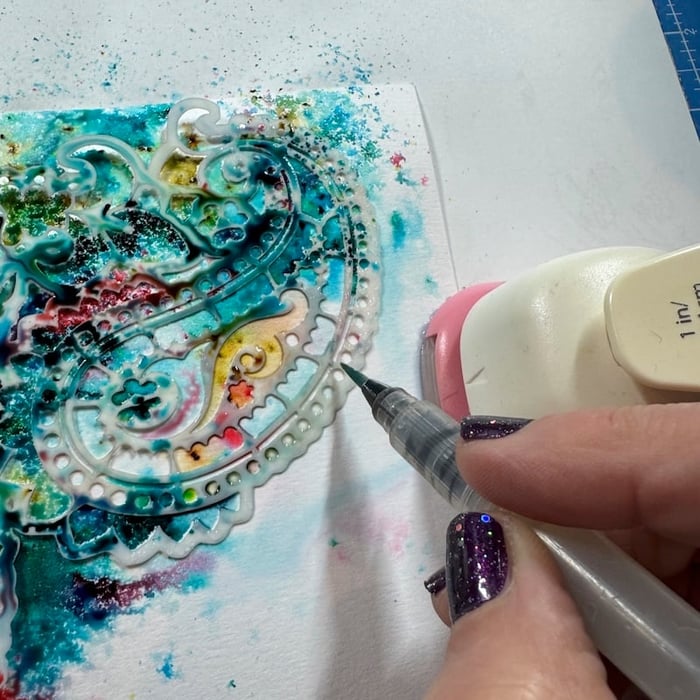
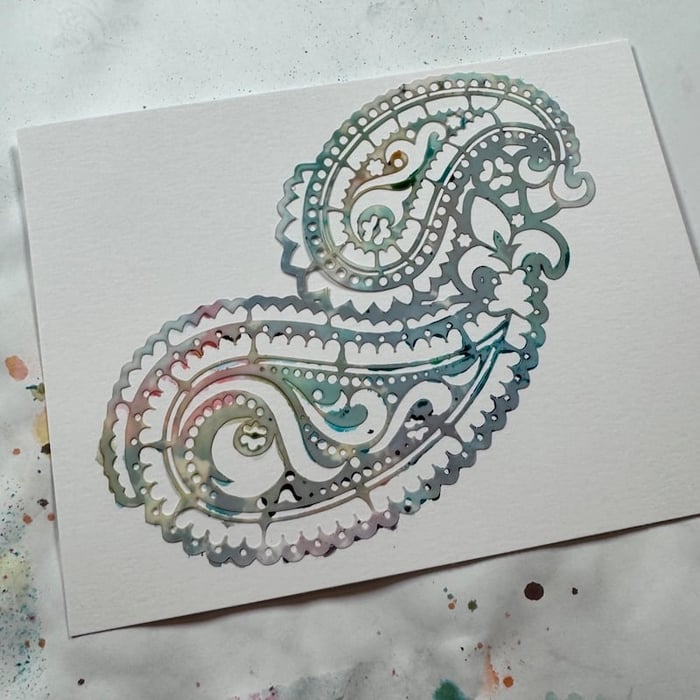
Place a Strathmore Mixed Media* paper panel onto a protected work surface. Center the stencil on the panel as shown.
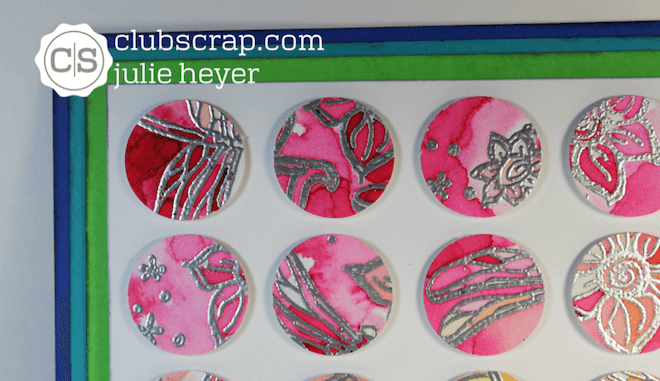
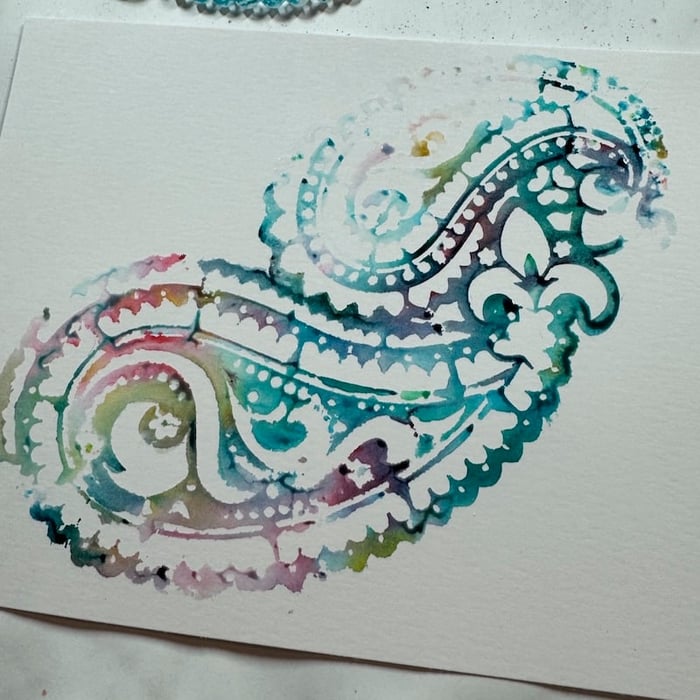
Lightly sprinkle Color Burst Pigment Powders* over the stencil, ensuring an even distribution of color.
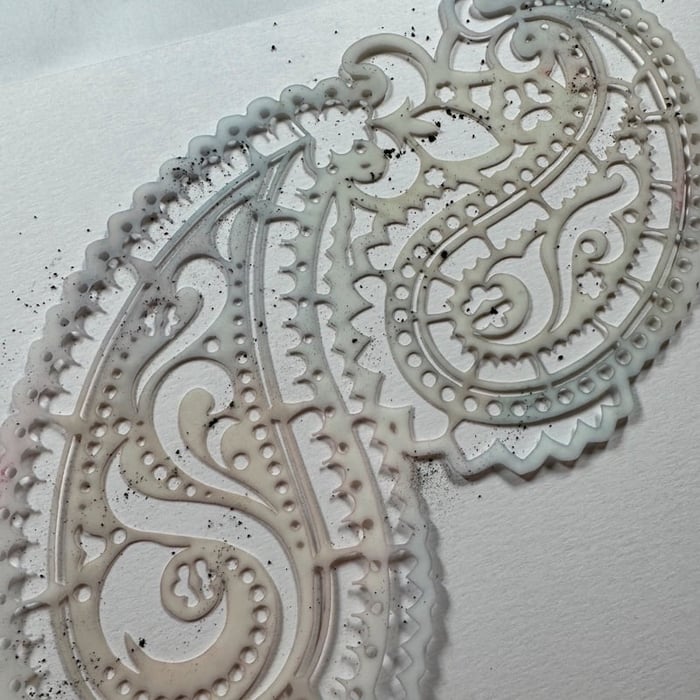
Mist the stencil with water to activate the pigment.
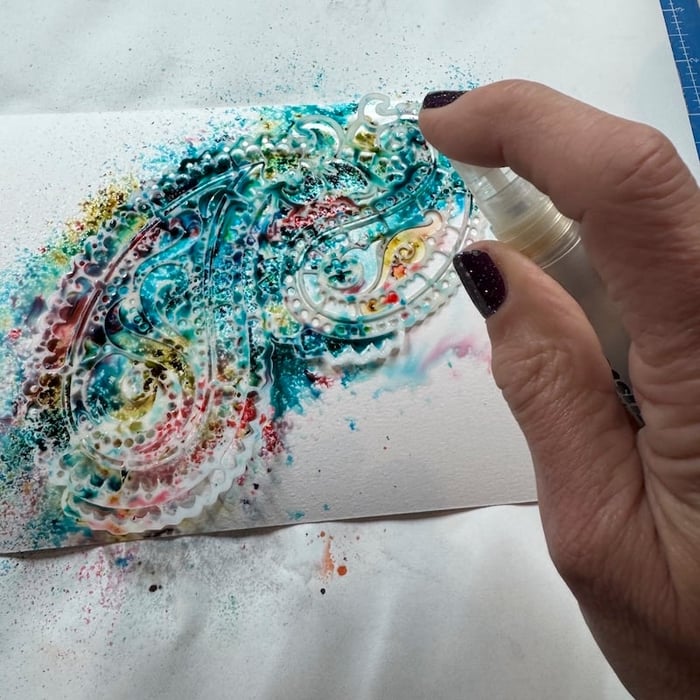
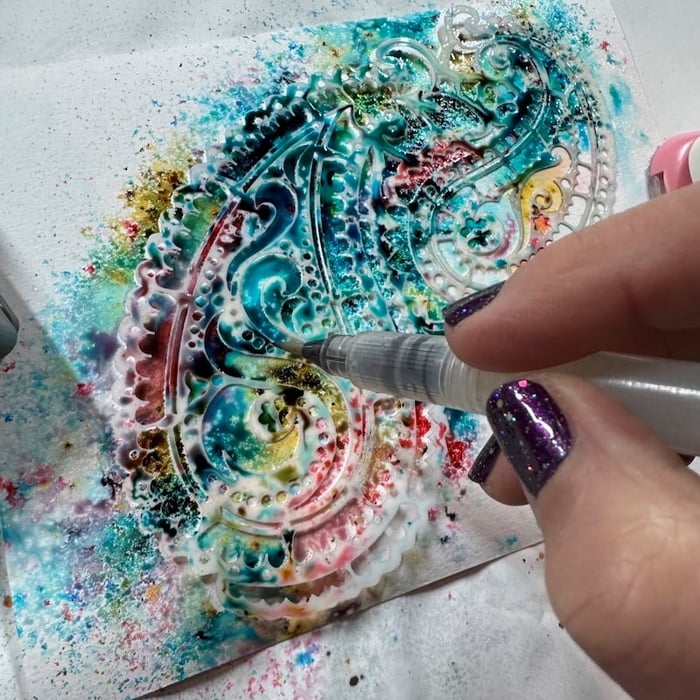
Distribute the colors further with a water brush* (or paint brush).
Make sure to add pigment to any blank white areas of the panel.
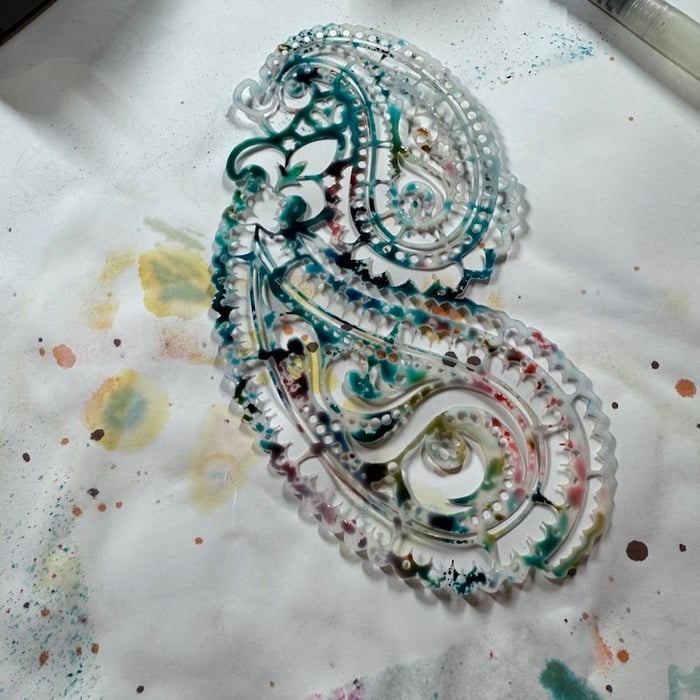
Carefully remove the stencil and set it aside (wet side up). (You'll use this later to create a bonus panel.)
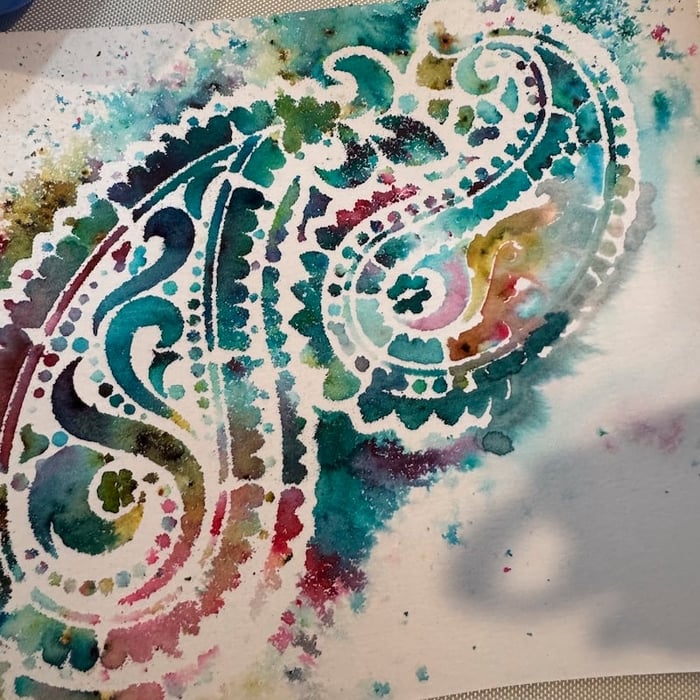
Use a heat tool to set the image if needed. Tip: You can carefully absorb any large pools of color with the tip of a paper towel.
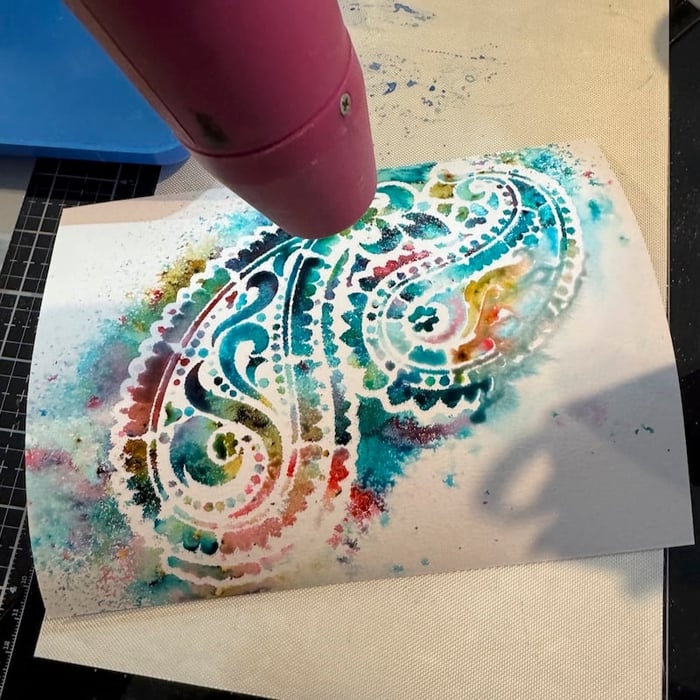
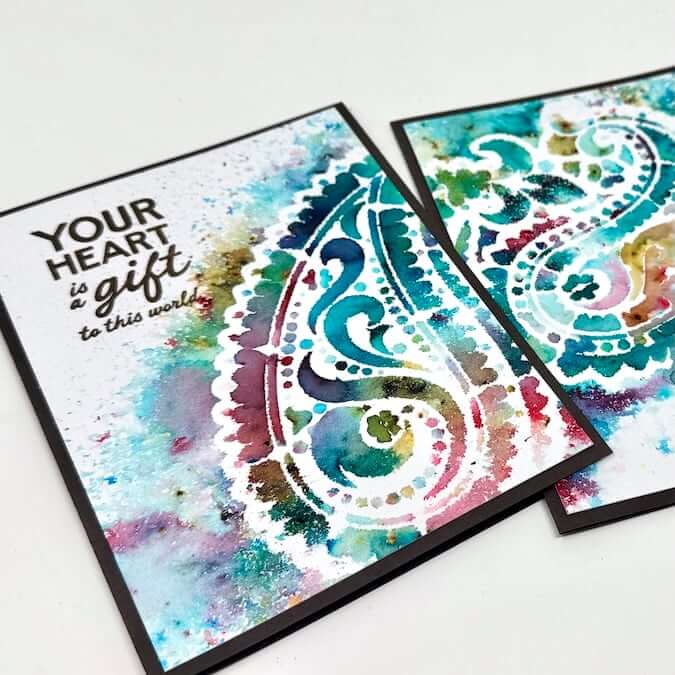
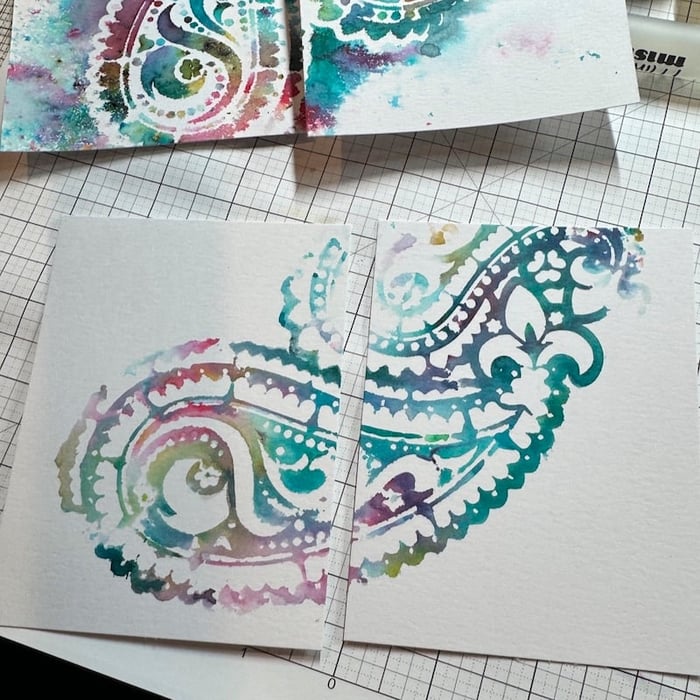
Once the panel is completely dry, trim the art panel in half with a paper trimmer.

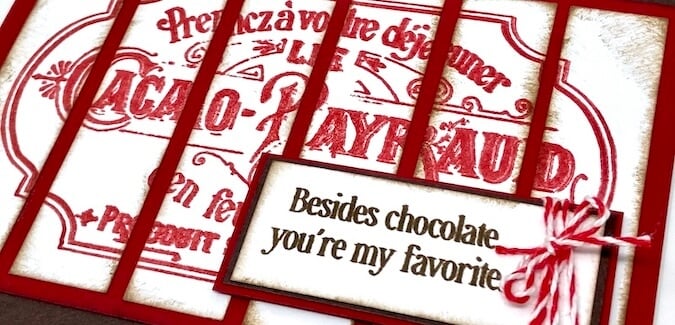
Western Stencil Cards - Julie
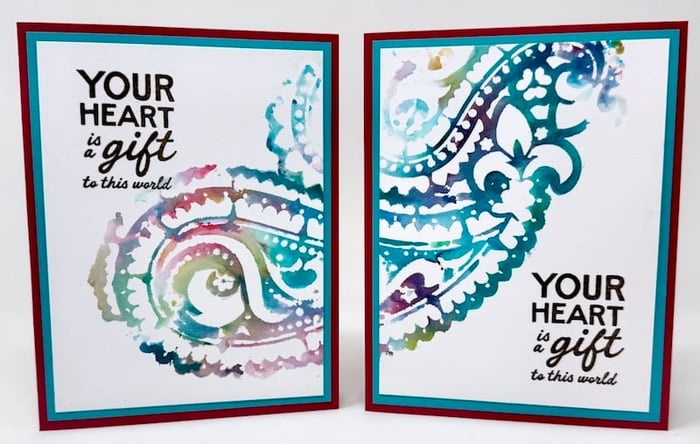
Create cards from the two panels by adding sentiments to the open space on each panel with Earth Ink.
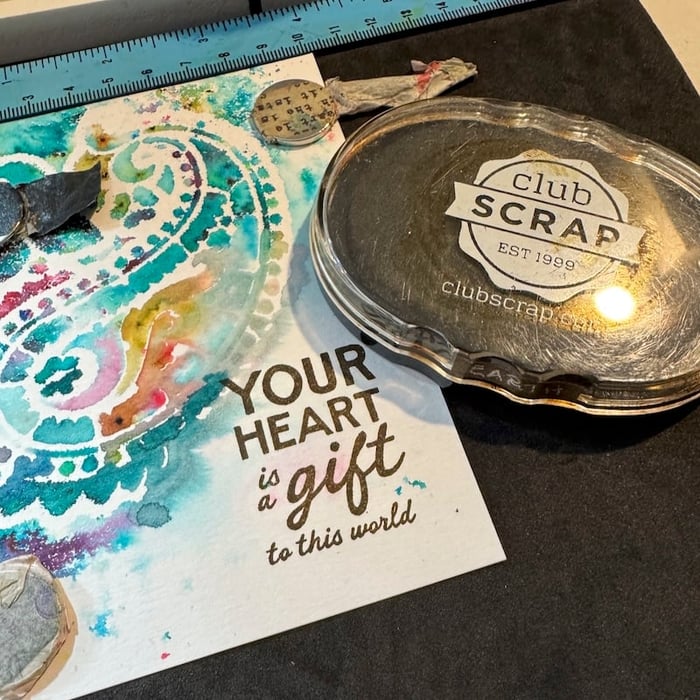
Nest the decorative panel onto a folded card base to complete two cards.
Western Bonus Cards - Julie
Position a second panel onto a protected work surface. Carefully place the stencil (set aside earlier) onto the panel with the wet pigments facing down. Carefully press the stencil onto the panel to transfer the color.
Remove the stencil to reveal the colorful impression.
Trim the panel in half once it has dried completely.
Stamp Impressed sentiments onto the art panels with Earth Ink. Adhere the artwork onto a card panel and center them onto a card base.
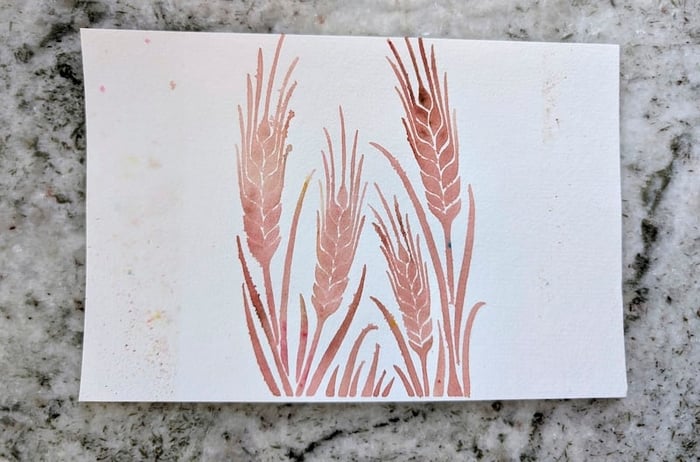
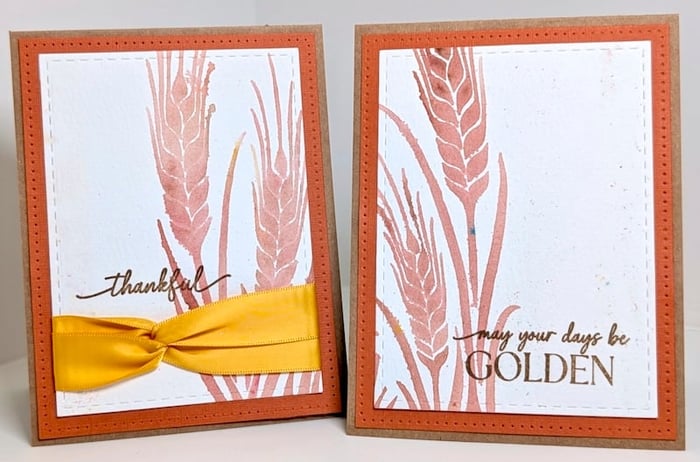
Golden Hour Cards - Lisa
Lisa chose to work with the wheat stencil from Golden Hour (11.2020) to create her Split Image cards.
Trim the image in half and add Golden Hour stamped sentiments to complete the cards.
*As an Amazon Associate, Club Scrap earns from qualifying purchases. This means we may earn a commission if you make a purchase through links on our site. Thank you for supporting us!

We hope you will give this fun technique a try! And remember, this could easily be achieved with a stamped image trimmed in half, to create two artsy panels for the price of one.
We invite you to share your finished artwork on our Facebook Chat Group. Not a member of the group yet? Simply answer a few questions and we'll get your request processed in no time!
Happy Crafting!
 Lisa and Julie
Click on the handy links below to shop the products featured in this blog post.
Impressed Stamps

$12.51
$19.25
Our premium clear photopolymer stamps are ready to use; no prep is required. The stamp sheet measures 6x8" and includes individual images and phrases. Deeply etched for high-quality impressionsClear substrate for easy positioning and accurate stampingNon-yellowing and durableApply ink; stamp… Read More
Impressed 12x12 Plain Paper

$1.39
12x12" premium plain scrapbook papers, sold individually, by the sheet.… Read More
CS Hybrid Ink Pads

$6.35
Exclusively Club Scrap®, this hybrid craft ink combines the most exceptional ingredients of both pigments and dyes for a fine, crisp, fast-drying image! Don't forget to stock up on the coordinating re-inkers. Each ink pad sold separately. Please select the… Read More