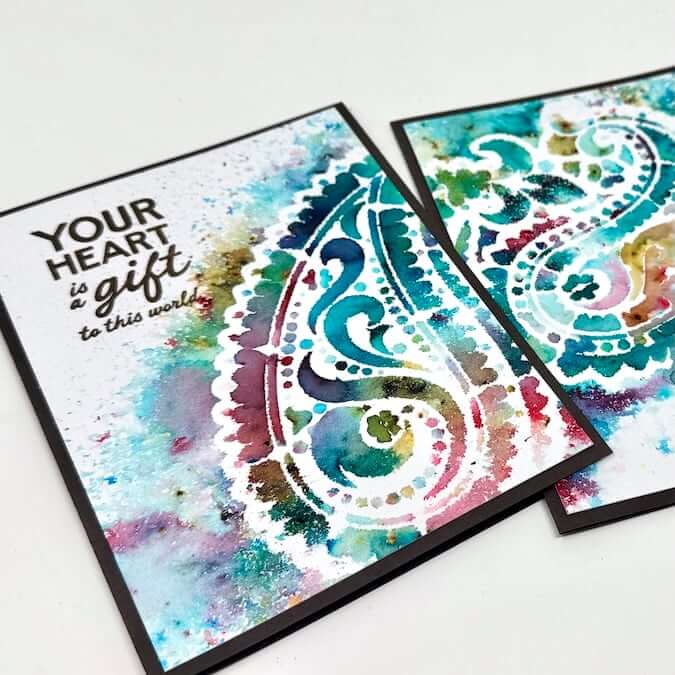
Create a festive frosty background using Ultramarine Blue Color Burst combined with an emboss resist technique.

Stamp a 3.75x5" white panel (watercolor paper or mixed media specialty papers work best) randomly with snowflake images from past Holiday UM sets. Sprinkle with silver embossing powder and heat set to melt.

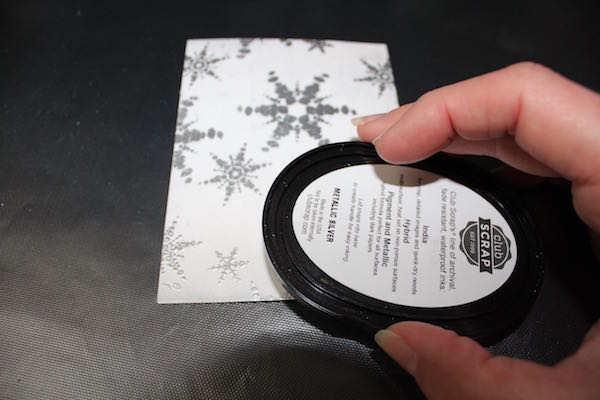
Swipe the Metallic Silver ink, using the direct-to-paper technique, lightly across the panel.

Sprinkle with silver embossing powder and heat set to melt.


Tap a small amount of Color Burst pigment powder onto the embossed panel.

Spritz lightly with water.
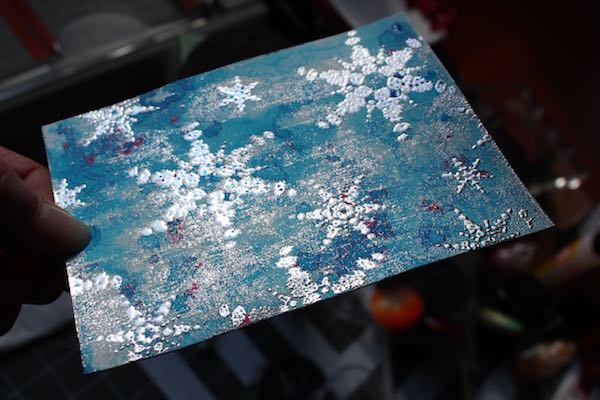
Allow to dry completely.
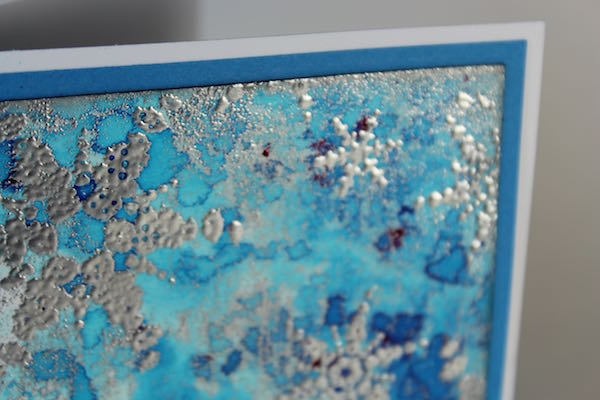
Create a 4.25 x 5.5" card. Layer the frosty panel onto a 4 x 5.25" Peacock Blue mat.
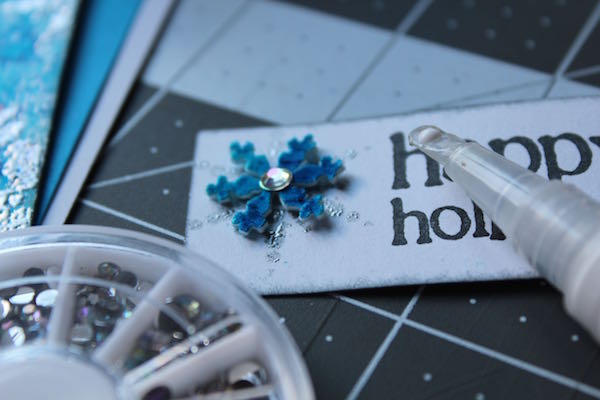
Stamp a small white panel with sentiment from Happy Holiday 2010 UM and the Silent Night 2010 UM small snowflake image Metallic Silver ink. Top with a stamped shrink plastic snowflake. Use the Glue Pen to attach a rhinestone (Woven Strands) to center.
Bonus: Shrink Plastic + Color Burst
Grab a sheet of shrink plastic (we received some a while back in a monthly kit as a goodie) and sprinkle with Color Burst. Spritz with homemade shimmer mist and allow to dry.

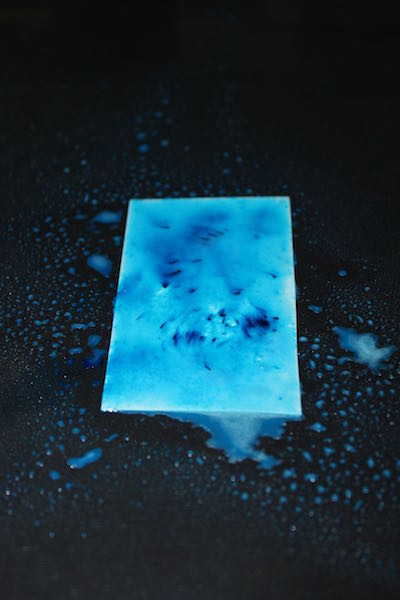
Cut out several snowflakes with a die.

Shrink the plastic with a heat tool. The end result is a fun little embellishment for your card. Check out my Double Emboss Technique post for more Color Burst inspiration.
 Julie
Julie