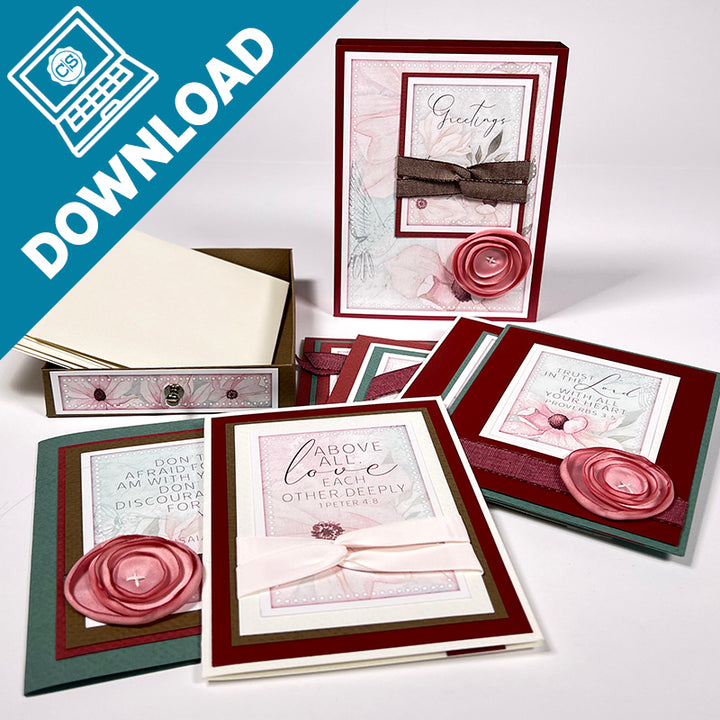
We introduced our Six Cards in a Drawer workshop at the Silver Birch Ranch Scrapbooking Retreat in November. Students created a 4.5x6" drawer with sleeve filled with a lovely set of six cards featuring the Magnolia collection - envelopes, too!
Workshop kits are still available in limited quantities. Choose from two popular themes: Magnolia or Coastal. Each kit includes a link to a printable instructions document as well as a full-length video tutorial.
If you missed the LIVE workshop (on November 14, featuring the Coastal version), watch the replay on our Facebook page.
Six Cards in a Drawer - Let It Bee
As with most Club Scrap workshops, once the initial project has been completed, the instructions can be recycled to make even more featuring other Club Scrap® collections or with supplies gathered from your stash. (You DO have a stash, don't you?)
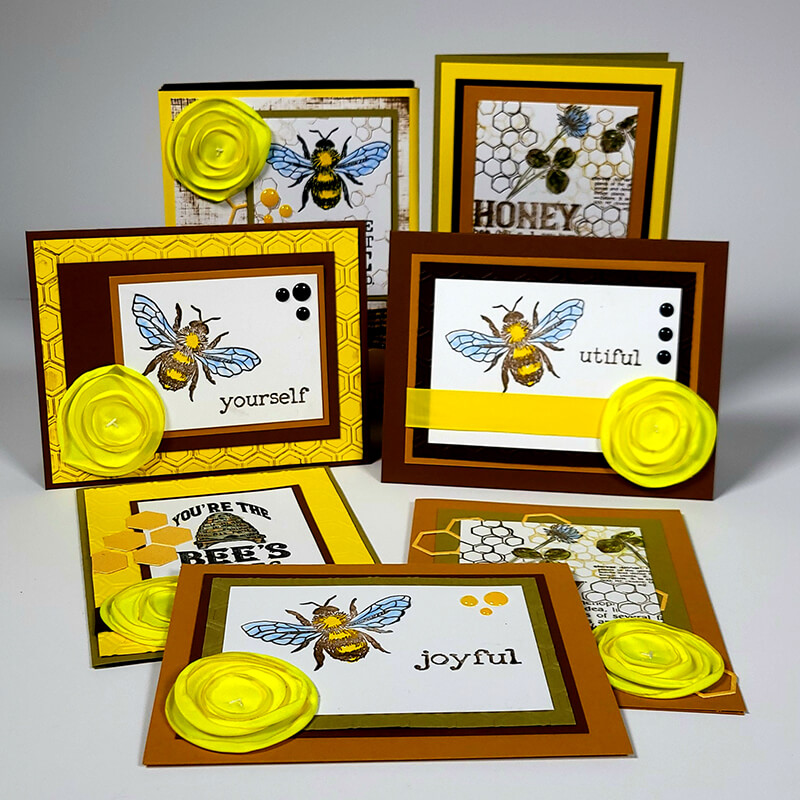
You, too, can create a 4.5x6" drawer with sleeve filled with six bee-utiful cards when you pair Let It Bee stamps with papers from your stash.
To recreate my Let It Bee box and cards, gather the following:
Six Cards in a Drawer Instructions Download
(5) 12x12 Papers
(1) 12x12 White Linen Plain, Let It Bee stamps
(6) A2 Envelopes
12” Paper Trimmer
3x14" Grid Ruler
Bone Folder
ScorPal 1/8s (or other scoring tool)
Adhesive and Tape
CS® Bookbinding Glue with Needle-tipped Applicator
Scissors and Pencil
Phillips Head Screwdriver (Optional)
Trim and score five sheets of 12x12, using the following paper assignments:
A = Dark Brown
B = Yellow
C = Light Brown
D = Gold
E = Green
- File the trimmed elements into the appropriate pocket of your Accordion Pocket File.
- Trim the light-colored 12x12 according to the trimming instructions designated for the Cutapart. I chose a White Linen Plain. File the trimmed pieces into the pocket file as directed.
- Once all trimming and scoring is complete, follow the assembly instructions for the drawer and sleeve (Pocket A).
- Next, empty Pocket B, C and D, one at a time, following the assembly tips included the instructions for each.
- Finally, add stamped images and/or sentiments to the plain, light-colored inner and outer panels assigned to each card. Embellish each card as desired.
Are you ready to see the finished project in more detail?
Drawer and Sleeve
Lightly apply Earth ink direct to paper to highlight the linen texture of the 4.25x5.75" panel. Loop two lengths of plaid ribbon so they interlock, wrapping the ends around the back of the panel. Secure with tape. Add a honeycomb die cut (Gold metallic) with Bookbinding glue.
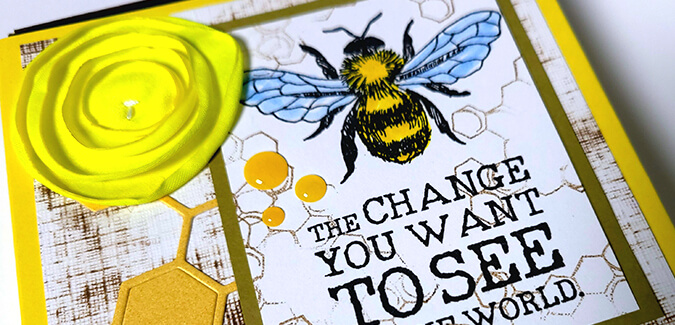
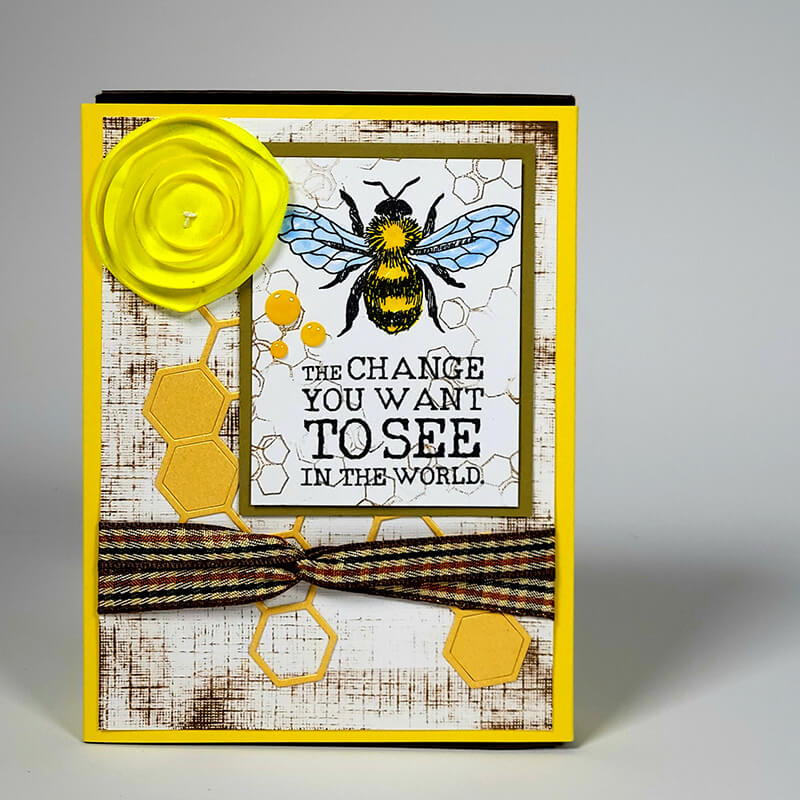
Stamp the 2.5x3.25" panel with the large bee image. Color with markers. Add the sentiment with India ink. Stamp the honeycomb image with Earth ink. Nest onto the Green panel. Add to the front of the sleeve. Embellish with a yellow silk flower.
Cards
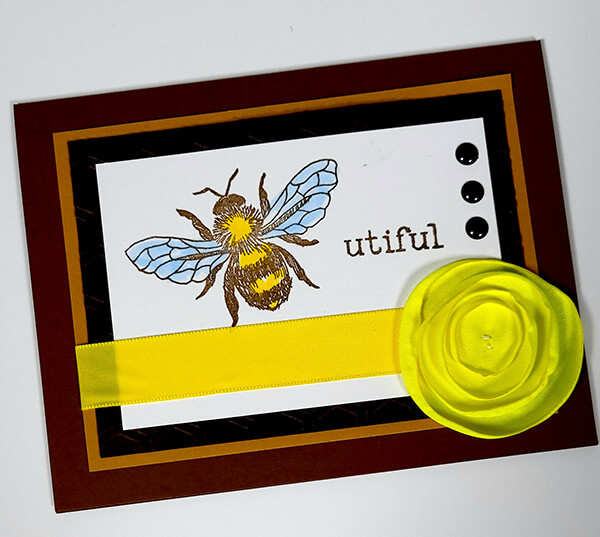
Stamp the large bee image and sentiment with Earth ink. Color the bee with marker. With a grid ruler as your guide, add three black enamel dots. Wrap the nesting panels with yellow ribbon; top with a silk flower.
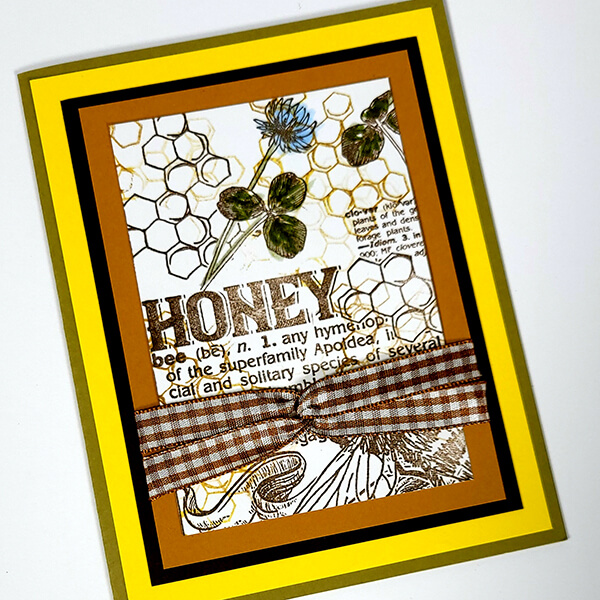
Stamp the collage image with Earth ink. Add the honeycomb image to select areas with Yellow ink. Color the flower and clover with marker. Mat with a Gold panel. Loop two lengths of gingham ribbon so they interlock, wrapping the ends around the back of the panel. Secure with tape.

Ink the interior surface of a hexagon embossing folder with Earth ink. Insert the largest yellow panel into the folder; run through an embossing machine to transfer both the texture and color to the paper.
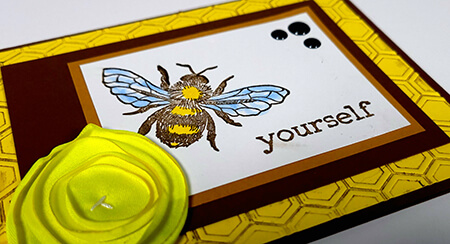
Stamp the large bee image and sentiment with Earth ink; color with marker. Add three black enamel dots to the corner of the stamped panel. Mat with Gold and Brown panels. Add a silk flower.
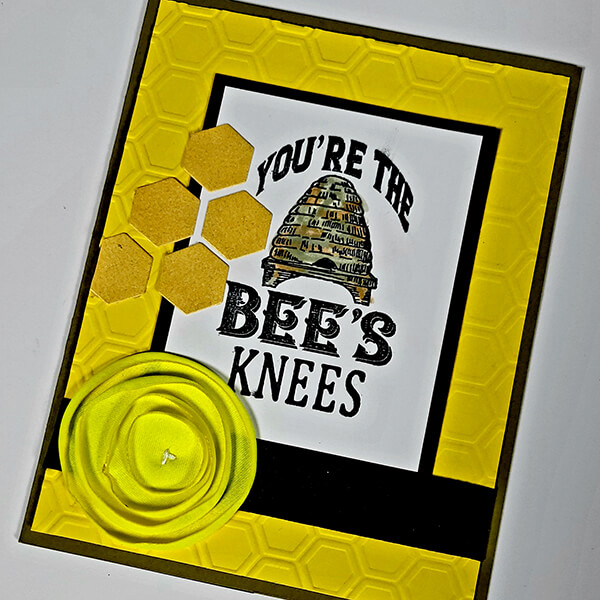
Add texture to the largest Yellow panel with a hexagon embossing folder. Stamp the "bee's knees" sentiment with India ink. Color the bee skep image with marker. Wrap brown ribbon around the nested panels. Top with a silk flower. Attach five hexagon shapes ( the "negative" from the die cut) with Bookbinding glue.
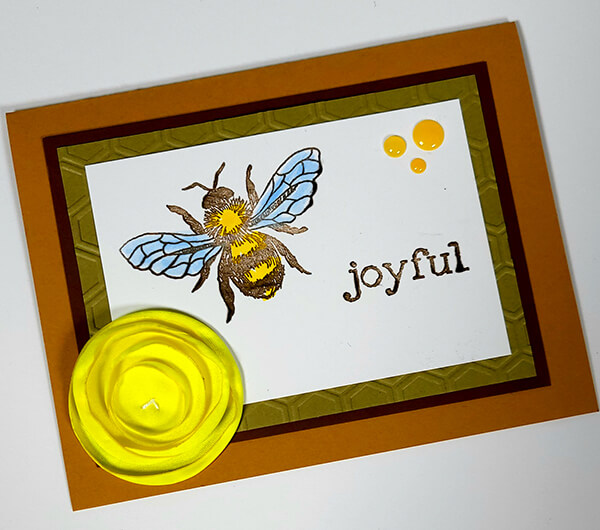
Add texture to the green panel. Stamp the large bee and sentiment with Earth ink. Color the image with marker. Mat with nesting panels. Embellish with yellow enamel dots and a silk flower.
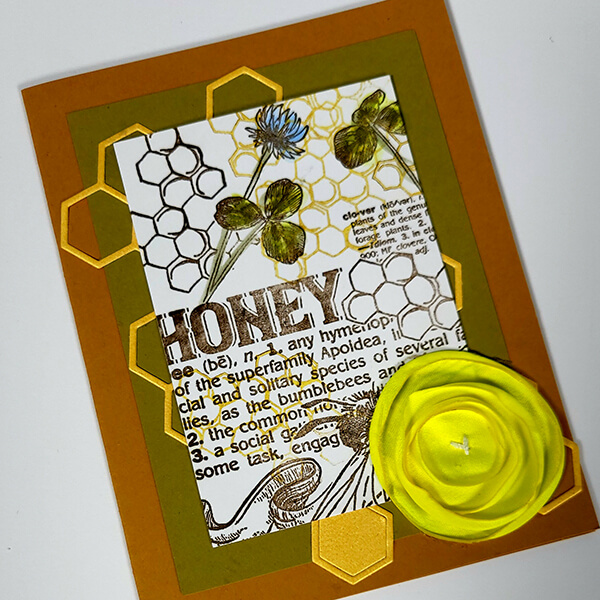
Stamp the collage image with Earth ink. Add the honeycomb image to select areas with Yellow ink. Color the flower and clover with marker. Top the green panel with a honeycomb die cut (Gold metallic), then add the stamped panel. Finish with a silk flower.
I hope you enjoyed this visual tour of my Let It Bee cards and sleeve. This project makes a practical yet fun gift for the holidays - perfect for hostesses, college students, hairdressers, etc.
We love to see what you, dear reader, are up to! Please share your finished pages, cards and other papercrafting projects on the Club Scrap Chat Facebook group. It's the perfect place to inspire, or be inspired by, your fellow Club Scrap enthusiasts.

Stay tuned for more inspiration as we celebrate "12 Days of Holiday Gift Ideas" on the blog this month.
Happy holidays!
Six Cards in a Drawer Instructions
$5.50
THIS IS A DIGITAL PRODUCT SENT VIA EMAIL Gather six sheets of 12x12 paper and learn to create a 4.5x6" drawer with sleeve filled with a set of six greeting cards. So much more than a card sketch, our card… Read More
CS Hybrid Ink Pads

$6.35
Exclusively Club Scrap®, this hybrid craft ink combines the most exceptional ingredients of both pigments and dyes for a fine, crisp, fast-drying image! Don't forget to stock up on the coordinating re-inkers. Each ink pad sold separately. Please select the… Read More
India Ink Pad
$7.50
Club Scrap's India Ink is a deep black, super-quick drying dye ink formula for use with watercolors, markers, stamping, scrapbooking and much more. We love how fast it dries so that you can get to work without a smudge!… Read More