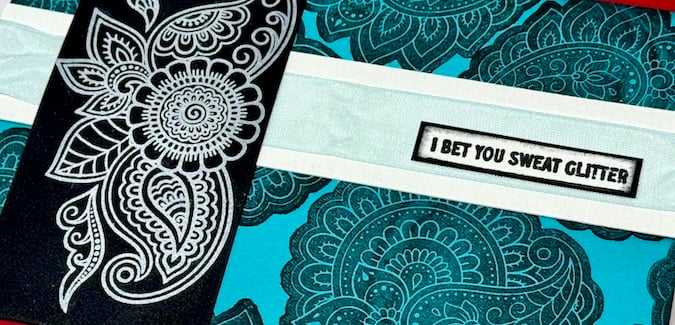

Create gorgeous cards featuring Luminary Stamps from Club Scrap's December 2023 collection.
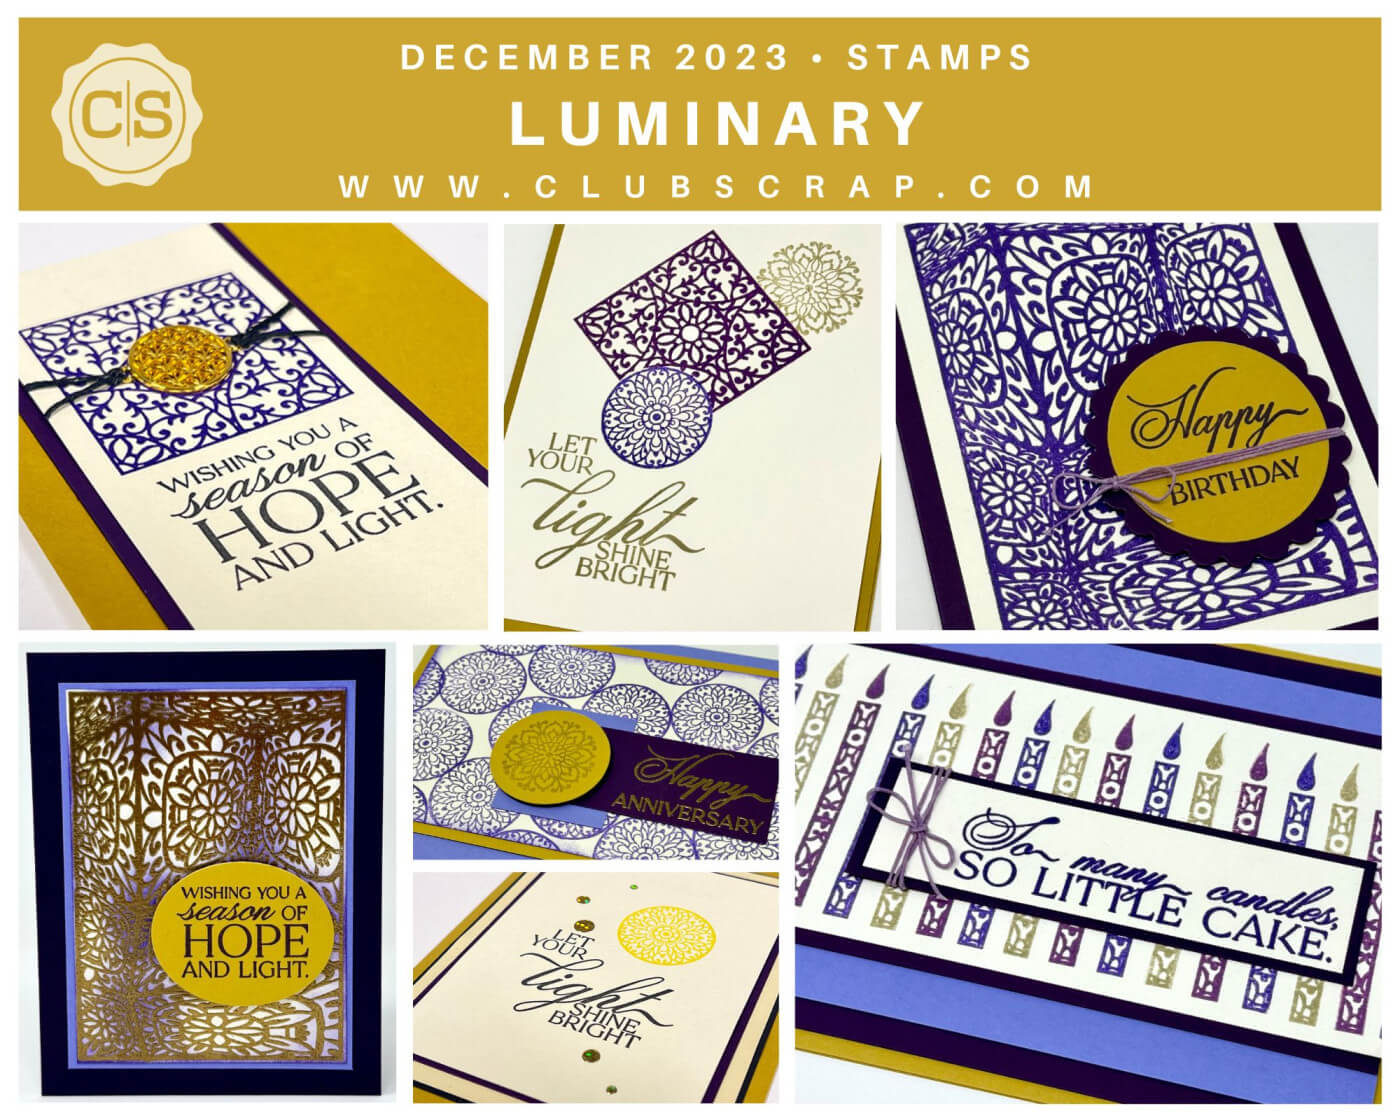
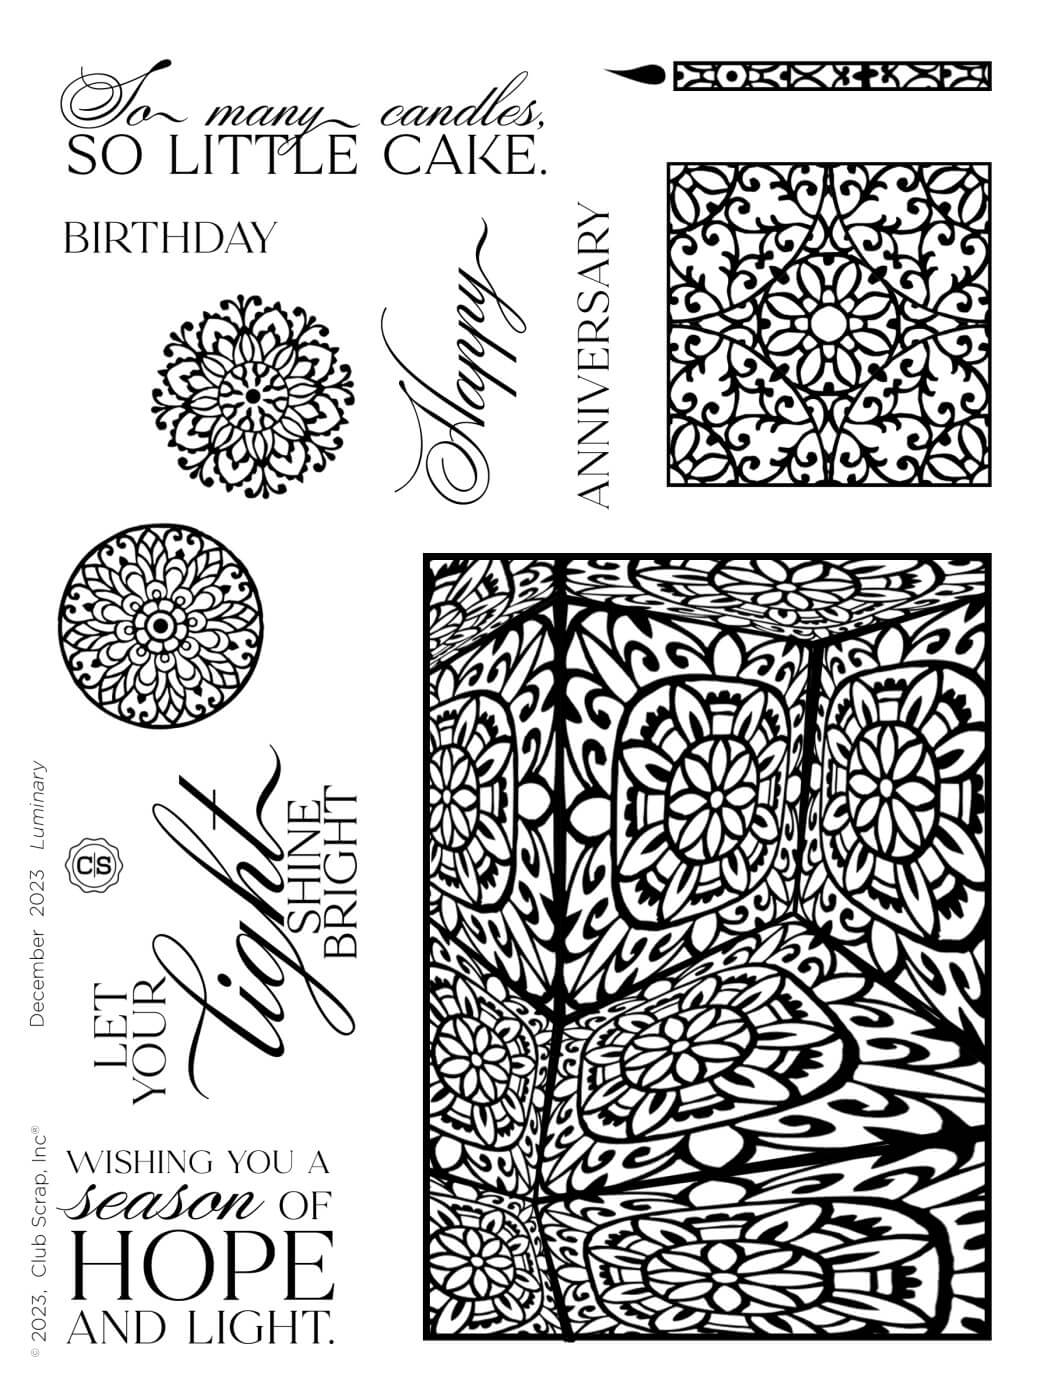
Luminary Stamps
Let's take a closer look at each of my stamped card samples below.
*The finished size of each card is 4.25x5.5", unless otherwise noted.
Card 1
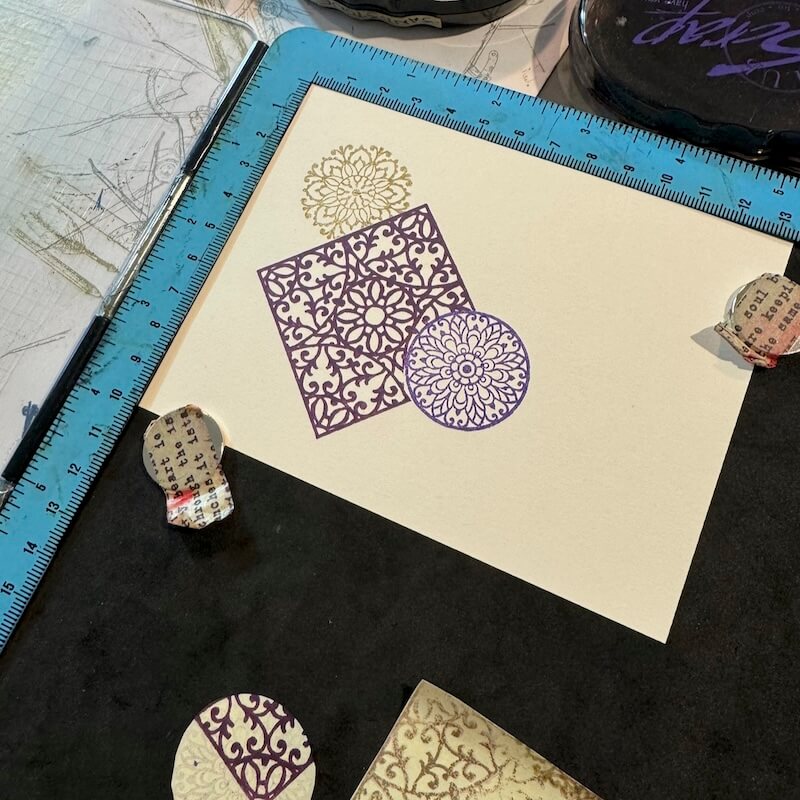
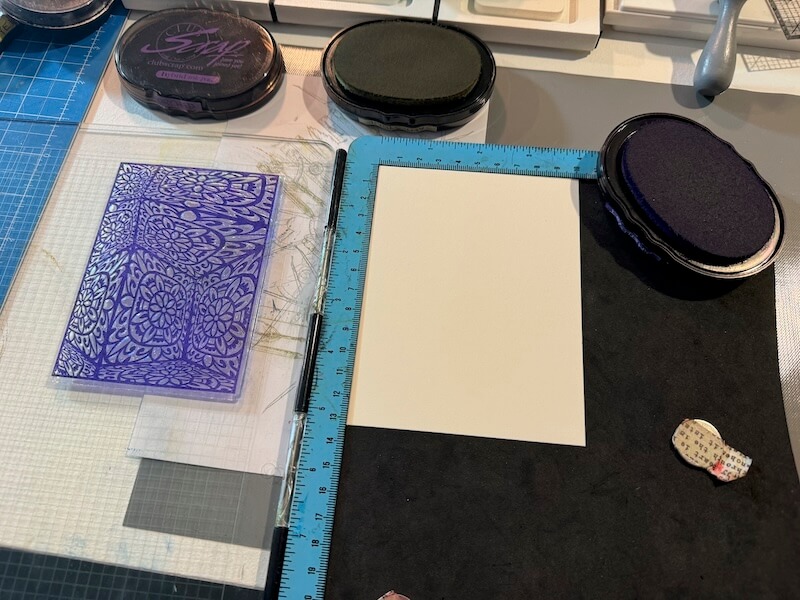
Stamp the closed medallion image onto an Ivory panel with Amethyst Ink.
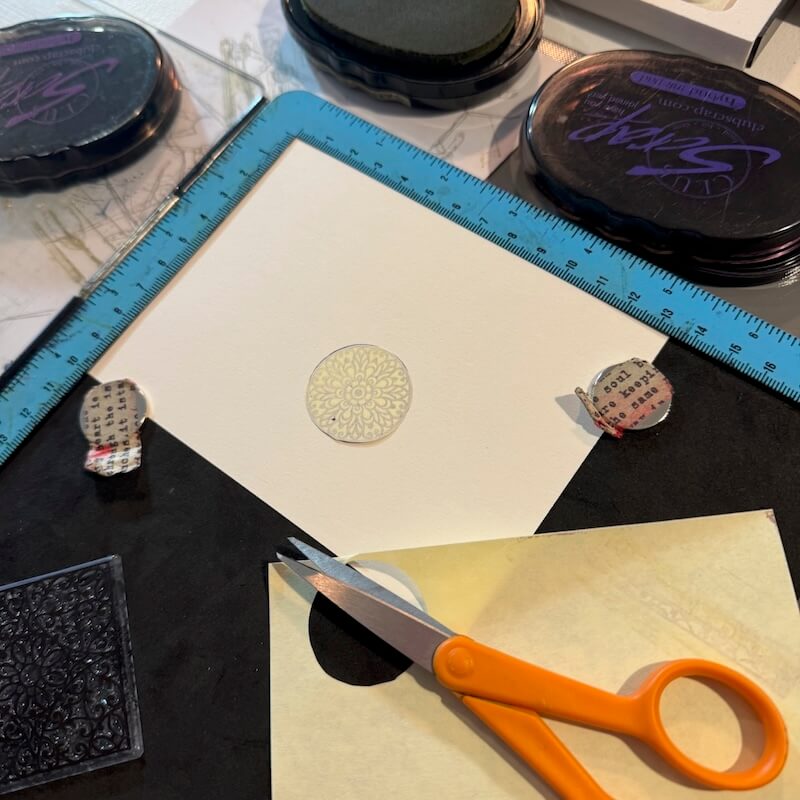
Stamp a second generation image of the same stamp onto a sticky note (or other masking film product).
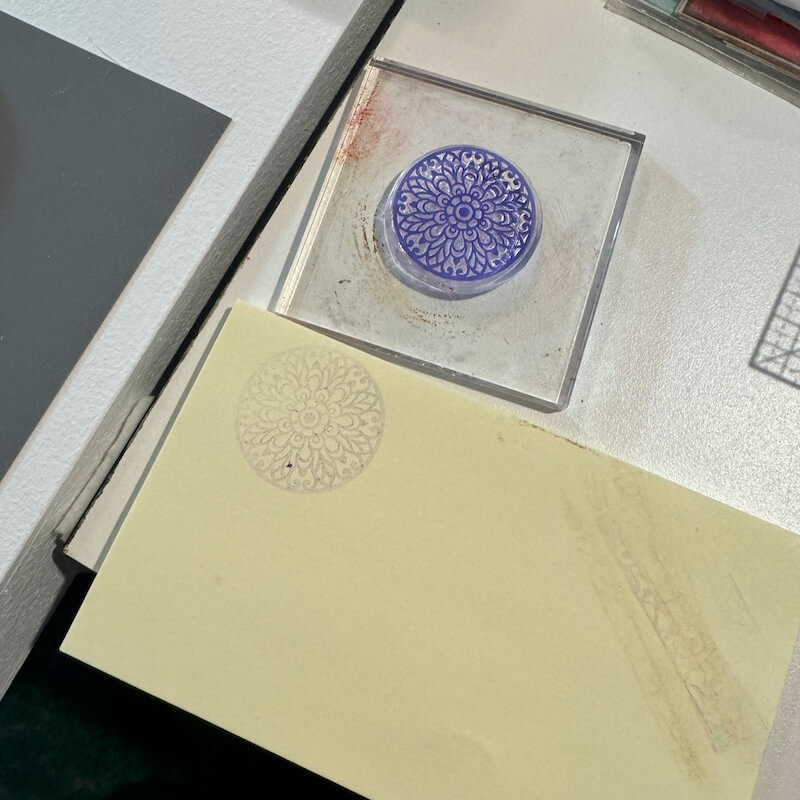
Trim closely around the image with scissors to make a mask. Place the mask over the stamped medallion on the Ivory panel.
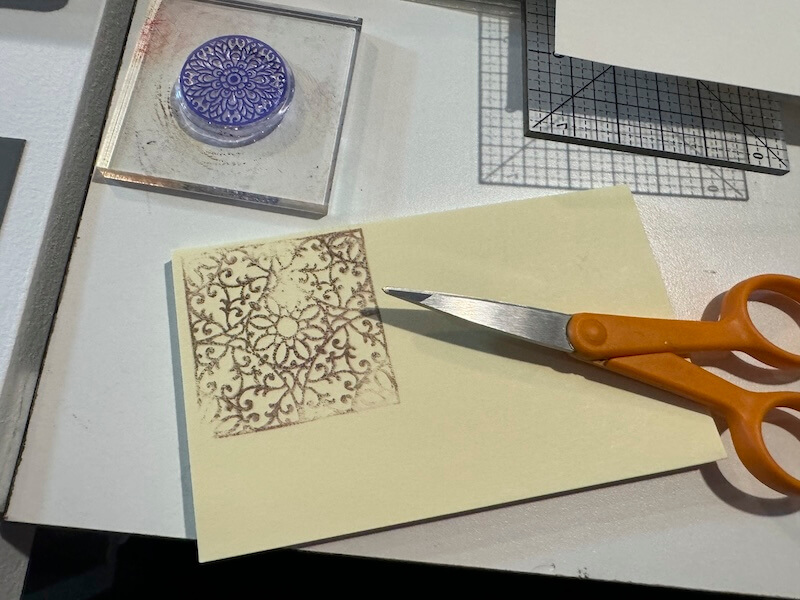
Stamp the large square image with Orchid Ink (retired) onto the panel, overlapping the mask slightly.

Follow the same technique as above to create a mask for the large square image.
Cover the square stamped image with the mask and add the open medallion shape with Sandstone Ink.
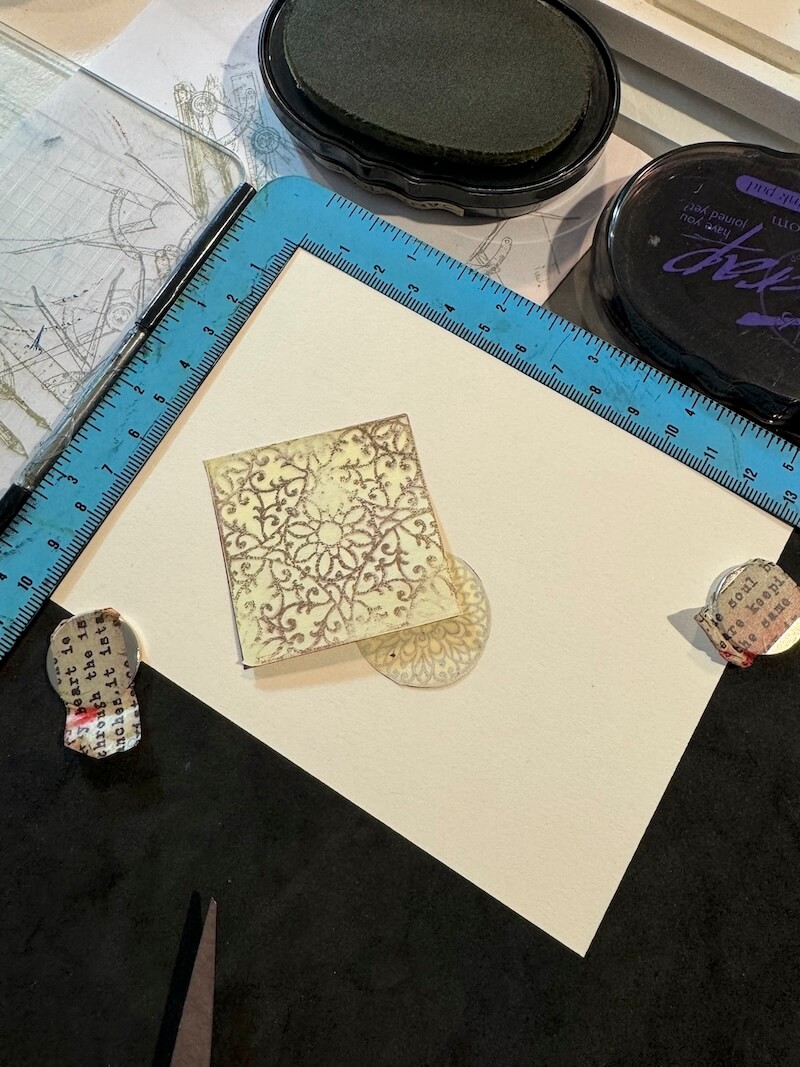
Remove all the masks.
Add a stamped sentiment in Sandstone Ink to complete the card.
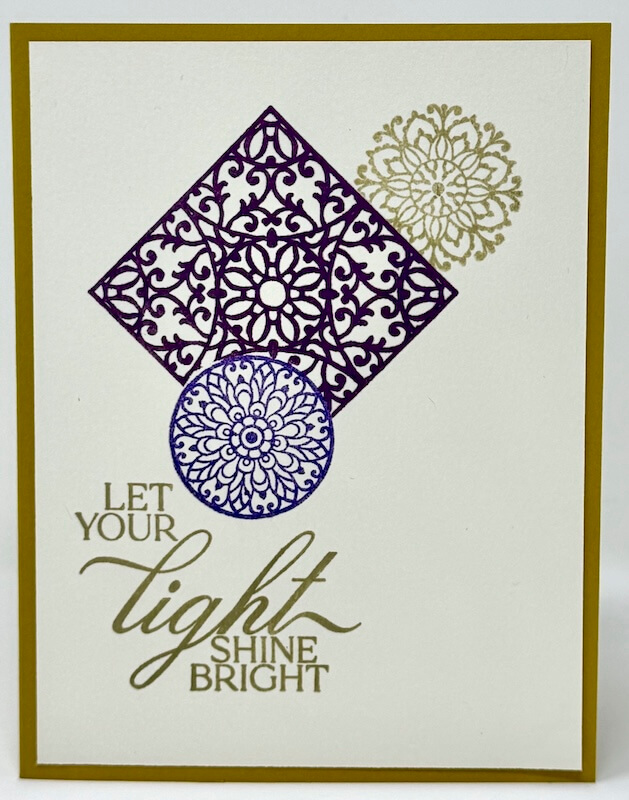
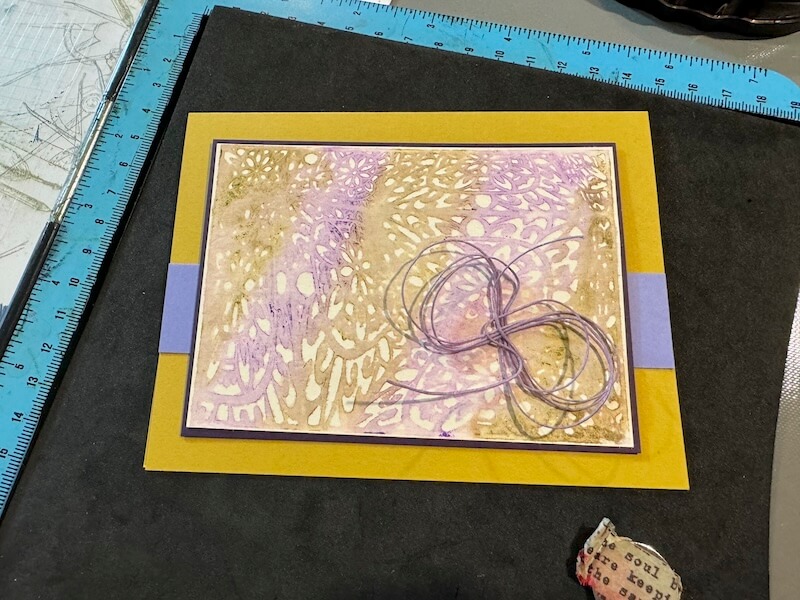
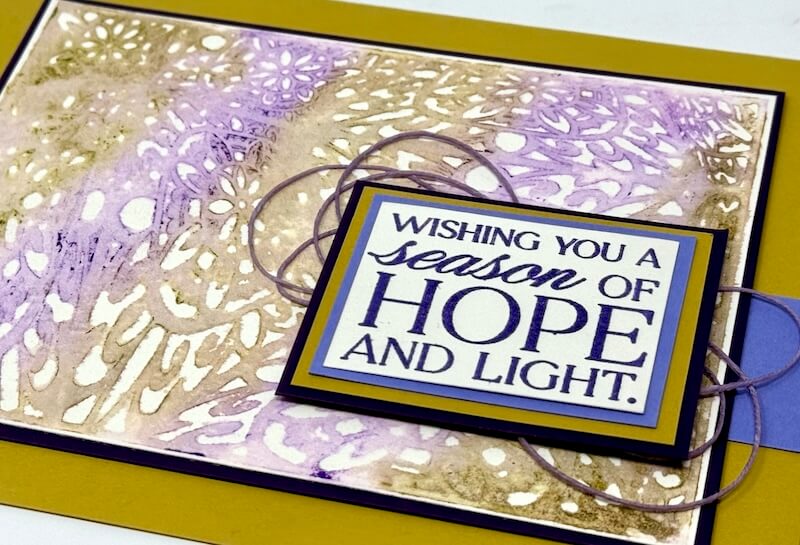
Card 2
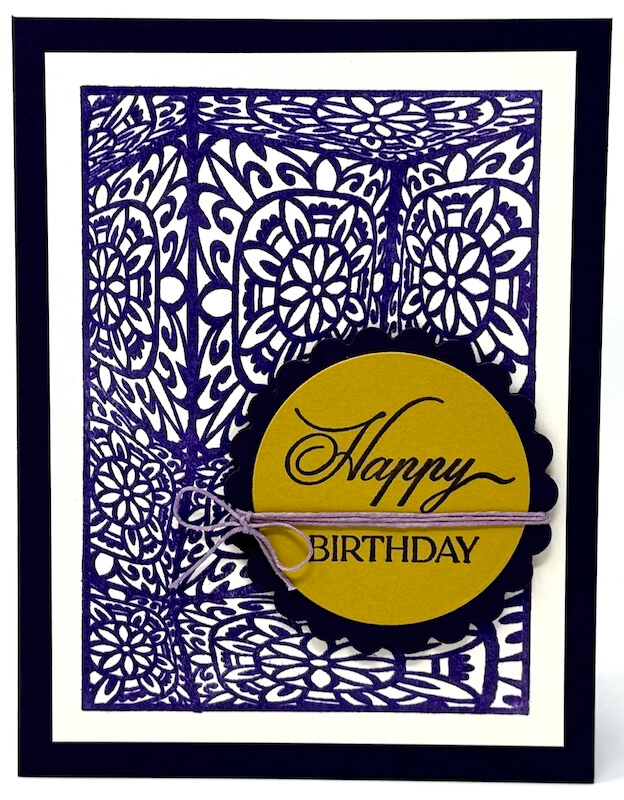
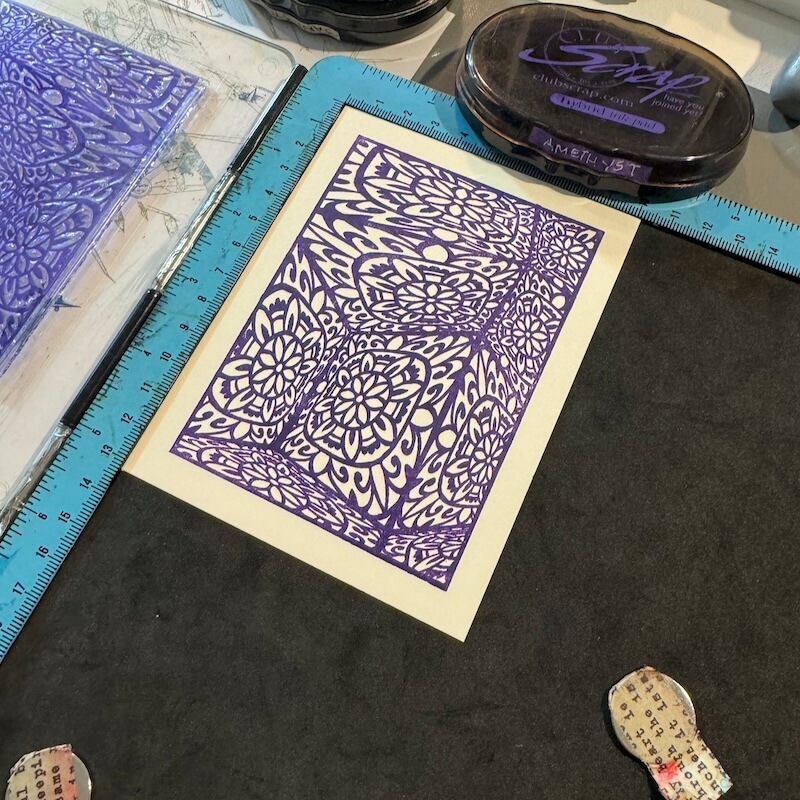
Place the large rectangle stamp into a stamping platform, positioning it over an Ivory panel. Pick up the stamp by closing the clear lid. Apply Amethyst ink to the stamp.
Close the lid to transfer image to the panel. Repeat inking and stamping the image as many times as needed until the desired effect is achieved.
Stamp the sentiment in Amethyst ink onto a Green die cut circle.
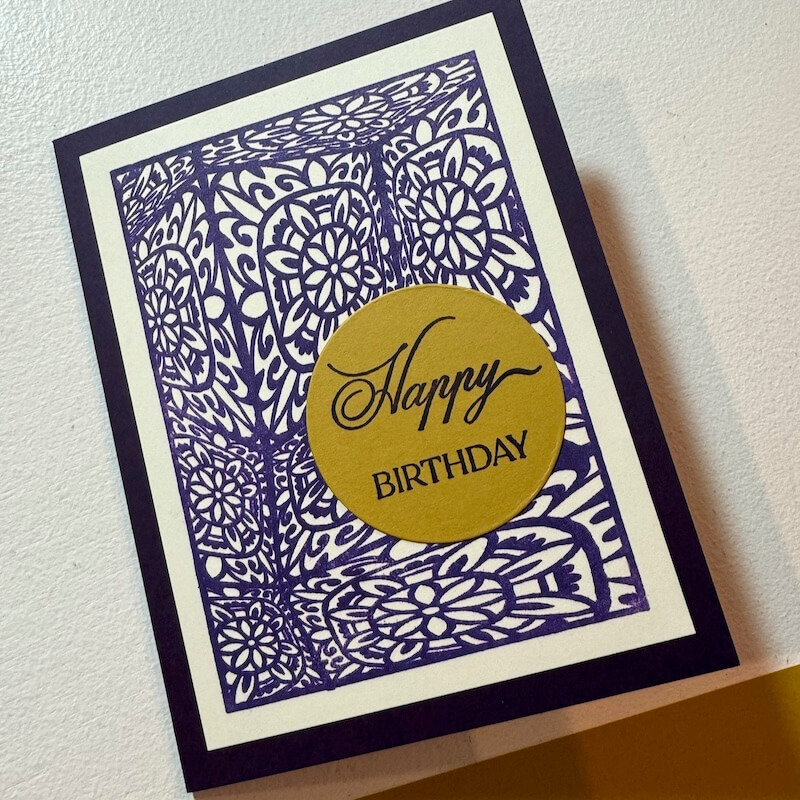
Wrap the circle with a length of purple waxed linen thread and tie it into a bow. Nest the sentiment onto a Dk. Purple scalloped circle to complete the card.

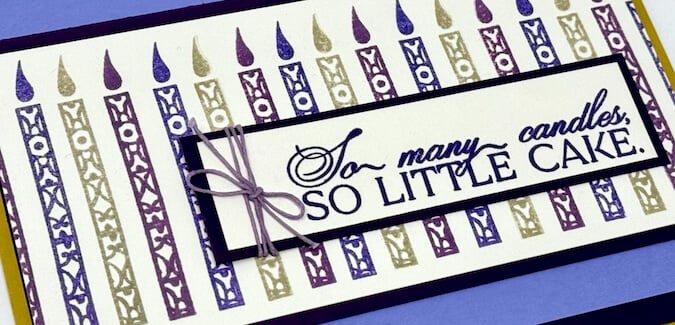
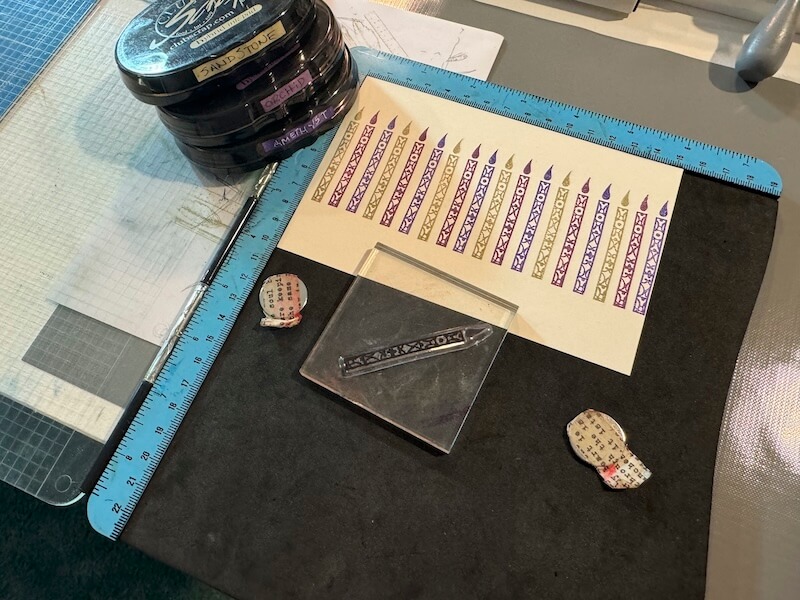
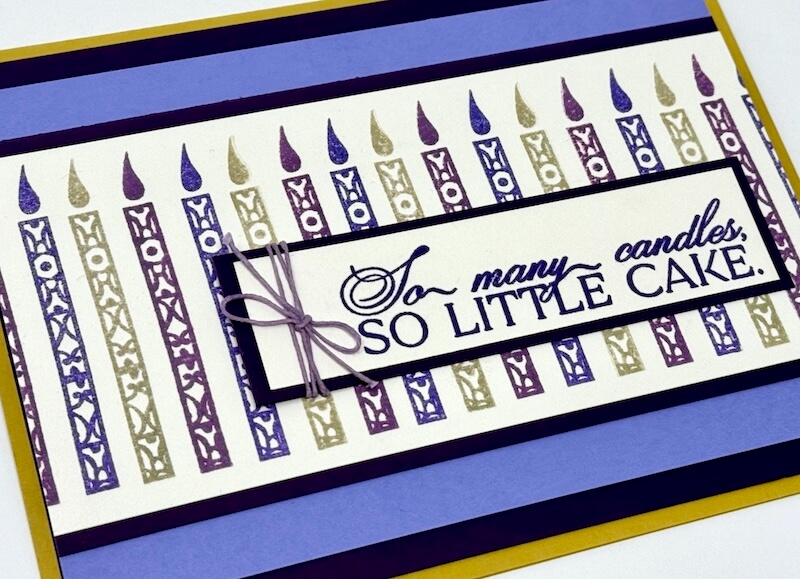
Card 3
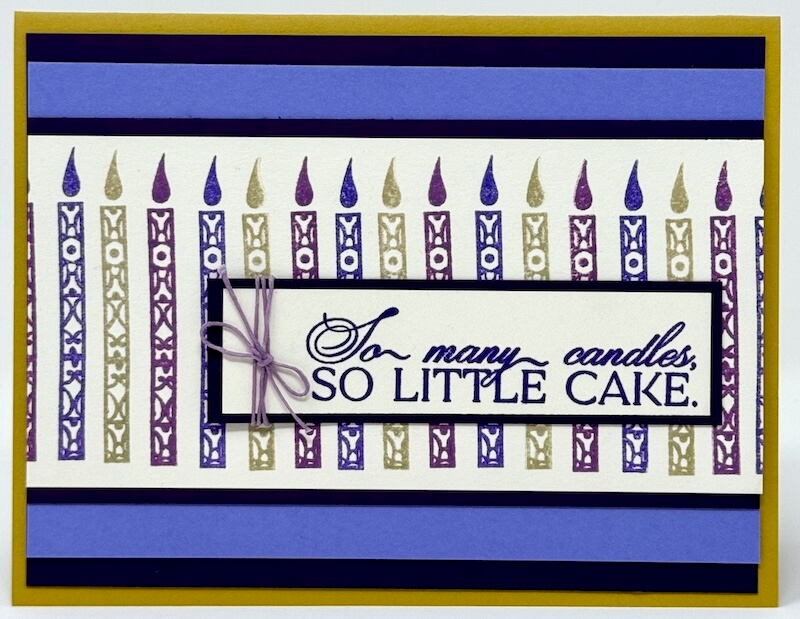
Stamp a row of candles in Amethyst ink onto an Ivory panel.
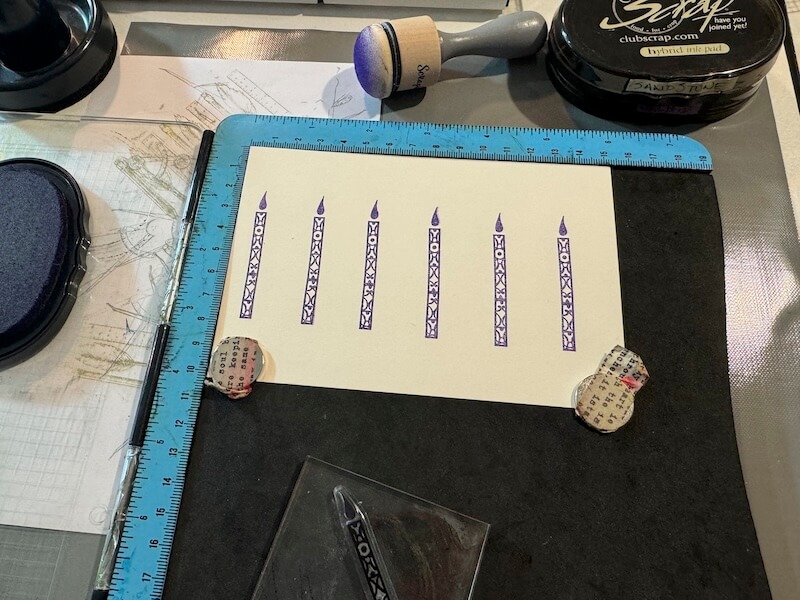
Add more candles with Sandstone Ink.
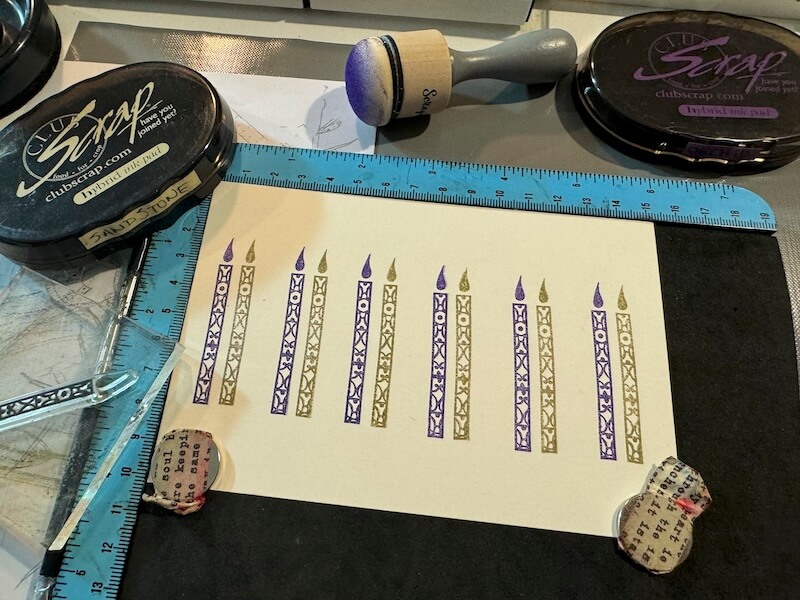
Stamp additional candles with Orchid ink (retired) to complete the pattern.
Stamp a sentiment in Amethyst Ink onto an Ivory panel. Nest with Dk. Purple and embellish with a waxed linen bow.
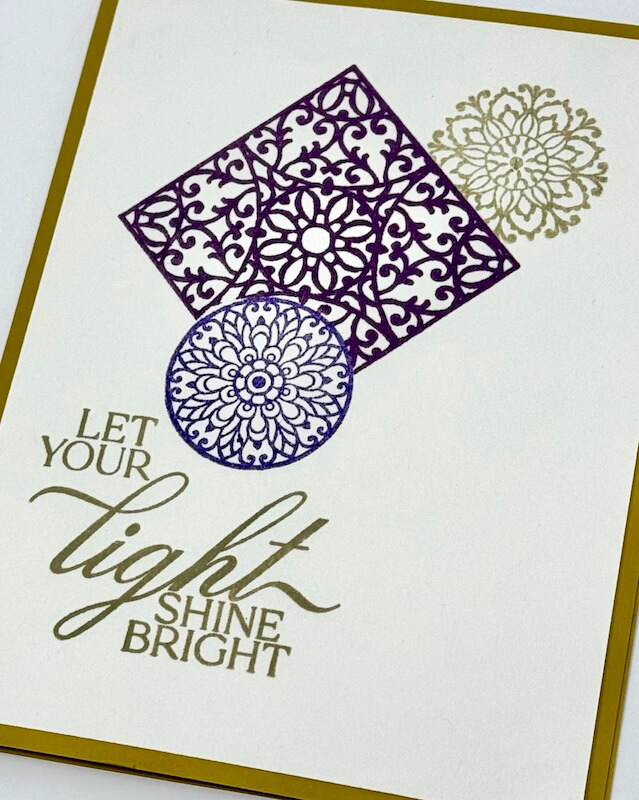
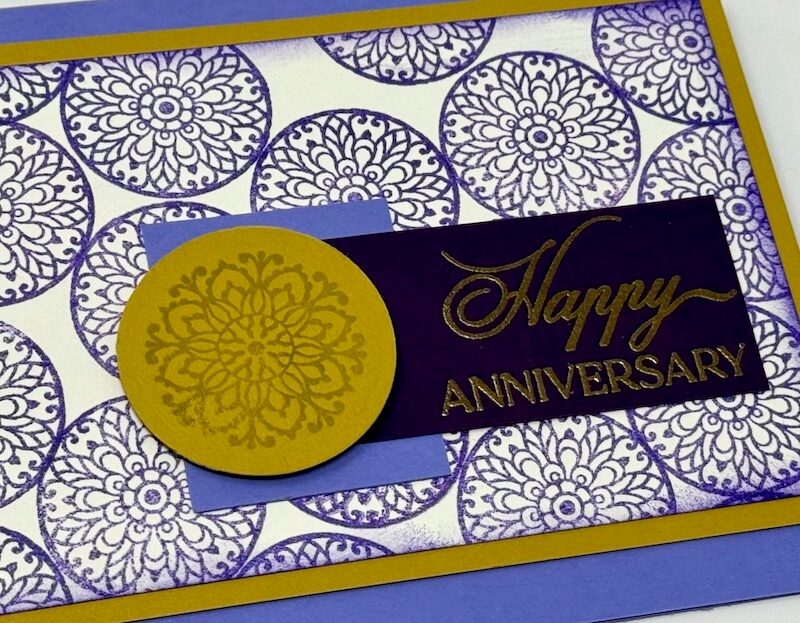
Card 4
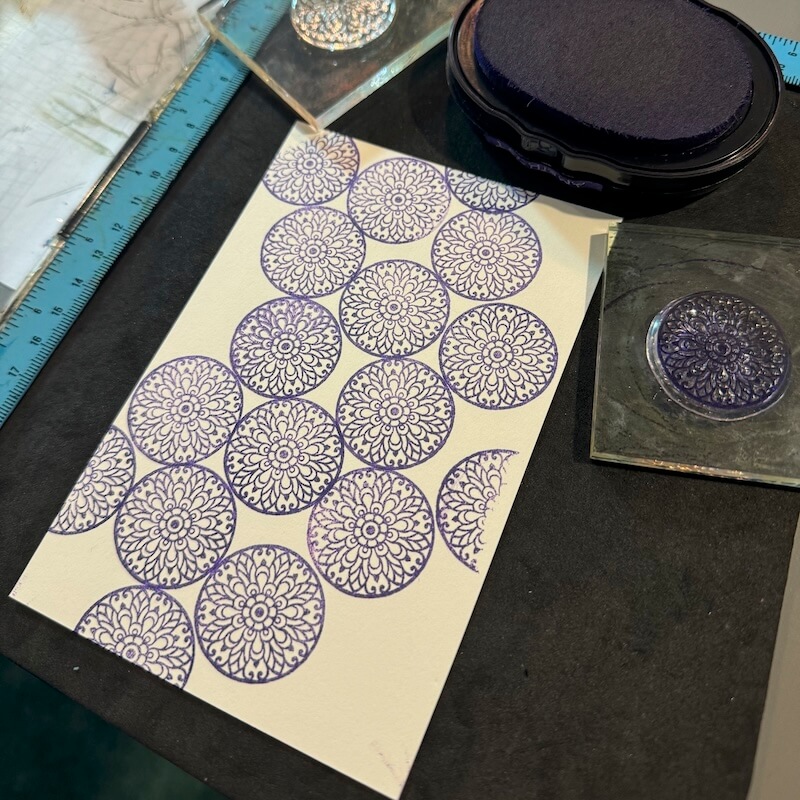
Randomly stamp the closed medallion image onto an Ivory panel with Amethyst ink.
Add the sentiment to a Dk. Purple strip with Watermark Ink.
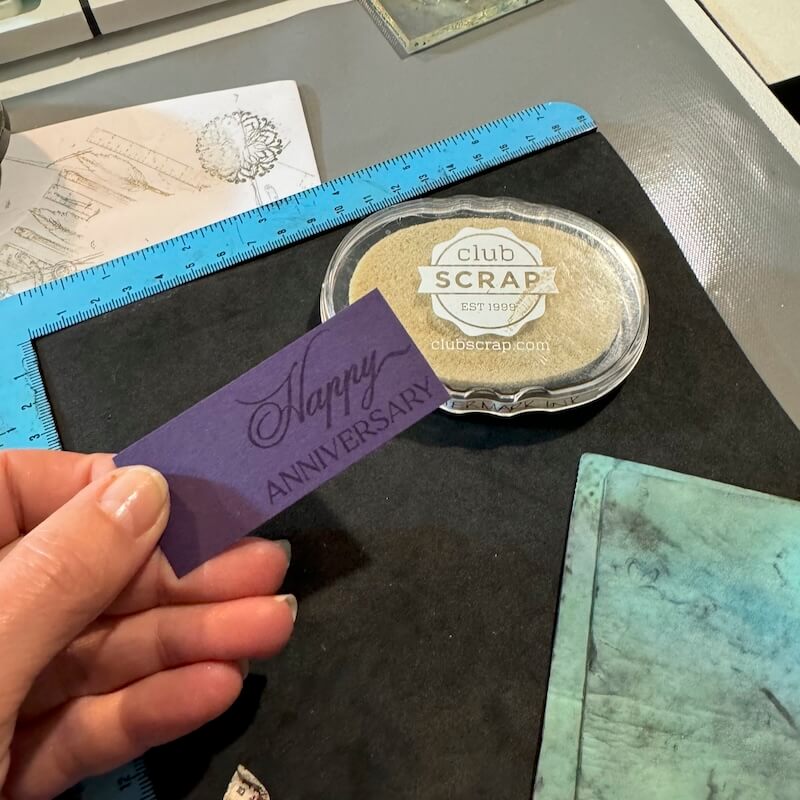
Dust the still-wet ink with gold embossing powder.
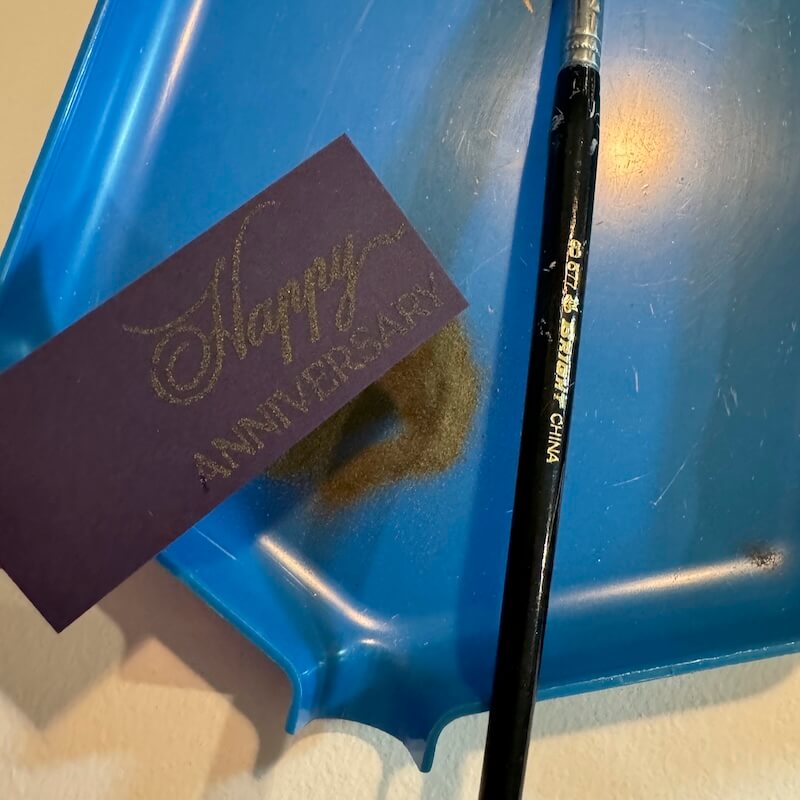
Melt the powder with a heat tool.
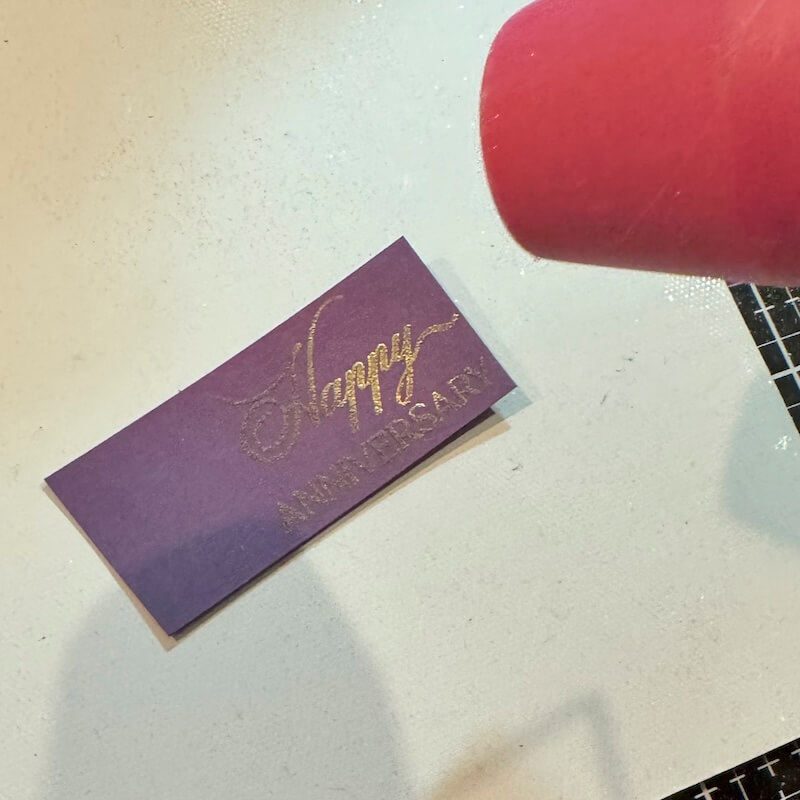
Apply Sandstone ink to the open medallion image and stamp onto a Green die cut circle. Layer onto the sentiment panel with a small Lt. Purple scrap to complete the card.
Card 5
Place the large rectangle image into a stamping platform. Apply several colors of Distress Crayon directly to the stamp. Spritz lightly with water.
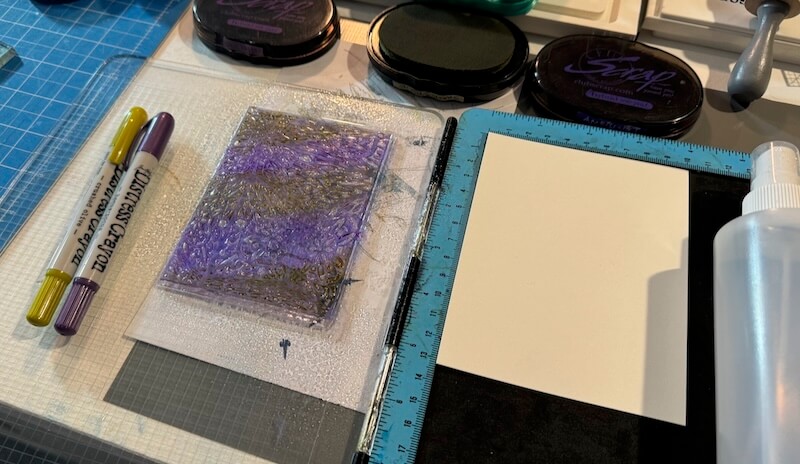
Close the lid to transform the image onto an Ivory panel.
Open the lid and remove the first panel from the platform, replacing it with a second Ivory panel.
Spritz the stamp again with water.
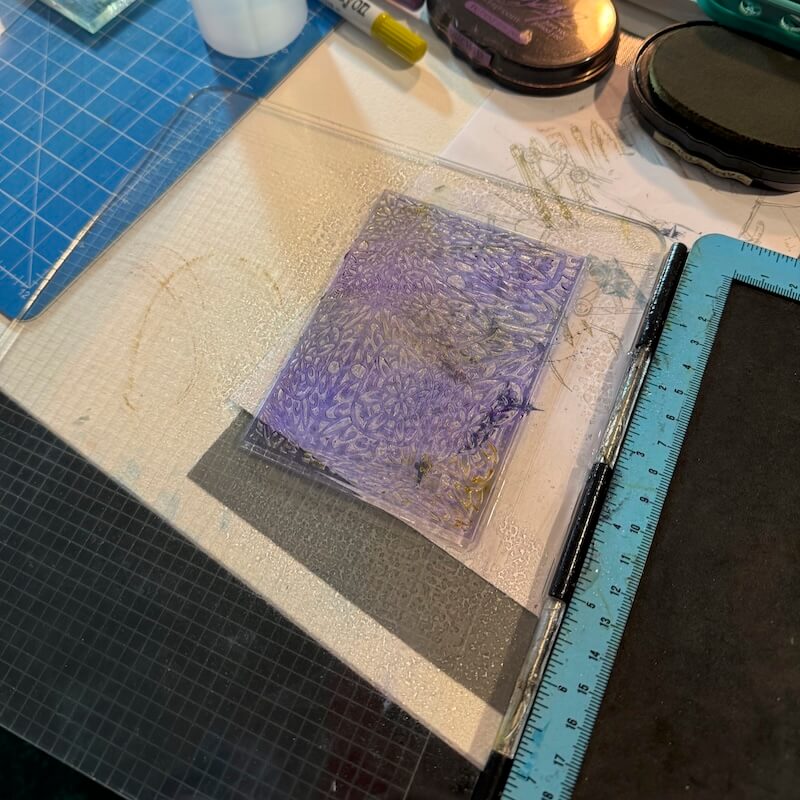
Close the lid to make a second generation impression of the image. (Set this panel aside for Card 6 assembly.)
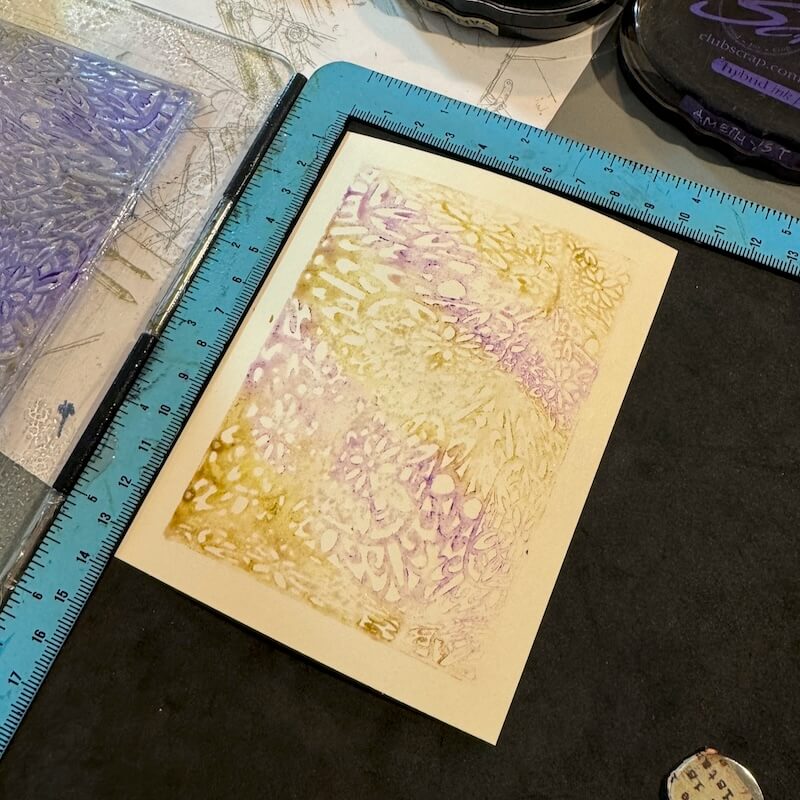
Stamp a sentiment onto a scrap of Ivory paper.
Twist a length of purple waxed linen thread into loops and add to the front of the large stamped panel.
Trim the sentiment into a rectangle and layer with Lt. Purple, Green and Dk. Purple mats. Add foam adhesive to the back side, and adhere over the loops of thread to complete the card.
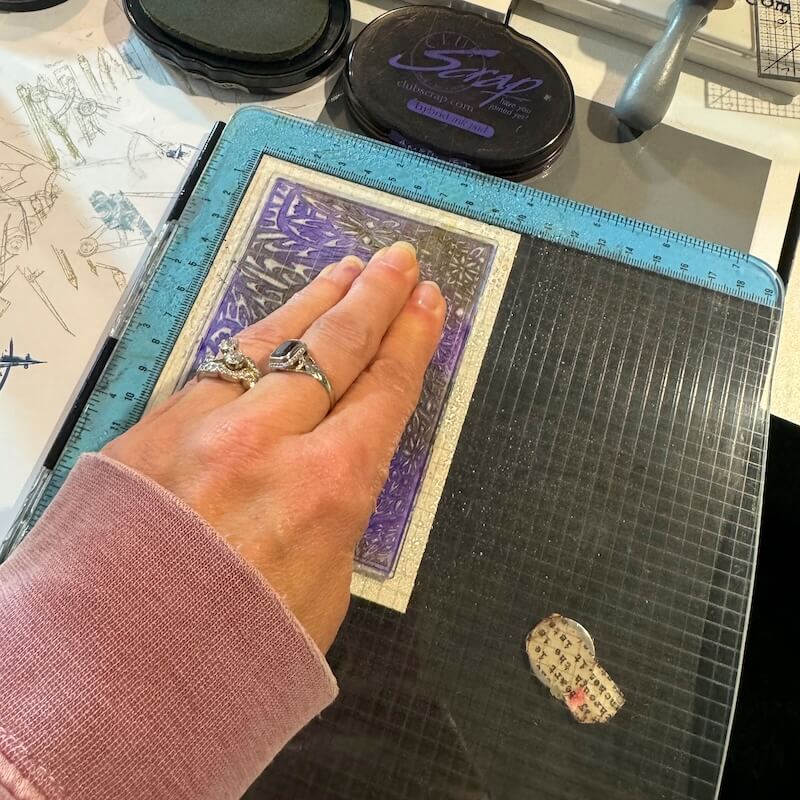
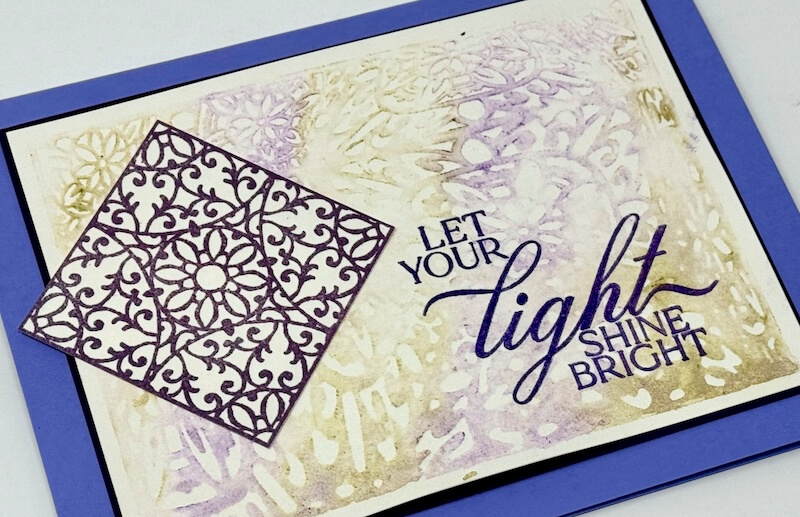
Card 6
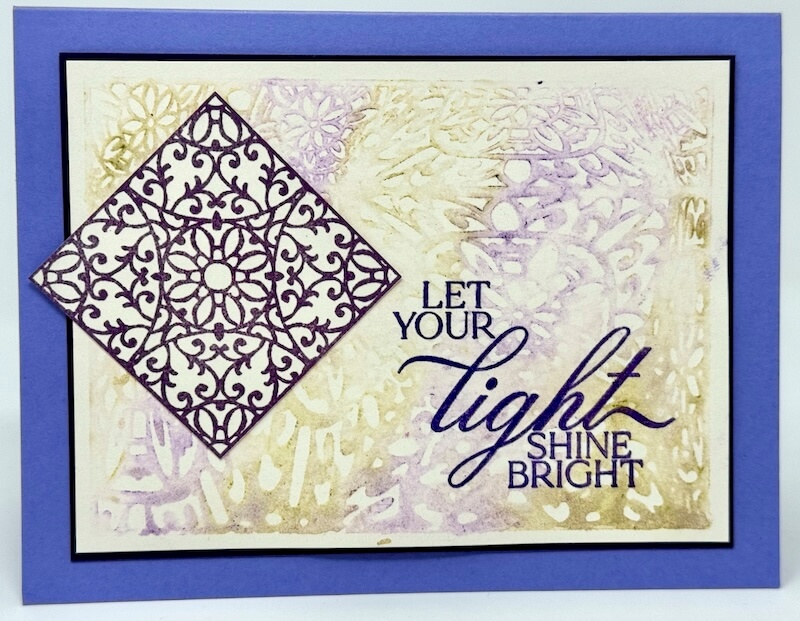
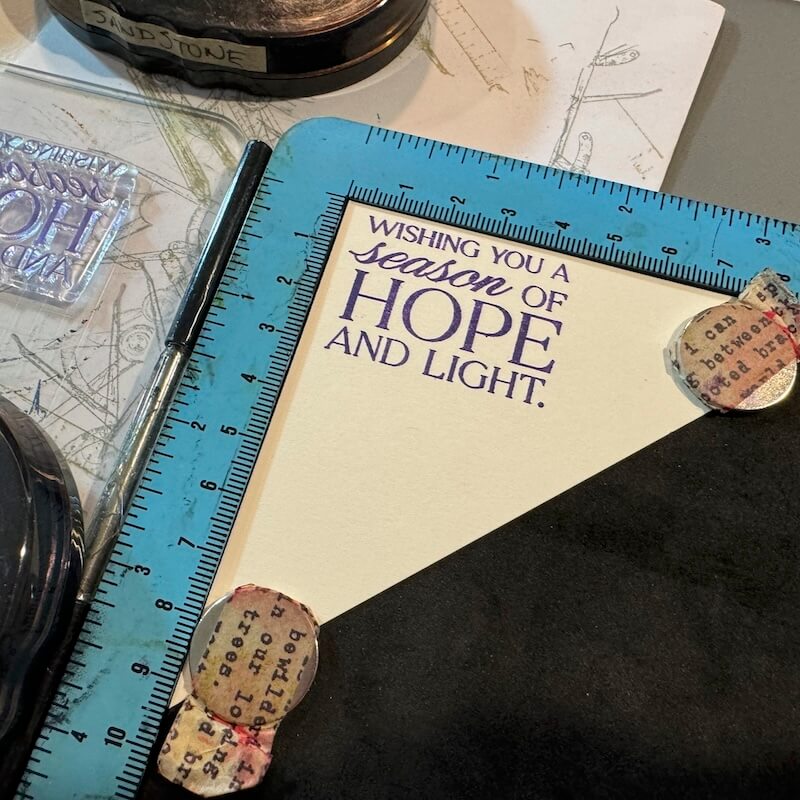
Place the second-generation stamped panel (reserved from Card 5) into the stamping platform.
Add a sentiment with Amethyst Ink to the bottom right corner.
Stamp the large square image onto an Ivory panel with Orchid ink. Trim the image closely with scissors and adhere to the panel to complete the card.
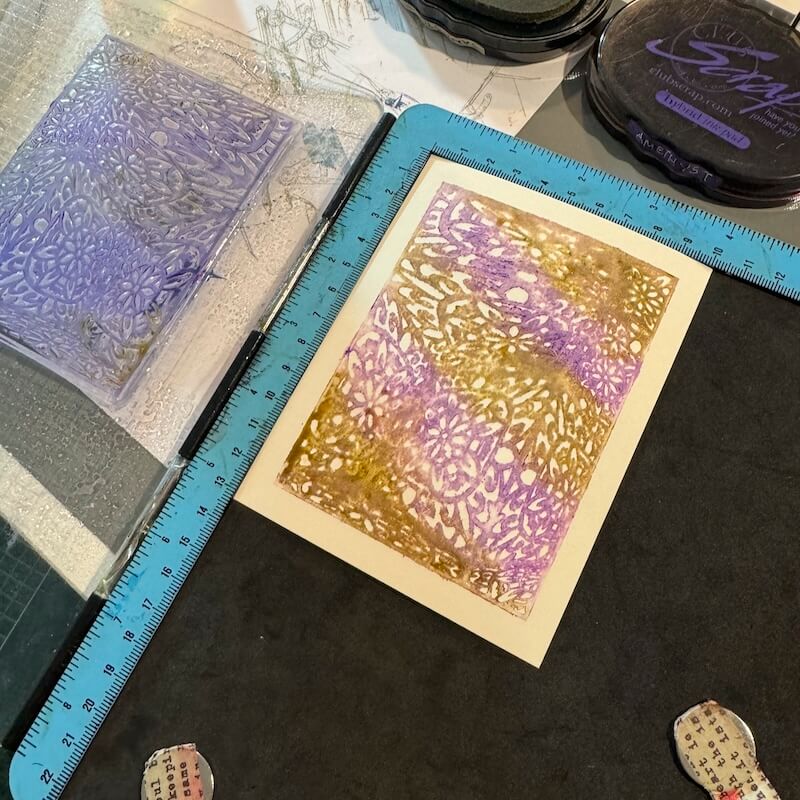
Card 7

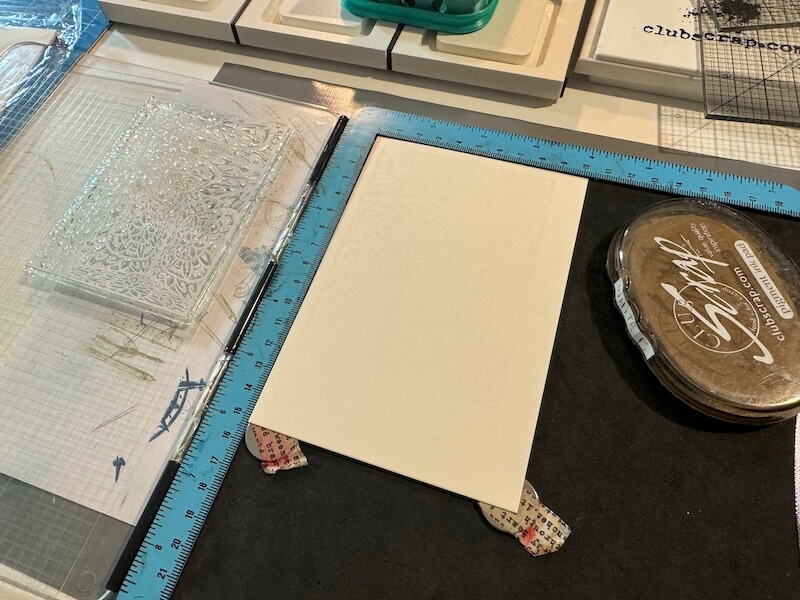
Dust an Ivory panel with anti-static powder, and place it into the stamping platform.
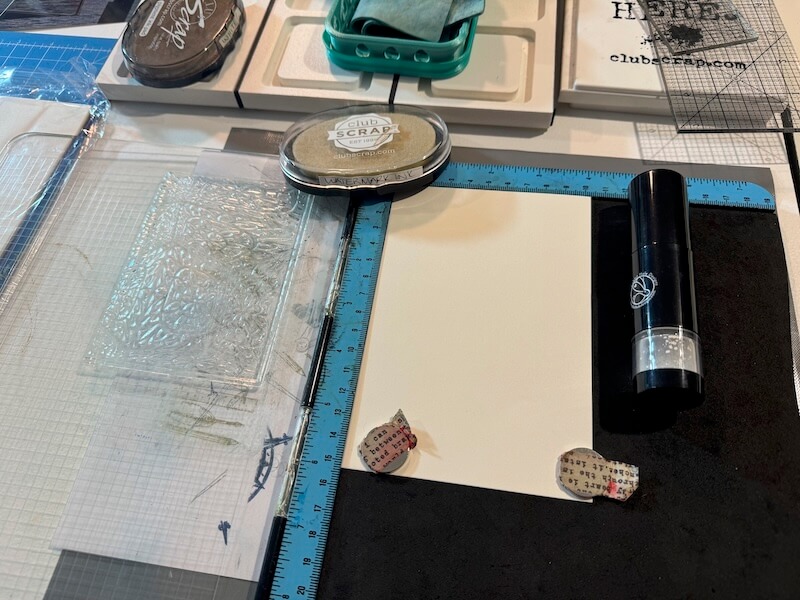
Ink the large rectangle stamp with Watermark Ink and close the lid to transform the image onto the Ivory panel.
Sprinkle the still-wet ink with gold embossing powder.
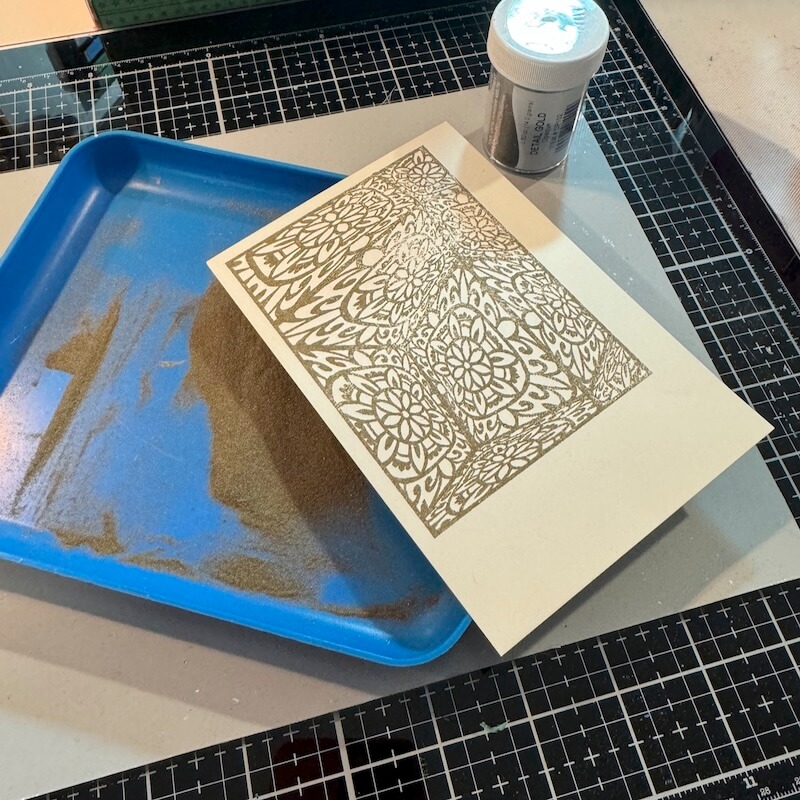
Melt the powder with a heat tool.
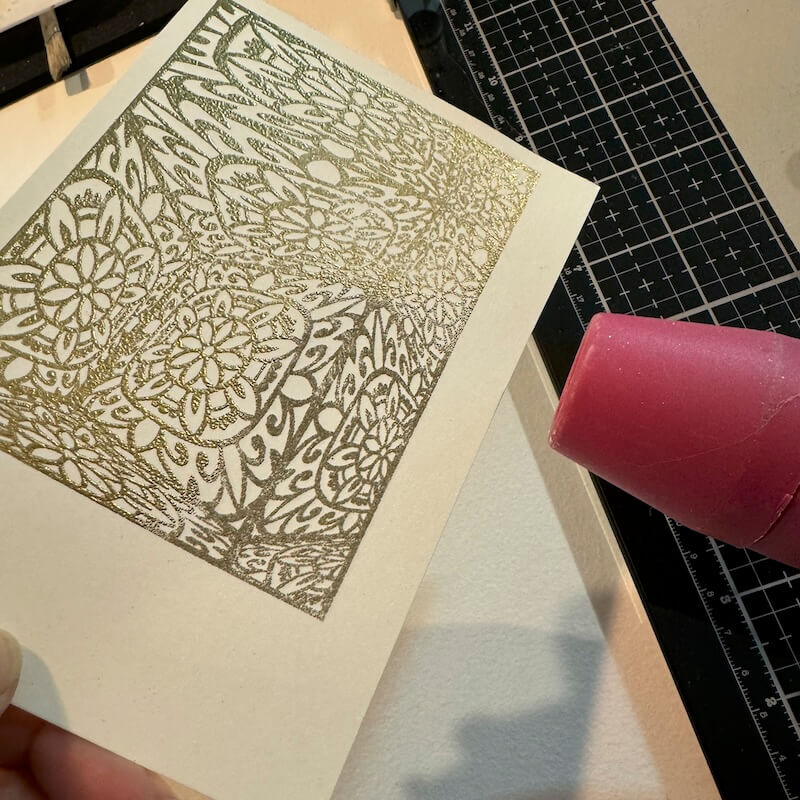
Trim the image closely with a paper trimmer.
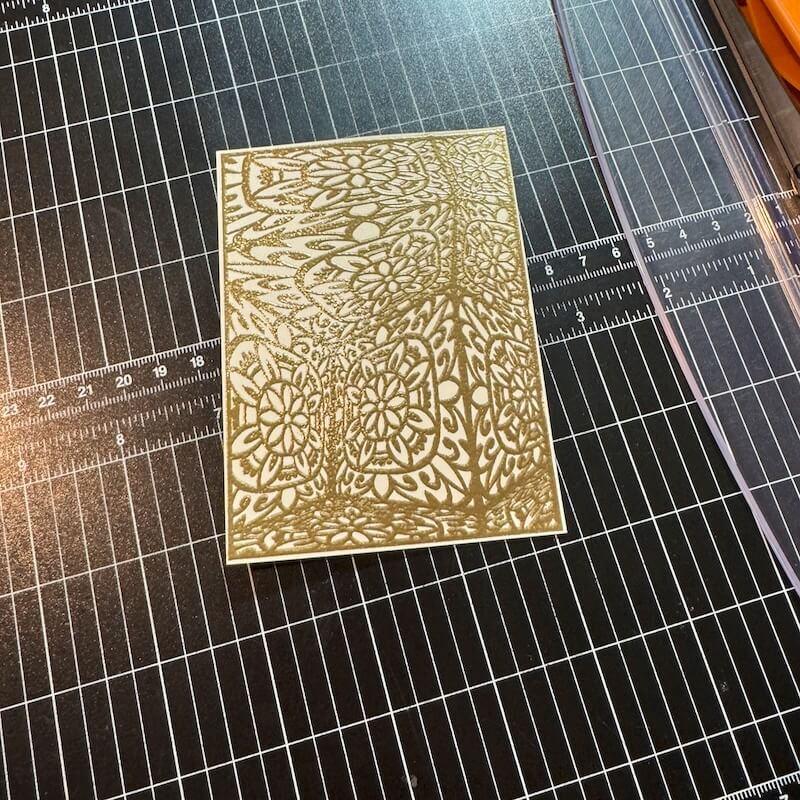
Apply Amethyst Ink to select areas of the image with a blending tool.
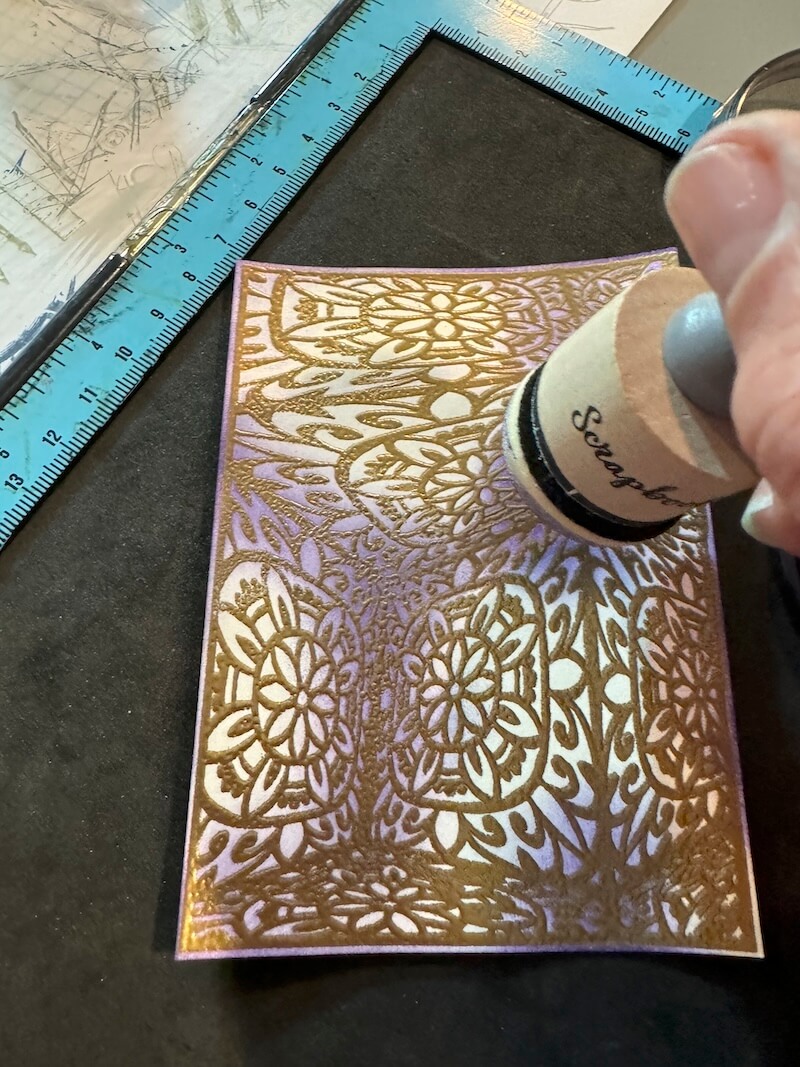
Stamp a sentiment onto a Green die cut oval with Amethyst Ink. Add to the front of the panel to complete the card.

I hope you enjoyed this illuminating tour of my stamped cards. Have you been creating projects with the Luminary stamps? If so, be sure to share your work on the Club Scrap Chat Facebook group. It's the best place to be inspired and to inspire others!
Happy stamping!
CS Hybrid Ink Pads

$6.35
Exclusively Club Scrap®, this hybrid craft ink combines the most exceptional ingredients of both pigments and dyes for a fine, crisp, fast-drying image! Don't forget to stock up on the coordinating re-inkers. Each ink pad sold separately. Please select the… Read More
CS Watermark Ink Pad
$6.40
This clear ink creates a "watermark" effect on all kinds of papers. Ideal for use with embossing powders and for resist techniques. Create watermark or light shadow images on uncoated card stock Use for Batik-like dye ink resist effects on… Read More