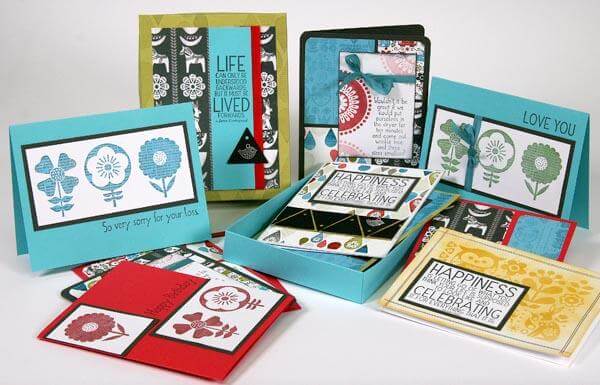
The Scandinavia Cards made with the Club Stamp Kit will be adorable in their sweet little gift box complete with a lid!
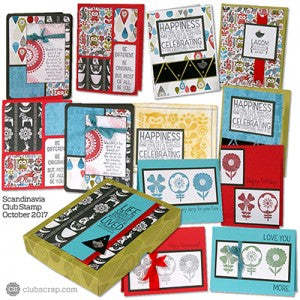
The kit makes a total of twelve cards and the gift box. I thought it was a great time of year to review this handy box made from just two sheets of paper. You can make these boxes in large batches for holiday giving!
To get started, click on the link below to download the paper trimming and preparation instructions. Then, consult the card images to sort the cards and panels. Have fun!
Scandinavia Club Stamp Instructions
Scandinavia Cards
CARDS 1 - 4
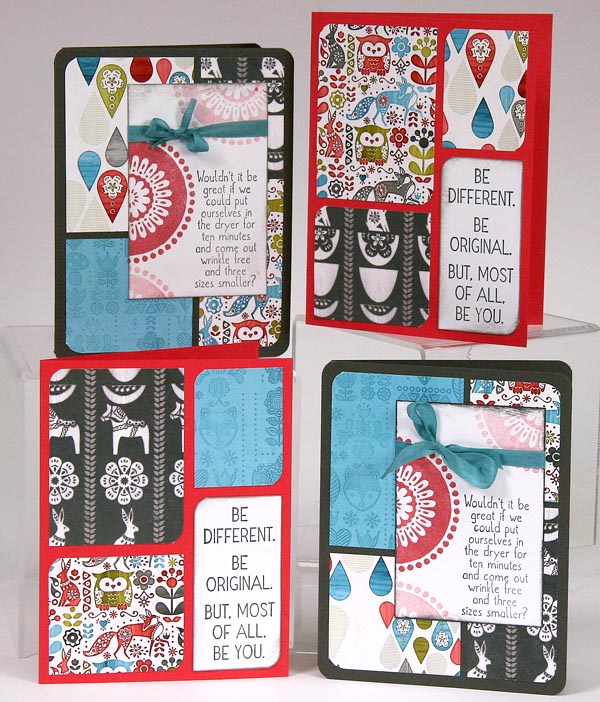
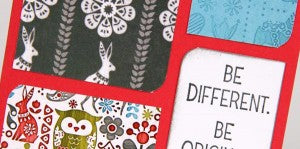
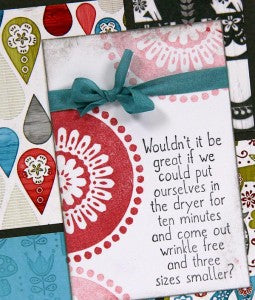
Arrange the four panels trimmed from the quad print so each pattern and size is represented on four different card bases. For two of the cards, round the upper left and lower right corners of each piece. Flip the print in the lower right corner and stamp the sentiment on the plain side.
Stamp the sentiment onto the lower right corner of the 2.5x3.75" White panel. Apply Red Ink to the large medallion and stamp onto the left edge of the panel. Re-ink, and stamp again to remove some ink, and stamp onto the panel to produce a softer color.
CARDS 5 - 8
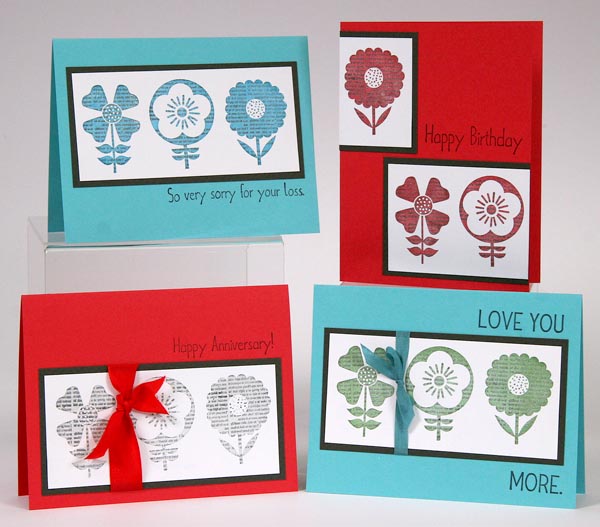
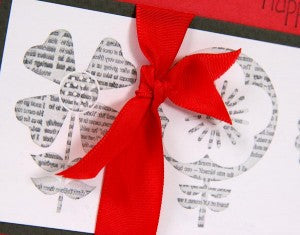
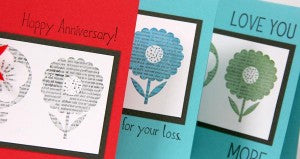
I had some fun with a technique that works well with solid images. Thoroughly ink the three blooms with Lagoon, Ash, Moss, or Red ink. Select a stamp with script and ink with India Black. (I used the text image from the Literature Art Nouveau sheet, but there are many excellent options in the archives.) Press the script onto the inked stamp and then stamp onto a 2.25x4.75" White panel.
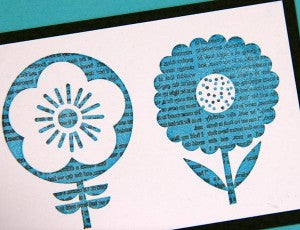
This is my favorite combination: Ash and India Black!
I used shorter sentiments from the Scandinavia Greetings sheet to complete the cards. If you don't happen to have these stamps, you likely have a few workable images on hand.
CARDS 9 -12
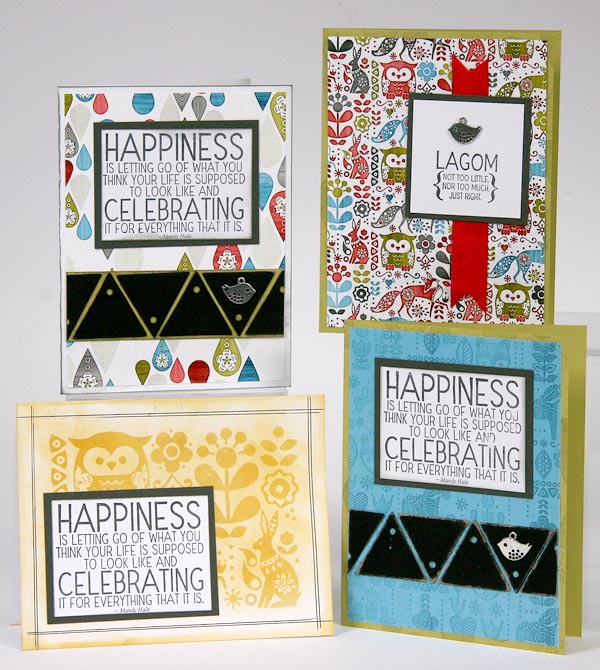
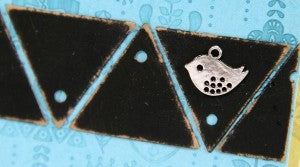
I thought the triangular-shaped tags were fun. Paint them with black acrylic paint and sand the edges for a unique look. Line them up in a row on the 4" wide panel, and use half a triangle on each end.
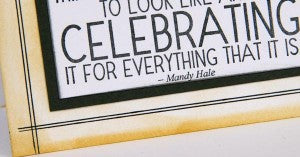
Create a simple frame for this White card base with a grid ruler and fine-tipped black pen. Simply draw two lines about 1/16" apart about 1/4" from each outside edge.
The background image on this card was stamped in White Pigment ink and then colored with Pan Pastels.

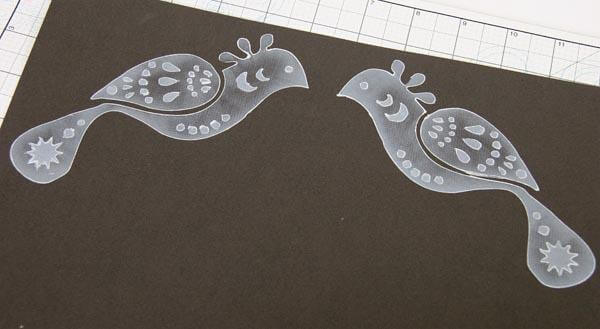
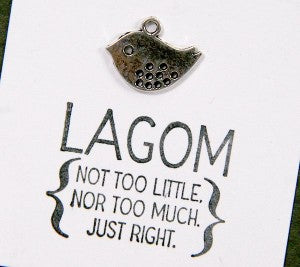
I adore the little silver bird charms. They're pancake flat for easy greeting card mailing!
NOTECARD BOX WITH LID

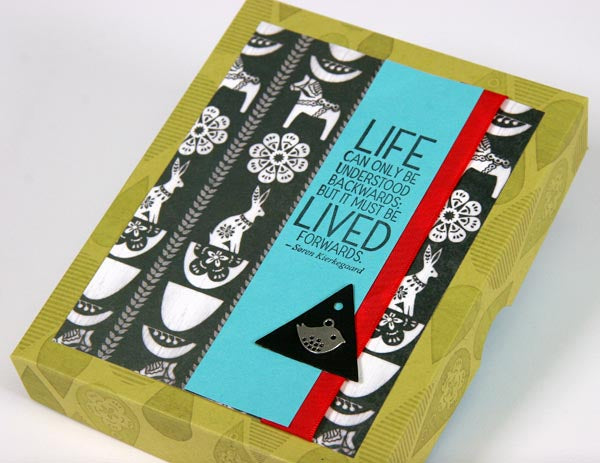
Decorate the lid of the box with a quad print panel, stamped blue strip, red ribbon,triangular tag and a silver bird charm. Use half of a 1" circle punch to add thumb holes to the long walls of the box lid. So sweet!

Tricia

