Retreat collections have finally arrived. We began working on the concepts for these kits last year, finished artwork in the late winter, got delivery of the goodies, ribbons and papers in the spring, and have had them in our hot little hands since the August Retreat!

This is going to be a long blog entry, but we have a few details to share . . .
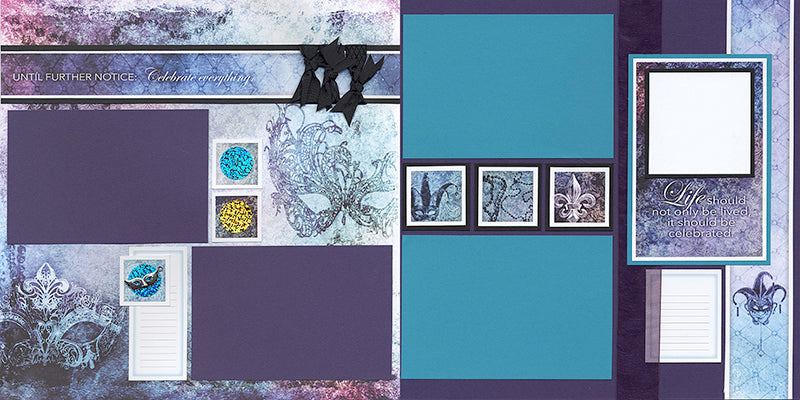
Masquerade Collection
LAYOUTS 1 & 2
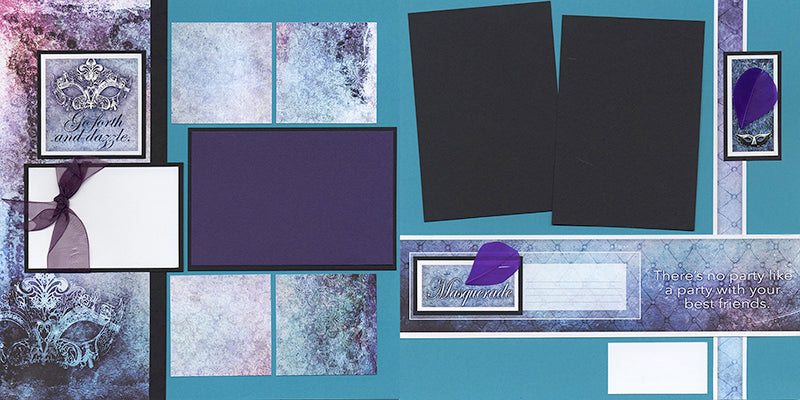
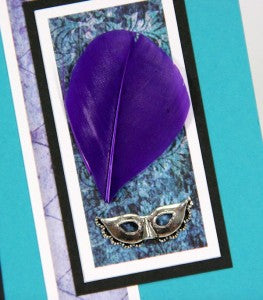
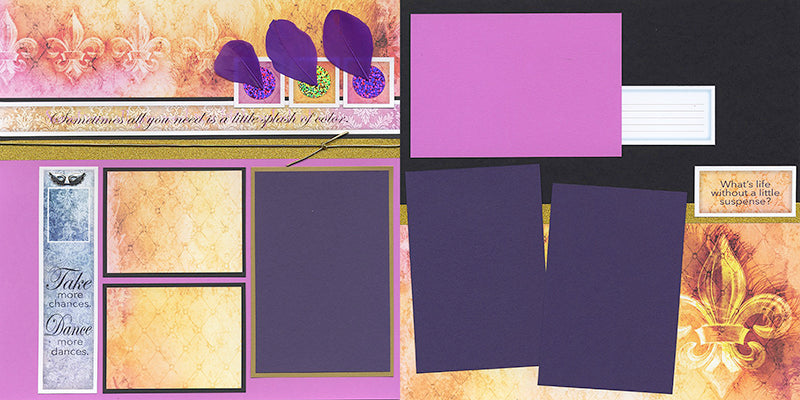
The purple feathers are the perfect accent for this collection. To adhere them to the layout, simply run a thin line of bookbinding glue onto the center vein of the feather.
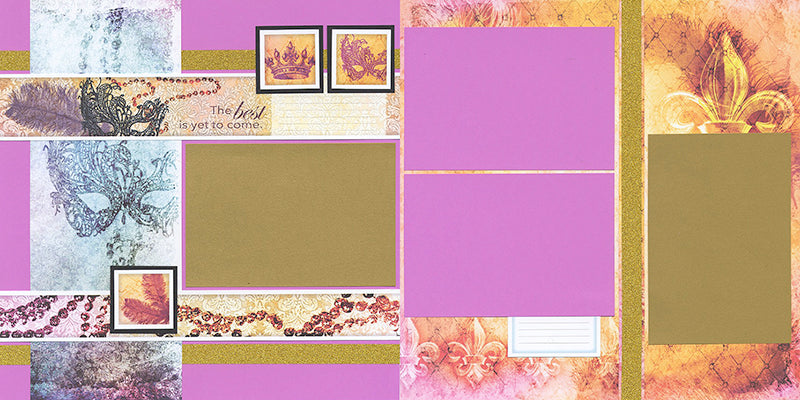
LAYOUTS 3 & 4
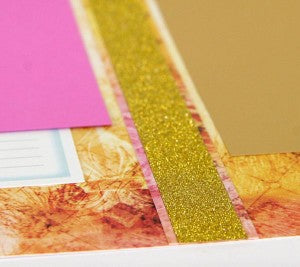
Your kit will include a beautiful roll of gold sparkle tape. It behaves like washi tape in that it can be lifted and replaced if you need to make an adjustment, but it is completely opaque. The glitter is embedded into the tape, so it doesn't leave specks of sparkle all over your face.
LAYOUTS 5 & 6
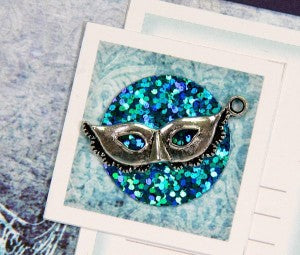
Adhere the circular sequin onto the perfectly-sized cutapart and layer with a silver mask charm.
LAYOUTS 7 & 8
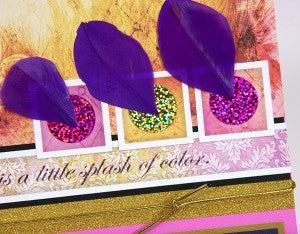
Nest three sequins onto three cutaparts and adhere a purple feather to each one.
Sweet Tooth Collection
LAYOUTS 1 & 2
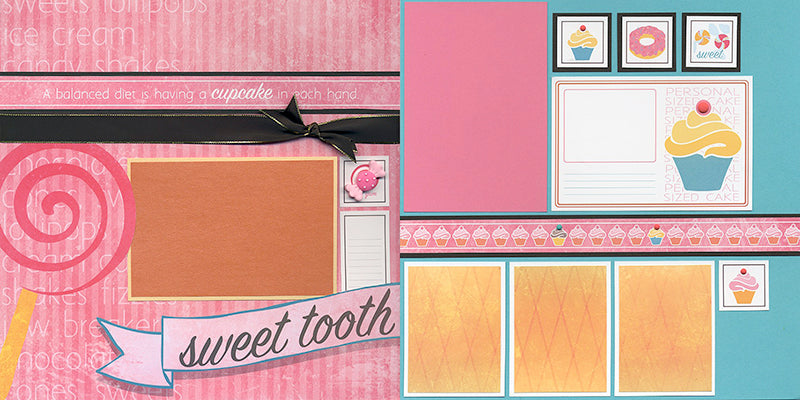
Remember eating "candy dots" when you were a kid? The mat finish sticker dots we've added to your collection add that nostalgic touch! The sheet includes tons of self-adhesive dots in different sizes.
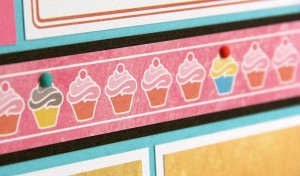
LAYOUTS 3 & 4
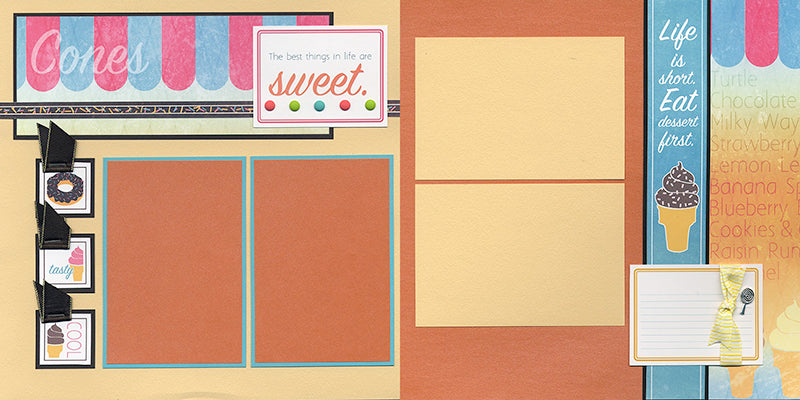
Adorn the bottom of the "sweet" cutapart with a row of the candy dot stickers. Use a CS® Grid Ruler to achieve even spacing and a perfectly straight line.

LAYOUTS 5 & 6
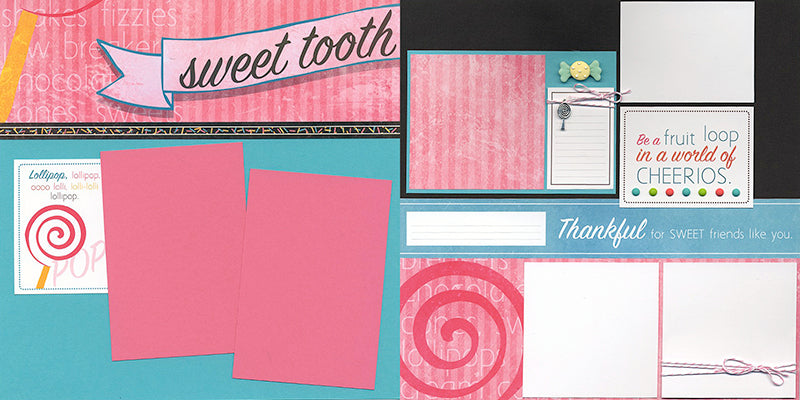
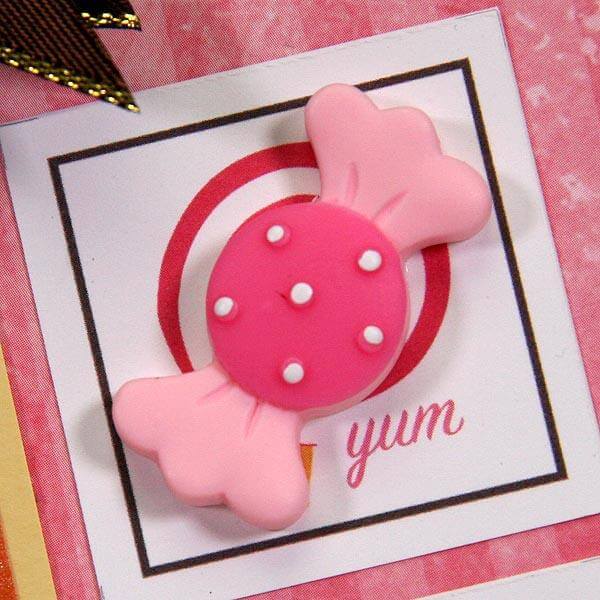
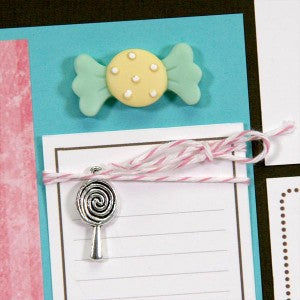
I'm not sure what I adore more . . . the resin wrapped candy, the lollipop charm, or the pink and white twine! String the silver charm onto the twine, wrap around the journaling cutapart and tie with a bow.
LAYOUTS 7 & 8
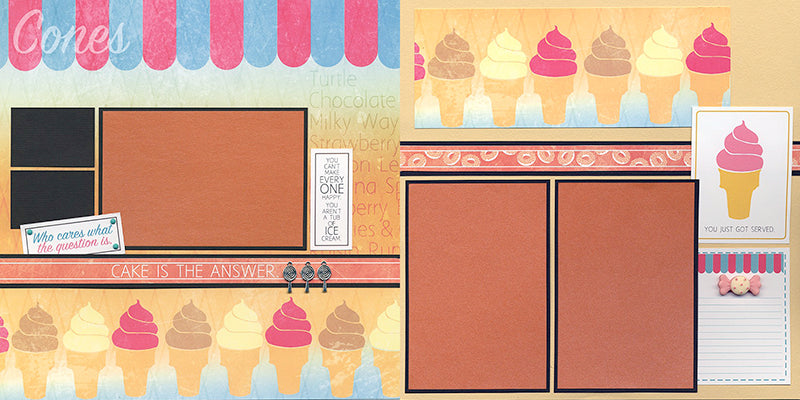
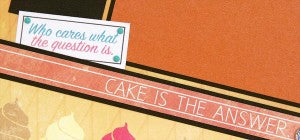
Tuck the sentiment at an angle beneath the horizontal border strip. Add a sticker dot to the three visible corners. When creating an embellishment that overlaps a photo mat, be sure to avoid adhesive application in those areas.
What a Ride! Collection
LAYOUTS 1 & 2
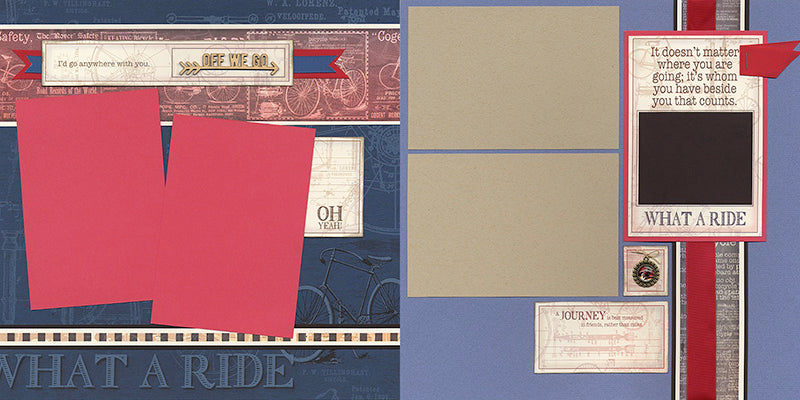
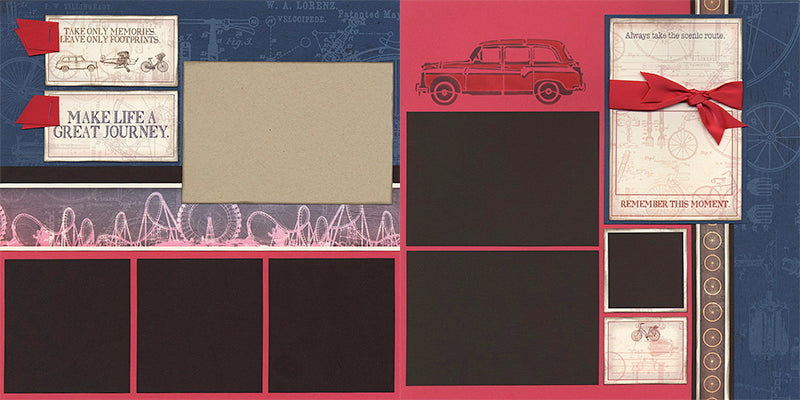
The laser cut wood sentiment finds a perfect home within the pre-designed "window" on the printed cutapart. Nest blue and red ribbon behind the cutapart for an added splash of color.

LAYOUTS 3 & 4

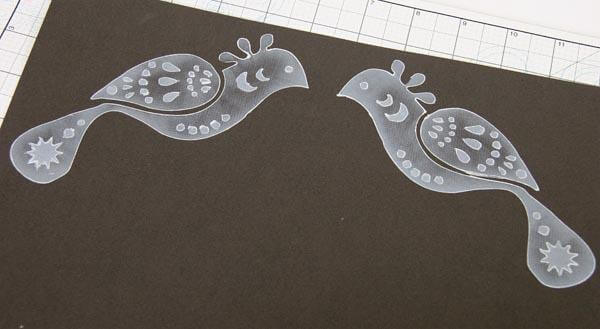
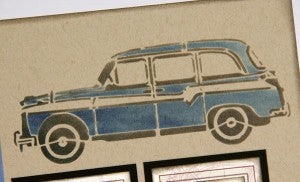
Apply Sapphire and India Black inks to the two-part car stencil included in your What a Ride kit.
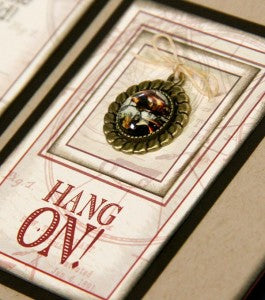
Ooooh, the decorative bronze setting for the glass dome is so cool! The domes include images of antique cars. Top the setting with a waxed linen bow and adhere to the pre-planned frame on the cutapart.
LAYOUTS 5 & 6
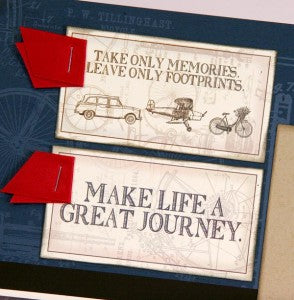
Ribbon trick #2,374: Trim a 2" piece, fold in half, and staple to a cutapart. Repeat.
LAYOUTS 7 & 8
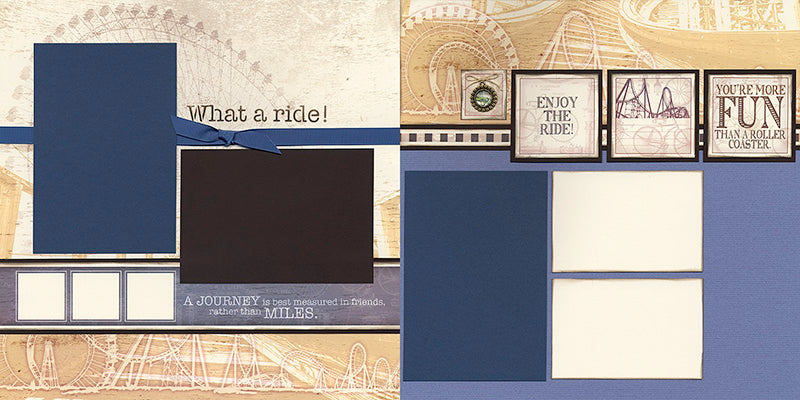
Add a page title with the help of the stencil. Sponge Earth ink into the openings on the stencil with a CS® Ink Applicator.

Well, there you have it. Three new-to-you Retreat collections! We sincerely hope you enjoy them! Be sure to visit the 2017 Retreat Pro Shop while supplies last.
Tricia

