
The Pacific Northwest Stamps consist of beautiful silhouettes and versatile sentiments. Have you had a chance to play with these? If not, set aside an hour or two as soon as you can!

Pacific Northwest Stamps - Card Inspiration
If you haven't seen the "unboxing" video of the entire Pacific Northwest collection on Facebook, be sure to check it out. I give a quick tour of the cards near the end of the video. Read on for close-ups and additional details about each card.
Card 1

Stamp the feather image with watermark ink, and apply copper, yellow and green Pan Pastels. Spray the panel with fixative to prevent smudging. Round the corners of the panel and layer onto several mats and a folded card base.
A subscription to Club Scrap's POPs (pack of panels) is a great way to have endless guilt-free layering possibilities!
And, isn't it amazing how simply rounding the corners of a card base and panels adds so much?

Card 2

Using a positioning platform can really make a difference when stamping solid images. Keep re-inking and stamping until the desired color intensity is achieved. (If you're looking for one, more Stamping Buddies are on the way. They'll be back in stock soon.)
This is my new favorite ribbon technique. Fold a piece of ribbon in half and tape the ends to the back of the card panel. Thread a second piece of ribbon through the first loop and trim enough length so both ends can wrap around the other side of the panel. Pull the second ribbon tightly prior to taping the ends.

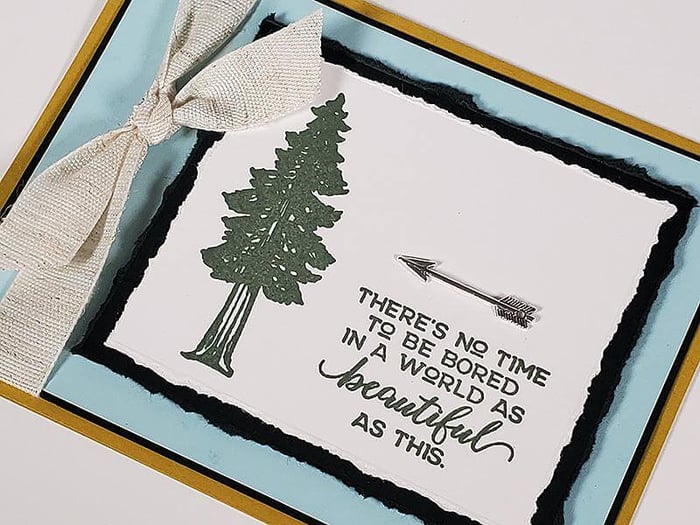
Card 3

The Pacific Northwest stencil will complement your card making sessions. Stencil a few trees onto a Green panel with Spruce ink, and layer a small stamped panel onto the foreground. Finish with a taffeta bow and silver branch.

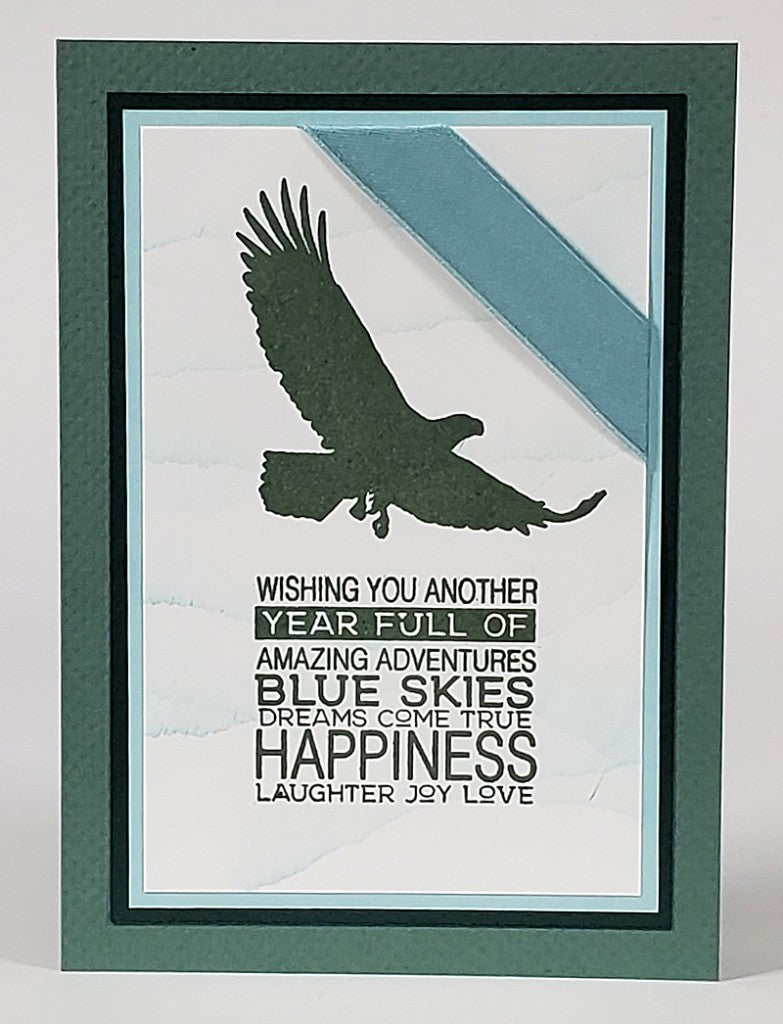
Card 4

Just like the stencil, the washi tape adds a lot, too! After stamping the eagle and sentiments with Earth ink, wrap the tape around the bottom edge of the card panel, mat, and add to a folded card base. No extra postage required for this simple card to fly! (The washi tape is included in the Pacific Northwest Card Kit.)

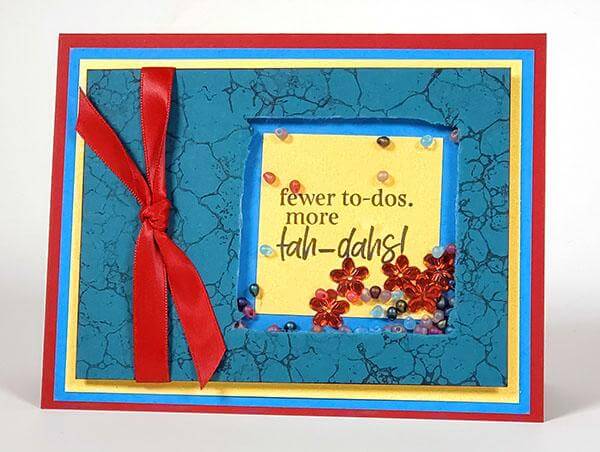
Card 5

Notice the subtle landscape in the background? Tear a piece of text weight scrap paper in half to create a mask. If you tear against the grain, you'll have more jagged edges, and if you tear with the grain, the edge will be relatively smooth. Place the torn edge of the mask on the card panel and load an applicator brush with Earth or Spruce ink. Next, land the brush on the mask first, and sweep gently over the mask in an upward motion. (This will prevent unattractive smudges.) Repeat until the desired landscape is added.
Card 6

I dug around in my box of "art orphans" to find a coordinating element for the background. This tag was created with a gel plate, acrylic paint, and stencils. The sentiment takes center stage when stamped onto Pine paper with our vibrate white pigment ink. Finish with taffeta ribbon and a silver branch.

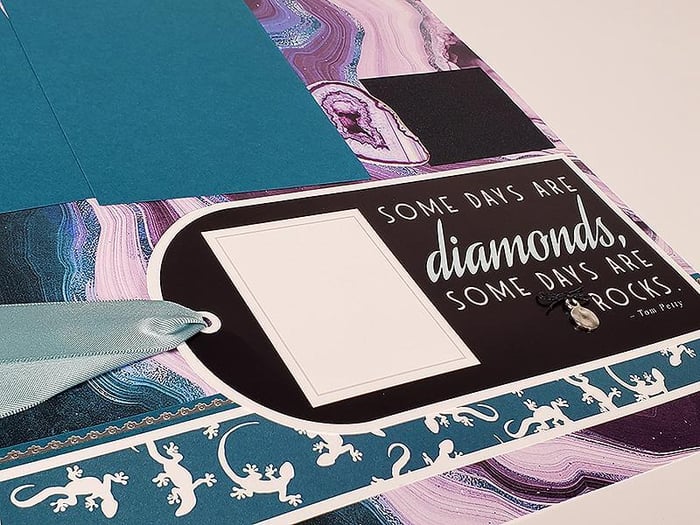
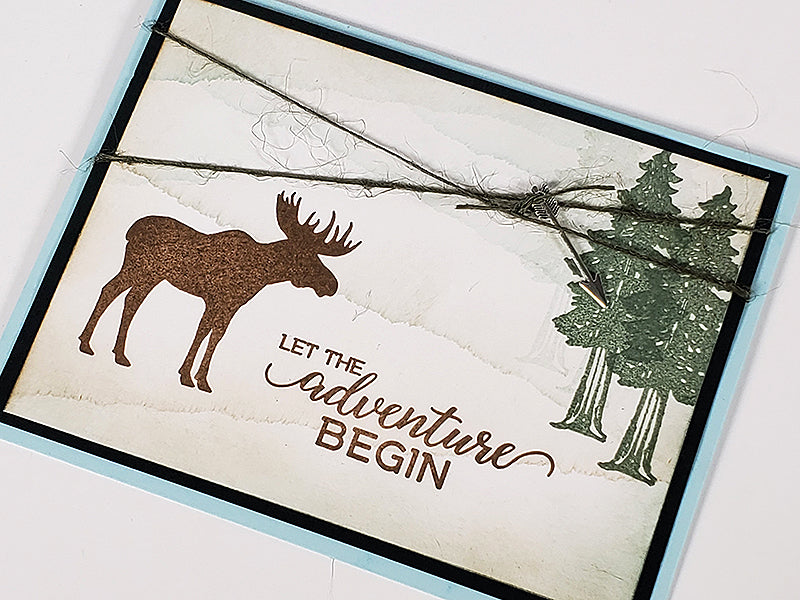
Card 7

So easy! Stamp the images onto a White panel and tear away the edges with the help of a grid ruler. Nest onto a Pine panel with torn edges, and layer onto a card base with foam adhesive circles. Finish with a silver arrow charm and canvas ribbon.

Card 8
After stamping the images with Spruce ink, add "clouds" with the simple masking technique described in card five. Wrap the upper right corner of the panel with ribbon and nest onto several additional layers.

I long for more time to play with these stunning images! Be sure to post your finished works of art to our Facebook chat group. We love being inspired by you!
Tricia