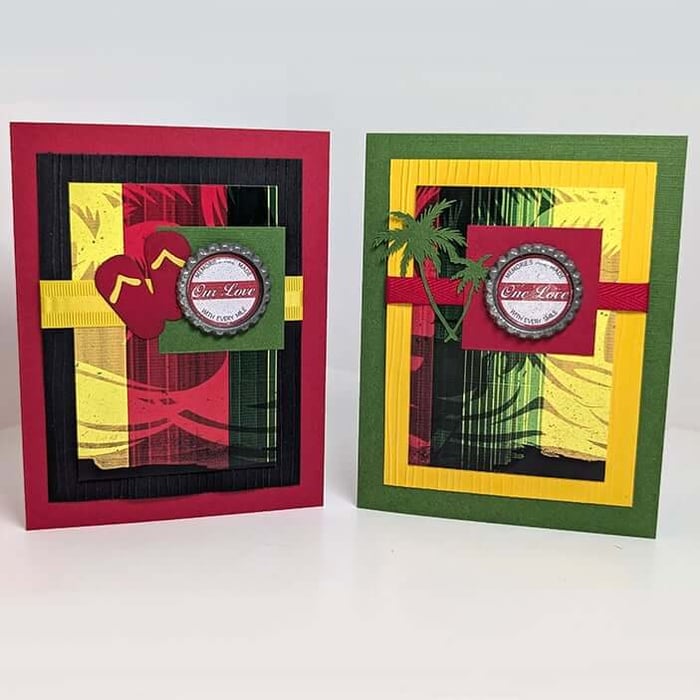

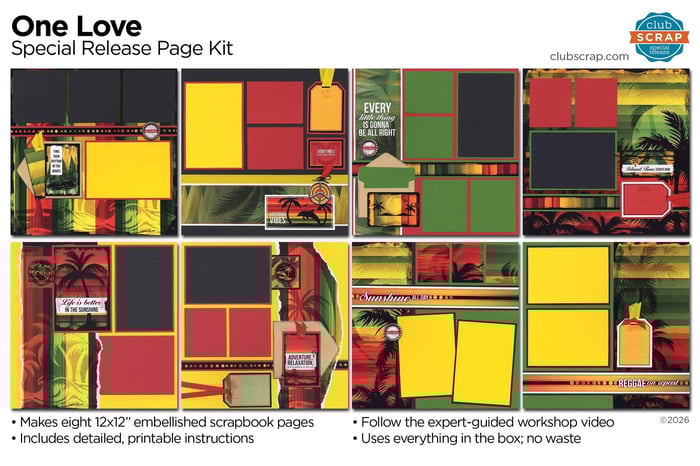
Transform the special release page kit, One Love, into twelve cards with extra prints and papers left over to create more.
One Love Cards
Supplies
To get started, gather the items below.
- One Love Page Kit
- Toile Card Kit Instructions
- Embossing Folders and Dies (from my stash)
- 1" Circle Punch*
How To
Sort, trim and score your papers according to the instructions and cutting diagrams as outlined in the Toile Card Kit Instructions. Utilize the following paper substitutions for each step of the instructions:
- Red, Green, Yellow, Black
- Red, Green, Yellow, Black
- Vertical Stripe Print
- Vertical Stripe Print
Trim the page cutaparts as normal and modify as needed to decorate the outside of the cards. (Skip the trimming instructions for #7, as there are no handmade papers in the One Love kit.)
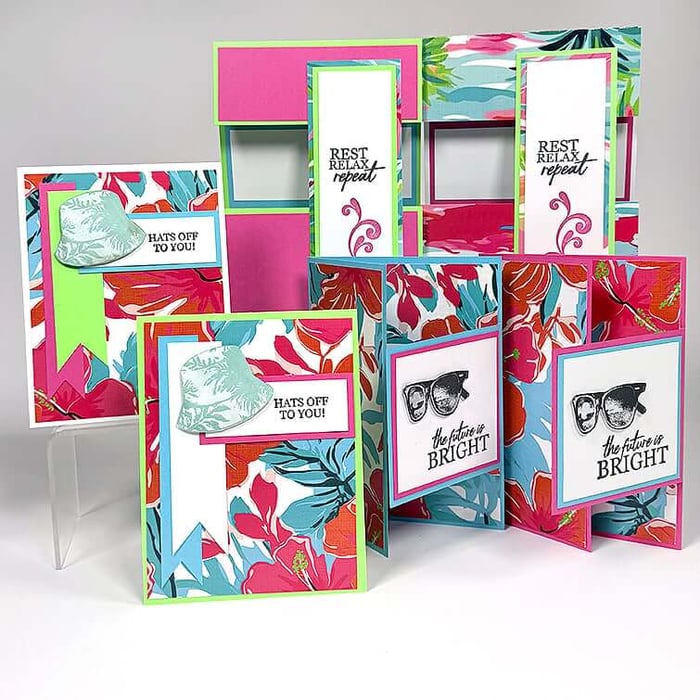
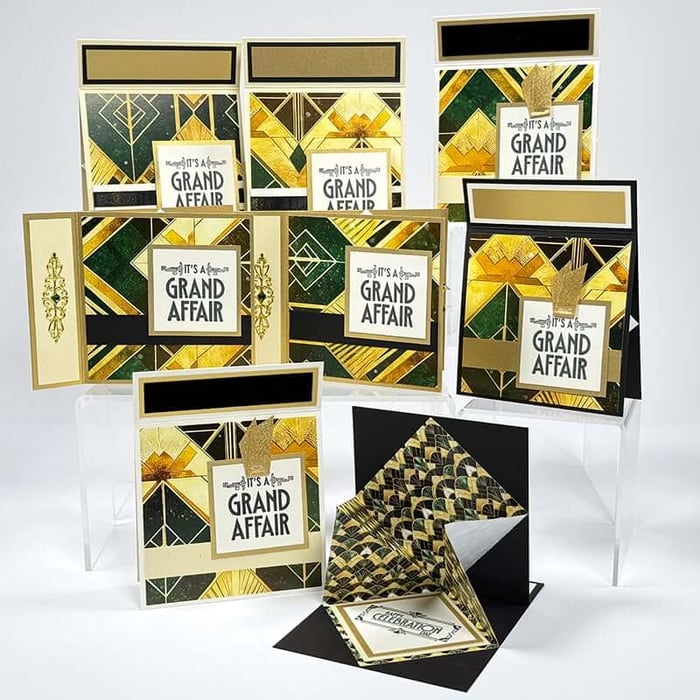
Le's take a closer look at the finished cards.
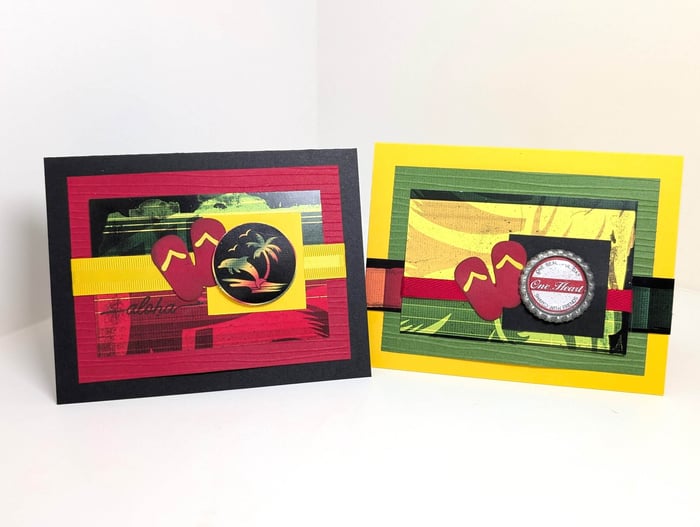
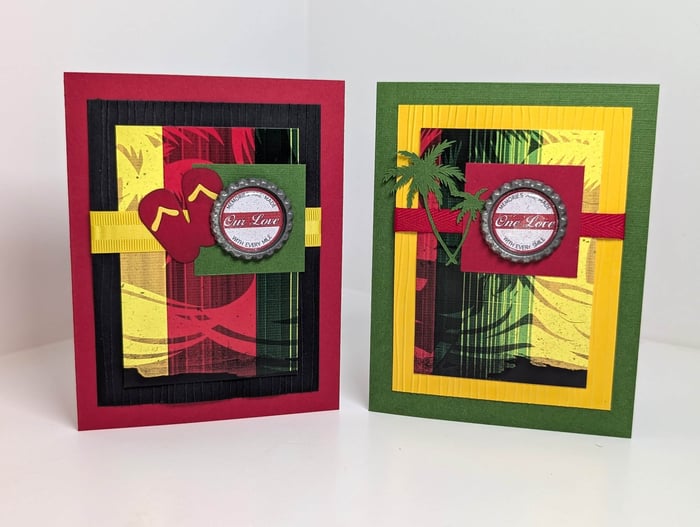
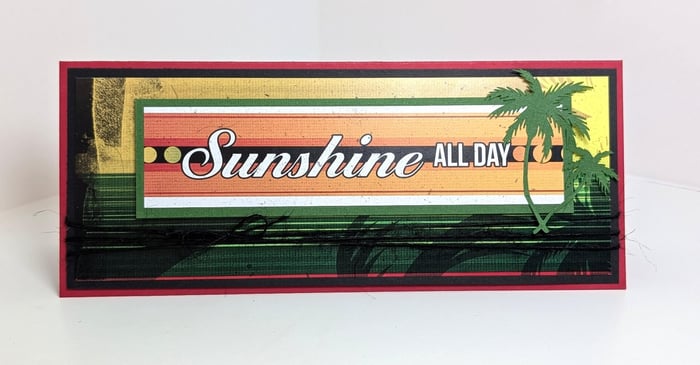
Set A: 4 ¼ x5 ½ Single Fold Cards
Emboss the larger panels with an embossing folder. Nest the smaller panel on top. Wrap ribbon around both panels and adhere to the card base. Remove the round cutaparts with a 1” circle punch; adhere to a bottle cap with Bookbinding Glue. Once dry, top with a clear epoxy sticker. Center the bottle cap embellishment onto the small square and adhere to the card front. Embellish with die cuts, if desired.
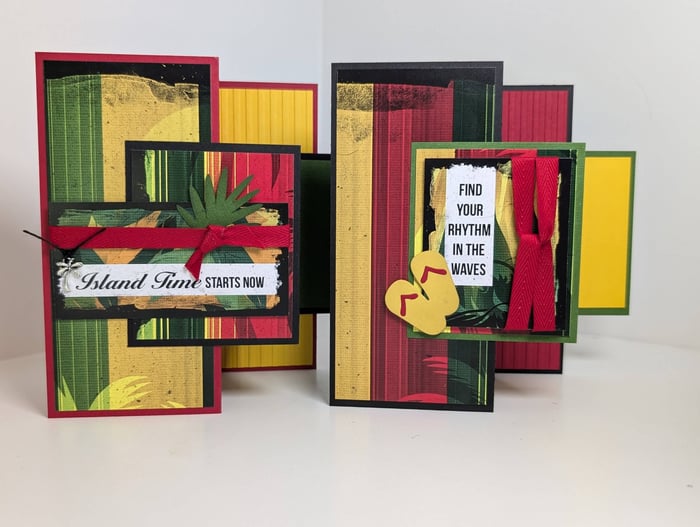
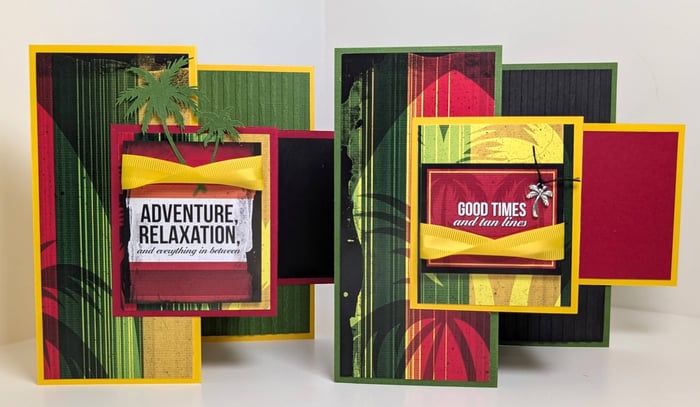
Set B: 4 ½ x6 ¼ Double “Z” Fold Card
Emboss select plain panels with an embossing folder. Adhere to the right inside panel. Add the printed panel to front of Z-fold card. Trim select cutaparts to size, wrap with ribbon and adhere to the left section of the smaller Z fold panel. Place the plain panel to the 3rd section. Add charms from the kit and die cuts from your stash, if desired.
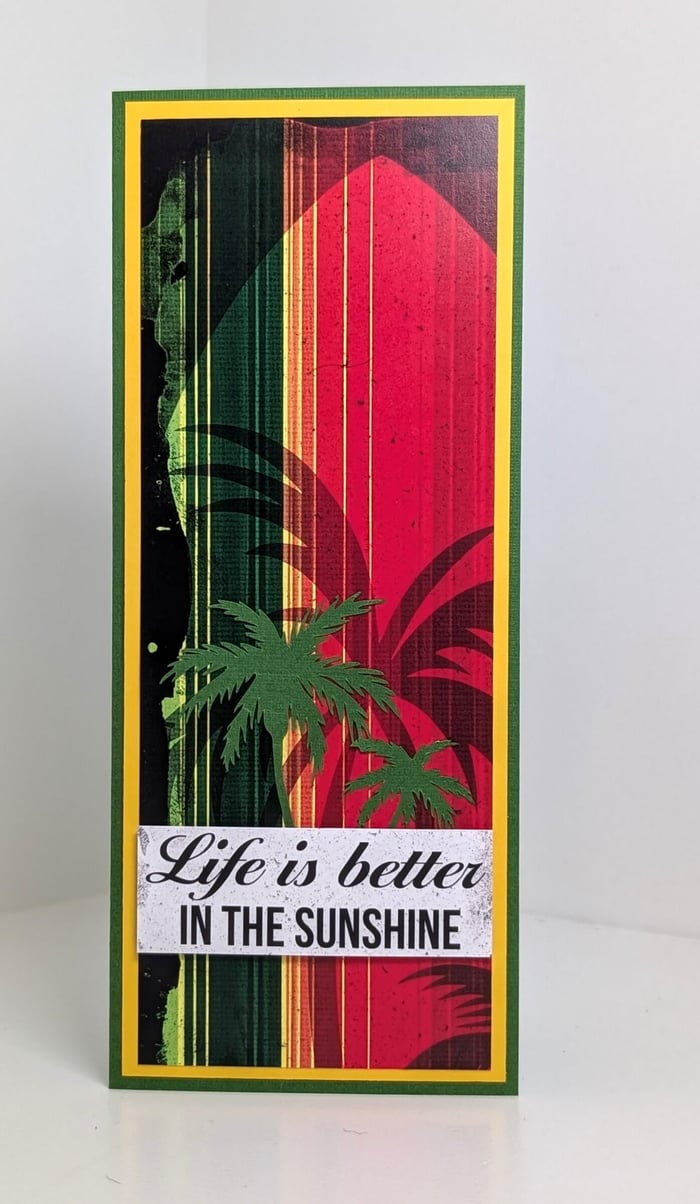
Set C: 3 ½ x 8 ½ Slimline Cards
Nest the print onto the plain card panel. Trim a cutapart to nest onto the 1.75x6.75 panel. Add to the front card panel. Add die cuts or ribbon as desired.
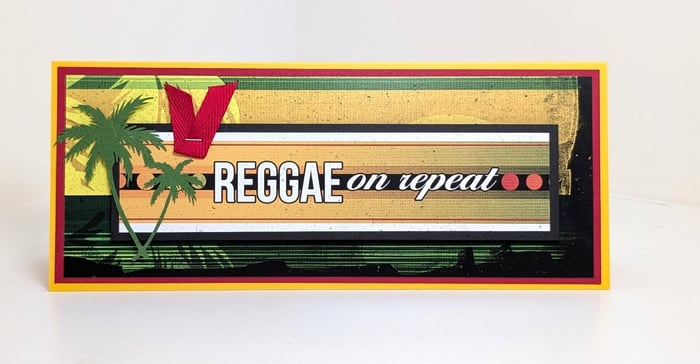
Cut a swallowtail shape on one end of the smaller panel with scissors to create a "banner" shape. Adhere to the front of the card. Top with a cutapart and die cuts, if desired.

*As an Amazon Associate, Club Scrap earns from qualifying purchases. This means we may earn a commission if you make a purchase through links on our site. Thank you for supporting us!

I hope my cards spark some fresh ideas for how you look at our special release page kits and past kit instructions.
We’d love to see what you create! Share your finished artwork in our Facebook Chat Group. Not a member yet? Answer a couple of quick questions and we’ll get you approved before you can say “pass the adhesive.”