Lite Layouts are now showing for A Night at the Met! This collection is so lovely, and it continues to put me in the holiday spirit!
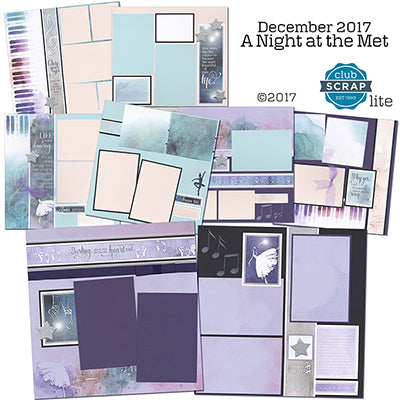
A Night at the Met Lite Layouts
LAYOUTS 1 & 2 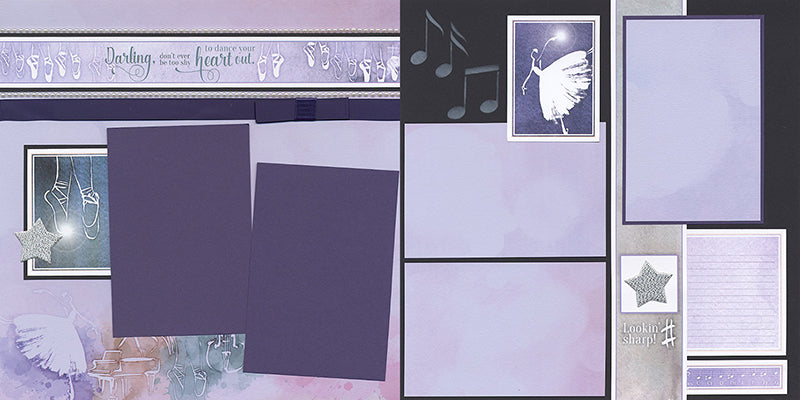
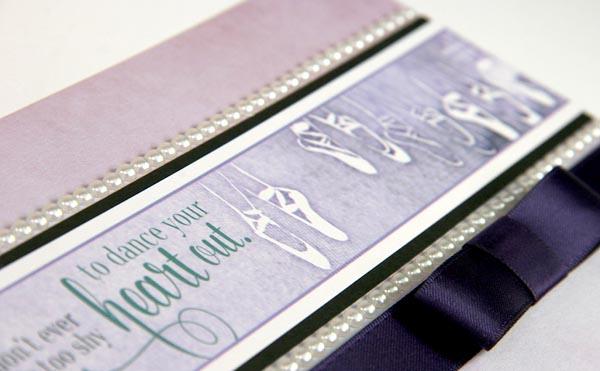
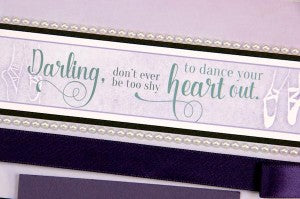
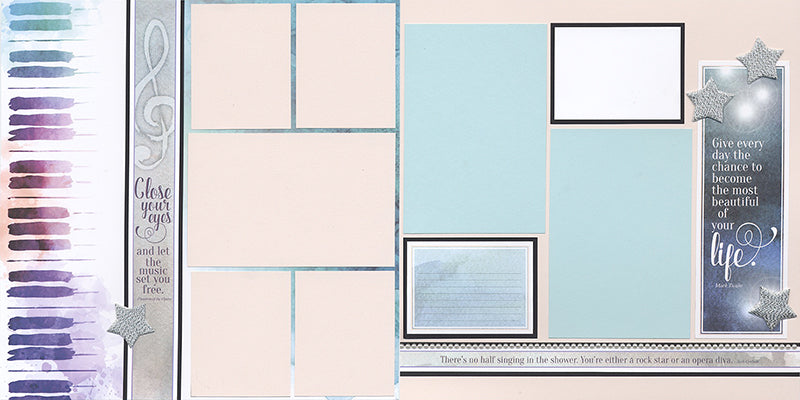
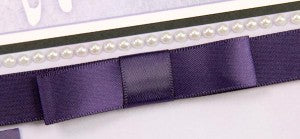
I love the plentiful portion of self-adhesive pearl stickers included in the kit. Apply them individually, or adhere them end to end to form a 12″ row above and below the page title on layout #1.
To make a three-part bow, cut an 8″ piece of satin and tape into a loop. Flatten the loop and layer onto a long piece of ribbon trimmed to wrap around the layout. Cut a 2″ piece of ribbon and wrap around the center of the loop and around to the back of the long ribbon. Tape to secure and trim excess ribbon, if needed.
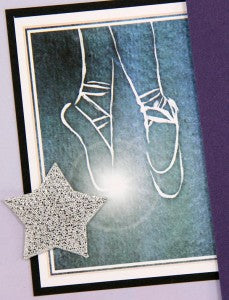
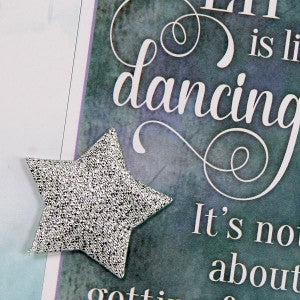
The silver star patches come connected like a string of garland. Trim into individual stars and adhere to the layout with CS® Bookbinding Glue. When adhering the stars, avoid tangents by ensuring the points of the star do not touch the edge of the paper or artwork.
LAYOUTS 3 & 4

Here’s another example of “tangent-free” star placement . . .
Add three pearls to the waistline of the dancer’s skirt.
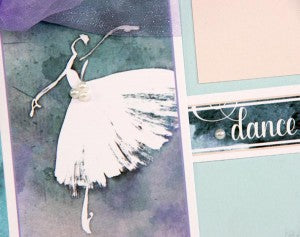
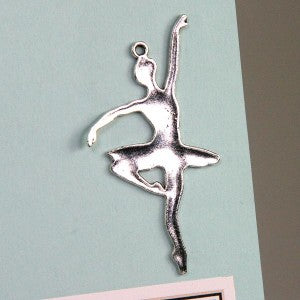
Glue the beautiful silver ballet dancer charm to the layout. She makes a striking embellishment at 3″ tall!
LAYOUTS 5 & 6 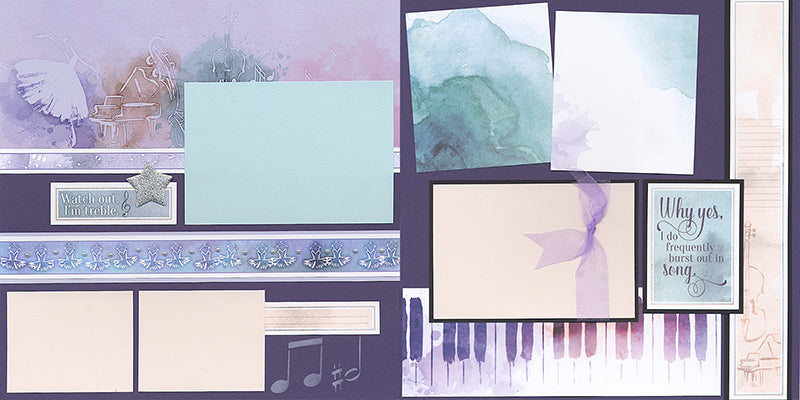
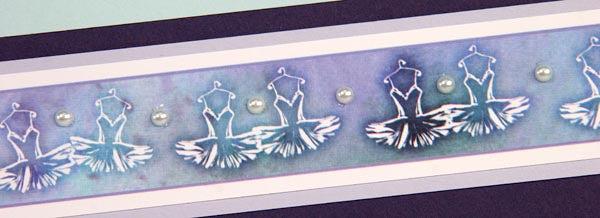
Cut a strip of pearls into individual stickers and place one pearl between each tutu. Transfer easily from the backing sheet to the layout with the tip of a craft knife.
LAYOUTS 7 & 8
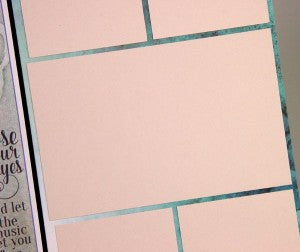
The pre-cut photo mats measure 4.25×6.25″. To make the “puzzle pieces” fit perfectly on the left side of the layout, trim the photo mat to 4×6.25″.
Thanks for joining me on the tour of this month’s Lite layouts.
Tricia
